2010 HYUNDAI VERACRUZ display
[x] Cancel search: displayPage 144 of 425
Features of your vehicle
62 4
D150332AEN
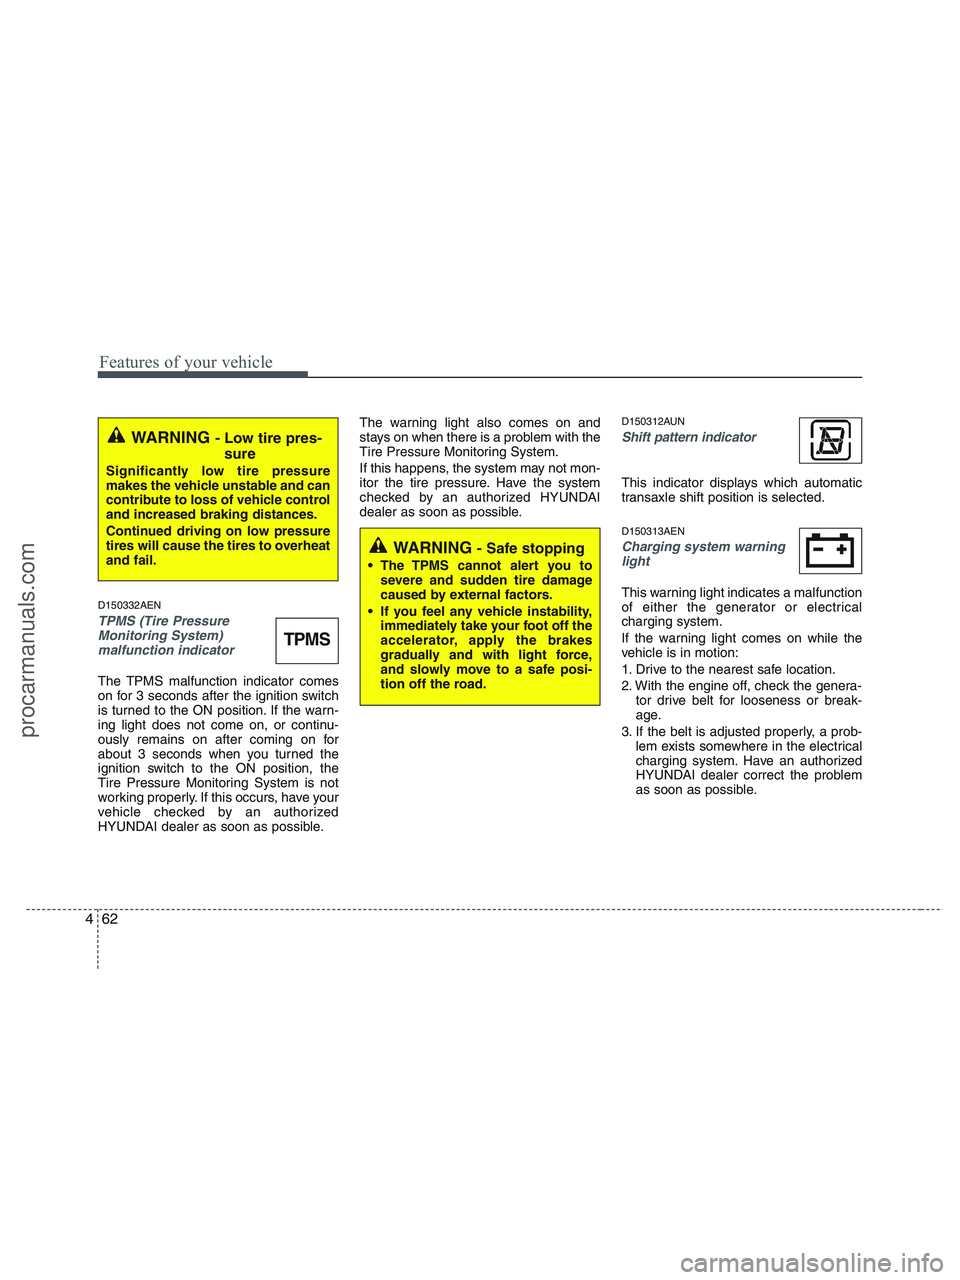
TPMS (Tire Pressure
Monitoring System)
malfunction indicator
The TPMS malfunction indicator comes
on for 3 seconds after the ignition switch
is turned to the ON position. If the warn-
ing light does not come on, or continu-
ously remains on after coming on for
about 3 seconds when you turned the
ignition switch to the ON position, the
Tire Pressure Monitoring System is not
working properly. If this occurs, have your
vehicle checked by an authorized
HYUNDAI dealer as soon as possible.The warning light also comes on and
stays on when there is a problem with the
Tire Pressure Monitoring System.
If this happens, the system may not mon-
itor the tire pressure. Have the system
checked by an authorized HYUNDAI
dealer as soon as possible.
D150312AUN
Shift pattern indicator
This indicator displays which automatic
transaxle shift position is selected.
D150313AEN
Charging system warning
light
This warning light indicates a malfunction
of either the generator or electrical
charging system.
If the warning light comes on while the
vehicle is in motion:
1. Drive to the nearest safe location.
2. With the engine off, check the genera-
tor drive belt for looseness or break-
age.
3. If the belt is adjusted properly, a prob-
lem exists somewhere in the electrical
charging system. Have an authorized
HYUNDAI dealer correct the problem
as soon as possible.
WARNING - Low tire pres-
sure
Significantly low tire pressure
makes the vehicle unstable and can
contribute to loss of vehicle control
and increased braking distances.
Continued driving on low pressure
tires will cause the tires to overheat
and fail.
TPMS
WARNING - Safe stopping
The TPMS cannot alert you to
severe and sudden tire damage
caused by external factors.
If you feel any vehicle instability,
immediately take your foot off the
accelerator, apply the brakes
gradually and with light force,
and slowly move to a safe posi-
tion off the road.
procarmanuals.com
Page 178 of 425
Features of your vehicle
96 4
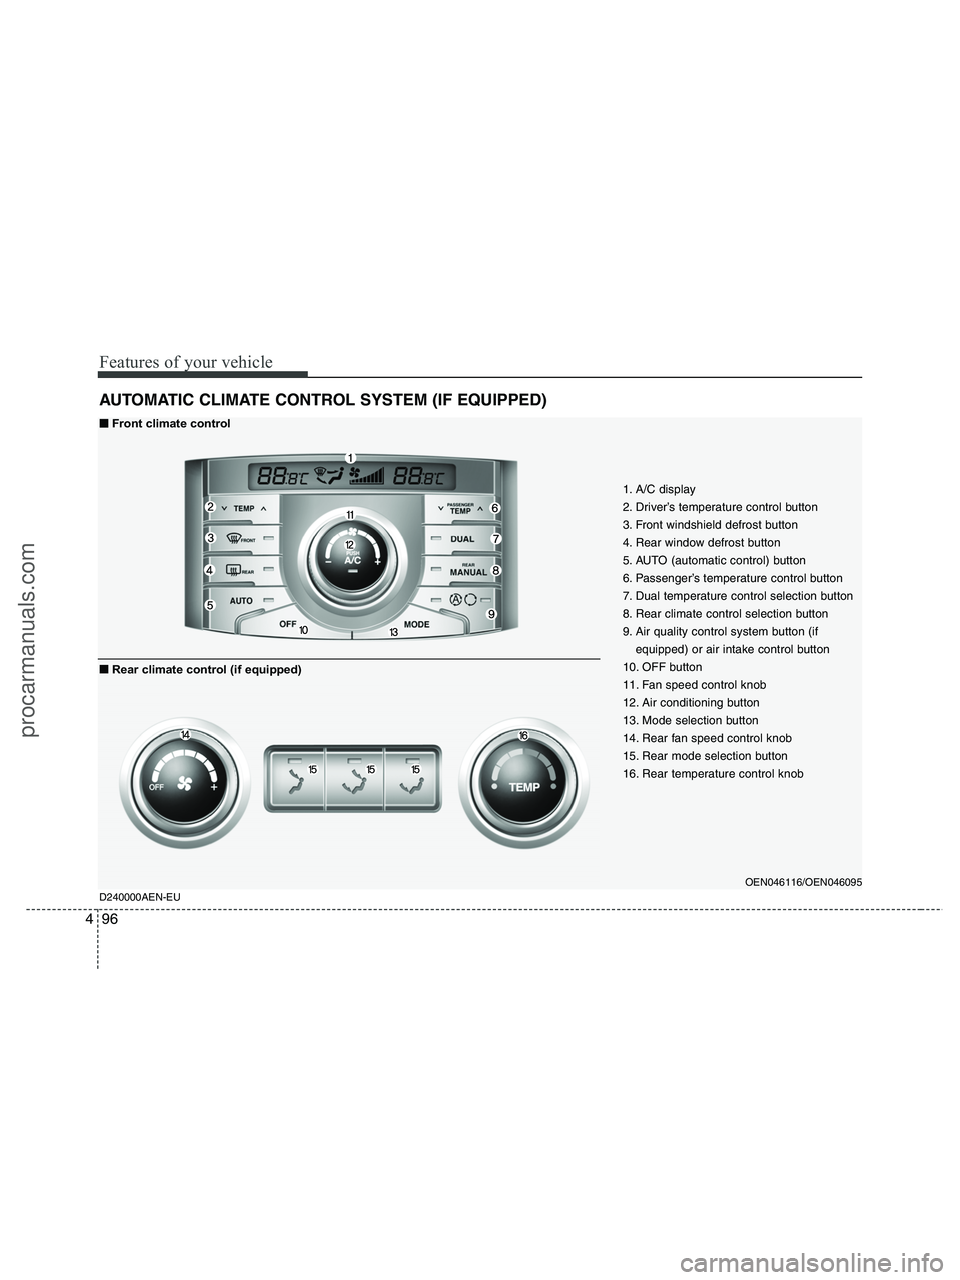
AUTOMATIC CLIMATE CONTROL SYSTEM (IF EQUIPPED)
1. A/C display
2. Driver’s temperature control button
3. Front windshield defrost button
4. Rear window defrost button
5. AUTO (automatic control) button
6. Passenger’s temperature control button
7. Dual temperature control selection button
8. Rear climate control selection button
9. Air quality control system button (if
equipped) or air intake control button
10. OFF button
11. Fan speed control knob
12. Air conditioning button
13. Mode selection button
14. Rear fan speed control knob
15. Rear mode selection button
16. Rear temperature control knob
OEN046116/OEN046095
D240000AEN-EU
■ ■
Front climate control
■ ■
Rear climate control (if equipped)
procarmanuals.com
Page 182 of 425
Features of your vehicle
100 4
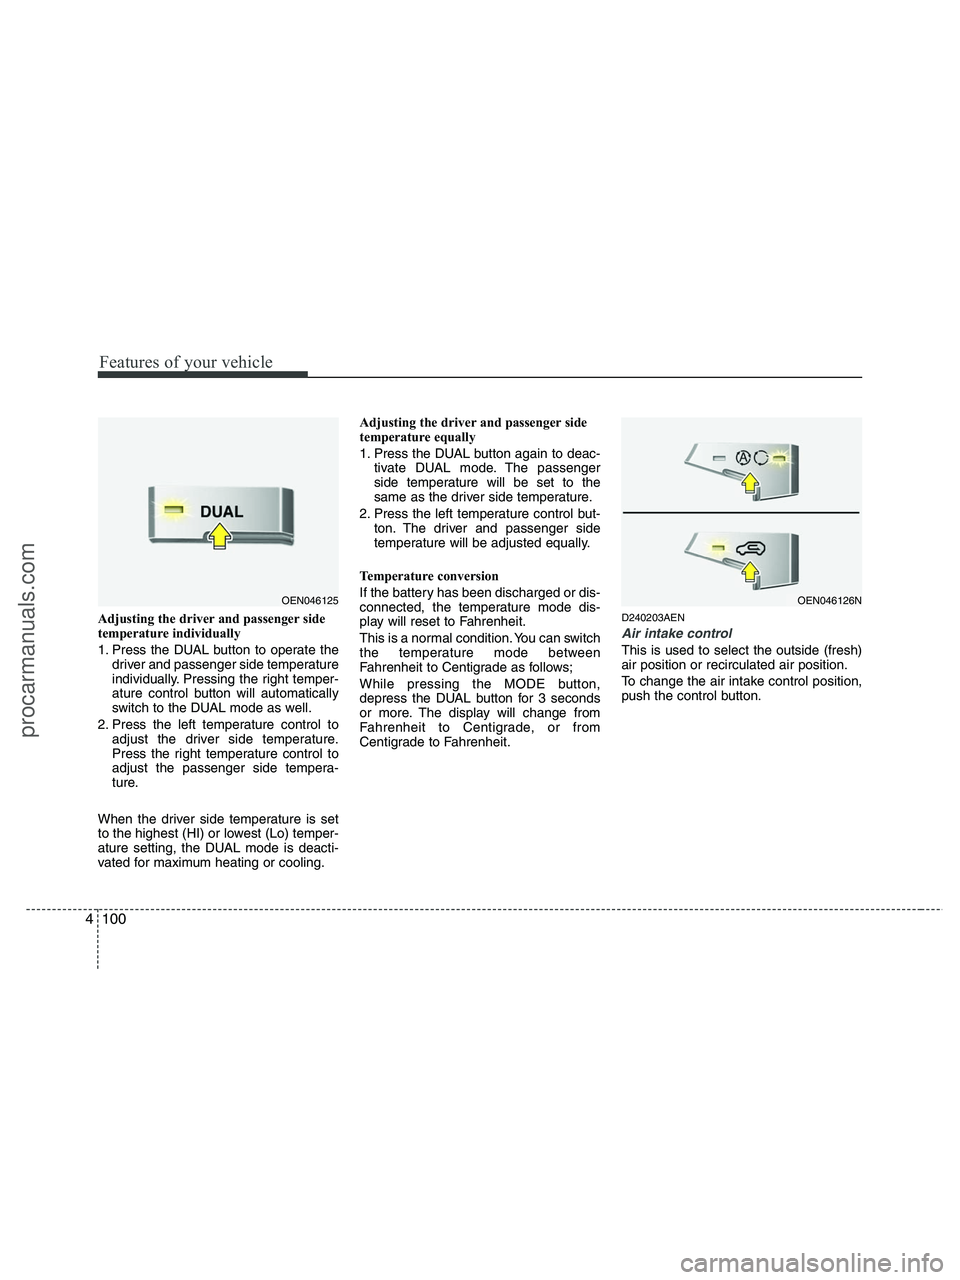
Adjusting the driver and passenger side
temperature individually
1. Press the DUAL button to operate the
driver and passenger side temperature
individually. Pressing the right temper-
ature control button will automatically
switch to the DUAL mode as well.
2. Press the left temperature control to
adjust the driver side temperature.
Press the right temperature control to
adjust the passenger side tempera-
ture.
When the driver side temperature is set
to the highest (HI) or lowest (Lo) temper-
ature setting, the DUAL mode is deacti-
vated for maximum heating or cooling.Adjusting the driver and passenger side
temperature equally
1. Press the DUAL button again to deac-
tivate DUAL mode. The passenger
side temperature will be set to the
same as the driver side temperature.
2. Press the left temperature control but-
ton. The driver and passenger side
temperature will be adjusted equally.
Temperature conversion
If the battery has been discharged or dis-
connected, the temperature mode dis-
play will reset to Fahrenheit.
This is a normal condition. You can switch
the temperature mode between
Fahrenheit to Centigrade as follows;
While pressing the MODE button,
depress the DUAL button for 3 seconds
or more. The display will change from
Fahrenheit to Centigrade, or from
Centigrade to Fahrenheit.D240203AEN
Air intake control
This is used to select the outside (fresh)
air position or recirculated air position.
To change the air intake control position,
push the control button.
OEN046125OEN046126N
procarmanuals.com
Page 190 of 425
Features of your vehicle
108 4
D250300AUN-EU
Defogging logic
To reduce the possibility of fogging up
the inside of the windshield, the air intake
is controlled automatically according to
certain conditions such as or
position. To cancel or return the defog-
ging logic, do the following.
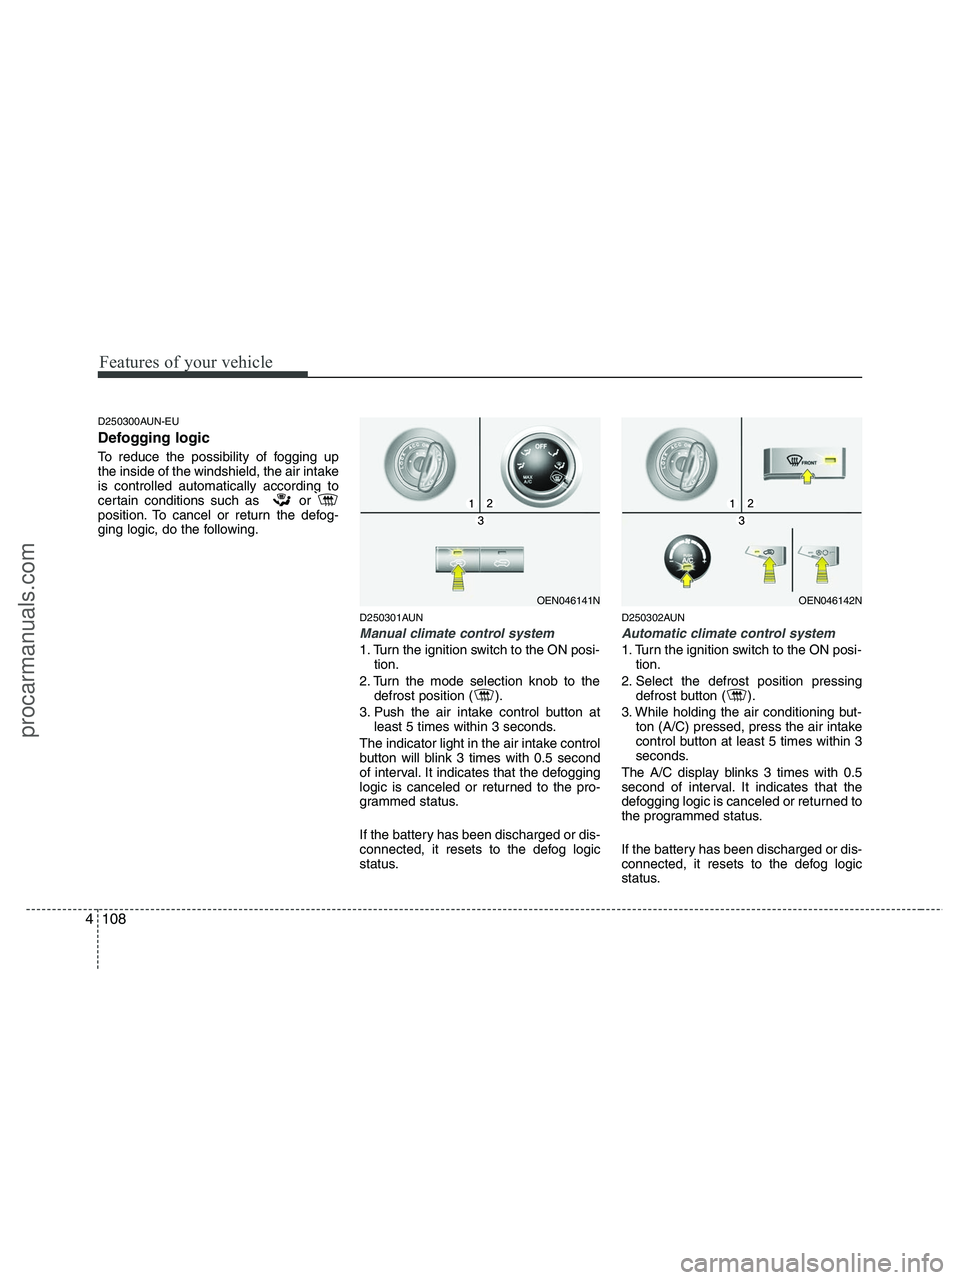
D250301AUN
Manual climate control system
1. Turn the ignition switch to the ON posi-
tion.
2. Turn the mode selection knob to the
defrost position ( ).
3. Push the air intake control button at
least 5 times within 3 seconds.
The indicator light in the air intake control
button will blink 3 times with 0.5 second
of interval. It indicates that the defogging
logic is canceled or returned to the pro-
grammed status.
If the battery has been discharged or dis-
connected, it resets to the defog logic
status.
D250302AUN
Automatic climate control system
1. Turn the ignition switch to the ON posi-
tion.
2. Select the defrost position pressing
defrost button ( ).
3. While holding the air conditioning but-
ton (A/C) pressed, press the air intake
control button at least 5 times within 3
seconds.
The A/C display blinks 3 times with 0.5
second of interval. It indicates that the
defogging logic is canceled or returned to
the programmed status.
If the battery has been discharged or dis-
connected, it resets to the defog logic
status.
OEN046141NOEN046142N
procarmanuals.com
Page 199 of 425
4117
Features of your vehicle
D280601AUN
Hour (1)
Pressing the H button with your finger, a
pencil or similar object will advance the
time displayed by one hour.
D280602AUN
Minute (2)
Pressing the M button with your finger, a
pencil or similar object will advance the
time displayed by one minute.
D280603AUN
Reset (3)
To clear away minutes, press the R but-
ton with your finger, a pencil or similar
object. Then the clock will be set precise-
ly on the hour.
For example, if the R button is pressed
while the time is between 9:01 and 9:29,
the display will be reset to 9:00.
9:01 ~ 9:29 display changed to 9:00
9:30 ~ 9:59 display changed to 10:00
D280604AEN
Display conversion
To change the 12 hour format to the 24
hour format, press the R button until the
display blinks.
For example, if the R button is pressed
while the time is 10:15 p.m., the display
will be changed to 22:15.
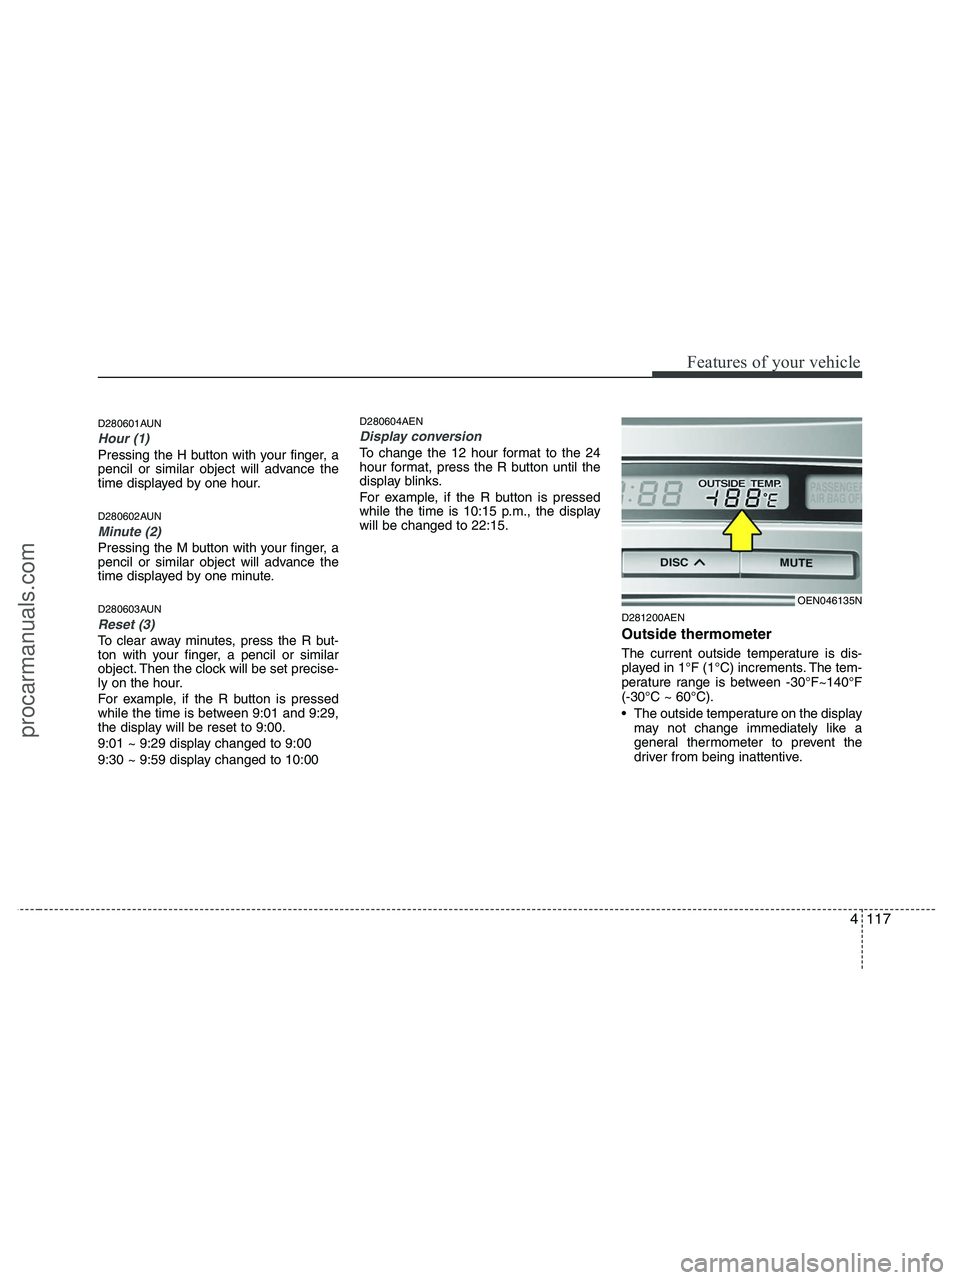
D281200AEN
Outside thermometer
The current outside temperature is dis-
played in 1°F (1°C) increments. The tem-
perature range is between -30°F~140°F
(-30°C ~ 60°C).
The outside temperature on the display
may not change immediately like a
general thermometer to prevent the
driver from being inattentive.
OEN046135N
procarmanuals.com
Page 200 of 425
Features of your vehicle
118 4
• Temperature conversion
If the battery has been discharged or
disconnected, the temperature mode
display will reset to Fahrenheit.
This is a normal condition. You can
switch the temperature mode between
Fahrenheit to Centigrade as follows;
While depressing the R button,
depress the H or M button. The display
will change from Fahrenheit to
Centigrade, or from Centigrade to
Fahrenheit.
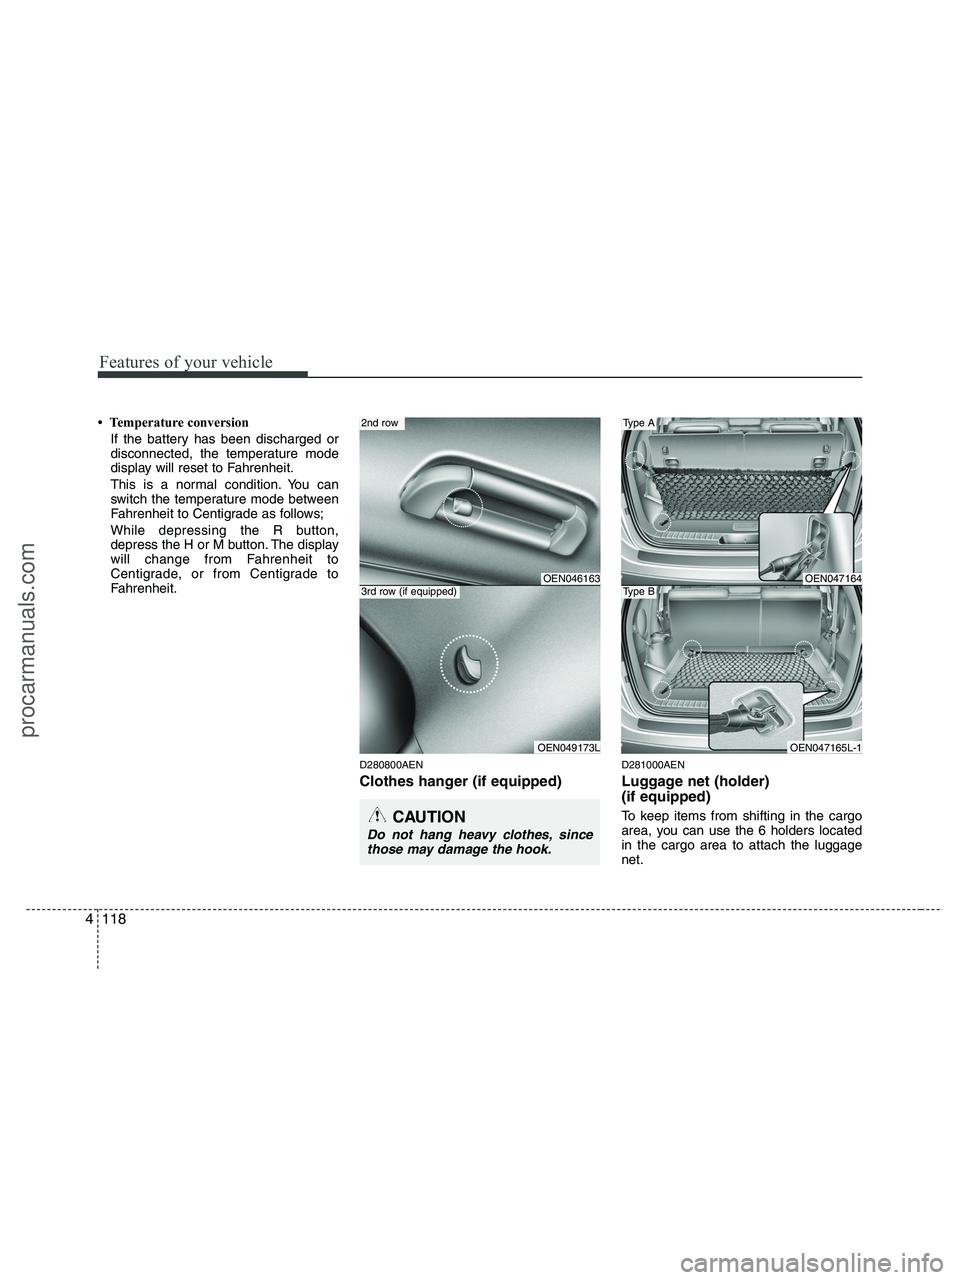
D280800AEN
Clothes hanger (if equipped)
D281000AEN
Luggage net (holder)
(if equipped)
To keep items from shifting in the cargo
area, you can use the 6 holders located
in the cargo area to attach the luggage
net.CAUTION
Do not hang heavy clothes, since
those may damage the hook.
OEN047164
OEN047165L-1
Type A
Type BOEN046163
OEN049173L
2nd row
3rd row (if equipped)
procarmanuals.com
Page 211 of 425
4129
Features of your vehicle
1. Power ON/OFF Button &
Volume Control Knob
Turns the set on/off when the ignition
switch is on ACC or ON. If the button is
turned to the right, it increases the vol-
ume and left, it decreases the volume.
2. FM/AM Selection Button
Turns to FM or AM mode, and toggles in
the order of FM1
➟ FM2 ➟ AM ➟ FM1...
when the button is pressed each time.
3. Automatic Channel Selection
Button
] button is pressed,
it increases the band frequency to auto-
matically select a channel.
Stops at the previous frequency if no
channel is found.
] button is press-
ed, it reduces the band frequency to
automatically select a channel.
Stops at the previous frequency if no
channel is found.
4. Preset Button
Push [1]~[6] buttons less than 0.8 sec-
ond to play the channel saved in each
button. Push Preset button for 0.8 sec-
ond or longer to save current channel to
the respective button with a beep.
5. Manual Channel Selection
Knob & SETUP Button
Manual Channel Selection knob
Turn this control while listening to a radio
channel to manually adjust frequency.
Turn clockwise to increase frequency and
counterclockwise to reduce frequency.
SETUP Button
Press this button to turn to the XM
option, SCROLL and adjustment mode. If
no action is taken for 5 seconds after
pressing the button, it will return to the
play mode.(After entering SETUP mode,
move between items using the left, right
and PUSH functions of the [TUNE] but-
ton.)
The setup item changes from SCROLL
➟ XM...
Press this button to turn to the XM option,
SCROLL, SURROUND and adjustment
mode. If no action is taken for 5 seconds
after pressing the button, it will return to
the play mode.(After entering SETUP
mode, move between items using the left,
right and PUSH functions of the [TUNE]
button.)
The setup item changes from SCROLL
➟SURROUND ➟ XM...
Sound Quality Control Knob
Pressing the button changes the TONE
and POSITION mode. The mode select-
ed is shown on the display. After select-
ing each mode, rotate the Audio control
knob clockwise or counterclockwise.
BASS Control
To increase the BASS, rotate the knob
clockwise, while to decrease the BASS,
rotate the knob counterclockwise.
MIDDLE Control
To increase the MIDDLE, rotate the knob
clockwise, while to decrease the MID-
DLE, rotate the knob counterclockwise.
procarmanuals.com
Page 212 of 425
Features of your vehicle
130 4
TREBLE Control
To increase the TREBLE, rotate the knob
clockwise, while to decrease the TRE-
BLE, rotate the knob counterclockwise.
FADER Control
Turn the control knob clockwise to empha-
size rear speaker sound(front speaker
sound will be attenuated). When the con-
trol knob is turned counterclockwise, front
speaker sound will be emphasized(rear
speaker sound will be attenuated).
BALANCE Control
Rotate the knob clockwise to emphasize
right speaker sound(left speaker sound
will be attenuated). When the control
knob is turned counterclockwise, left
speaker sound will be emphasized(right
speaker sound will be attenuated).6. SCAN Button
If this button is pressed, the frequencies
will become increased and receive the
corresponding broadcasts. This function
will play the frequencies for 5 seconds
(XM MODE:10 seconds) each and find
other broadcasts as the frequency
increases. Press the button again when
desiring to continue listening to the cur-
rently playing broadcast.
7. MUTE Button
Press [MUTE] button to stop sound and
“Audio Mute” is displayed on the LCD.
procarmanuals.com