2010 HYUNDAI TUCSON display
[x] Cancel search: displayPage 198 of 382
4115
Features of your vehicle
Note:
Once pairing with the phone is com-
pleted, there is no need to pair with
that phone again unless the phone is
deleted manually from the audio sys-
tem (refer “Deleting Phone” section)
or the vehicle’s information is
removed from the phone.
1. Press button.
2. Say “Set Up”.- The system replies with availablecommands.
- To skip the information message, press again and then a beep is
heard.
3. Say “Pair Phone”
4. Say “Yes” to proceed.
5. Say the name of your phone when prompted.
- Use any name to uniquely describe your phone.
6. Bluetooth
®system will repeat the
name you stated.
7. Say "Yes" to confirm.
8. The audio displays “searching ----
passkey: 0000” and asks you to initiate
pairing procedure from the phone. 9. Search the Bluetooth
®system on your
phone .Your phone should display your
[vehicle model name] on the
Bluetooth
®device list. Then attempt
pairing on your phone
10. After Pairing is completed, your phone will start to transfer phone/con-
tact list to the audio system.
- This process may take from a few minutes to over 10 minutes depend-
ing on the phone model and number
of entries in the phone/contact list.
11. By manual operation: - Select “PAIR” in PHONE menu, thenproceed from step 5
Note:
Until the audio displays “Transfer
Complete”, Bluetooth®hands-free
feature may not be fully operational.
Note:
If the phone is paired to two or more
vehicles of the same model, i.e. both
vehicles are HMC TUCSON, some
phones may not handle Bluetooth
®
devices of that name correctly. In this
case, you may need to change the
name displayed on your phone from
TUCSON.
Refer to your phone’s User’s Guide, or
contact your cellular carrier or phone
manufacturer for instructions.
Page 200 of 382
4117
Features of your vehicle
®Volume
Bluetooth®system volume can be
adjusted separately from main volume of
the audio system. Volume control is avail-
able by manual operation only.
- Select “BT VOL” in PHONE menu,adjust volume to desired level by turn-
ing the TUNE knob, then press the
knob again to confirm.
Bluetooth® ON/OFF
Bluetooth® system can be enabled (ON)
or disabled (OFF) by this menu.
- If Bluetooth® is disabled, all the com- mands related to Bluetooth
®system
prompts whether you wish to turn
Bluetooth® ON or not.
1. Press button.
2. Say “Set Up”
3. Say “Bluetooth Off ” after prompt.
4. Say “Yes” to confirm.
5. By manual operation:
- Select “BT Off ” in PHONE menu, then after announcement, say “YES”
to confirm.
■Phone Book (In-Vehicle)
Phone numbers and voice tags can be
registered. Entries registered in the
phone can also be transferred.
1. Press button.
2. Say "Phonebook".
- The system replies with all availablecommands.
- To skip the information message, press again and then a beep is
heard.
3. Say "Add Entry".
4. Say "By Voice" to proceed.
5. Say the name of the entry when prompted.
6. Say “Yes” to confirm.
7. Say the phone number of that entry when prompted.
8. Say “Store” if phone number input is finished.
9. Say a phone number type. “Home”, “Work”, “Mobile”, “Other” or “Default” is
available.
10. Say “Yes” to complete adding entry.
11. Say “Yes” to store additional location for this contact, or say “Cancel” to fin-
ish the process.
✽ ✽NOTICE
- The system can recognize single digits
from zero to nine. Numbers that are
ten or greater cannot be recognized.
- You can enter each digit individually or group digits together in preferred
string lengths.
- To speed up input, it is a good idea to group all digits into a continuous
string.
- The display corresponding to each operation appears on the screen as fol-
lows:
- Input operation example: 1. Say: “Nine, nine, five”
➟ Display: “995”
2. And say: “Seven, three, four”
➟ Display: “995734”
Page 201 of 382
Features of your vehicle
118
4
1. Press button.
2. Say "Phonebook".
3. Say "Add Entry" after prompt.
4. Say "By Phone" to proceed.
5. Say “Yes” to confirm.
6. Your phone will start to transfer
phone/contact list to the audio system.
This process may take over 10 minutes
depending on the phone model and
number of entries
7. Wait till the audio displays “Transfer Complete” message.
Changing Name
The registered names can be modified.
1. Press button.
2. Say “Phonebook”
3. Say “Change Name” after prompt.
4. Say the name of the entry (voice tag)
5. Say “Yes” to confirm.
6. Say new desired name.
Deleting Name
The registered names can be deleted.
1. Press button.
2. Say “Phonebook”
3. Say “Delete Name” after prompt.
4. Say the name of the entry (voice tag)
5. Say “Yes” to confirm.■Making a Phone Call
A phone call can be made by speaking
names registered in the audio system.
1. Press button.
2. Say "Call".
3. Say “Name” when prompted.
4. Say desired name (voice tag).
5. Say desired location (phone number type). Only stored locations can be
selected.
6. Say “Yes” to confirm and make a call.
✽ ✽ Tip
A shortcut to each of the following func-
tions is available:
1. Say “Call Name”
2. Say “Call
3. Say “Call
Page 202 of 382
4119
Features of your vehicle
A phone call can be made by dialing the
spoken numbers. The system can recog-
nize single digits from zero to nine.
1. Press button.
2. Say “Call”.
3. Say “Number” when prompted.
4. Say desired phone numbers.
5. Say “Dial” to complete the number andmake a call.
✽ ✽ Tip
A shortcut to each of the following func-
tions is available:
1. Say “Dial Number”
2. Say “Dial
■Receiving a Phone Call
When receiving a phone call, a ring tone
is audible from speakers and the audio
system changes into telephone mode.
When receiving a phone call, “Incoming”
message and incoming phone number (if
available) are displayed on the audio.
- Press button on the steering
wheel.
- Press button on the steering wheel.
- Use VOLUME buttons on the steering wheel.
Call):
- Press and hold button on the steer- ing wheel until the audio system trans-
fers a call to the phone.
■Talking on the Phone
When talking on the phone, “Active Calls”
message and the other party’s phone
number (if available) are displayed on the
audio.
- Press button on the steering wheel.
- Press button on the steering wheel.
✽ ✽ NOTICE
In the following situations, you or the
other party may have difficulty hearing
each other:
1. Speaking at the same time, your voice
may not reach each other parties. (This
is not a malfunction.) Speak alternate-
ly with the other party on the phone.
2. Keep the Bluetooth(
®) volume to a
low level. High-level volume may
result in distortion and echo.
3. When driving on a rough road.
4. When driving at high speeds.
5. When the window is open.
6. When the air conditioning vents are facing the microphone.
7. When the sound of the air condition- ing fan is loud.
Page 203 of 382
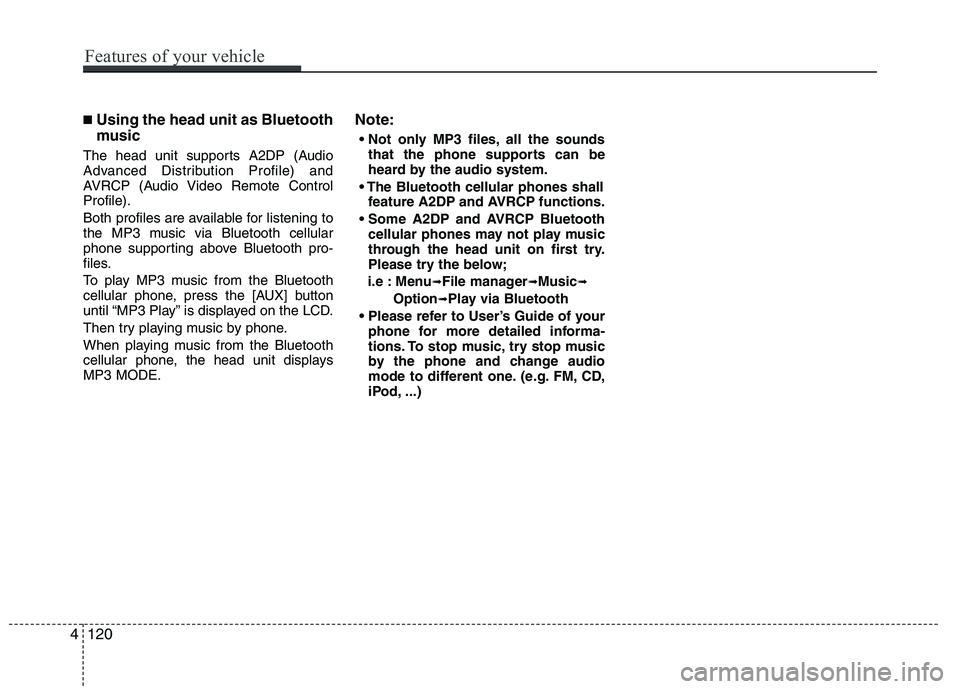
■Using the head unit as Bluetooth
music
The head unit supports A2DP (Audio
Advanced Distribution Profile) and
AVRCP (Audio Video Remote Control
Profile).
Both profiles are available for listening to
the MP3 music via Bluetooth cellular
phone supporting above Bluetooth pro-
files.
To play MP3 music from the Bluetooth
cellular phone, press the [AUX] button
until “MP3 Play” is displayed on the LCD.
Then try playing music by phone.
When playing music from the Bluetooth
cellular phone, the head unit displays
MP3 MODE.
Note:
all the soundsthat the phone supports can be
heard by the audio system.
feature A2DP and AVRCP functions.
cellular phones may not play music
through the head unit on first try.
Please try the below;
i.e : Menu
➟File manager➟Music➟
Option➟Play via Bluetooth
phone for more detailed informa-
tions. To stop music, try stop music
by the phone and change audio
mode to different one. (e.g. FM, CD,
iPod, ...)
4120
Features of your vehicle
Page 214 of 382
511
Driving your vehicle
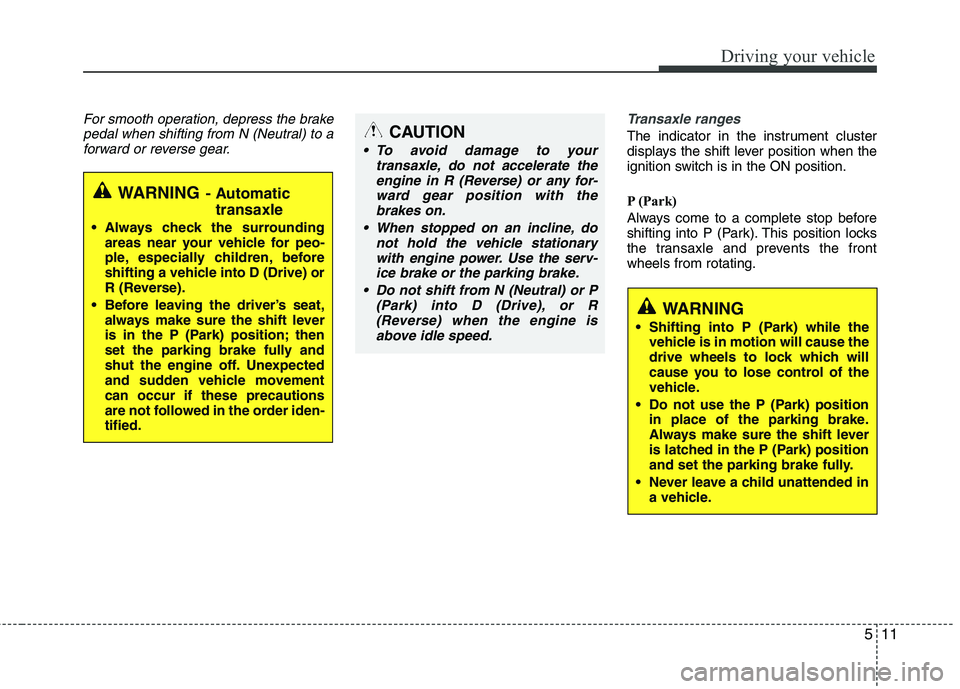
For smooth operation, depress the brakepedal when shifting from N (Neutral) to aforward or reverse gear. Transaxle ranges
The indicator in the instrument cluster
displays the shift lever position when the
ignition switch is in the ON position.
P (Park)
Always come to a complete stop before
shifting into P (Park). This position locks
the transaxle and prevents the front
wheels from rotating.
WARNING- Automatic
transaxle
Always check the surrounding
areas near your vehicle for peo-
ple, especially children, before
shifting a vehicle into D (Drive) or
R (Reverse).
Before leaving the driver’s seat, always make sure the shift lever
is in the P (Park) position; then
set the parking brake fully and
shut the engine off. Unexpected
and sudden vehicle movement
can occur if these precautions
are not followed in the order iden-
tified.
CAUTION
To avoid damage to your transaxle, do not accelerate theengine in R (Reverse) or any for-ward gear position with thebrakes on.
When stopped on an incline, do not hold the vehicle stationarywith engine power. Use the serv-ice brake or the parking brake.
Do not shift from N (Neutral) or P (Park) into D (Drive), or R(Reverse) when the engine isabove idle speed.
WARNING
Shifting into P (Park) while the vehicle is in motion will cause the
drive wheels to lock which will
cause you to lose control of the
vehicle.
Do not use the P (Park) position in place of the parking brake.
Always make sure the shift lever
is latched in the P (Park) position
and set the parking brake fully.
Never leave a child unattended in a vehicle.
Page 332 of 382
Maintenance
44
7
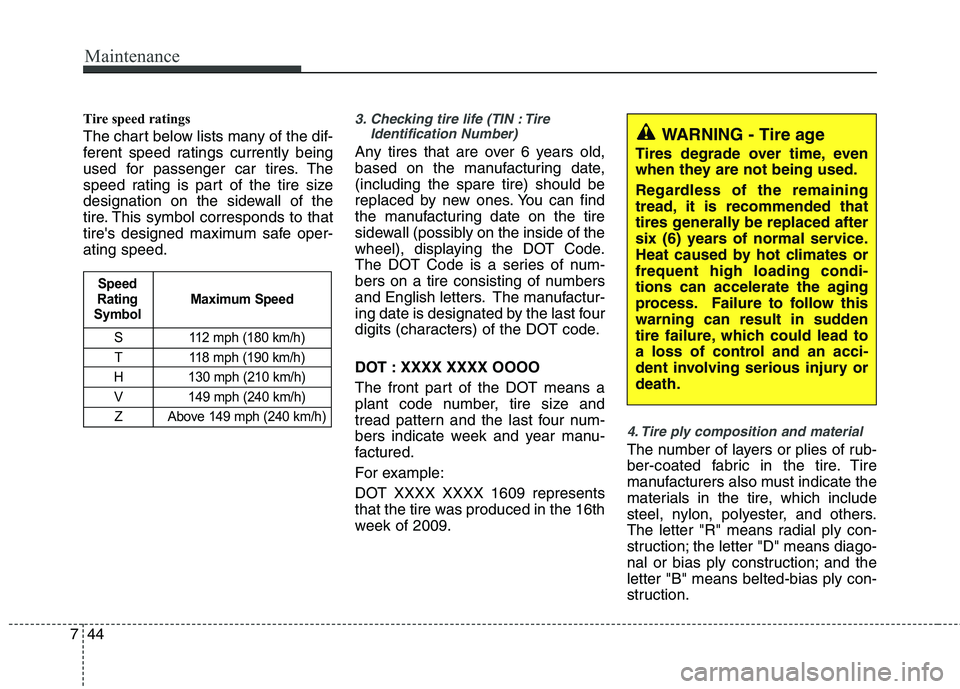
Tire speed ratings
The chart below lists many of the dif-
ferent speed ratings currently being
used for passenger car tires. The
speed rating is part of the tire size
designation on the sidewall of the
tire. This symbol corresponds to that
tire's designed maximum safe oper-
ating speed.
3. Checking tire life (TIN : Tire
Identification Number)
Any tires that are over 6 years old,
based on the manufacturing date,
(including the spare tire) should be
replaced by new ones. You can find
the manufacturing date on the tire
sidewall (possibly on the inside of the
wheel), displaying the DOT Code.
The DOT Code is a series of num-
bers on a tire consisting of numbers
and English letters. The manufactur-
ing date is designated by the last four
digits (characters) of the DOT code.
DOT : XXXX XXXX OOOO
The front part of the DOT means a
plant code number, tire size and
tread pattern and the last four num-
bers indicate week and year manu-
factured.
For example:
DOT XXXX XXXX 1609 represents
that the tire was produced in the 16th
week of 2009.
4. Tire ply composition and material
The number of layers or plies of rub-
ber-coated fabric in the tire. Tire
manufacturers also must indicate the
materials in the tire, which include
steel, nylon, polyester, and others.
The letter "R" means radial ply con-
struction; the letter "D" means diago-
nal or bias ply construction; and the
letter "B" means belted-bias ply con-
struction.
S 112 mph (180 km/h)
T 118 mph (190 km/h)
H 130 mph (210 km/h) V 149 mph (240 km/h)Z Above 149 mph (240 km/h)
Maximum Speed
Speed
Rating
Symbol
WARNING - Tire age
Tires degrade over time, even
when they are not being used.
Regardless of the remaining
tread, it is recommended that
tires generally be replaced after
six (6) years of normal service.
Heat caused by hot climates or
frequent high loading condi-
tions can accelerate the aging
process. Failure to follow this
warning can result in sudden
tire failure, which could lead to
a loss of control and an acci-
dent involving serious injury or
death.
Page 376 of 382
Index
4I
Digital clock··················\
··················\
··················\
·············4-86
Dimensions ··················\
··················\
··················\
················8-2
Displays, see instrument cluster ··················\
··················\
4-33
Display illumination, see instrument panel illumination···4-34
Door locks··················\
··················\
··················\
··················\
4-9
Central door lock switch ··················\
··················\
·········4-10
Child-protector rear door lock ··················\
··················\
·4-12
Drinks holders, see cup holders··················\
··················\
·4-84
Driver's air bag··················\
··················\
··················\
·········3-49
Driving at night ··················\
··················\
··················\
········5-43
Driving in flooded areas ··················\
··················\
············5-44
Driving in the rain··················\
··················\
··················\
····5-44
Economical operation ··················\
··················\
················5-40
Electric chromic mirror (ECM) ··················\
··················\
·4-30
Electronic power steering ··················\
··················\
·········4-28
Emergency starting ··················\
··················\
··················\
····6-4 Jump starting ··················\
··················\
··················\
···········6-4
Push starting ··················\
··················\
··················\
············6-5
Emergency tailgate safety release··················\
················4-14
Emergency towing ··················\
··················\
··················\
···6-21
Emergency while driving ··················\
··················\
·············6-2
Emission control system ··················\
··················\
············7-72 Crankcase emission control system··················\
···········7-72
Evaporative emission control (including ORVR) System ··················\
··················\
··················\
·················7-72\
Exhaust emission control system ··················\
··············7-73 Engine compartment ··················\
··················\
············2-4, 7-2
Engine coolant ··················\
··················\
··················\
·········7-22
Engine number ··················\
··················\
··················\
···········8-7
Engine oil ··················\
··················\
··················\
·················7-21\
Engine overheats ··················\
··················\
··················\
········6-6
Engine temperature gauge ··················\
··················\
·········4-35
Engine will not start··················\
··················\
··················\
···6-3
Evaporative emission control (including ORVR) System ··
7-72
Exhaust emission control system··················\
·················7-73\
Explanation of scheduled maintenance items ···············7-18
Exterior care··················\
··················\
··················\
·············7-66
Exterior features··················\
··················\
··················\
·······4-89 Roof rack ··················\
··················\
··················\
···············4-89
Flat tire ··················\
··················\
··················\
··················\
···6-12 Changing tires··················\
··················\
··················\
········6-13
Compact spare tire ··················\
··················\
··················\
·6-18
Jack and tools ··················\
··················\
··················\
········6-12
Removing and storing the spare tire···········\
·················6-13\
Floor mat anchor(s) ··················\
··················\
··················\
·4-86
Fluid Washer fluid··················\
··················\
··················\
···········7-26
Brakes/clutch fluid··················\
··················\
··················\
·7-25
Folding the rear seat ··················\
··················\
··················\
3-13
Four wheel drive (4WD), See all wheel drive (AWD) ··5-17
Front fog light bulb replacement ··················\
·················7-61\
Front seat adjustment - manual ··················\
··················\
···3-5
E
F