2010 HYUNDAI TUCSON display
[x] Cancel search: displayPage 114 of 382
431
Features of your vehicle
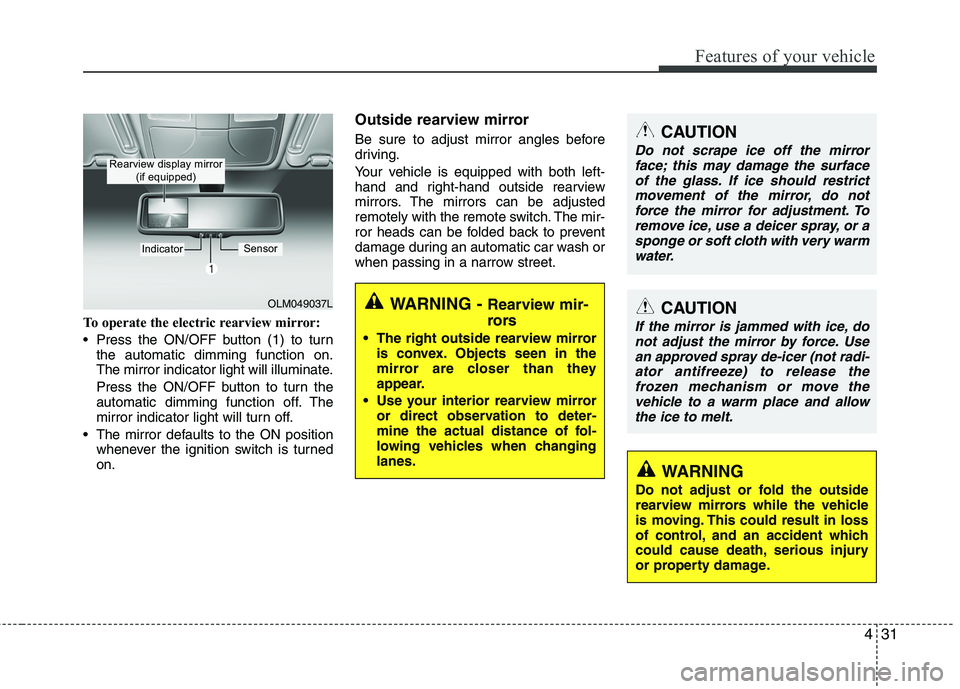
To operate the electric rearview mirror:
Press the ON/OFF button (1) to turnthe automatic dimming function on.
The mirror indicator light will illuminate.
Press the ON/OFF button to turn the
automatic dimming function off. The
mirror indicator light will turn off.
The mirror defaults to the ON position whenever the ignition switch is turned
on.
Outside rearview mirror
Be sure to adjust mirror angles before
driving.
Your vehicle is equipped with both left-
hand and right-hand outside rearview
mirrors. The mirrors can be adjusted
remotely with the remote switch. The mir-
ror heads can be folded back to prevent
damage during an automatic car wash or
when passing in a narrow street.
OLM049037L
IndicatorSensor
Rearview display mirror
(if equipped)
WARNING - Rearview mir-
rors
The right outside rearview mirroris convex. Objects seen in the
mirror are closer than they
appear.
Use your interior rearview mirror or direct observation to deter-
mine the actual distance of fol-
lowing vehicles when changing
lanes.
CAUTION
Do not scrape ice off the mirrorface; this may damage the surfaceof the glass. If ice should restrictmovement of the mirror, do notforce the mirror for adjustment. Toremove ice, use a deicer spray, or a sponge or soft cloth with very warmwater.
CAUTION
If the mirror is jammed with ice, donot adjust the mirror by force. Use an approved spray de-icer (not radi-ator antifreeze) to release the frozen mechanism or move thevehicle to a warm place and allow the ice to melt.
WARNING
Do not adjust or fold the outside
rearview mirrors while the vehicle
is moving. This could result in loss
of control, and an accident which
could cause death, serious injury
or property damage.
Page 119 of 382
Features of your vehicle
36
4
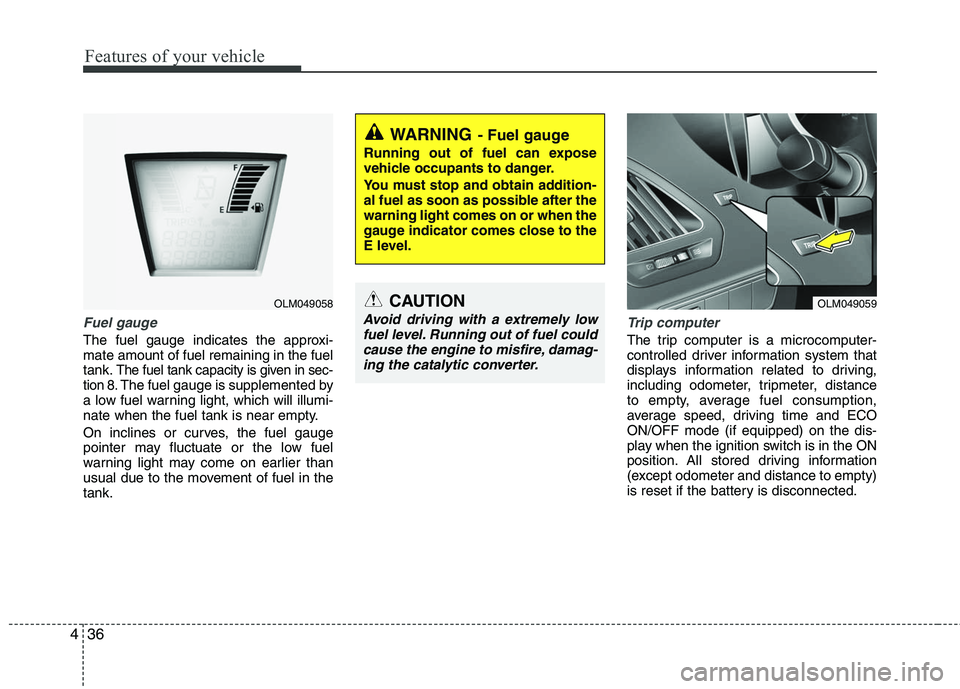
Fuel gauge
The fuel gauge indicates the approxi-
mate amount of fuel remaining in the fuel
tank.
The fuel tank capacity is given in sec-
tion 8.The fuel gauge is supplemented by
a low fuel warning light, which will illumi-
nate when the fuel tank is near empty.
On inclines or curves, the fuel gauge
pointer may fluctuate or the low fuel
warning light may come on earlier than
usual due to the movement of fuel in the
tank.
Trip computer
The trip computer is a microcomputer-
controlled driver information system that
displays information related to driving,
including odometer, tripmeter, distance
to empty, average fuel consumption,
average speed, driving time and ECO
ON/OFF mode (if equipped) on the dis-
play when the ignition switch is in the ON
position. All stored driving information
(except odometer and distance to empty)
is reset if the battery is disconnected.
WARNING- Fuel gauge
Running out of fuel can expose
vehicle occupants to danger.
You must stop and obtain addition-
al fuel as soon as possible after the
warning light comes on or when the
gauge indicator comes close to the
E level.
CAUTION
Avoid driving with a extremely low fuel level. Running out of fuel couldcause the engine to misfire, damag-ing the catalytic converter.
OLM049058
OLM049059
Page 120 of 382
437
Features of your vehicle
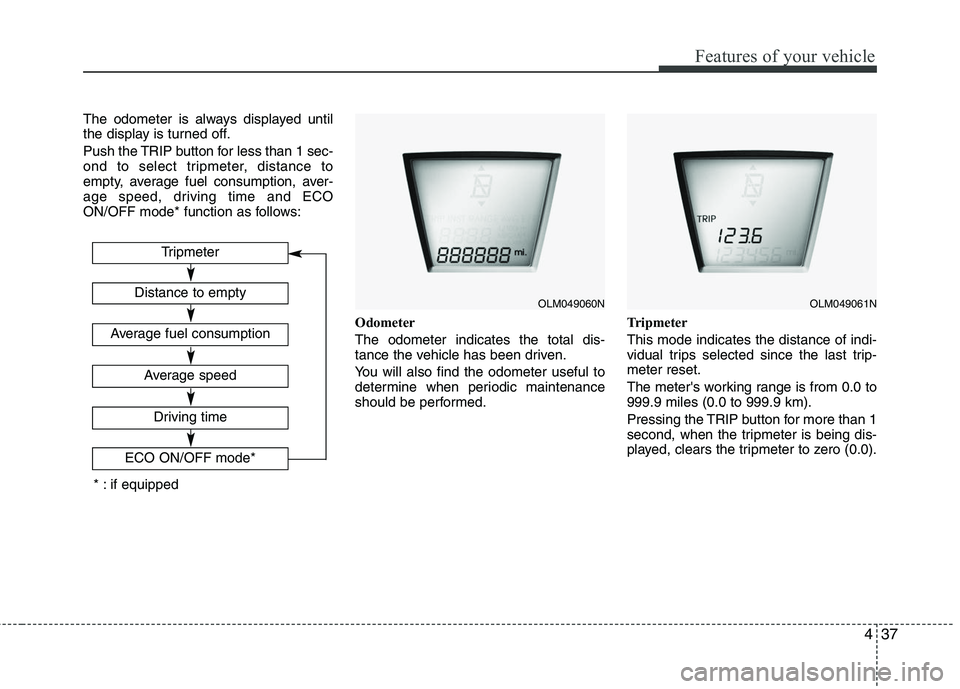
The odometer is always displayed until
the display is turned off.
Push the TRIP button for less than 1 sec-
ond to select tripmeter, distance to
empty, average fuel consumption, aver-
age speed, driving time and ECO
ON/OFF mode* function as follows:Odometer
The odometer indicates the total dis-
tance the vehicle has been driven.
You will also find the odometer useful to
determine when periodic maintenance
should be performed.Tripmeter
This mode indicates the distance of indi-
vidual trips selected since the last trip-
meter reset.
The meter's working range is from 0.0 to
999.9 miles (0.0 to 999.9 km).
Pressing the TRIP button for more than 1
second, when the tripmeter is being dis-
played, clears the tripmeter to zero (0.0).
OLM049060N
OLM049061N
Tripmeter
Driving time
ECO ON/OFF mode*
Distance to empty
Average fuel consumption
Average speed
* : if equipped
Page 121 of 382
Features of your vehicle
38
4
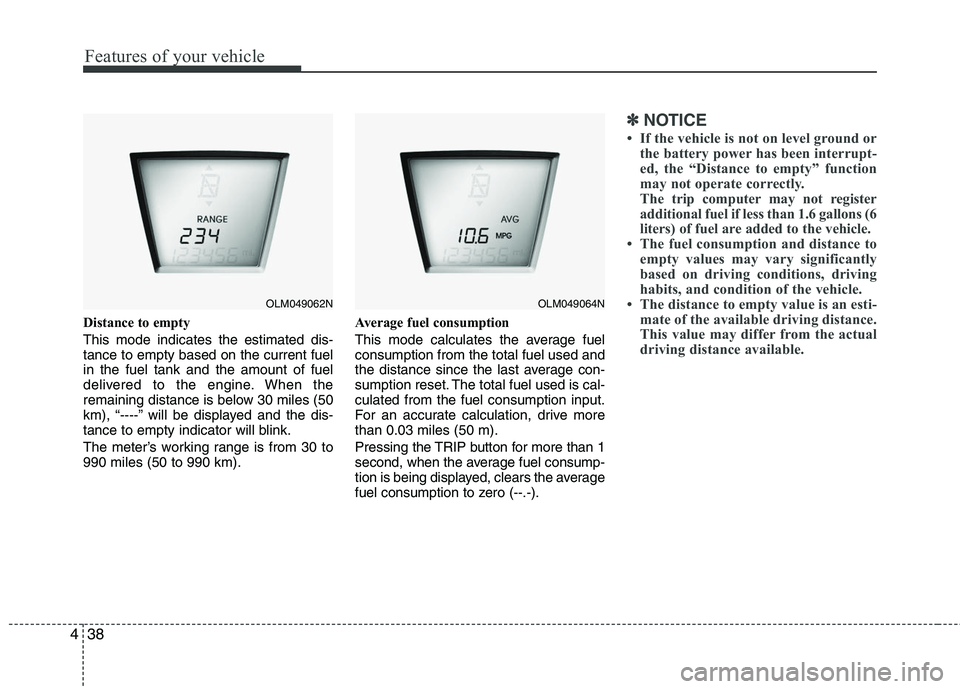
Distance to empty
This mode indicates the estimated dis-
tance to empty based on the current fuel
in the fuel tank and the amount of fuel
delivered to the engine. When the
remaining distance is below 30 miles (50
km), “----” will be displayed and the dis-
tance to empty indicator will blink.
The meter’s working range is from 30 to
990 miles (50 to 990 km). Average fuel consumption
This mode calculates the average fuel
consumption from the total fuel used and
the distance since the last average con-
sumption reset. The total fuel used is cal-
culated from the fuel consumption input.
For an accurate calculation, drive more
than 0.03 miles (50 m).
Pressing the TRIP button for more than 1
second, when the average fuel consump-
tion is being displayed, clears the average
fuel consumption to zero (--.-).
✽ ✽
NOTICE
• If the vehicle is not on level ground or
the battery power has been interrupt-
ed, the “Distance to empty” function
may not operate correctly.
The trip computer may not register
additional fuel if less than 1.6 gallons (6
liters) of fuel are added to the vehicle.
• The fuel consumption and distance to empty values may vary significantly
based on driving conditions, driving
habits, and condition of the vehicle.
• The distance to empty value is an esti- mate of the available driving distance.
This value may differ from the actual
driving distance available.
OLM049062N
OLM049064N
Page 122 of 382
439
Features of your vehicle
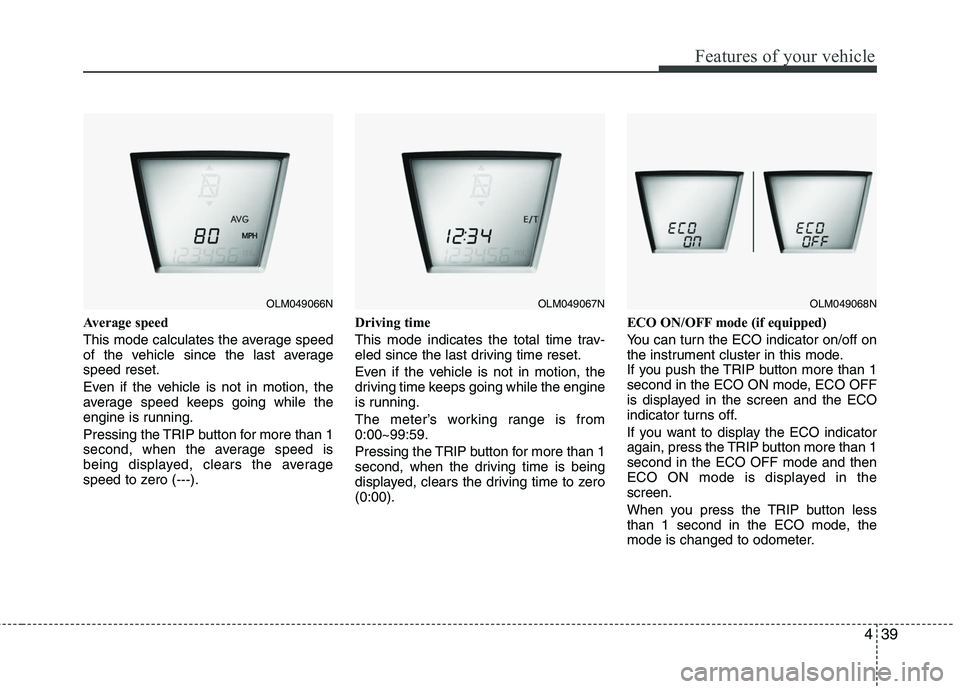
Average speed
This mode calculates the average speed
of the vehicle since the last average
speed reset.
Even if the vehicle is not in motion, the
average speed keeps going while the
engine is running.
Pressing the TRIP button for more than 1
second, when the average speed is
being displayed, clears the average
speed to zero (---).Driving time
This mode indicates the total time trav-
eled since the last driving time reset.
Even if the vehicle is not in motion, the
driving time keeps going while the engine
is running.
The meter’s working range is from
0:00~99:59.
Pressing the TRIP button for more than 1
second, when the driving time is being
displayed, clears the driving time to zero
(0:00).ECO ON/OFF mode (if equipped)
You can turn the ECO indicator on/off on
the instrument cluster in this mode.
If you push the TRIP button more than 1
second in the ECO ON mode, ECO OFF
is displayed in the screen and the ECO
indicator turns off.
If you want to display the ECO indicator
again, press the TRIP button more than 1
second in the ECO OFF mode and then
ECO ON mode is displayed in the
screen.
When you press the TRIP button less
than 1 second in the ECO mode, the
mode is changed to odometer.
OLM049066N
OLM049067N
OLM049068N
Page 123 of 382
Features of your vehicle
40
4
Warnings and indicators
All warning lights are checked by turning
the ignition switch ON (do not start the
engine). Any light that does not illuminate
should be checked by an authorized
HYUNDAI dealer.
After starting the engine, check to make
sure that all warning lights are off. If any
are still on, this indicates a situation that
needs attention. When releasing the
parking brake, the brake system warning
light should go off. The fuel warning light
will stay on if the fuel level is low.
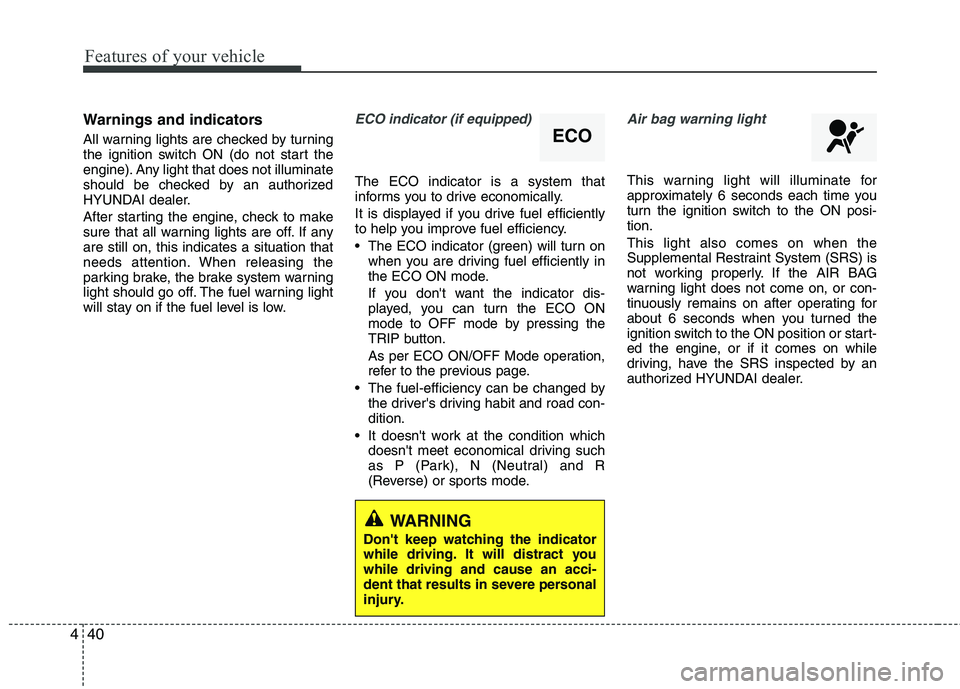
ECO indicator (if equipped)
The ECO indicator is a system that
informs you to drive economically.
It is displayed if you drive fuel efficiently
to help you improve fuel efficiency.
The ECO indicator (green) will turn on
when you are driving fuel efficiently in
the ECO ON mode.
If you don't want the indicator dis-
played, you can turn the ECO ON
mode to OFF mode by pressing the
TRIP button.
As per ECO ON/OFF Mode operation,
refer to the previous page.
The fuel-efficiency can be changed by the driver's driving habit and road con-
dition.
It doesn't work at the condition which doesn't meet economical driving such
as P (Park), N (Neutral) and R
(Reverse) or sports mode.
Air bag warning light
This warning light will illuminate for
approximately 6 seconds each time you
turn the ignition switch to the ON posi-
tion.
This light also comes on when the
Supplemental Restraint System (SRS) is
not working properly. If the AIR BAG
warning light does not come on, or con-
tinuously remains on after operating for
about 6 seconds when you turned the
ignition switch to the ON position or start-
ed the engine, or if it comes on while
driving, have the SRS inspected by an
authorized HYUNDAI dealer.
ECO
WARNING
Don't keep watching the indicator
while driving. It will distract you
while driving and cause an acci-
dent that results in severe personal
injury.
Page 127 of 382
Features of your vehicle
44
4
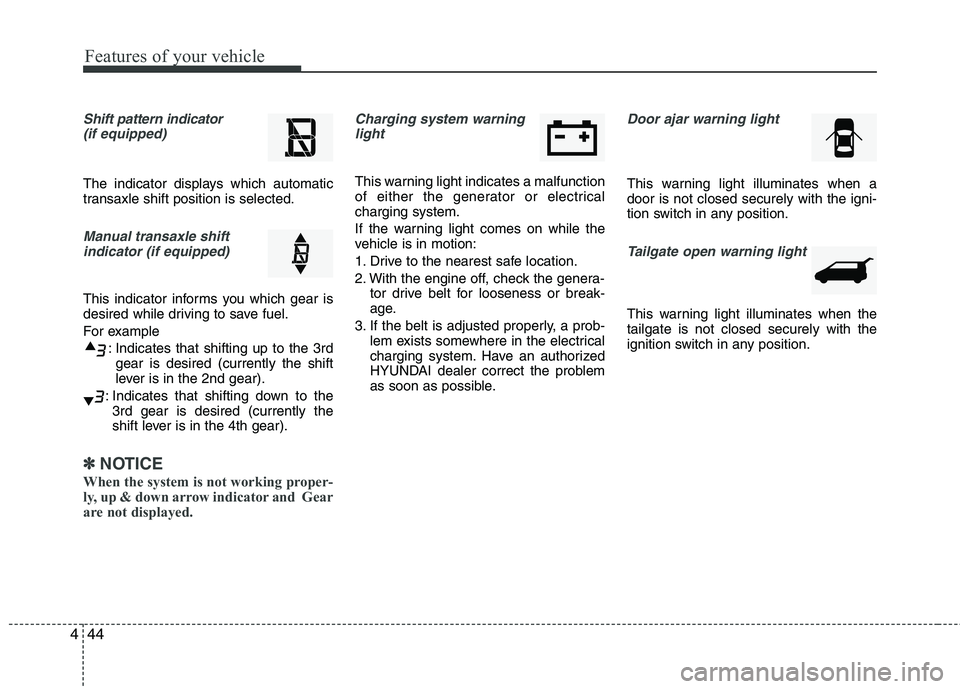
Shift pattern indicator
(if equipped)
The indicator displays which automatic
transaxle shift position is selected.
Manual transaxle shiftindicator (if equipped)
This indicator informs you which gear is
desired while driving to save fuel.
For example
: Indicates that shifting up to the 3rdgear is desired (currently the shift
lever is in the 2nd gear).
: Indicates that shifting down to the 3rd gear is desired (currently the
shift lever is in the 4th gear).
✽ ✽ NOTICE
When the system is not working proper-
ly, up & down arrow indicator and Gear
are not displayed.
Charging system warning
light
This warning light indicates a malfunction
of either the generator or electrical
charging system.
If the warning light comes on while the
vehicle is in motion:
1. Drive to the nearest safe location.
2. With the engine off, check the genera- tor drive belt for looseness or break-
age.
3. If the belt is adjusted properly, a prob- lem exists somewhere in the electrical
charging system. Have an authorized
HYUNDAI dealer correct the problem
as soon as possible.
Door ajar warning light
This warning light illuminates when a
door is not closed securely with the igni-
tion switch in any position.
Tailgate open warning light
This warning light illuminates when the
tailgate is not closed securely with the
ignition switch in any position.
Page 132 of 382
449
Features of your vehicle
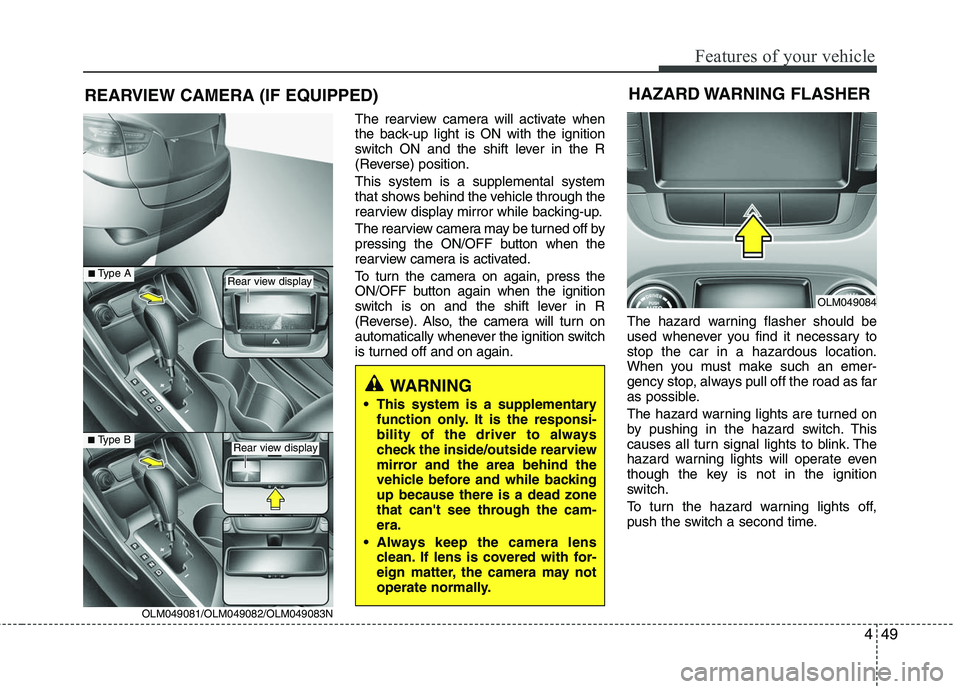
REARVIEW CAMERA (IF EQUIPPED)
The rearview camera will activate when
the back-up light is ON with the ignition
switch ON and the shift lever in the R
(Reverse) position.
This system is a supplemental system
that shows behind the vehicle through the
rearview display mirror while backing-up.
The rearview camera may be turned off by
pressing the ON/OFF button when the
rearview camera is activated.
To turn the camera on again, press the
ON/OFF button again when the ignition
switch is on and the shift lever in R
(Reverse). Also, the camera will turn on
automatically whenever the ignition switch
is turned off and on again.The hazard warning flasher should be
used whenever you find it necessary to
stop the car in a hazardous location.
When you must make such an emer-
gency stop, always pull off the road as far
as possible.
The hazard warning lights are turned on
by pushing in the hazard switch. This
causes all turn signal lights to blink. The
hazard warning lights will operate even
though the key is not in the ignition
switch.
To turn the hazard warning lights off,
push the switch a second time.
WARNING
This system is a supplementary
function only. It is the responsi-
bility of the driver to always
check the inside/outside rearview
mirror and the area behind the
vehicle before and while backing
up because there is a dead zone
that can't see through the cam-
era.
Always keep the camera lens clean. If lens is covered with for-
eign matter, the camera may not
operate normally.
HAZARD WARNING FLASHER
OLM049084
OLM049081/OLM049082/OLM049083N
■Type B
■Type ARear view display
Rear view display