2010 Hyundai Sonata instrument panel
[x] Cancel search: instrument panelPage 58 of 285
1
FEATURES OF YOUR HYUNDAI
45
!
!
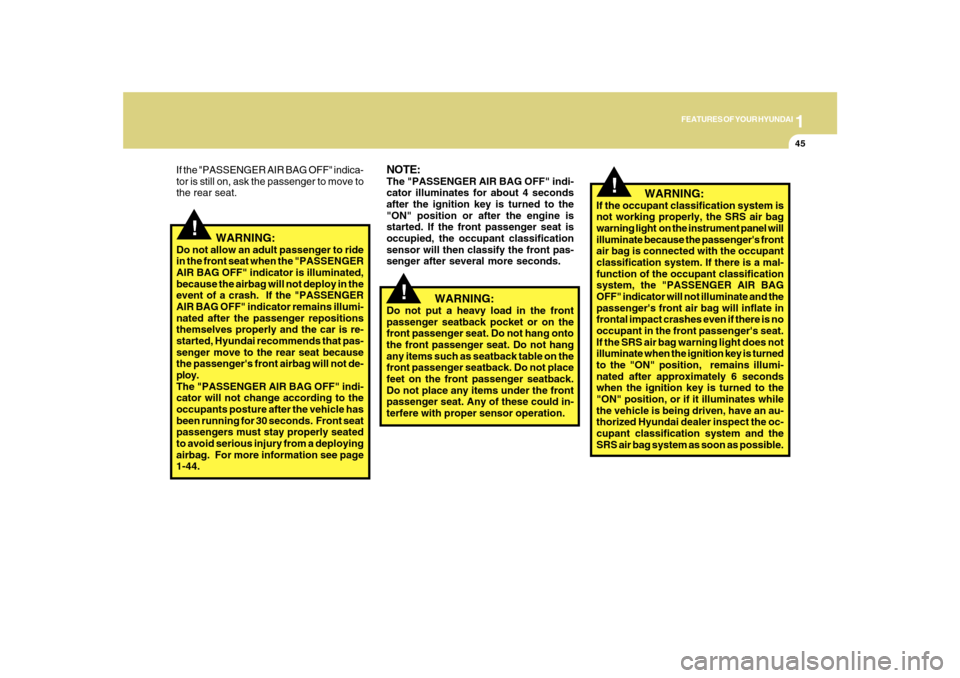
NOTE:The "PASSENGER AIR BAG OFF" indi-
cator illuminates for about 4 seconds
after the ignition key is turned to the
"ON" position or after the engine is
started. If the front passenger seat is
occupied, the occupant classification
sensor will then classify the front pas-
senger after several more seconds.
!
WARNING:
If the occupant classification system is
not working properly, the SRS air bag
warning light on the instrument panel will
illuminate because the passenger's front
air bag is connected with the occupant
classification system. If there is a mal-
function of the occupant classification
system, the "PASSENGER AIR BAG
OFF" indicator will not illuminate and the
passenger's front air bag will inflate in
frontal impact crashes even if there is no
occupant in the front passenger's seat.
If the SRS air bag warning light does not
illuminate when the ignition key is turned
to the "ON" position, remains illumi-
nated after approximately 6 seconds
when the ignition key is turned to the
"ON" position, or if it illuminates while
the vehicle is being driven, have an au-
thorized Hyundai dealer inspect the oc-
cupant classification system and the
SRS air bag system as soon as possible. If the "PASSENGER AIR BAG OFF" indica-
tor is still on, ask the passenger to move to
the rear seat.
WARNING:
Do not allow an adult passenger to ride
in the front seat when the "PASSENGER
AIR BAG OFF" indicator is illuminated,
because the airbag will not deploy in the
event of a crash. If the "PASSENGER
AIR BAG OFF" indicator remains illumi-
nated after the passenger repositions
themselves properly and the car is re-
started, Hyundai recommends that pas-
senger move to the rear seat because
the passenger's front airbag will not de-
ploy.
The "PASSENGER AIR BAG OFF" indi-
cator will not change according to the
occupants posture after the vehicle has
been running for 30 seconds. Front seat
passengers must stay properly seated
to avoid serious injury from a deploying
airbag. For more information see page
1-44.
WARNING:
Do not put a heavy load in the front
passenger seatback pocket or on the
front passenger seat. Do not hang onto
the front passenger seat. Do not hang
any items such as seatback table on the
front passenger seatback. Do not place
feet on the front passenger seatback.
Do not place any items under the front
passenger seat. Any of these could in-
terfere with proper sensor operation.
Page 61 of 285

1FEATURES OF YOUR HYUNDAI48
o If the airbags inflate, they must be
replaced by an authorized Hyundai
dealer.
o Do not tamper with or disconnect SRS
wiring, or other components of the
SRS system. Doing so could result in
injury, due to accidental inflation of
the airbags or by rendering the SRS
inoperative.
o If components of the airbag system
must be discarded, or if the vehicle
must be scrapped, certain safety
precautions must be observed. Your
Hyundai dealer knows these precau-
tions and can give you the necessary
information. Failure to follow these
precautions and procedures could in-
crease the risk of personal injury.
o If your car was flooded and has soaked
carpeting or water on flooring, you
shouldn't try to start the engine; have
the car towed to an authorized Hyundai
dealer.
!
WARNING:
B240C03NF-AATSRS CareThe SRS is virtually maintenance-free and
so there are no parts you can safely service
by yourself. If the SRS airbag warning light
does not illuminate, or continuously re-
mains on, have your vehicle immediately
inspected by your Hyundai dealer.
Any work on the SRS system, such as
removing, installing, repairing, or any work
on the steering wheel must be performed
by a qualified Hyundai technician. Improper
handling of the SRS system may result in
serious personal injury.
WARNING:
o Do not install a child restraint system
in the front passenger seat position.
A child restraint system must never
be placed in the front seat. The infant
or child could be severely injured by
an airbag deployment in case of an
accident.
o Modification to SRS components or
wiring, including the addition of any
kind of badges to the pad covers or
modifications to the body structure,
can adversely affect SRS perfor-
mance and lead to possible injury.
o For cleaning the airbag pad covers,
use only a soft, dry cloth or one which
has been moistened with plain water.
Solvents or cleaners could adversely
affect the airbag covers and proper
deployment of the system.
o No objects should be placed over or
near the airbag modules on the
steering wheel, instrument panel, and
the front passenger's panel above
the glove box, because any such
object could cause harm if the vehicle
is in a crash severe enough to cause
the airbags to inflate.
!
HSM393
Page 65 of 285

1FEATURES OF YOUR HYUNDAI52
WARNING AND INDICATOR
LIGHTSB260B01JM-AAT
SRS (Airbag) Warning Light
The SRS warning light comes on for about
6 seconds after the key is turned to the "ON"
position or after the engine is started, after
which it will go out.
This light also comes on when the SRS is
not working properly. If the airbag warning
light does not come on, or continuously
remains on after operating for about 6
seconds when you turned the ignition key
to the "ON" position or started the engine,
or if it comes on while driving, have the
SRS inspected by an authorized Hyundai
dealer.
B260D01A-AAT
Turn Signal Indicator Lights
The blinking green arrows on the
instrument panel show the direction
indicated by the turn signals. If the arrow
comes on but does not blink, blinks more
rapidly than normal, or does not illuminate
at all, a malfunction in the turn signal system
is indicated. Your dealer should be
consulted for repairs.
The driver's seat belt warning light and
chime will activate to the following table
when the ignition switch is in "ON" position.B265E01TG-AAT
Seat Belt Warning Light and
Chime (Driver's Side)
*1) Warning pattern repeats 11 times with
interval 24 seconds. If the driver's seat
belt is buckled, the light will stop within
6 seconds and chime will stop immedi-
ately.
*2) The light will stop within 6 seconds and
chime will stop immediately.
Conditions Warning Pattern
Seat BeltVehicle SpeedLight-BlinkChime-SoundUnbuckled
Buckled
UnbuckledAbove 6 mph
(10 km/h)
↓
Below 3 mph
(5 km/h)6 seconds
6 secondsNone
6 seconds
6 seconds *1)
↓Stop *2)
6 secondsNone
Buckled
→ →→ →
→
UnbuckledBelow 3 mph
(5 km/h)
3 mph~6 mph
Above 6 mph
(10 km/h)
6 sec. on / 24 sec. off
(11 times)
Page 77 of 285
1FEATURES OF YOUR HYUNDAI64
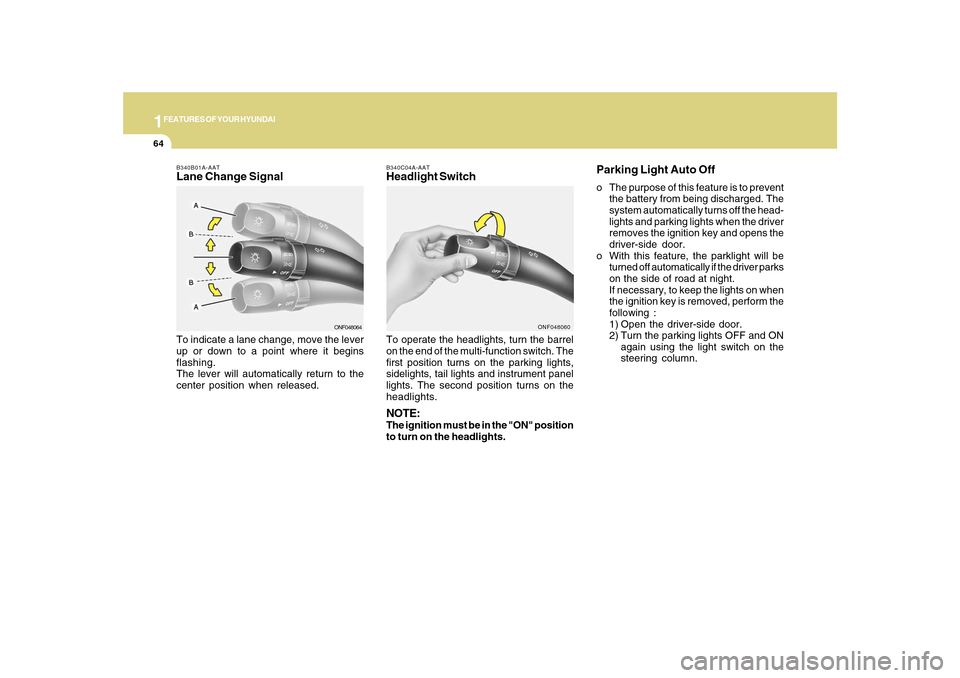
B340C04A-AATHeadlight SwitchTo operate the headlights, turn the barrel
on the end of the multi-function switch. The
first position turns on the parking lights,
sidelights, tail lights and instrument panel
lights. The second position turns on the
headlights.NOTE:The ignition must be in the "ON" position
to turn on the headlights.
ONF048060
Parking Light Auto Offo The purpose of this feature is to prevent
the battery from being discharged. The
system automatically turns off the head-
lights and parking lights when the driver
removes the ignition key and opens the
driver-side door.
o With this feature, the parklight will be
turned off automatically if the driver parks
on the side of road at night.
If necessary, to keep the lights on when
the ignition key is removed, perform the
following :
1) Open the driver-side door.
2) Turn the parking lights OFF and ON
again using the light switch on the
steering column.
B340B01A-AATLane Change SignalTo indicate a lane change, move the lever
up or down to a point where it begins
flashing.
The lever will automatically return to the
center position when released.
ONF048064
Page 79 of 285
1FEATURES OF YOUR HYUNDAI66
WINDSHIELD WIPER AND
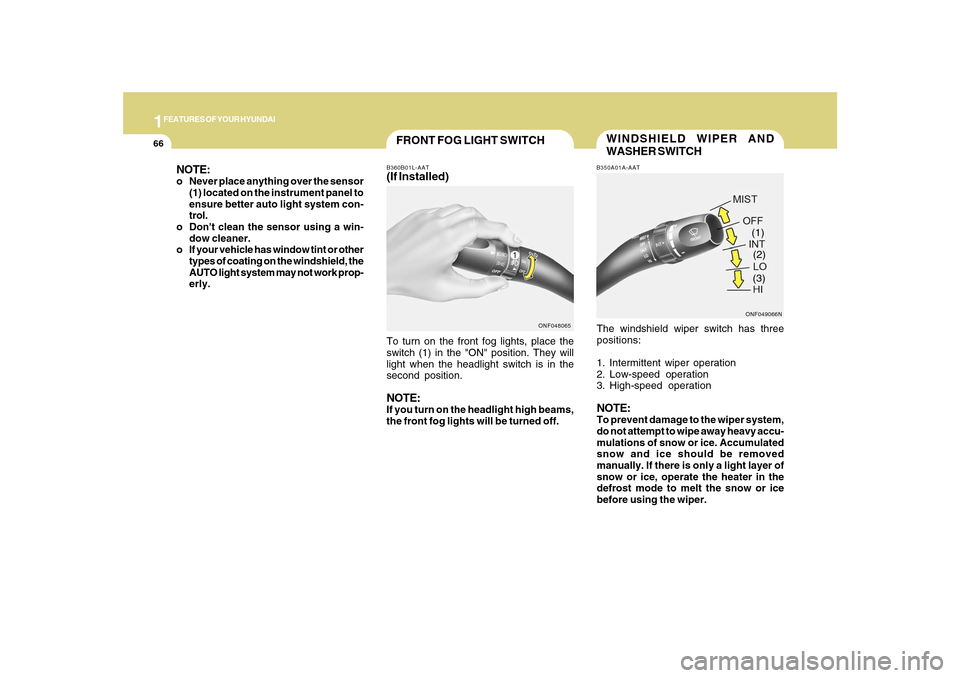
WASHER SWITCHB350A01A-AATThe windshield wiper switch has three
positions:
1. Intermittent wiper operation
2. Low-speed operation
3. High-speed operationNOTE:To prevent damage to the wiper system,
do not attempt to wipe away heavy accu-
mulations of snow or ice. Accumulated
snow and ice should be removed
manually. If there is only a light layer of
snow or ice, operate the heater in the
defrost mode to melt the snow or ice
before using the wiper.
ONF049066N(1)
(2)
(3)
FRONT FOG LIGHT SWITCHB360B01L-AAT(If Installed)To turn on the front fog lights, place the
switch (1) in the "ON" position. They will
light when the headlight switch is in the
second position.NOTE:If you turn on the headlight high beams,
the front fog lights will be turned off.
ONF048065
NOTE:o Never place anything over the sensor
(1) located on the instrument panel to
ensure better auto light system con-
trol.
o Don't clean the sensor using a win-
dow cleaner.
o If your vehicle has window tint or other
types of coating on the windshield, the
AUTO light system may not work prop-
erly.
Page 82 of 285

1
FEATURES OF YOUR HYUNDAI
69
INSTRUMENT PANEL LIGHT
CONTROL (RHEOSTAT)B410A01A-AATThe instrument panel lights can be made
brighter or dimmer by turning the instrument
panel light control knob.
CIGARETTE LIGHTERB420A02A-AATFor the cigarette lighter to work, the key
must be in the "ACC" position or the "ON"
position.
To use the cigarette lighter, push it all the
way into its socket. When the element has
heated, the lighter will pop out to the "ready"
position.
Do not hold the cigarette lighter pressed
in. This can damage the heating element
and create a fire hazard.
If it is necessary to replace the cigarette
lighter, use only a genuine Hyundai
replacement or its approved equivalent.
!
CAUTION:
Do not use electric accessories or equip-
ment other than the Hyundai genuine
parts in the socket.
ONF048039N
DIGITAL CLOCKB400A01NF-GATThere are two control buttons for the digital
clock. Their functions are:
H- Push "H" to advance the hour indi-
cated.
M- Push "M" to advance the minute
indicated.
Display conversion
- To change the 12 hour format to the
24 hour format, press the “H” and “M”
buttons at the same time for more
than 3 seconds.
For example, if the “H” and “M” buttons
are pressed for more than 3 seconds
while the time is 10:15 p.m., the
display will be changed to 22:15.
ONF048106N
ONF048101N
Page 119 of 285
1FEATURES OF YOUR HYUNDAI
106
B980A01Y-AATMANUAL OPERATIONThe heating and cooling system can be
controlled manually as well by pushing
buttons other than the "AUTO" button. In
this state, the system sequentially works
according to the order of buttons selected.
The function of the buttons which are not
selected will be controlled automatically.
Press the "AUTO" button in order to convert
to automatic control of the system.
ONF048115
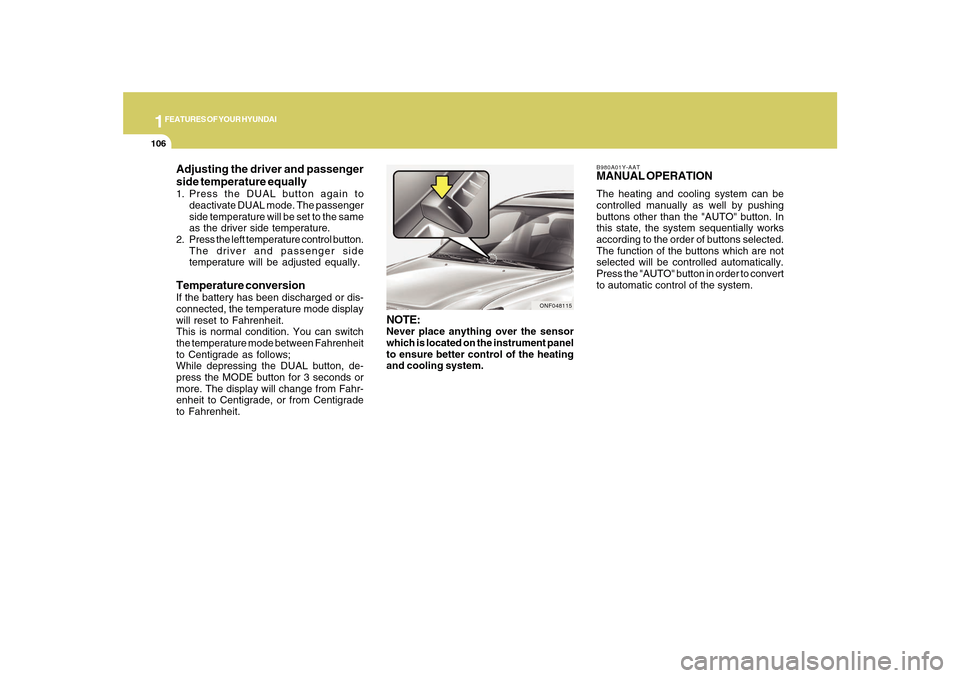
NOTE:Never place anything over the sensor
which is located on the instrument panel
to ensure better control of the heating
and cooling system.
Adjusting the driver and passenger
side temperature equally1. Press the DUAL button again to
deactivate DUAL mode. The passenger
side temperature will be set to the same
as the driver side temperature.
2. Press the left temperature control button.
The driver and passenger side
temperature will be adjusted equally.Temperature conversionIf the battery has been discharged or dis-
connected, the temperature mode display
will reset to Fahrenheit.
This is normal condition. You can switch
the temperature mode between Fahrenheit
to Centigrade as follows;
While depressing the DUAL button, de-
press the MODE button for 3 seconds or
more. The display will change from Fahr-
enheit to Centigrade, or from Centigrade
to Fahrenheit.
Page 122 of 285
1
FEATURES OF YOUR HYUNDAI
109109
Floor-Defrost Level (A, C, E, D) *
1
When selecting the "Floor-Defrost" mode,
the indicator light will come on and the air
will be discharged through the windshield
defroster nozzle, the floor vents, side
defroster nozzle and side ventilator.
If any of the temperature control switch, the
blower fan control switch, or the defrost
switch is selected in "Floor-Defrost" mode,
the A/C will turn on automatically and
"Fresh" mode will be activated.
*1 : See page 1-97
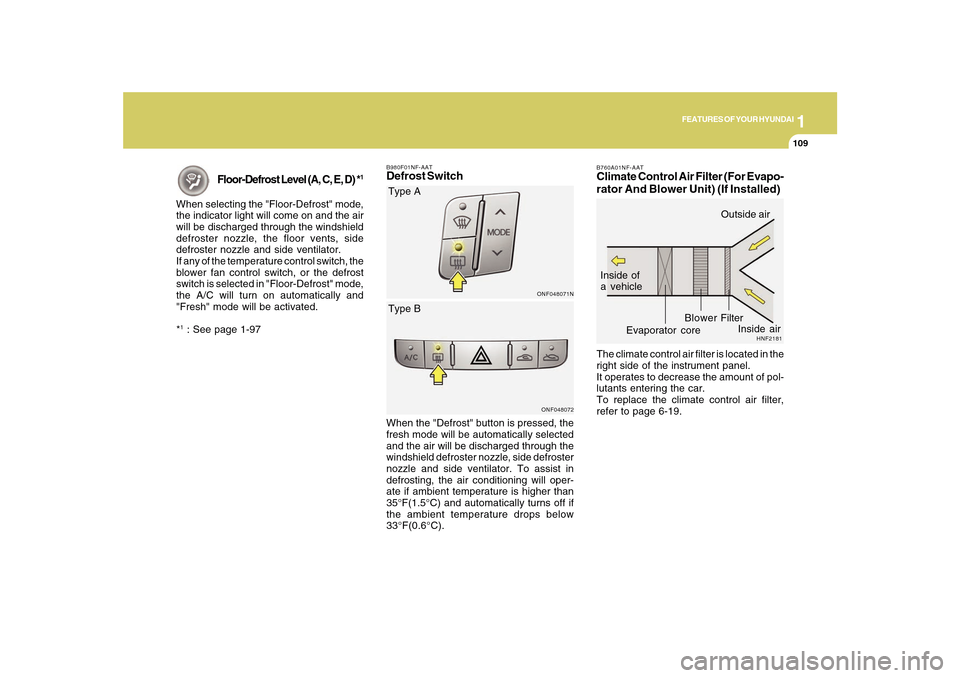
B980F01NF-AATDefrost Switch
ONF048071NONF048072
Type A
When the "Defrost" button is pressed, the
fresh mode will be automatically selected
and the air will be discharged through the
windshield defroster nozzle, side defroster
nozzle and side ventilator. To assist in
defrosting, the air conditioning will oper-
ate if ambient temperature is higher than
35°F(1.5°C) and automatically turns off if
the ambient temperature drops below
33°F(0.6°C).Type B
B760A01NF-AATClimate Control Air Filter (For Evapo-
rator And Blower Unit) (If Installed)The climate control air filter is located in the
right side of the instrument panel.
It operates to decrease the amount of pol-
lutants entering the car.
To replace the climate control air filter,
refer to page 6-19.
HNF2181
Inside of
a vehicle
Evaporator coreFilter BlowerOutside air
Inside air