Page 174 of 207

6 DO-IT-YOURSELF MAINTENANCE
16CHECKING THE REAR AXLE OIL
!
Park the car on level ground with the engine off.
1. Using a wrench of the correct size,
loosen the oil filler plug by turning it counterclockwise and remove it with your fingers.
2. Use your finger or suitable tool to
feel inside the hole. The oil levelshould be at its bottom edge. If it is not, check for leaks before addingoil. To refill the transmission or bring the oil level up, add oil slowly until it reaches the proper level. Do notoverfill.
3. Replace the plug and washer, screw
it in with your fingers and then tightensecurely with the wrench. G130A01HR-GAT
G130A01HR
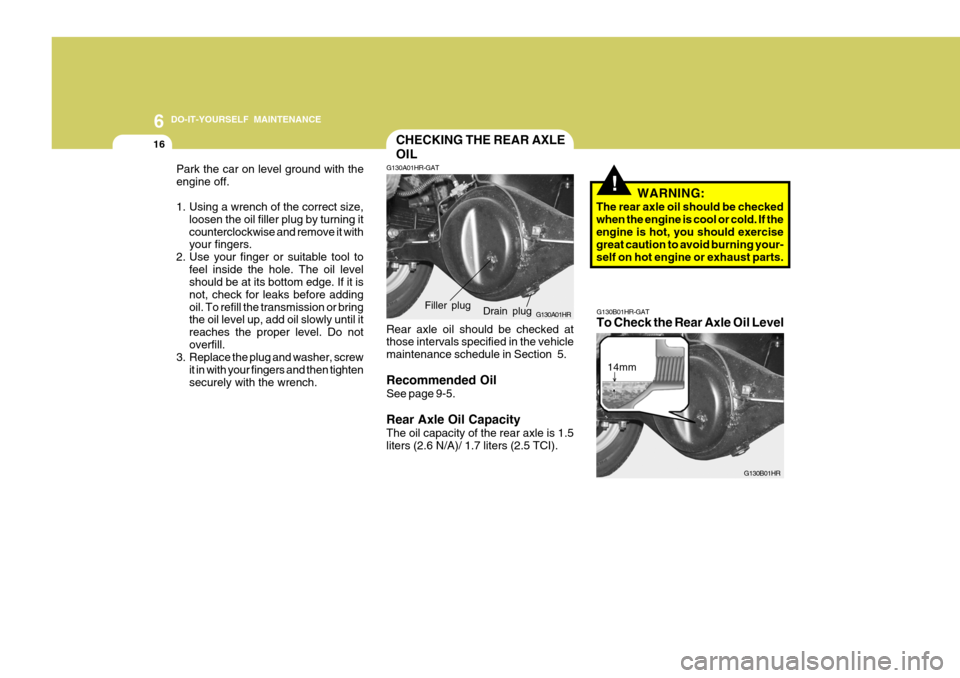
Rear axle oil should be checked at those intervals specified in the vehicle maintenance schedule in Section 5. Recommended Oil See page 9-5. Rear Axle Oil Capacity The oil capacity of the rear axle is 1.5 liters (2.6 N/A)/ 1.7 liters (2.5 TCI). WARNING:
The rear axle oil should be checkedwhen the engine is cool or cold. If the engine is hot, you should exercise great caution to avoid burning your-self on hot engine or exhaust parts.
Drain plug
Filler plug
G130B01HR-GAT To Check the Rear Axle Oil Level
G130B01HR
14mm
Page 175 of 207

6
DO-IT-YOURSELF MAINTENANCE
17
Park the car on level ground with the engine off.
1. Using a wrench of the correct size, loosen the oil filler plug by turning it counterclockwise and remove it with your fingers.
2. Use a suitable tool to feel inside the
hole. The oil level should be within 14mm from its bottom edge. If it is not, check for leaks before adding oil. Torefill the rear axle or bring the oil level up,add oil slowly until it reaches the proper level. Do not overfill.
3. Replace the plug and washer, screw it in with your fingers and then tightensecurely with the wrench.
NOTE: It is recommended that the rear axle oil should be checked by an autho- rized Hyundai dealer.
!
CHECKING THE BRAKES
G120A01A-AAT
G120B01A-AAT Checking the Brake Fluid Level
! CAUTION:
Because brakes are essential to the safe operation of the car, it is sug- gested that they be checked andinspected by your Hyundai dealer. The brakes should be checked and inspected for wear at those inter-vals specified in the vehicle mainte- nance schedule in Section 5.
WARNING:
Use caution when handling brake fluid. It can damage your vision if it gets into your eyes. It will also dam- age your vehicle's paint if spilledon it and not removed immediately.
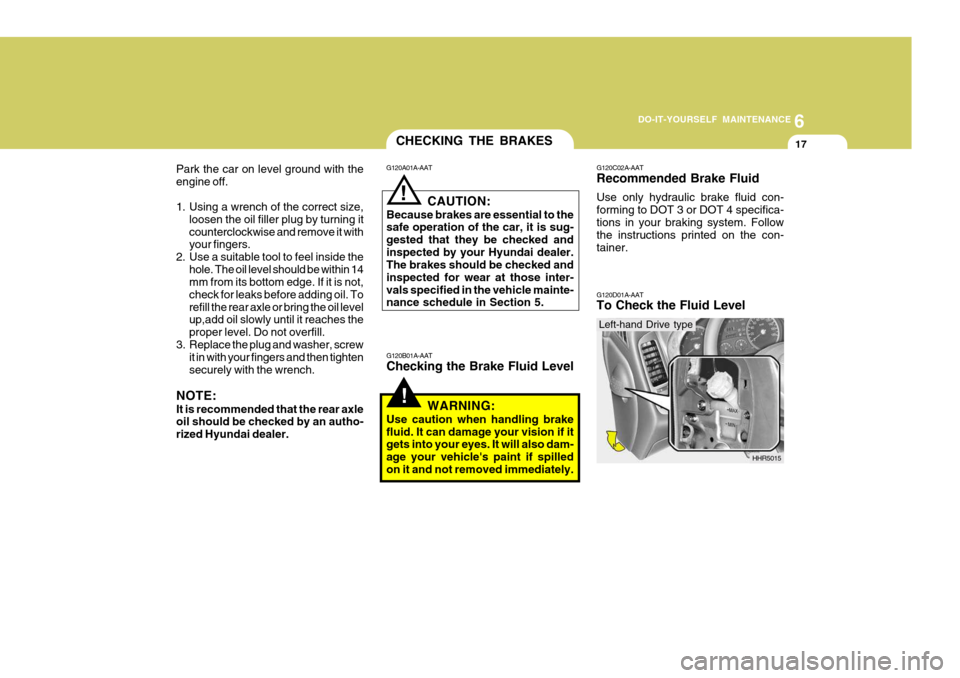
G120C02A-AAT Recommended Brake Fluid Use only hydraulic brake fluid con- forming to DOT 3 or DOT 4 specifica-tions in your braking system. Follow the instructions printed on the con- tainer. G120D01A-AAT To Check the Fluid Level
HHR5015
Left-hand Drive type
Page 184 of 207

6 DO-IT-YOURSELF MAINTENANCE
26POWER STEERING FLUID LEVEL
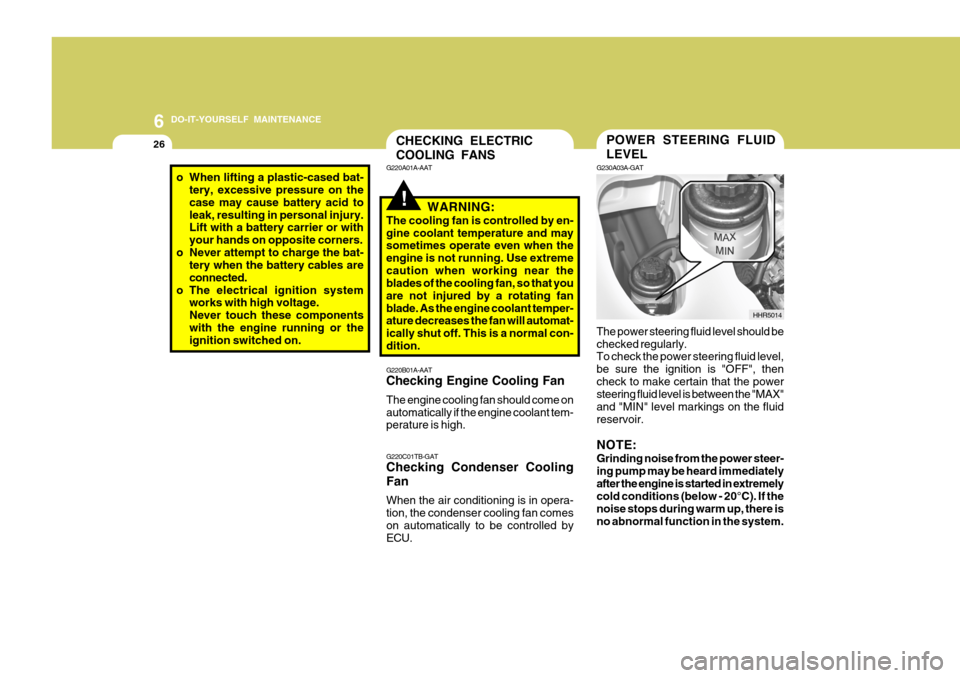
G230A03A-GAT The power steering fluid level should be checked regularly. To check the power steering fluid level, be sure the ignition is "OFF", thencheck to make certain that the power steering fluid level is between the "MAX" and "MIN" level markings on the fluidreservoir. NOTE: Grinding noise from the power steer- ing pump may be heard immediatelyafter the engine is started in extremely cold conditions (below - 20°C). If the noise stops during warm up, there isno abnormal function in the system. HHR5014CHECKING ELECTRIC COOLING FANS
!
G220B01A-AAT Checking Engine Cooling Fan The engine cooling fan should come on automatically if the engine coolant tem- perature is high. G220C01TB-GAT Checking Condenser Cooling Fan When the air conditioning is in opera- tion, the condenser cooling fan comeson automatically to be controlled by ECU.
G220A01A-AAT
WARNING:
The cooling fan is controlled by en- gine coolant temperature and may sometimes operate even when the engine is not running. Use extremecaution when working near the blades of the cooling fan, so that you are not injured by a rotating fanblade. As the engine coolant temper- ature decreases the fan will automat- ically shut off. This is a normal con-dition.
o When lifting a plastic-cased bat- tery, excessive pressure on the case may cause battery acid toleak, resulting in personal injury. Lift with a battery carrier or with your hands on opposite corners.
o Never attempt to charge the bat- tery when the battery cables areconnected.
o The electrical ignition system works with high voltage.Never touch these componentswith the engine running or the ignition switched on.
Page 196 of 207
6 DO-IT-YOURSELF MAINTENANCE
38
BATT
GLOW IGN
ECU
BATT
LAMP
COND ABS2
PTC1 ABS1
PTC2
BLWR PTC3
FFHS
GLOW ALT_S STOP
HORN
A/CON TCU
ECU1 ECU2
DESCRIPTION
G200C01HR-GAT Engine Compartment
G200C02HR
NOTE:
Not all fuse panel descriptions in this manual may be applicable to your vehicle. It is accurate at the time of printing.
When you inspect the fuse box on your vehicle, refer to the fuse box label. AMPERAGES
100A80A 50A20A50A40A30A 30A40A 30A40A30A 40A 30A10A10A10A10A 10A 10A15A10A CIRCUIT PROTECTED
Generator Glow relay
Start relay, lgnition switchEngine control relay
I/P Fuse box (A/Con, Hazard, DR Lock), Power connector
P/WDW fusible link, Front Fog fuse, Tail lamp relayCondenser fan relayNot usedNot usedNot usedNot usedBlower relayNot usedNot usedECMGeneratorStop lamp switchHorn relayA/Con relayNot usedNot usedNot used
FUSIBLE LINK
FUSE
FUSE PANEL DESCRIPTION
Page 198 of 207

6 DO-IT-YOURSELF MAINTENANCE
40
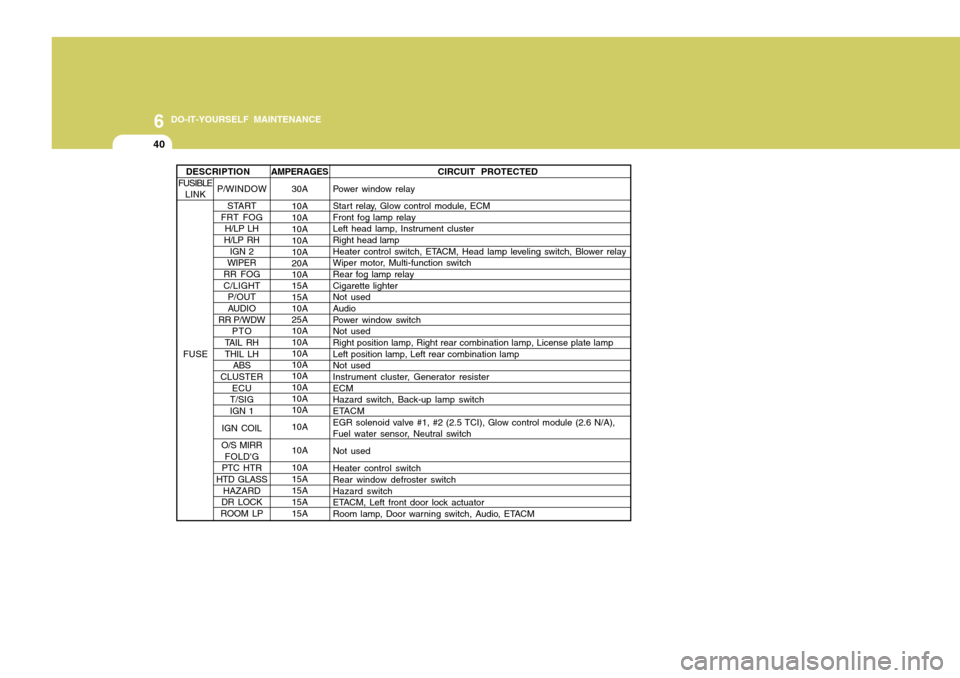
AMPERAGES30A 10A 10A10A 10A 10A 20A 10A 15A 15A 10A 25A 10A 10A 10A 10A 10A 10A 10A 10A 10A 10A 10A 15A15A15A15A CIRCUIT PROTECTED
Power window relay
Start relay, Glow control module, ECM Front fog lamp relayLeft head lamp, Instrument cluster Right head lamp
Heater control switch, ETACM, Head lamp leveling switch, Blower relay
Wiper motor, Multi-function switch Rear fog lamp relay Cigarette lighterNot used Audio
Power window switchNot used Right position lamp, Right rear combination lamp, License plate lamp Left position lamp, Left rear combination lampNot used
Instrument cluster, Generator resister ECMHazard switch, Back-up lamp switch
ETACM
EGR solenoid valve #1, #2 (2.5 TCI), Glow control module (2.6 N/A),
Fuel water sensor, Neutral switch Not usedHeater control switch Rear window defroster switch Hazard switch
ETACM, Left front door lock actuator
Room lamp, Door warning switch, Audio, ETACM
P/WINDOW START
FRT FOG
H/LP LH
H/LP RH IGN 2
WIPER
RR FOG C/LIGHT P/OUT
AUDIO
RR P/WDW
PTO
TAIL RH THIL LH ABS
CLUSTER ECU
T/SIG IGN 1
IGN COIL
O/S MIRR FOLD'G
PTC HTR
HTD GLASS HAZARD
DR LOCK
ROOM LP
DESCRIPTION
FUSIBLE LINK
FUSE
Page:
< prev 1-8 9-16 17-24