2010 Hyundai H-100 Truck key
[x] Cancel search: keyPage 39 of 207

1FEATURES OF YOUR HYUNDAI
38REAR WINDOW DEFROSTER SWITCH
B380A02HR-GAT (If Installed)
The rear window defroster is turned on by pushing in the switch. To turn the defroster off, push the switch a second time. The rear window defroster auto-matically turns itself off after about 20 minutes. To restart the defroster cycle, push in the switch again after it hasturned itself off. OHR028103HAZARD WARNING SYSTEM
B370A01A-AAT The hazard warning system should be used whenever you find it necessary to stop the car in a hazardous location. When you must make such an emer-gency stop, always pull off the road as far as possible. The hazard warning lights are turnedon by pushing in the hazard switch. This causes all turn signal lights to blink. The hazard warning lights willoperate even though the key is not in the ignition. To turn the hazard warning lights off,push the switch a second time. OHR028102
B360A01Y-GAT Rear Fog Light Switch (If Installed)
To turn on the rear fog lights, push the switch. They will light when the head- light switch is in the second position and the key is in the "ON" position. OHR028101
Page 41 of 207
1FEATURES OF YOUR HYUNDAI
40
CAUTION:
Do not use electric accessories or equipment other than the Hyundai genuine parts in the socket.
!
Reset: Press the switch for more than 1 sec- ond to reset minutes to ":00" or to facilitate resetting the clock to the cor-rect time. When this is done: Pressing the switch between 9 : 01 and 9 : 29 changes the readout to 9 : 00. Pressing the switch between 9 : 30 and 9 : 59 changes the readout to 10 : 00.
!
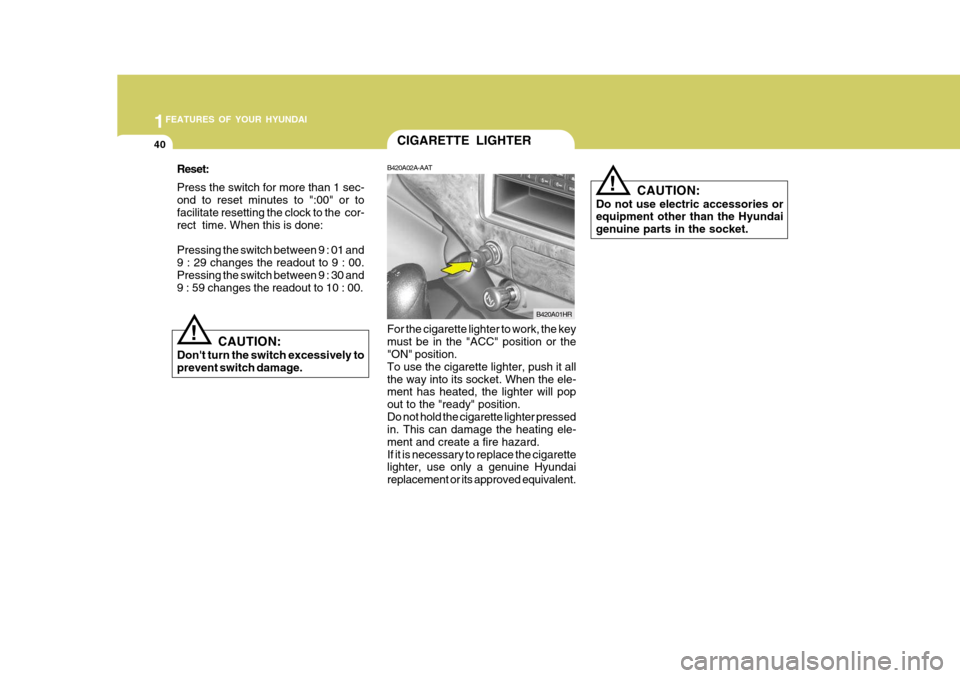
CIGARETTE LIGHTER
B420A02A-AAT For the cigarette lighter to work, the key must be in the "ACC" position or the "ON" position. To use the cigarette lighter, push it allthe way into its socket. When the ele- ment has heated, the lighter will pop out to the "ready" position.Do not hold the cigarette lighter pressed in. This can damage the heating ele- ment and create a fire hazard.If it is necessary to replace the cigarette lighter, use only a genuine Hyundai replacement or its approved equivalent. B420A01HR
CAUTION:
Don't turn the switch excessively toprevent switch damage.
Page 43 of 207
1FEATURES OF YOUR HYUNDAI
42
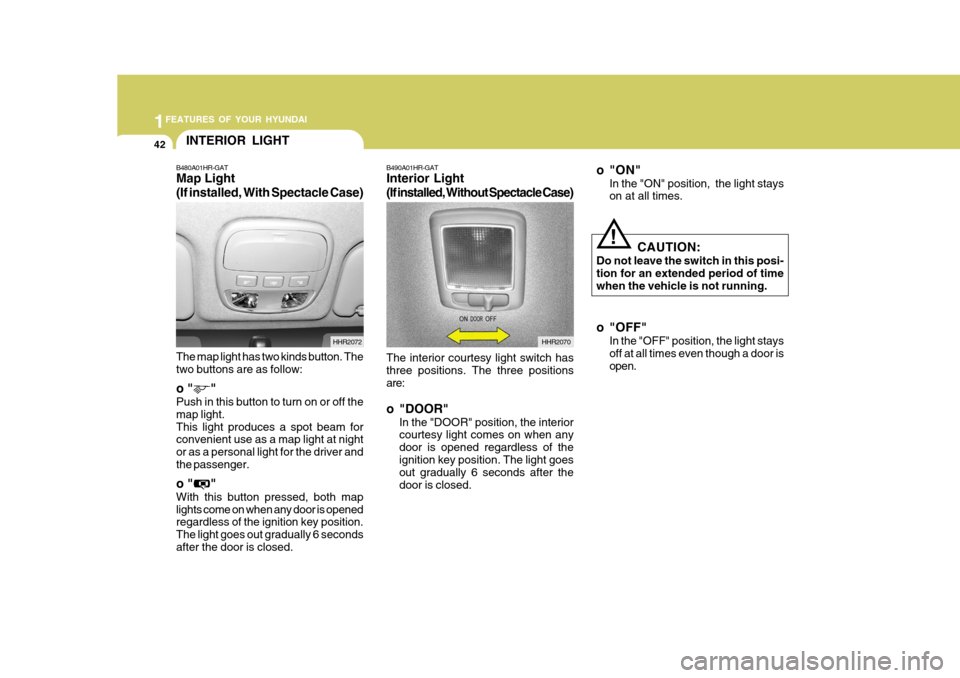
The interior courtesy light switch has three positions. The three positions are: o "DOOR"
In the "DOOR" position, the interior courtesy light comes on when any door is opened regardless of theignition key position. The light goes out gradually 6 seconds after the door is closed.
B490A01HR-GAT Interior Light
(If installed, Without Spectacle Case)
HHR2070
o"ON"
In the "ON" position, the light stays on at all times.
CAUTION:
Do not leave the switch in this posi- tion for an extended period of timewhen the vehicle is not running.
o "OFF" In the "OFF" position, the light stays off at all times even though a door isopen.
!
INTERIOR LIGHT
B480A01HR-GAT Map Light (If installed, With Spectacle Case) The map light has two kinds button. The two buttons are as follow: o " " Push in this button to turn on or off the map light.This light produces a spot beam for convenient use as a map light at night or as a personal light for the driver andthe passenger. o " " With this button pressed, both map lights come on when any door is opened regardless of the ignition key position. The light goes out gradually 6 secondsafter the door is closed. HHR2072
Page 49 of 207

1FEATURES OF YOUR HYUNDAI
48
!WARNING:
o Make sure to refuel your vehicle according to the "Fuel require- ments" suggested in section 1.
o Fuel vapors are dangerous. Be-
fore refueling, always stop theengine and never allow sparks or open flames near the tank area. If you need to replace the tank cap,use a genuine Hyundai replace- ment part. If you open the fuel tank cap dur-ing high ambient temperatures, a slight "pressure sound" may be heard. This is normal and not acause for concern. Whenever you open the fuel tank cap, turn it slowly.
o Automotive fuels are flammable/ explosive materials. When refuel-ing, please note the followingguidelines carefully.
- Before touching the fuel nozzle or
fuel tank cap, have one's hands incontact with metal parts away from the tank neck to discharge static electricity.
FUEL TANK CAP
B560A03HR-GAT
The fuel tank cap is located at the left side of the vehicle body. The fuel tank cap can be unlocked by turning the key counterclockwise.To lock the fuel tank cap, turn it clock- wise until it locks into place. NOTE: If the fuel tank cap will not open because ice has formed around it, tap lightly on the cap to break the iceand release the cap. If necessary, spray around the cap with an ap- proved de-icer fluid (do not use ra-diator anti-freeze) or move the ve- hicle to a warm place and allow the ice to melt. HHR2036
- Do not get back in the vehicle
while refueling. Do not operateanything that can produce static electricity. Static electricity dis- charge can ignite fuel vapors re-sulting in an explosion.
- When using a portable fuel con-
tainer, be sure to place the con-tainer on the ground while refuel- ing. Static electricity discharge from the container can ignite fuelvapors causing a fire. While start- ing refueling, contact should be maintained until the filling is com-plete.
- Do not use cellular phones around
a gas station. The electric currentor electronic interference from cel- lular phones can ignite fuel va- pors causing a fire.
- When refueling, always turn the engine off. Sparks by engine com-partment electrical equipment canignite fuel vapors causing a fire. After refueling, check to make sure the fuel tank cap is securely closed,and then start the engine.
- Do not smoke or try to light ciga-
rettes around a gas station. Auto-motive fuels are flammable.
Page 68 of 207
1
FEATURES OF YOUR HYUNDAI
67
K220B01HR-GAT
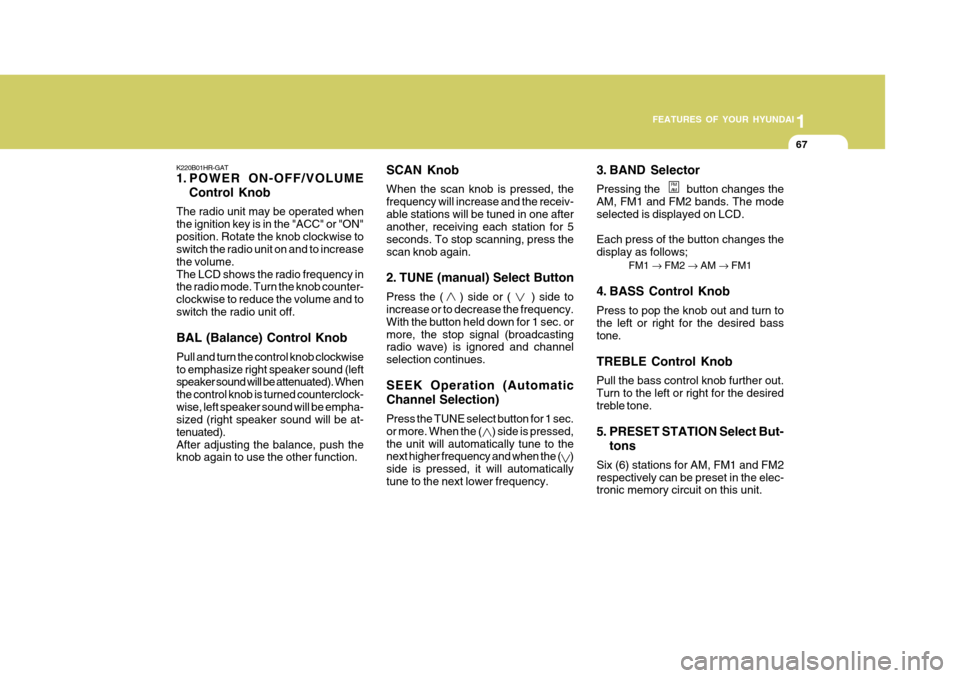
1. POWER ON-OFF/VOLUME Control Knob
The radio unit may be operated when the ignition key is in the "ACC" or "ON"position. Rotate the knob clockwise to switch the radio unit on and to increase the volume.The LCD shows the radio frequency in the radio mode. Turn the knob counter- clockwise to reduce the volume and toswitch the radio unit off. BAL (Balance) Control Knob Pull and turn the control knob clockwise to emphasize right speaker sound (left speaker sound will be attenuated). When the control knob is turned counterclock-wise, left speaker sound will be empha- sized (right speaker sound will be at- tenuated).After adjusting the balance, push the knob again to use the other function. SCAN Knob When the scan knob is pressed, the frequency will increase and the receiv-able stations will be tuned in one after another, receiving each station for 5 seconds. To stop scanning, press thescan knob again.
2. TUNE (manual) Select Button Press the ( ) side or ( ) side to increase or to decrease the frequency. With the button held down for 1 sec. ormore, the stop signal (broadcasting radio wave) is ignored and channel selection continues. SEEK Operation (Automatic Channel Selection) Press the TUNE select button for 1 sec. or more. When the ( ) side is pressed,the unit will automatically tune to the next higher frequency and when the ( ) side is pressed, it will automaticallytune to the next lower frequency. 3. BAND Selector Pressing the button changes the AM, FM1 and FM2 bands. The modeselected is displayed on LCD. Each press of the button changes the display as follows;
FM1 � FM2 � AM � FM1
4. BASS Control Knob Press to pop the knob out and turn to the left or right for the desired bass tone. TREBLE Control Knob Pull the bass control knob further out. Turn to the left or right for the desiredtreble tone.
5. PRESET STATION Select But- tons
Six (6) stations for AM, FM1 and FM2 respectively can be preset in the elec- tronic memory circuit on this unit.
FM AM
Page 73 of 207
1FEATURES OF YOUR HYUNDAI
72
FM/AM
K240B01HR-GAT
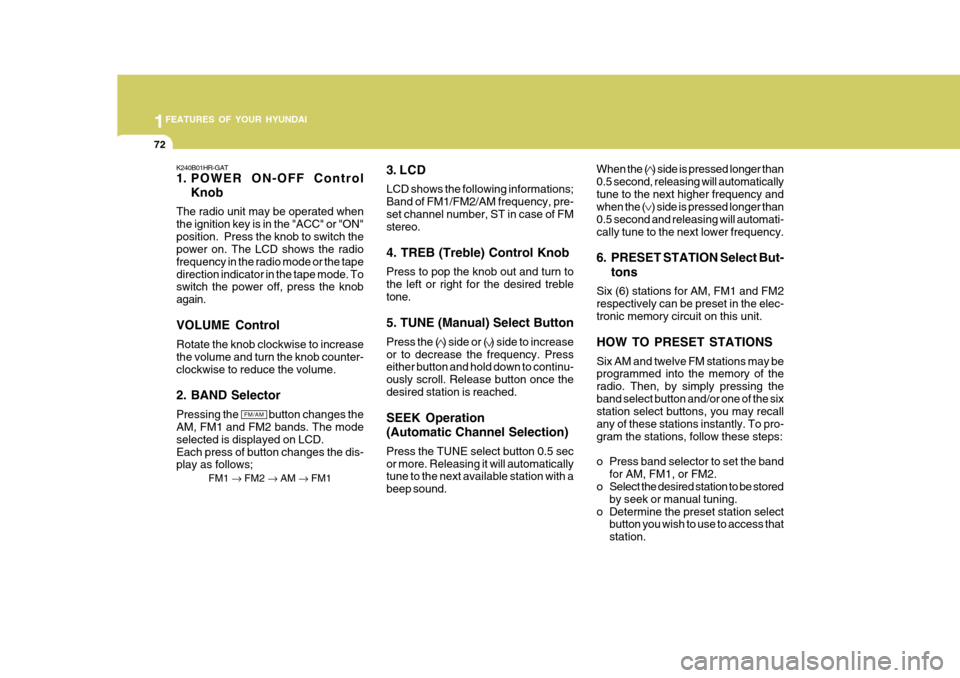
1. POWER ON-OFF Control
Knob
The radio unit may be operated when the ignition key is in the "ACC" or "ON"position. Press the knob to switch the power on. The LCD shows the radio frequency in the radio mode or the tapedirection indicator in the tape mode. To switch the power off, press the knob again. VOLUME Control Rotate the knob clockwise to increase the volume and turn the knob counter-clockwise to reduce the volume. 2. BAND Selector Pressing the button changes the AM, FM1 and FM2 bands. The mode selected is displayed on LCD.Each press of button changes the dis- play as follows; FM1 � FM2 � AM � FM1 3. LCD LCD shows the following informations; Band of FM1/FM2/AM frequency, pre-set channel number, ST in case of FM stereo. 4. TREB (Treble) Control Knob Press to pop the knob out and turn to the left or right for the desired trebletone. 5. TUNE (Manual) Select Button Press the ( ) side or ( ) side to increase or to decrease the frequency. Press either button and hold down to continu- ously scroll. Release button once thedesired station is reached. SEEK Operation (Automatic Channel Selection) Press the TUNE select button 0.5 sec or more. Releasing it will automatically tune to the next available station with a beep sound. When the ( ) side is pressed longer than0.5 second, releasing will automaticallytune to the next higher frequency and when the ( ) side is pressed longer than 0.5 second and releasing will automati-cally tune to the next lower frequency.
6. PRESET STATION Select But-
tons
Six (6) stations for AM, FM1 and FM2 respectively can be preset in the elec- tronic memory circuit on this unit. HOW TO PRESET STATIONS Six AM and twelve FM stations may be programmed into the memory of the radio. Then, by simply pressing theband select button and/or one of the six station select buttons, you may recall any of these stations instantly. To pro-gram the stations, follow these steps:
o Press band selector to set the band for AM, FM1, or FM2.
o Select the desired station to be stored
by seek or manual tuning.
o Determine the preset station select button you wish to use to access that station.
Page 93 of 207
1
FEATURES OF YOUR HYUNDAI
67
K220B01HR-GAT
1. POWER ON-OFF/VOLUME Control Knob
The radio unit may be operated when the ignition key is in the "ACC" or "ON"position. Rotate the knob clockwise to switch the radio unit on and to increase the volume.The LCD shows the radio frequency in the radio mode. Turn the knob counter- clockwise to reduce the volume and toswitch the radio unit off. BAL (Balance) Control Knob Pull and turn the control knob clockwise to emphasize right speaker sound (left speaker sound will be attenuated). When the control knob is turned counterclock-wise, left speaker sound will be empha- sized (right speaker sound will be at- tenuated).After adjusting the balance, push the knob again to use the other function. SCAN Knob When the scan knob is pressed, the frequency will increase and the receiv-able stations will be tuned in one after another, receiving each station for 5 seconds. To stop scanning, press thescan knob again.
2. TUNE (manual) Select Button Press the ( ) side or ( ) side to increase or to decrease the frequency. With the button held down for 1 sec. ormore, the stop signal (broadcasting radio wave) is ignored and channel selection continues. SEEK Operation (Automatic Channel Selection) Press the TUNE select button for 1 sec. or more. When the ( ) side is pressed,the unit will automatically tune to the next higher frequency and when the ( ) side is pressed, it will automaticallytune to the next lower frequency. 3. BAND Selector Pressing the button changes the AM, FM1 and FM2 bands. The modeselected is displayed on LCD. Each press of the button changes the display as follows;
FM1 � FM2 � AM � FM1
4. BASS Control Knob Press to pop the knob out and turn to the left or right for the desired bass tone. TREBLE Control Knob Pull the bass control knob further out. Turn to the left or right for the desiredtreble tone.
5. PRESET STATION Select But- tons
Six (6) stations for AM, FM1 and FM2 respectively can be preset in the elec- tronic memory circuit on this unit.
FM AM
Page 98 of 207
1FEATURES OF YOUR HYUNDAI
72
FM/AM
K240B01HR-GAT
1. POWER ON-OFF Control
Knob
The radio unit may be operated when the ignition key is in the "ACC" or "ON"position. Press the knob to switch the power on. The LCD shows the radio frequency in the radio mode or the tapedirection indicator in the tape mode. To switch the power off, press the knob again. VOLUME Control Rotate the knob clockwise to increase the volume and turn the knob counter-clockwise to reduce the volume. 2. BAND Selector Pressing the button changes the AM, FM1 and FM2 bands. The mode selected is displayed on LCD.Each press of button changes the dis- play as follows; FM1 � FM2 � AM � FM1 3. LCD LCD shows the following informations; Band of FM1/FM2/AM frequency, pre-set channel number, ST in case of FM stereo. 4. TREB (Treble) Control Knob Press to pop the knob out and turn to the left or right for the desired trebletone. 5. TUNE (Manual) Select Button Press the ( ) side or ( ) side to increase or to decrease the frequency. Press either button and hold down to continu- ously scroll. Release button once thedesired station is reached. SEEK Operation (Automatic Channel Selection) Press the TUNE select button 0.5 sec or more. Releasing it will automatically tune to the next available station with a beep sound. When the ( ) side is pressed longer than0.5 second, releasing will automaticallytune to the next higher frequency and when the ( ) side is pressed longer than 0.5 second and releasing will automati-cally tune to the next lower frequency.
6. PRESET STATION Select But-
tons
Six (6) stations for AM, FM1 and FM2 respectively can be preset in the elec- tronic memory circuit on this unit. HOW TO PRESET STATIONS Six AM and twelve FM stations may be programmed into the memory of the radio. Then, by simply pressing theband select button and/or one of the six station select buttons, you may recall any of these stations instantly. To pro-gram the stations, follow these steps:
o Press band selector to set the band for AM, FM1, or FM2.
o Select the desired station to be stored
by seek or manual tuning.
o Determine the preset station select button you wish to use to access that station.