Page 65 of 284

1
FEATURES OF YOUR HYUNDAI
53
!WARNING:
o Before installing child restraints , always refer to “Child Restraint System” section to ensure correctinstallation and that occupant pro- tection is maximized.
o Make sure that the occupant does not have any body parts (head,arms & legs) protruding outside the restraining system. If an inflat-ing airbag was to strike an infant or child, it may cause serious in- jury.
o Ensure the opening for the Cur- tain Airbag System remains unob-structed at all times, so that theairbags can inflate properly if needed.
o The built in coat hooks should only be used for light weight cloth-ing, ensure that pockets are free of any heavy or sharp objects. Whenusing coat hooks, do not hang clothes on coat hangers.
Important Safety Notes for Cur- tain Airbag Systems Following are a number of safety points concerning this system which shouldalways be observed to ensure risk of injury is reduced in an accident.
B990C01JM-GAT Curtain Airbag (If Installed)
Curtain airbags are located along both sides of the roof rails above the front and rear doors.They are designed to help protect the heads of the front seat occupants and the rear outboard seat occupants incertain side impact collisions. The curtain airbags are designed to deploy only during certain side impact collisions, depending on the crash se- verity, angle, speed and impact. Thecurtain airbags are not designed to deploy in all side impact situations, collisions from the front or rear of thevehicle or in most rollover situations. B990C01MC
Curtain Airbag
Page 66 of 284

1FEATURES OF YOUR HYUNDAI
54
o The space between the occupant
and the curtain airbag must never be occupied by children, passen-gers or pets. Occupants should never lean out or have any parts of their body protruding from thewindow while the engine is run- ning.
o Do not move the sun visor out to cover the side window if there isan item attached to it such as garage door remote control, pens,air fresheners or the like. These objects may cause injury if the Curtain Airbag is deployed.
o Do not install sun blinds to the rear doors, these must not ob-struct or impair the airbag in anyway.
o Do not install any accessories or
children’s toys in the CurtainAirbag deployment zones, as this may impair the operation of the system or throw parts of them intothe vehicle cabin causing injury to occupants if the system is de- ployed. B240C01NF-GAT SRS Care The SRS is virtually maintenance-free and so there are no parts you can safelyservice by yourself. If the SRS SRI (Service Reminder Indicator) does not come on, or continuously remains on,have your vehicle immediately in- spected by your Hyundai dealer. Any work on the SRS system, such as removing, installing, repairing, or any work on the steering wheel must beperformed by a qualified Hyundai tech- nician. Improper handling of the SRS system may result in serious personalinjury.o To maintain the integrity of the
Curtain Airbag system, any work, removal or installation of the airbag and associated compo- nents (such as roof lining and sidetrims) should only be performed by an authorized Hyundai dealer.
Page 103 of 284
1
FEATURES OF YOUR HYUNDAI
91
!
SPECTACLE CASE
B491A03O-GAT (If Installed) The spectacle case is located on the front overhead console.Push the end of the cover to open the spectacle case. WARNING:
o Do not keep objects such as sharp or unsuitable things inside thespectacle case. Such objects can be thrown out in the event of asudden stop or an accident, pos- sibly injuring the passengers in the vehicle.
o Do not open the spectacle case while the vehicle is moving. Therear view mirror of the vehicle canbe blocked by an open spectacle case.
B491A03MC
!
GLOVE BOX
WARNING:
To avoid the possibility of injury in case of an accident or a sudden stop, the glove box door should bekept closed when the car is in mo- tion.
B500A01A-AAT
B500A01MC
o To open the glove box, pull on the glove box release lever.
Page 105 of 284

1
FEATURES OF YOUR HYUNDAI
93
B510B01FC-AAT Electric Type (If Installed) The outside rearview mirrors can be adjusted to your preferred rear vision, both directly behind the vehicle and to the rear of the left and right sides.The remote control outside rearview mirror switch controls the adjustments for both right and left outside mirrors.
OMC029051 To adjust the position of either mirror:
1. Move the selecting switch to the
right or left to activate the adjustable mechanism for the corresponding door mirror.
2. Adjust mirror angle by depressing
the appropriate perimeter switch asillustrated.!
CAUTION:
o Do not operate the switch continu- ously for an unnecessary length of time.
o Scraping ice from the mirror face
could cause permanent damage.To remove any ice, use a sponge, soft cloth or approved de-icer.
WARNING:
Be careful when judging the size ordistance of any object seen in the passenger side rear view mirror. It isa convex mirror with a curved sur- face. Any objects seen in this mirror are closer than they appear.!
Page 107 of 284

1
FEATURES OF YOUR HYUNDAI
95
Applying the parking brake To engage the parking brake, first apply the foot brake and then without press-ing the release button in, pull the park-
ing brake lever up as far as possible. In addition it is recommended that whenparking the vehicle on a gradient, the shift lever should be positioned in the appropriate low gear on manual transaxlevehicles or in the P (Park) position on automatic transaxle vehicles.
CAUTION:
Driving with the parking brake ap-plied will cause excessive brake pad (or lining) and brake rotor wear.
!
!WARNING:
Whenever leaving vehicle or parking always set the parking brake as far as possible and fully engage the vehicle's transaxle into the park po-sition. Vehicles not fully engaged in park with the parking brake set are at risk for moving inadvertently andinjuring yourself or others.
Releasing the parking brake To release the parking brake, first apply the foot brake and pull up the parkingbrake lever slightly. Secondly, depress the release button and lower the parking brake lever while holding the button.
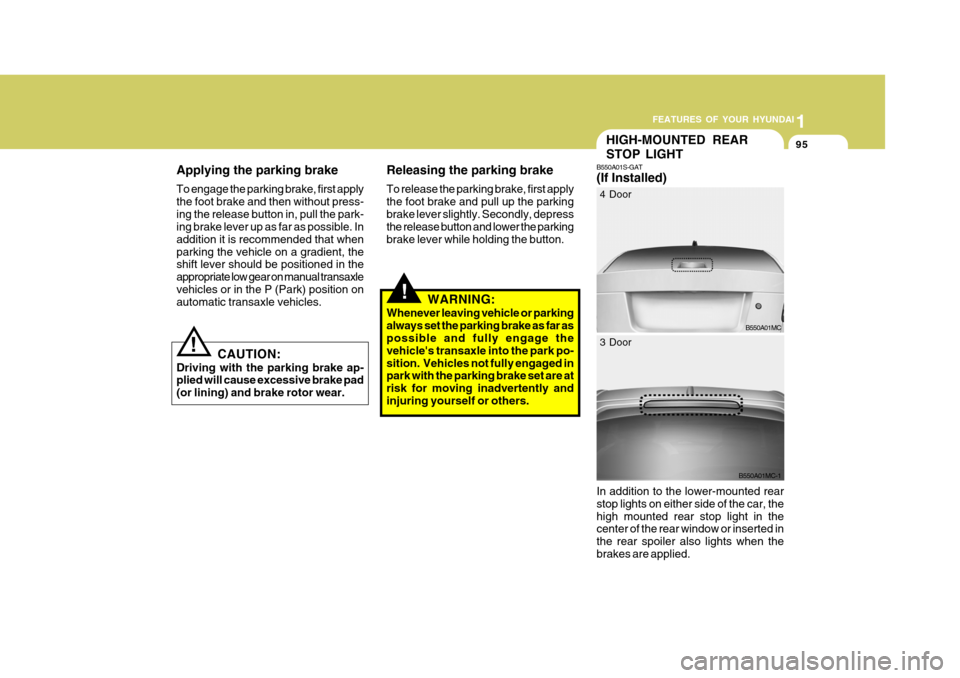
HIGH-MOUNTED REAR STOP LIGHT
B550A01S-GAT
(If Installed) In addition to the lower-mounted rear stop lights on either side of the car, thehigh mounted rear stop light in the center of the rear window or inserted in the rear spoiler also lights when thebrakes are applied.
B550A01MC
4 Door
B550A01MC-1
3 Door
Page 188 of 284

2 DRIVING YOUR HYUNDAI
26
GAWR. Improper trailer loading and/or too much luggage in thetrunk can overload the rear axle. Redistribute the load and check the axle weight again.
4. The maximum permissible static vertical load on the coupling de-vice is 50 kg.
5. The maximum permissible over- hang of the coupling point :3 Door: 824 mm 4 Door:1,056 mm
Maximum Towable Weight kg. (Lbs)
Coupling point CAUTION:
The following specifications are rec- ommended when towing a trailer.The loaded trailer weight cannot safely exceed the values in the chart below.
!
Manual
Transaxle 1100
(2425)
700
(1543) 800
(1763)
453 (998)
Trailer
Tongue
50
(110)
With Brake Without Brake
Automatic Transaxle
(Gasoline) 1.4L 1.6L
!WARNING:
Improperly loading your car and trailer can seriously affect its steer-ing and braking performance caus- ing a crash which could cause seri- ous injury or death.
C190E03MC
2. The total gross vehicle weight with trailer must not exceed the Gross Vehicle Weight Rating (GVWR)shown on the vehicle identifica- tion plate (see page 8-2). The total gross vehicle weight is the com-bined weight of the vehicle, driver, all passengers and their luggage, cargo, hitch, trailer tongue loadand other optional equipment.
3. The front or rear axle weight must
not exceed the Gross Axle WeightRating (GAWR) shown on the vehicle identification plate (see page 8-2). It is possible that yourtowing package does not exceed the GVWR but exceeds the C190E02JM
Gross Axle Weight
Gross Vehicle
Weight
Page 256 of 284

6 DO-IT-YOURSELF MAINTENANCE
30
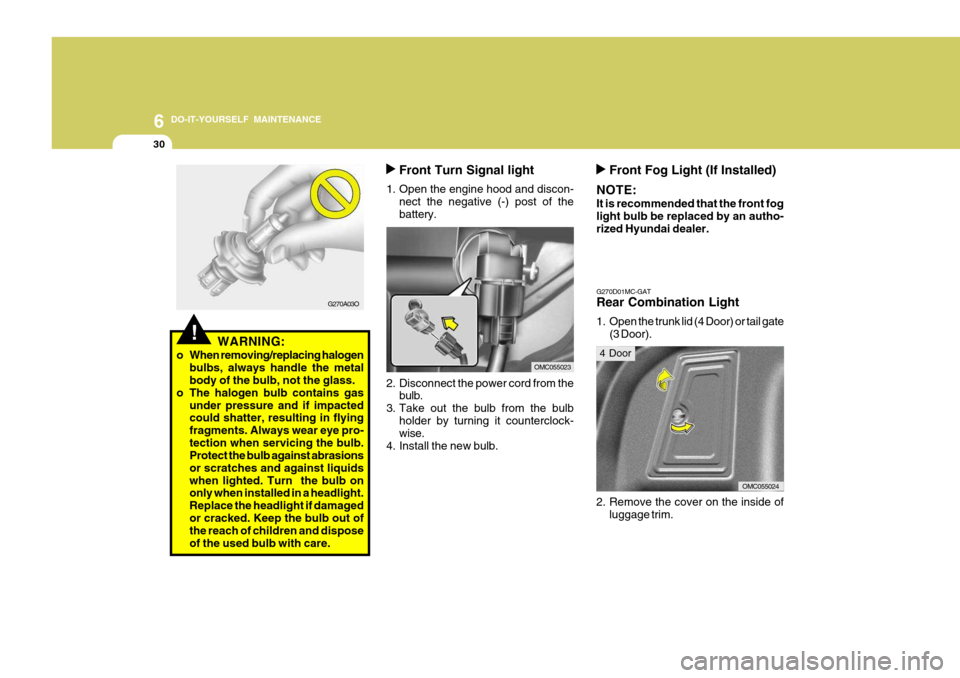
Front Turn Signal light
1. Open the engine hood and discon- nect the negative (-) post of the battery.
2. Disconnect the power cord from the bulb.
3. Take out the bulb from the bulb holder by turning it counterclock- wise.
4. Install the new bulb.
OMC055023
Front Fog Light (If Installed)
NOTE: It is recommended that the front fog light bulb be replaced by an autho- rized Hyundai dealer.
G270D01MC-GAT Rear Combination Light
1. Open the trunk lid (4 Door) or tail gate (3 Door).
OMC055024
2. Remove the cover on the inside of luggage trim.
4 Door
G270A03O
!WARNING:
o When removing/replacing halogen bulbs, always handle the metal body of the bulb, not the glass.
o The halogen bulb contains gas under pressure and if impactedcould shatter, resulting in flying fragments. Always wear eye pro-tection when servicing the bulb. Protect the bulb against abrasions or scratches and against liquidswhen lighted. Turn the bulb on only when installed in a headlight. Replace the headlight if damagedor cracked. Keep the bulb out of the reach of children and dispose of the used bulb with care.
Page 257 of 284
6
DO-IT-YOURSELF MAINTENANCE
31
5. To replace the rear combination light, take it out from the bulb holder by turning it counterclockwise.
(1) Stop/Tail Light (2) Turn Signal Light(3) Back-up Light
(4) Stop/Tail Light, Rear Fog Light (If Installed)
6. Install the new bulb.
4.
Detach the rear combination lamp by pulling it out (4 Door) or remove the mounting screws of the rear combi- nation lamp with a phillips screw-driver (3 Door).
OMC055027OMC055026
4 Door
OMC055026-1
3 Door
3. Remove the nuts of the rear combi-
nation light with a spanner.
OMC055025
4 Door