2010 GMC SIERRA instrument cluster
[x] Cancel search: instrument clusterPage 374 of 630

StabiliTrak®System
The vehicle may have a vehicle stability enhancement
system called StabiliTrak. It is an advanced computer
controlled system that assists the driver with directional
control of the vehicle in difficult driving conditions.
StabiliTrak activates when the computer senses a
discrepancy between the intended path and the
direction the vehicle is actually traveling. StabiliTrak
selectively applies braking pressure at any one of the
vehicle's brakes to assist the driver with keeping the
vehicle on the intended path.
When the vehicle is started and begins to move, the
system performs several diagnostic checks to insure
there are no problems. The system may be heard or felt
while it is working. This is normal and does not mean
there is a problem with the vehicle. The system should
initialize before the vehicle reaches 20 mph (32 km/h).
In some cases, it may take approximately two miles of
driving before the system initializes.
If cruise control is being used when StabiliTrak
activates, the cruise control automatically disengages.
The cruise control can be re-engaged when road
conditions allow. SeeCruise Control
on page 4‑7for
more information. If the system fails to turn on or activate, the StabiliTrak
light along with one of the following messages will be
displayed on the Driver Information Center (DIC):
TRACTION CONTROL OFF, SERVICE TRACTION
CONTROL, STABILITRAK OFF, SERVICE
STABILITRAK. If these DIC messages appear, make
sure the StabiliTrak system has not been turned off
using the StabiliTrak on/off button. Then turn the
steering wheel clockwise from the nine o'clock position
to the three o'clock position. If this clears the
message(s), the vehicle does not need servicing. If this
does not clear the message(s), then turn the vehicle off,
wait 15 seconds, and then turn it back on again to reset
the system. If any of these messages still appear on the
DIC, the vehicle should be taken in for service. For
more information on the DIC messages, see
DIC
Warnings and Messages on page 4‑65.
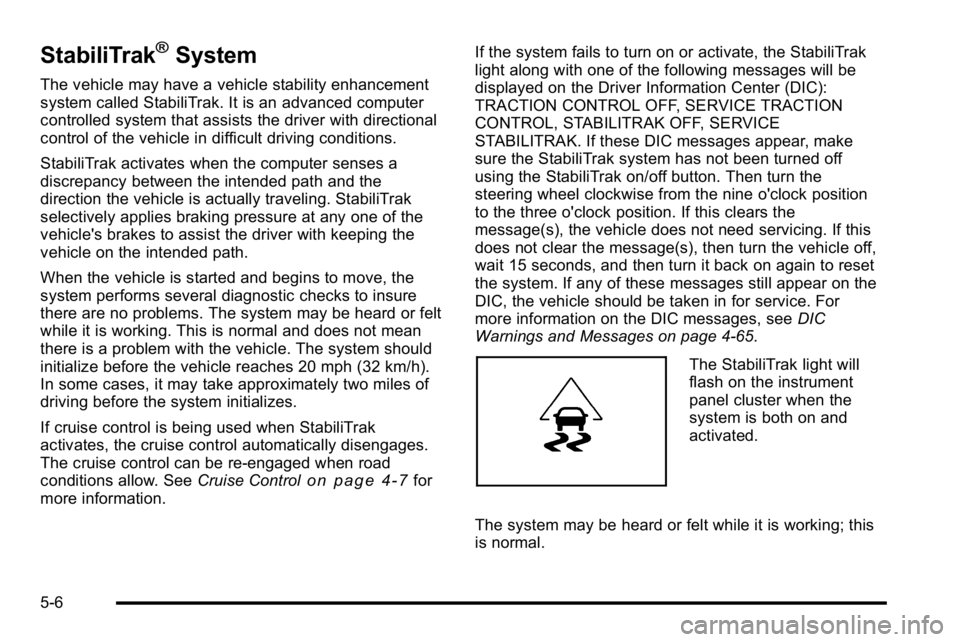
The StabiliTrak light will
flash on the instrument
panel cluster when the
system is both on and
activated.
The system may be heard or felt while it is working; this
is normal.
5-6
Page 431 of 630

Safety Chains
Always attach chains between the vehicle and the
trailer. Cross the safety chains under the tongue of the
trailer to help prevent the tongue from contacting the
road if it becomes separated from the hitch. Instructions
about safety chains may be provided by the hitch
manufacturer or by the trailer manufacturer. If the trailer
being towed weighs up to 5,000 lbs (2 271 kg) with a
factory-installed step bumper, safety chains may be
attached to the attaching points on the bumper,
otherwise, safety chains should be attached to holes on
the trailer hitch platform. Always leave just enough
slack so the combination can turn. Never allow safety
chains to drag on the ground.
Tow/Haul Mode
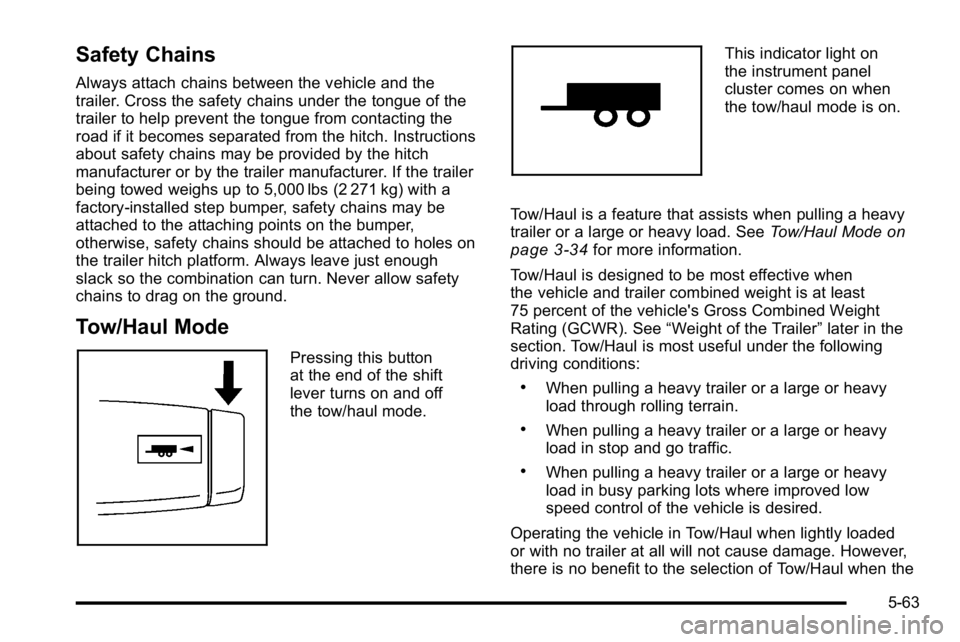
Pressing this button
at the end of the shift
lever turns on and off
the tow/haul mode.
This indicator light on
the instrument panel
cluster comes on when
the tow/haul mode is on.
Tow/Haul is a feature that assists when pulling a heavy
trailer or a large or heavy load. See Tow/Haul Mode
on
page 3‑34for more information.
Tow/Haul is designed to be most effective when
the vehicle and trailer combined weight is at least
75 percent of the vehicle's Gross Combined Weight
Rating (GCWR). See “Weight of the Trailer” later in the
section. Tow/Haul is most useful under the following
driving conditions:
.When pulling a heavy trailer or a large or heavy
load through rolling terrain.
.When pulling a heavy trailer or a large or heavy
load in stop and go traffic.
.When pulling a heavy trailer or a large or heavy
load in busy parking lots where improved low
speed control of the vehicle is desired.
Operating the vehicle in Tow/Haul when lightly loaded
or with no trailer at all will not cause damage. However,
there is no benefit to the selection of Tow/Haul when the
5-63
Page 522 of 630

When the malfunction indicator is illuminated, the
system may not be able to detect or signal low tire
pressure as intended. TPMS malfunctions may occur
for a variety of reasons, including the installation of
replacement or alternate tires or wheels on the vehicle
that prevent the TPMS from functioning properly.
Always check the TPMS malfunction telltale after
replacing one or more tires or wheels on your vehicle to
ensure that the replacement or alternate tires and
wheels allow the TPMS to continue to function properly.
SeeTire Pressure Monitor Operation
on page 6‑76for
additional information.
Federal Communications Commission
(FCC) and Industry and Science Canada
See Radio Frequency Statementon page 8‑19for
information regarding Part 15 of the Federal
Communications Commission (FCC) Rules and
RSS-210/211 of Industry and Science Canada.
Tire Pressure Monitor Operation
This vehicle may have a Tire Pressure Monitor System
(TPMS). The TPMS is designed to warn the driver when
a low tire pressure condition exists. TPMS sensors are
mounted onto each tire and wheel assembly, excluding
the spare tire and wheel assembly. The TPMS sensors monitor the air pressure in the vehicle's tires and
transmits the tire pressure readings to a receiver
located in the vehicle.
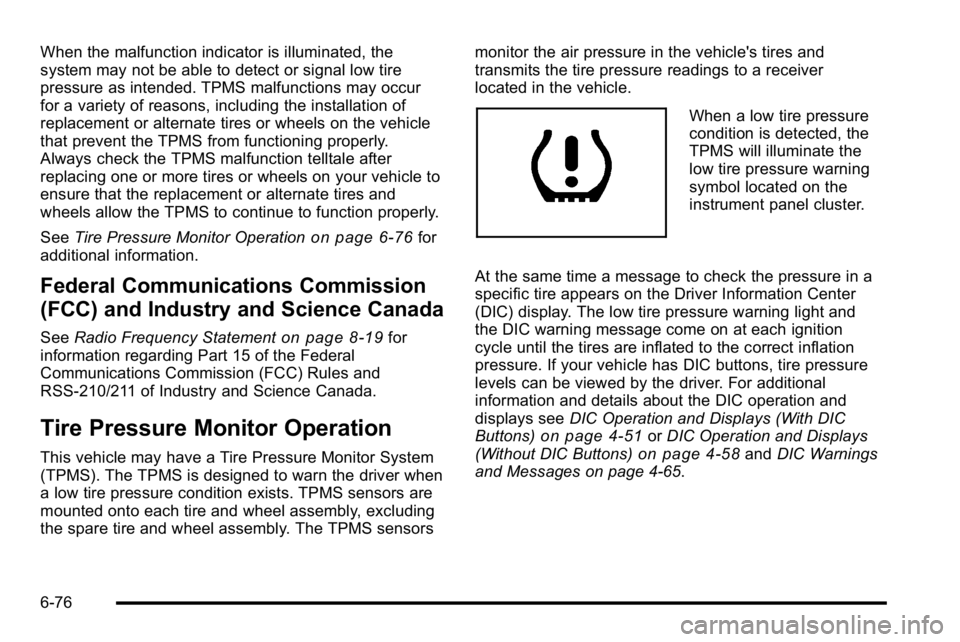
When a low tire pressure
condition is detected, the
TPMS will illuminate the
low tire pressure warning
symbol located on the
instrument panel cluster.
At the same time a message to check the pressure in a
specific tire appears on the Driver Information Center
(DIC) display. The low tire pressure warning light and
the DIC warning message come on at each ignition
cycle until the tires are inflated to the correct inflation
pressure. If your vehicle has DIC buttons, tire pressure
levels can be viewed by the driver. For additional
information and details about the DIC operation and
displays see DIC Operation and Displays (With DIC
Buttons)
on page 4‑51or DIC Operation and Displays
(Without DIC Buttons)on page 4‑58and DIC Warnings
and Messages on page 4‑65.
6-76
Page 525 of 630

The TPMS sensor matching process is outlined below:1. Set the parking brake.
2. Turn the ignition switch to ON/RUN with the engine off.
3. Press the Remote Keyless Entry (RKE) transmitter's LOCK and UNLOCK buttons at the
same time for approximately five seconds. The
horn sounds twice to signal the receiver is in
relearn mode and TIRE LEARNING ACTIVE
message displays on the DIC screen.
If your vehicle does not have RKE, press the
Driver Information Center (DIC) vehicle information
button until the PRESS
VTO RELEARN TIRE
POSITIONS message displays. The horn sounds
twice to signal the receiver is in relearn mode and
TIRE LEARNING ACTIVE message displays on
the DIC screen.
If your vehicle does not have RKE or DIC buttons,
press the trip odometer reset stem located on the
instrument panel cluster until the PRESS
VTO
RELEARN TIRE POSITIONS message displays.
The horn sounds twice to signal the receiver is in
relearn mode and TIRE LEARNING ACTIVE
message displays on the DIC screen.
4. Start with the driver side front tire. 5. Remove the valve cap from the valve cap stem.
Activate the TPMS sensor by increasing or
decreasing the tire's air pressure for five seconds,
or until a horn chirp sounds. The horn chirp, which
may take up to 30 seconds to sound, confirms that
the sensor identification code has been matched to
this tire and wheel position.
6. Proceed to the passenger side front tire, and repeat the procedure in Step 5.
7. Proceed to the passenger side rear tire, and repeat the procedure in Step 5.
8. Proceed to the driver side rear tire, and repeat the procedure in Step 5. The horn sounds two times to
indicate the sensor identification code has been
matched to the driver side rear tire, and that the
TPMS sensor matching process is no longer
active. The TIRE LEARNING ACTIVE message on
the DIC display screen goes off.
9. Turn the ignition switch to LOCK/OFF.
10. Set all four tires to the recommended air pressure level as indicated on the Tire and Loading
Information label.
11. Put the valve caps back on the valve stems.
6-79
Page 570 of 630

FusesUsage
38 Electric Adjustable Pedals
39 Climate Controls (Battery)
40 Airbag System (Ignition)
41 Amplifier
42 Audio System
43Miscellaneous (Ignition), Cruise
Control
44 Not Used
45 Airbag System (Battery)
46 Instrument Panel Cluster
47 Power Take-Off
48 Auxiliary Climate Control (Ignition)
49 Center High-Mounted
Stoplamp (CHMSL)
50 Rear Defogger
Fuses Usage
51 Heated Mirrors
52 SEO B1 Upfitter Usage (Battery)
53Cigarette Lighter, Auxiliary
Power Outlet
54 SEO Upfitter Usage
55 Climate Controls (Ignition)
56 Engine Control Module, Secondary
Fuel Pump (Ignition)
J-Case Fuses
Usage
57 Cooling Fan 1
58 Not Used
59 Heavy Duty Antilock Brake System
60 Cooling Fan 2
61 Antilock Brake System 1
6-124
Page 622 of 630

Headlamps (cont.)Exterior Lamps . . . . . . . . . . . . . . . . . . . . . . . . . . . . . . . . . . . 4-10
Flash-to-Pass . . . . . . . . . . . . . . . . . . . . . . . . . . . . . . . . . . . . . . 4-5
High/Low Beam Changer . . . . . . . . . . . . . . . . . . . . . . . . . . 4-5
On Reminder . . . . . . . . . . . . . . . . . . . . . . . . . . . . . . . . . . . . . 4-11
Pickup Box Identification and Fender Marker
Lamps . . . . . . . . . . . . . . . . . . . . . . . . . . . . . . . . . . . . . . . . . . 6-59
Heated Seats . . . . . . . . . . . . . . . . . . . . . . . . . . . . . . . . . . . . . . . .2-8
Heater . . . . . . . . . . . . . . . . . . . . . . . . . . . . . . . . . . . . . . . 4-18, 4-20 Engine Coolant . . . . . . . . . . . . . . . . . . . . . . . . . . . . . . . . . . . 3-26
High-Speed Operation, Tires . . . . . . . . . . . . . . . . . . . . . . 6-74
Highbeam On Light . . . . . . . . . . . . . . . . . . . . . . . . . . . . . . . . 4-48
Highway Hypnosis . . . . . . . . . . . . . . . . . . . . . . . . . . . . . . . . . 5-24
Hill and Mountain Roads . . . . . . . . . . . . . . . . . . . . . . . . . . . 5-25
Hood Checking Things Under . . . . . . . . . . . . . . . . . . . . . . . . . . . 6-14
Release . . . . . . . . . . . . . . . . . . . . . . . . . . . . . . . . . . . . . . . . . . 6-15
Horn . . . . . . . . . . . . . . . . . . . . . . . . . . . . . . . . . . . . . . . . . . . . . . . . .4-3
How to Wear Safety Belts Properly . . . . . . . . . . . . . . . . 2-21
I
Ignition Positions . . . . . . . . . . . . . . . . . . . . . . . . . . . . . . . . . . 3-22
Infants and Young Children, Restraints . . . . . . . . . . . . 2-42
Inflation - Tire Pressure . . . . . . . . . . . . . . . . . . . . . . . . . . . . 6-72 Instrument Panel
Brightness . . . . . . . . . . . . . . . . . . . . . . . . . . . . . . . . . . . . . . . . 4-14
Storage Area . . . . . . . . . . . . . . . . . . . . . . . . . . . . . . . . . . . . . 3-76
Instrument Panel Cluster . . . . . . . . . . . . . . . . . . . . . . . . . . 4-30
Integrated Trailer Brake Control System (ITBC) . . . . 5-50
Introduction . . . . . . . . . . . . . . . . . . . . . . . . . . . . . . . . . . . . . . . . . .7-2
J
Jump Starting . . . . . . . . . . . . . . . . . . . . . . . . . . . . . . . . . . . . . . 6-44
K
Keyless Entry Remote (RKE) System . . . . . . . . . . . . . . . . . . . . . . . . . . . . 3-4
Keyless Entry System . . . . . . . . . . . . . . . . . . . . . . . . . . . . . . .3-4
Keys . . . . . . . . . . . . . . . . . . . . . . . . . . . . . . . . . . . . . . . . . . . . . . . . .3-3
L
Labeling, Tire Sidewall . . . . . . . . . . . . . . . . . . . . . . . . . . . . . 6-65
Lamps Auxiliary Roof Mounted Lamp . . . . . . . . . . . . . . . . . . . . 4-14
Cargo . . . . . . . . . . . . . . . . . . . . . . . . . . . . . . . . . . . . . . . . . . . . . 4-15
Daytime Running (DRL) . . . . . . . . . . . . . . . . . . . . . . . . . . 4-12
Dome . . . . . . . . . . . . . . . . . . . . . . . . . . . . . . . . . . . . . . . . . . . . . 4-14
i - 8