2010 GMC SAVANA AUX
[x] Cancel search: AUXPage 20 of 424
©¨:Seek or scan stations.
4:Press to display additional text information related to
the current FM-RDS station or MP3 song. A choice of
additional information such as: Channel, Song, Artist, and
CAT (category) can display. Continue pressing to
highlight the desired label, or press the softkey located
under any one of the tabs and the information about that
tab displays.
For more information about these and other radio
features, seeAudio System(s) on page 4-59.
Storing a Favorite Station
Depending on which radio the vehicle has, radio
stations are stored as either favorites or presets.
For vehicles with a FAV button, a maximum of
36 stations can be stored as favorites using the
six softkeys located below the radio station frequency
tabs and by using the radio FAV button. Press FAV
to go through up to six pages of favorites, each having
six favorite stations available per page. Each page
of favorites can contain any combination of AM and FM
stations.
If the radio does not have a FAV button, up to
18 stations (six FM1, six FM2, and six AM), can be
programmed on the six numbered buttons.
SeeRadio(s) on page 4-62.
Setting the Clock
To set the time and date for the Radio with CD (MP3):
1. Press
Hand the HR, MIN, MM, DD, YYYY
(hour, minute, month, day, and year) displays.
2. Press the pushbutton located below any one of the
tabs that you want to change.
3. Increase or decrease the time or date, depending
on the radio, by pressing
©SEEK¨arrows,
s\REV/FWD buttons, or by turningf
clockwise or counterclockwise.
For detailed instructions on setting the clock for your
specific audio system, seeSetting the Clock on
page 4-60.
Portable Audio Devices
This vehicle may have an auxiliary input jack, located
on the audio faceplate. External devices such as iPod®,
MP3 players, etc. can be connected to the auxiliary
input jack using a 3.5 mm (1/8 in) input jack cable.
See “Using the Auxiliary Input Jack” underRadio(s) on
page 4-62.
1-14
Page 21 of 424
Steering Wheel Controls
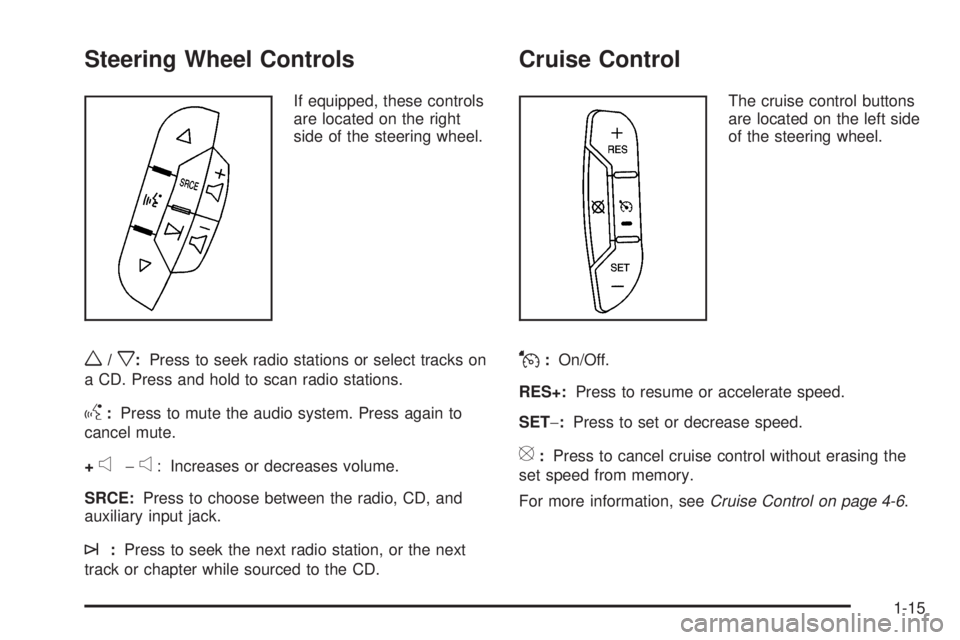
If equipped, these controls
are located on the right
side of the steering wheel.
w/x:Press to seek radio stations or select tracks on
a CD. Press and hold to scan radio stations.
g:Press to mute the audio system. Press again to
cancel mute.
+
e−e: Increases or decreases volume.
SRCE:Press to choose between the radio, CD, and
auxiliary input jack.
¨:Press to seek the next radio station, or the next
track or chapter while sourced to the CD.
Cruise Control
The cruise control buttons
are located on the left side
of the steering wheel.
J:On/Off.
RES+:Press to resume or accelerate speed.
SET−:Press to set or decrease speed.
[:Press to cancel cruise control without erasing the
set speed from memory.
For more information, seeCruise Control on page 4-6.
1-15
Page 22 of 424
Power Outlets
The accessory power outlets can be used to connect
auxiliary electrical equipment, such as a cellular phone.
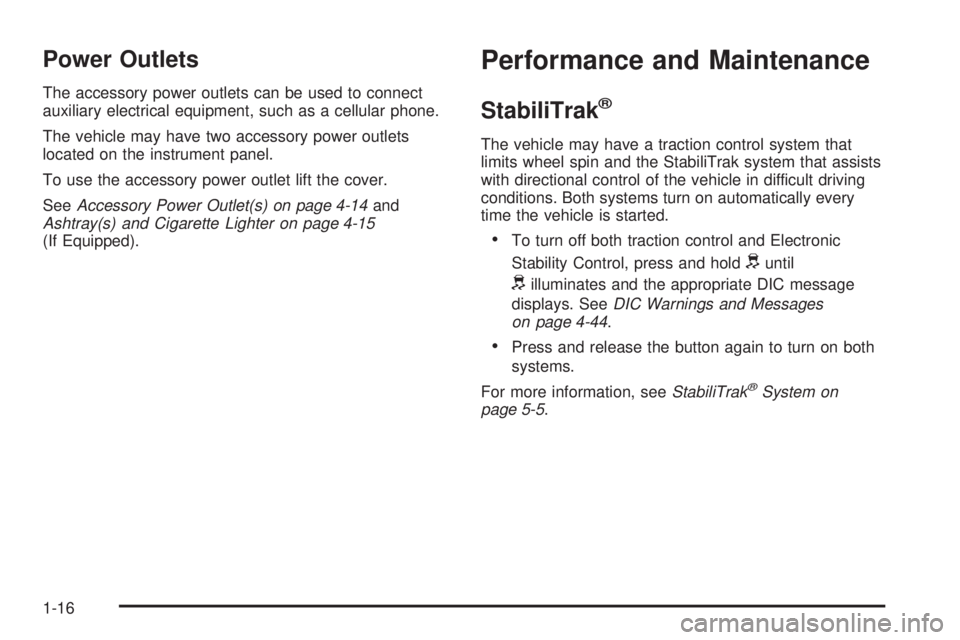
The vehicle may have two accessory power outlets
located on the instrument panel.
To use the accessory power outlet lift the cover.
SeeAccessory Power Outlet(s) on page 4-14and
Ashtray(s) and Cigarette Lighter on page 4-15
(If Equipped).
Performance and Maintenance
StabiliTrak®
The vehicle may have a traction control system that
limits wheel spin and the StabiliTrak system that assists
with directional control of the vehicle in difficult driving
conditions. Both systems turn on automatically every
time the vehicle is started.
•To turn off both traction control and Electronic
Stability Control, press and hold
duntil
dilluminates and the appropriate DIC message
displays. SeeDIC Warnings and Messages
on page 4-44.
•Press and release the button again to turn on both
systems.
For more information, seeStabiliTrak
®System on
page 5-5.
1-16
Page 144 of 424

Mirrors
Manual Rearview Mirror
Hold the inside rearview mirror in the center to move it
for a clearer view behind your vehicle. Adjust the
mirror to avoid glare from the headlamps behind.
Push the tab forward for daytime use and pull it for
nighttime use.
If you have a cargo van without the rear door glass, the
vehicle may not have an inside rearview mirror.
Outside Manual Mirrors
Adjust the mirrors by pressing the mirror up and down
and left and right so you can see a little of the side
of your vehicle, and have a clear view of objects
behind you.
The mirrors can be manually folded in or out.
On the lower portion of each mirror is an auxiliary
convex mirror. A convex mirror’s surface is curved so
you can see more from the driver seat. The auxiliary
convex mirrors can be adjusted manually by pressing
the mirror.
Outside Towing Mirrors
Vehicles with towing
mirrors can be adjusted
manually for a clear view of
the objects behind you.
On the lower portion of each mirror there is an auxiliary
convex mirror that can be adjusted manually to
provide an extended field of view.
The mirrors can be manually folded in or out.
3-40
Page 145 of 424
Outside Power Mirrors
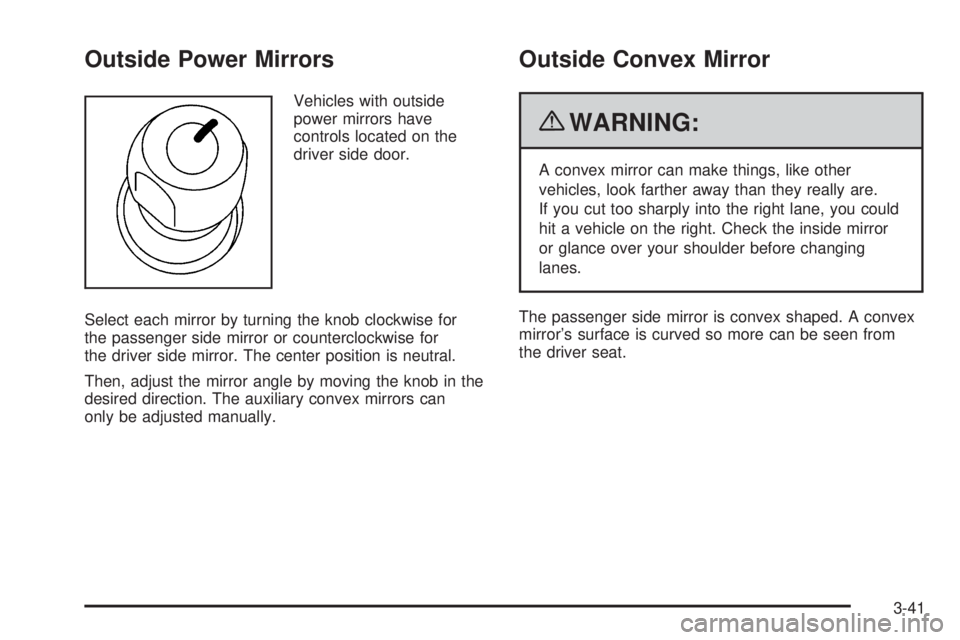
Vehicles with outside
power mirrors have
controls located on the
driver side door.
Select each mirror by turning the knob clockwise for
the passenger side mirror or counterclockwise for
the driver side mirror. The center position is neutral.
Then, adjust the mirror angle by moving the knob in the
desired direction. The auxiliary convex mirrors can
only be adjusted manually.
Outside Convex Mirror
{WARNING:
A convex mirror can make things, like other
vehicles, look farther away than they really are.
If you cut too sharply into the right lane, you could
hit a vehicle on the right. Check the inside mirror
or glance over your shoulder before changing
lanes.
The passenger side mirror is convex shaped. A convex
mirror’s surface is curved so more can be seen from
the driver seat.
3-41
Page 160 of 424

A high electrical load occurs when several of the
following are on, such as: headlamps, high beams, fog
lamps, rear window defogger, climate control fan at
high speed, heated seats, engine cooling fans, trailer
loads, and loads plugged into accessory power outlets.
EPM works to prevent excessive discharge of the
battery. It does this by balancing the generator’s output
and the vehicle’s electrical needs. It can increase
engine idle speed to generate more power, whenever
needed. It can temporarily reduce the power demands of
some accessories.
Normally, these actions occur in steps or levels, without
being noticeable. In rare cases at the highest levels
of corrective action, this action may be noticeable to the
driver. If so, a Driver Information Center (DIC)
message might be displayed, such as BATTERY
SAVER ACTIVE, BATTERY VOLTAGE LOW, or
LOW BATTERY. If this message is displayed, it is
recommended that the driver reduce the electrical loads
as much as possible. SeeDIC Warnings and Messages
on page 4-44.
Battery Run-Down Protection
This feature shuts off the dome lamps if they are left on
for more than 10 minutes when the ignition is in
LOCK/OFF. This helps to prevent the battery from
running down.
Accessory Power Outlet(s)
The accessory power outlets can be used to connect
auxiliary electrical equipment, such as a cellular phone.
The vehicle may have two accessory power outlets
located on the instrument panel.
To use the accessory power outlet lift the cover. The
spring cap cover closes by itself when the outlet is
empty.
Certain power accessory plugs may not be compatible
to the accessory power outlet and could result in
blown vehicle or adapter fuses. If you experience a
problem, see your dealer/retailer for additional
information on the accessory power plugs.
Notice:Adding any electrical equipment to the
vehicle can damage it or keep other components
from working as they should. The repairs would not
be covered by the vehicle warranty. Do not use
equipment exceeding maximum amperage rating of
20 amperes. Check with your dealer/retailer before
adding electrical equipment.
When adding electrical equipment, be sure to follow the
proper installation instructions included with the
equipment.
Notice:Improper use of the power outlet can cause
damage not covered by the vehicle warranty. Do
not hang any type of accessory or accessory
bracket from the plug because the power outlets are
designed for accessory power plugs only.
4-14
Page 164 of 424
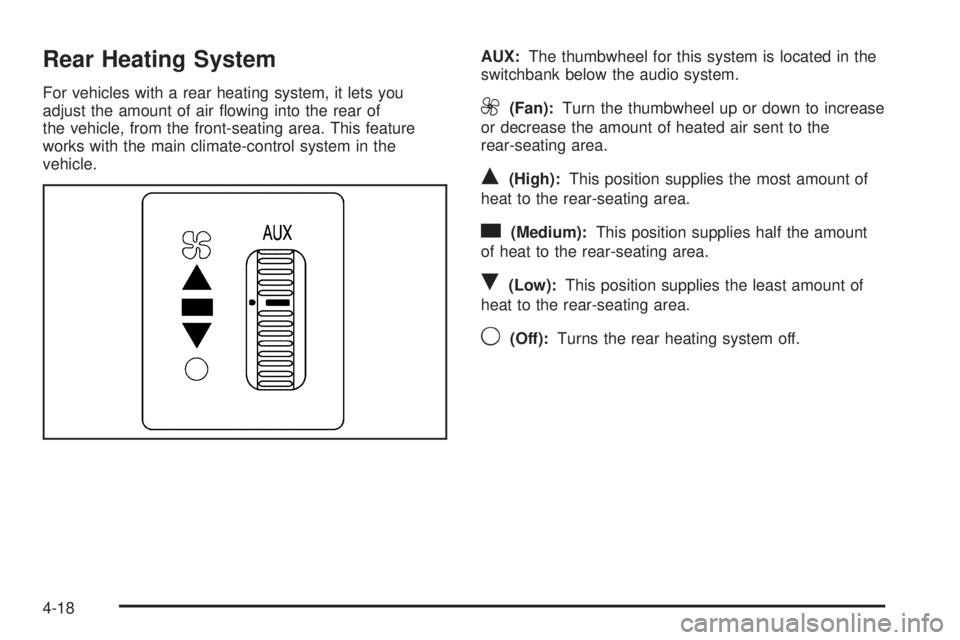
Rear Heating System
For vehicles with a rear heating system, it lets you
adjust the amount of air flowing into the rear of
the vehicle, from the front-seating area. This feature
works with the main climate-control system in the
vehicle.AUX:The thumbwheel for this system is located in the
switchbank below the audio system.9(Fan):Turn the thumbwheel up or down to increase
or decrease the amount of heated air sent to the
rear-seating area.
Q(High):This position supplies the most amount of
heat to the rear-seating area.
c(Medium):This position supplies half the amount
of heat to the rear-seating area.
R(Low):This position supplies the least amount of
heat to the rear-seating area.
9(Off):Turns the rear heating system off.
4-18
Page 165 of 424
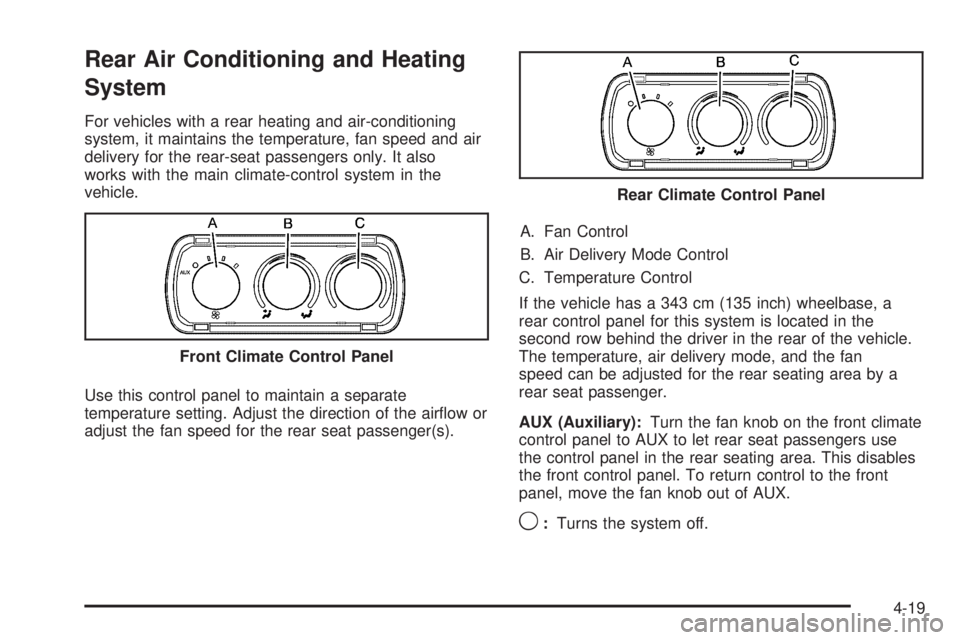
Rear Air Conditioning and Heating
System
For vehicles with a rear heating and air-conditioning
system, it maintains the temperature, fan speed and air
delivery for the rear-seat passengers only. It also
works with the main climate-control system in the
vehicle.
Use this control panel to maintain a separate
temperature setting. Adjust the direction of the airflow or
adjust the fan speed for the rear seat passenger(s).A. Fan Control
B. Air Delivery Mode Control
C. Temperature Control
If the vehicle has a 343 cm (135 inch) wheelbase, a
rear control panel for this system is located in the
second row behind the driver in the rear of the vehicle.
The temperature, air delivery mode, and the fan
speed can be adjusted for the rear seating area by a
rear seat passenger.
AUX (Auxiliary):Turn the fan knob on the front climate
control panel to AUX to let rear seat passengers use
the control panel in the rear seating area. This disables
the front control panel. To return control to the front
panel, move the fan knob out of AUX.
9:Turns the system off. Front Climate Control Panel
Rear Climate Control Panel
4-19