2010 GMC SAVANA brake light
[x] Cancel search: brake lightPage 4 of 424

Safety Warnings and Symbols
Warning Messages found on vehicle labels and in this
manual describe hazards and what to do to avoid
or reduce them.
Dangerindicates a hazard with a high level of risk
which will result in serious injury or death.
WarningorCautionindicates a hazard that could result
in injury or death.
{WARNING:
These mean there is something that could hurt
you or other people.
Notice:This means there is something that could
result in property or vehicle damage. This would not
be covered by the vehicle’s warranty.
A circle with a slash
through it is a safety
symbol which means “Do
Not,” “Do not do this,”
or “Do not let this happen.”
Vehicle Symbols
The vehicle has components and labels that use
symbols instead of text. Symbols are shown along with
the text describing the operation or information
relating to a specific component, control, message,
gage, or indicator.
M:This symbol is shown when you need to see your
owner manual for additional instructions or information.
*:This symbol is shown when you need to see a
service manual for additional instructions or information.
Vehicle Symbol Chart
Here are some additional symbols that may be found on
the vehicle and what they mean. For more information
on the symbol, refer to the index.
9:Airbag Readiness Light
#:Air Conditioning
!:Antilock Brake System (ABS)
g:Audio Steering Wheel Controls or OnStar®
$:Brake System Warning Light
":Charging System
iv
Page 137 of 424
2 (Second):This position reduces vehicle speed even
more than 3 (Third) without using the brakes. You can
use 2 (Second) on hills. It can help control vehicle speed
as you go down steep mountain roads, but then you
would also want to use the brakes off and on.
You may use this feature for reducing torque to the rear
wheels when you are trying to start the vehicle from a
stop on slippery road surfaces.
1 (First):This position reduces vehicle speed even
more than 2 (Second) without using the brakes. You
can use it on very steep hills, or in deep snow or mud.
If the shift lever is put in 1 (First) while the vehicle is
moving forward, the transmission will not shift into first
gear until the vehicle is going slowly enough.
Notice:Spinning the tires or holding the vehicle
in one place on a hill using only the accelerator
pedal may damage the transmission. The repair
will not be covered by the vehicle warranty. If you
are stuck, do not spin the tires. When stopping on a
hill, use the brakes to hold the vehicle in place.Tow/Haul Mode
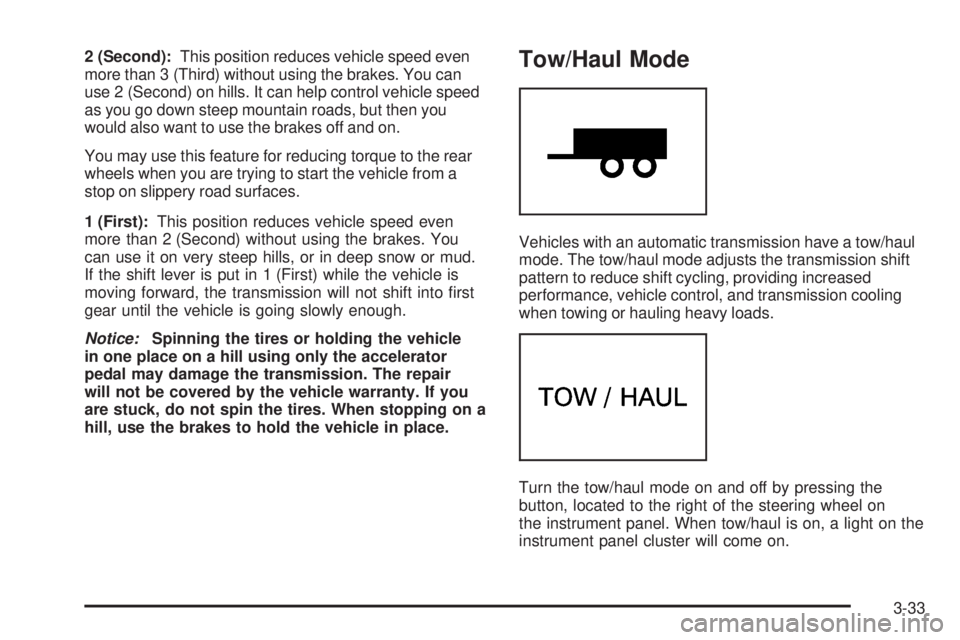
Vehicles with an automatic transmission have a tow/haul
mode. The tow/haul mode adjusts the transmission shift
pattern to reduce shift cycling, providing increased
performance, vehicle control, and transmission cooling
when towing or hauling heavy loads.
Turn the tow/haul mode on and off by pressing the
button, located to the right of the steering wheel on
the instrument panel. When tow/haul is on, a light on the
instrument panel cluster will come on.
3-33
Page 138 of 424
SeeTow/Haul Mode Light on page 4-36for more
information.
Also see “Tow Haul Mode” underTowing a Trailer on
page 5-26for more information.
Grade Braking (Six Speed Automatic
Transmission)
The Grade Braking shift modes can be activated by
pressing the tow/haul button on the dash. While
in Range Selection Mode, Grade Braking is deactivated
allowing the driver to select a desired range of gears.
Grade Braking is only active while the Tow/Haul Mode is
selected and you are not in the Range Selection Mode.
See “Tow/Haul Mode listed previously andAutomatic
Transmission Operation (Six Speed Automatic
Transmission) on page 3-26orAutomatic Transmission
Operation (Four Speed Automatic Transmission) on
page 3-31for more information on the Range Selection
Mode. Grade Braking assists in maintaining desired
vehicle speeds when driving on downhill grades by
automatically shifting to lower gears when the driver
desires to slow the vehicle by applying the brake.
This reduces wear on the braking system and increases
control of the vehicle.
Also seeTowing a Trailer on page 5-26for more
information.
Cruise Grade Braking
(Six Speed Automatic Transmission)
Cruise Grade Braking operates only while cruise
control is engaged in Tow/Haul mode. Cruise Grade
Braking assists in maintaining desired vehicle speeds
when driving on downhill grades in cruise control by
automatically shifting to lower gears when the cruise
set speed is exceeded.
While in the Range Selection Mode (RSM) mode, cruise
grade braking is not available.
SeeAutomatic Transmission Operation (Six Speed
Automatic Transmission) on page 3-26orAutomatic
Transmission Operation (Four Speed Automatic
Transmission) on page 3-31.
3-34
Page 139 of 424
Parking Brake
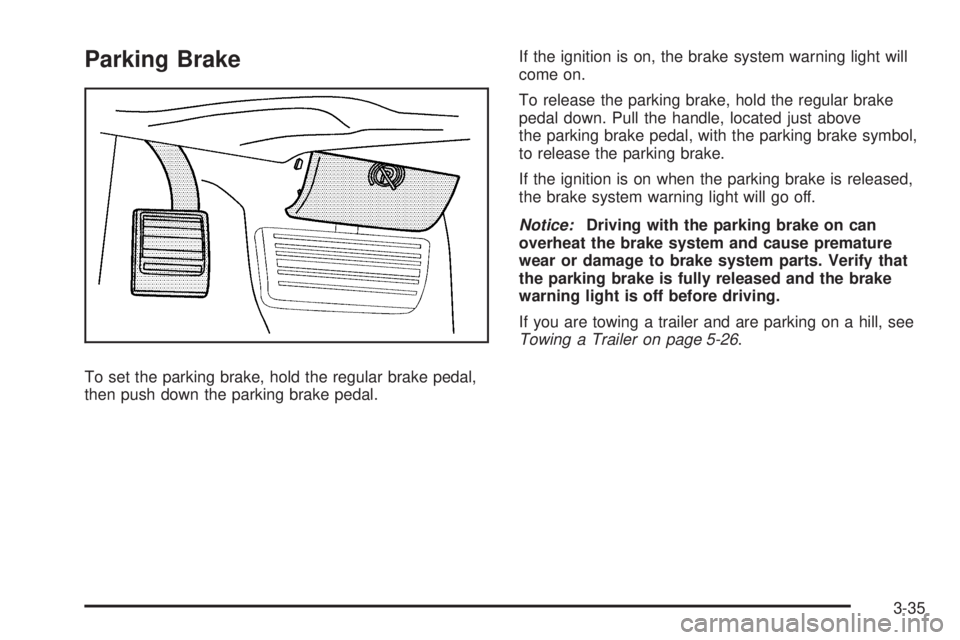
To set the parking brake, hold the regular brake pedal,
then push down the parking brake pedal.If the ignition is on, the brake system warning light will
come on.
To release the parking brake, hold the regular brake
pedal down. Pull the handle, located just above
the parking brake pedal, with the parking brake symbol,
to release the parking brake.
If the ignition is on when the parking brake is released,
the brake system warning light will go off.
Notice:Driving with the parking brake on can
overheat the brake system and cause premature
wear or damage to brake system parts. Verify that
the parking brake is fully released and the brake
warning light is off before driving.
If you are towing a trailer and are parking on a hill, see
Towing a Trailer on page 5-26.
3-35
Page 148 of 424
Brake System Warning Light..........................4-28
Antilock Brake System (ABS) Warning Light.....4-29
StabiliTrak
®Indicator Light.............................4-29
Engine Coolant Temperature Gage..................4-30
Tire Pressure Light.......................................4-30
Malfunction Indicator Lamp.............................4-31
Oil Pressure Gage........................................4-34
Oil Pressure Light.........................................4-35
Security Light...............................................4-35
Cruise Control Light......................................4-36
Highbeam On Light.......................................4-36
Tow/Haul Mode Light....................................4-36
Fuel Gage...................................................4-36Driver Information Center (DIC).......................4-37
DIC Operation and Displays...........................4-38
DIC Compass..............................................4-43
DIC Warnings and Messages.........................4-44
DIC Vehicle Customization.............................4-52
Audio System(s).............................................4-59
Setting the Clock..........................................4-60
Radio(s)......................................................4-62
Using an MP3..............................................4-72
Theft-Deterrent Feature..................................4-76
Audio Steering Wheel Controls.......................4-77
Radio Reception...........................................4-77
Fixed Mast Antenna......................................4-78
Section 4 Instrument Panel
4-2
Page 153 of 424
The cruise control buttons
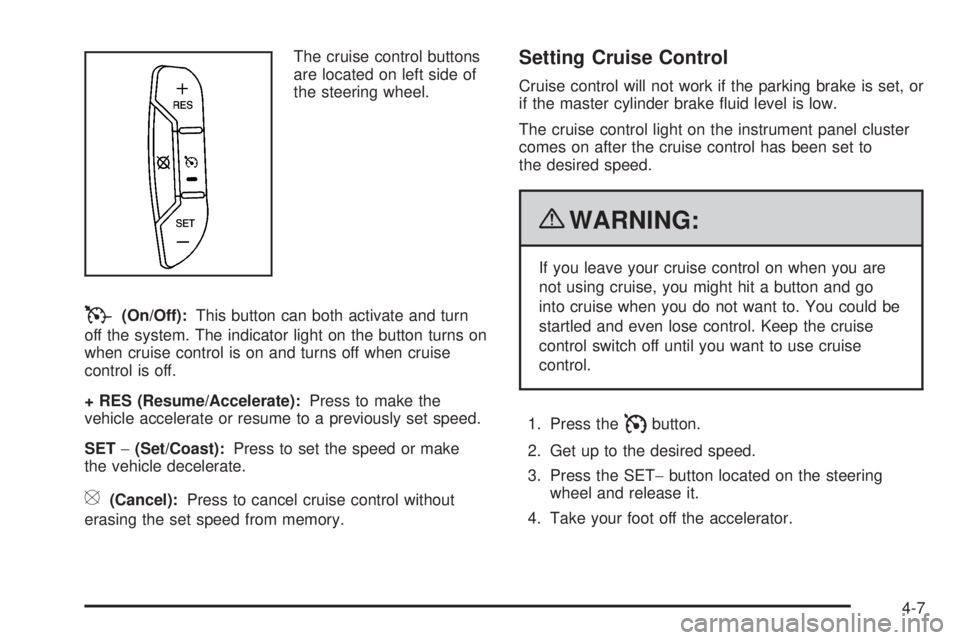
are located on left side of
the steering wheel.
T(On/Off):This button can both activate and turn
off the system. The indicator light on the button turns on
when cruise control is on and turns off when cruise
control is off.
+ RES (Resume/Accelerate):Press to make the
vehicle accelerate or resume to a previously set speed.
SET−(Set/Coast):Press to set the speed or make
the vehicle decelerate.
[(Cancel):Press to cancel cruise control without
erasing the set speed from memory.
Setting Cruise Control
Cruise control will not work if the parking brake is set, or
if the master cylinder brake fluid level is low.
The cruise control light on the instrument panel cluster
comes on after the cruise control has been set to
the desired speed.
{WARNING:
If you leave your cruise control on when you are
not using cruise, you might hit a button and go
into cruise when you do not want to. You could be
startled and even lose control. Keep the cruise
control switch off until you want to use cruise
control.
1. Press the
Ibutton.
2. Get up to the desired speed.
3. Press the SET−button located on the steering
wheel and release it.
4. Take your foot off the accelerator.
4-7
Page 155 of 424
Using Cruise Control on Hills
How well the cruise control will work on hills depends
upon the vehicle speed, load, and the steepness of the
hills. When going up steep hills, you might have to
step on the accelerator pedal to maintain the vehicle’s
speed. When going downhill, you might have to brake or
shift to a lower gear to keep the vehicle’s speed
down. When the brakes are applied the cruise control
turns off.
Ending Cruise Control
There are three ways to end cruise control:
•Step lightly on the brake pedal.
•Press the[button on the steering wheel.
•Press theIbutton on the steering wheel.
Erasing Speed Memory
The cruise control set speed memory is erased when
the cruise control or the ignition is turned off.
Exterior Lamps
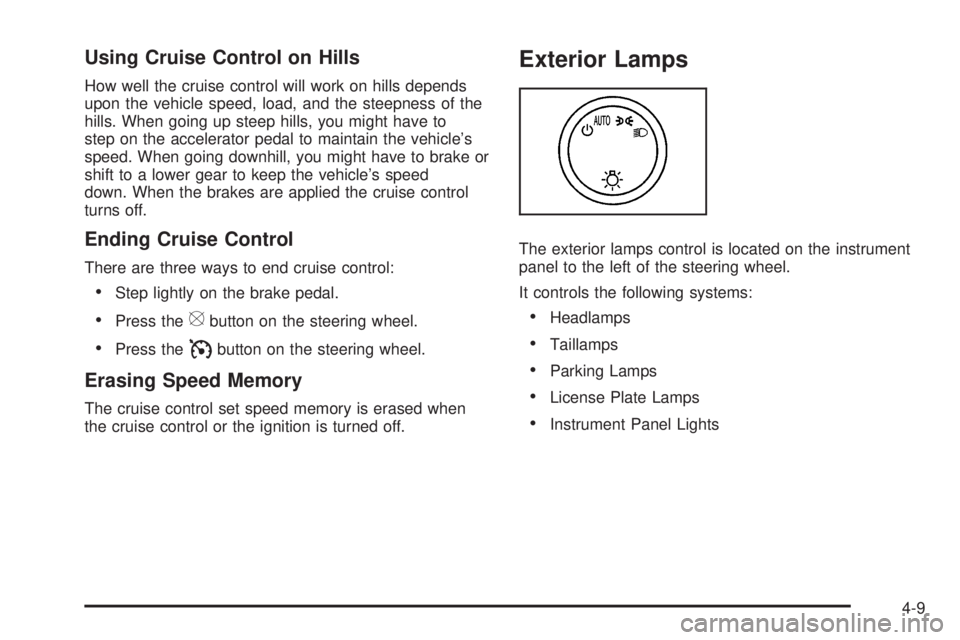
The exterior lamps control is located on the instrument
panel to the left of the steering wheel.
It controls the following systems:
•Headlamps
•Taillamps
•Parking Lamps
•License Plate Lamps
•Instrument Panel Lights
4-9
Page 174 of 424
The vehicle can be only driven for a short time with the
reading in either warning zone. If it must be driven,
turn off all unnecessary accessories.
Readings in either warning zone indicate a possible
problem in the electrical system. Have the vehicle
serviced as soon as possible.
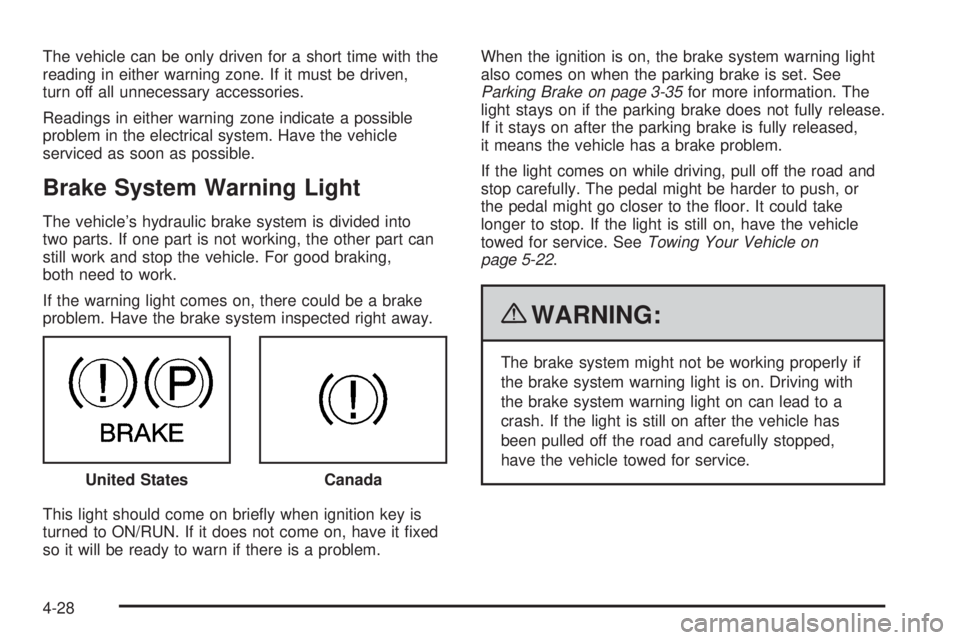
Brake System Warning Light
The vehicle’s hydraulic brake system is divided into
two parts. If one part is not working, the other part can
still work and stop the vehicle. For good braking,
both need to work.
If the warning light comes on, there could be a brake
problem. Have the brake system inspected right away.
This light should come on briefly when ignition key is
turned to ON/RUN. If it does not come on, have it fixed
so it will be ready to warn if there is a problem.When the ignition is on, the brake system warning light
also comes on when the parking brake is set. See
Parking Brake on page 3-35for more information. The
light stays on if the parking brake does not fully release.
If it stays on after the parking brake is fully released,
it means the vehicle has a brake problem.
If the light comes on while driving, pull off the road and
stop carefully. The pedal might be harder to push, or
the pedal might go closer to the floor. It could take
longer to stop. If the light is still on, have the vehicle
towed for service. SeeTowing Your Vehicle on
page 5-22.
{WARNING:
The brake system might not be working properly if
the brake system warning light is on. Driving with
the brake system warning light on can lead to a
crash. If the light is still on after the vehicle has
been pulled off the road and carefully stopped,
have the vehicle towed for service.
United States
Canada
4-28