2010 GMC SAVANA display
[x] Cancel search: displayPage 148 of 424
Brake System Warning Light..........................4-28
Antilock Brake System (ABS) Warning Light.....4-29
StabiliTrak
®Indicator Light.............................4-29
Engine Coolant Temperature Gage..................4-30
Tire Pressure Light.......................................4-30
Malfunction Indicator Lamp.............................4-31
Oil Pressure Gage........................................4-34
Oil Pressure Light.........................................4-35
Security Light...............................................4-35
Cruise Control Light......................................4-36
Highbeam On Light.......................................4-36
Tow/Haul Mode Light....................................4-36
Fuel Gage...................................................4-36Driver Information Center (DIC).......................4-37
DIC Operation and Displays...........................4-38
DIC Compass..............................................4-43
DIC Warnings and Messages.........................4-44
DIC Vehicle Customization.............................4-52
Audio System(s).............................................4-59
Setting the Clock..........................................4-60
Radio(s)......................................................4-62
Using an MP3..............................................4-72
Theft-Deterrent Feature..................................4-76
Audio Steering Wheel Controls.......................4-77
Radio Reception...........................................4-77
Fixed Mast Antenna......................................4-78
Section 4 Instrument Panel
4-2
Page 158 of 424

There is a delay in the transition between the daytime
and nighttime operation of the Daytime Running Lamps
(DRL) and the automatic headlamp systems so that
driving under bridges or bright overhead street lights does
not affect the system. The DRL and automatic headlamp
system is only affected when the light sensor sees a
change in lighting lasting longer than the delay.
If the vehicle is started in a dark garage, the automatic
headlamp system comes on immediately. Once the
vehicle leaves the garage, it takes approximately
30 seconds for the automatic headlamp system to
change to DRL if it is light outside. During that delay,
the instrument panel cluster may not be as bright
as usual. Make sure the instrument panel brightness
control is in the full bright position. SeeInstrument Panel
Brightness on page 4-12.
Instrument Panel Brightness
The knob for this feature is located next to the exterior
lamps control.
D(Instrument Panel Lights):Push the knob to
extend and then turn clockwise or counterclockwise to
brighten or dim the instrument panel lights and the radio
display. This only works if the headlamps or parking
lamps are on.
To turn on the dome lamps, with the vehicle doors
closed, turn the knob all the way clockwise.
Dome Lamps
The dome lamps come on when any door is opened.
They turn off after all the doors are closed.
The dome lamps can also be turned on by turning the
instrument panel brightness knob, located on the
instrument panel to the left of the steering column,
clockwise to the farthest position. In this position, the
dome lamps remain on whether a door is opened
or closed.
4-12
Page 159 of 424
Dome Lamp Override
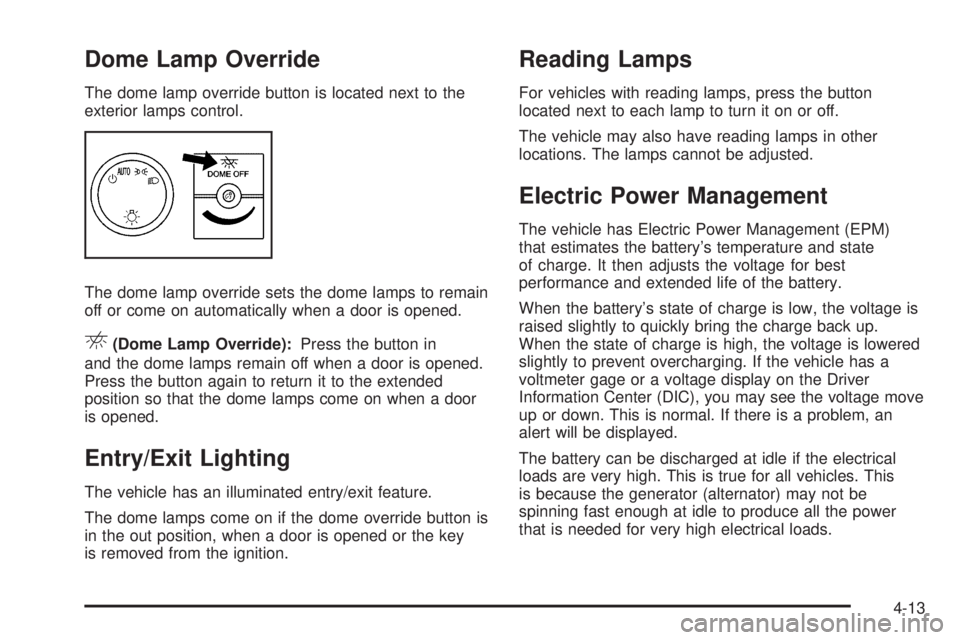
The dome lamp override button is located next to the
exterior lamps control.
The dome lamp override sets the dome lamps to remain
off or come on automatically when a door is opened.
E(Dome Lamp Override):Press the button in
and the dome lamps remain off when a door is opened.
Press the button again to return it to the extended
position so that the dome lamps come on when a door
is opened.
Entry/Exit Lighting
The vehicle has an illuminated entry/exit feature.
The dome lamps come on if the dome override button is
in the out position, when a door is opened or the key
is removed from the ignition.
Reading Lamps
For vehicles with reading lamps, press the button
located next to each lamp to turn it on or off.
The vehicle may also have reading lamps in other
locations. The lamps cannot be adjusted.
Electric Power Management
The vehicle has Electric Power Management (EPM)
that estimates the battery’s temperature and state
of charge. It then adjusts the voltage for best
performance and extended life of the battery.
When the battery’s state of charge is low, the voltage is
raised slightly to quickly bring the charge back up.
When the state of charge is high, the voltage is lowered
slightly to prevent overcharging. If the vehicle has a
voltmeter gage or a voltage display on the Driver
Information Center (DIC), you may see the voltage move
up or down. This is normal. If there is a problem, an
alert will be displayed.
The battery can be discharged at idle if the electrical
loads are very high. This is true for all vehicles. This
is because the generator (alternator) may not be
spinning fast enough at idle to produce all the power
that is needed for very high electrical loads.
4-13
Page 160 of 424

A high electrical load occurs when several of the
following are on, such as: headlamps, high beams, fog
lamps, rear window defogger, climate control fan at
high speed, heated seats, engine cooling fans, trailer
loads, and loads plugged into accessory power outlets.
EPM works to prevent excessive discharge of the
battery. It does this by balancing the generator’s output
and the vehicle’s electrical needs. It can increase
engine idle speed to generate more power, whenever
needed. It can temporarily reduce the power demands of
some accessories.
Normally, these actions occur in steps or levels, without
being noticeable. In rare cases at the highest levels
of corrective action, this action may be noticeable to the
driver. If so, a Driver Information Center (DIC)
message might be displayed, such as BATTERY
SAVER ACTIVE, BATTERY VOLTAGE LOW, or
LOW BATTERY. If this message is displayed, it is
recommended that the driver reduce the electrical loads
as much as possible. SeeDIC Warnings and Messages
on page 4-44.
Battery Run-Down Protection
This feature shuts off the dome lamps if they are left on
for more than 10 minutes when the ignition is in
LOCK/OFF. This helps to prevent the battery from
running down.
Accessory Power Outlet(s)
The accessory power outlets can be used to connect
auxiliary electrical equipment, such as a cellular phone.
The vehicle may have two accessory power outlets
located on the instrument panel.
To use the accessory power outlet lift the cover. The
spring cap cover closes by itself when the outlet is
empty.
Certain power accessory plugs may not be compatible
to the accessory power outlet and could result in
blown vehicle or adapter fuses. If you experience a
problem, see your dealer/retailer for additional
information on the accessory power plugs.
Notice:Adding any electrical equipment to the
vehicle can damage it or keep other components
from working as they should. The repairs would not
be covered by the vehicle warranty. Do not use
equipment exceeding maximum amperage rating of
20 amperes. Check with your dealer/retailer before
adding electrical equipment.
When adding electrical equipment, be sure to follow the
proper installation instructions included with the
equipment.
Notice:Improper use of the power outlet can cause
damage not covered by the vehicle warranty. Do
not hang any type of accessory or accessory
bracket from the plug because the power outlets are
designed for accessory power plugs only.
4-14
Page 168 of 424
Speedometer and Odometer
The speedometer shows the vehicle speed in both miles
per hour (mph) and kilometers per hour (km/h).
The odometer shows how far the vehicle has been
driven, in either miles (used in the United States)
or kilometers (used in Canada).
This vehicle has a tamper resistant odometer. The
digital odometer will read 999,999 if it is turned back.
If the vehicle needs a new odometer installed, it must be
set to the mileage total of the old odometer. If that is
not possible, then it must be set at zero and a label must
be put on the driver door to show the old mileage
reading when the new odometer was installed.
Trip Odometer
The trip odometer can show how far the vehicle has
been driven since the trip odometer was last set to zero.
Press the Trip/Fuel button on the Driver Information
Center (DIC) switch to display the trip odometer and the
regular odometer information.
SeeDIC Operation and Displays on page 4-38for more
information on resetting the trip odometer.
To display the odometer reading with the ignition off,
press the Trip/Fuel button on the Driver Information
Center (DIC) switch.
4-22
Page 183 of 424
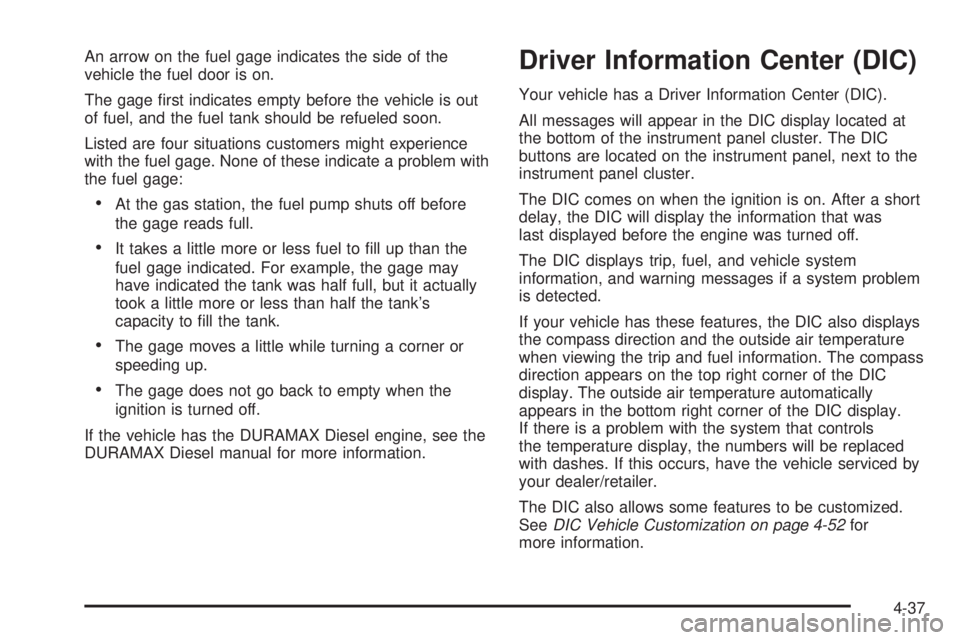
An arrow on the fuel gage indicates the side of the
vehicle the fuel door is on.
The gage first indicates empty before the vehicle is out
of fuel, and the fuel tank should be refueled soon.
Listed are four situations customers might experience
with the fuel gage. None of these indicate a problem with
the fuel gage:
•At the gas station, the fuel pump shuts off before
the gage reads full.
•It takes a little more or less fuel to fill up than the
fuel gage indicated. For example, the gage may
have indicated the tank was half full, but it actually
took a little more or less than half the tank’s
capacity to fill the tank.
•The gage moves a little while turning a corner or
speeding up.
•The gage does not go back to empty when the
ignition is turned off.
If the vehicle has the DURAMAX Diesel engine, see the
DURAMAX Diesel manual for more information.
Driver Information Center (DIC)
Your vehicle has a Driver Information Center (DIC).
All messages will appear in the DIC display located at
the bottom of the instrument panel cluster. The DIC
buttons are located on the instrument panel, next to the
instrument panel cluster.
The DIC comes on when the ignition is on. After a short
delay, the DIC will display the information that was
last displayed before the engine was turned off.
The DIC displays trip, fuel, and vehicle system
information, and warning messages if a system problem
is detected.
If your vehicle has these features, the DIC also displays
the compass direction and the outside air temperature
when viewing the trip and fuel information. The compass
direction appears on the top right corner of the DIC
display. The outside air temperature automatically
appears in the bottom right corner of the DIC display.
If there is a problem with the system that controls
the temperature display, the numbers will be replaced
with dashes. If this occurs, have the vehicle serviced by
your dealer/retailer.
The DIC also allows some features to be customized.
SeeDIC Vehicle Customization on page 4-52for
more information.
4-37
Page 184 of 424

DIC Operation and Displays
The DIC has different displays which can be accessed
by pressing the DIC buttons located on the instrument
panel, next to the instrument panel cluster.
DIC Buttons
The buttons are the
trip/fuel, vehicle
information, customization,
and set/reset buttons.
The button functions are
detailed in the following
pages.
3(Trip/Fuel):Press this button to display the
odometer, trip odometers, fuel range, average economy,
fuel used, timer, average speed, and digital tachometer.
T(Vehicle Information):Press this button to display
the oil life, units, tire pressure readings for vehicles
with the Tire Pressure Monitor System (TPMS), engine
hours, Tire Pressure Monitor System (TPMS)
programming for vehicles with the TPMS and without a
Remote Keyless Entry (RKE) transmitter, compass
zone and compass calibration on vehicles with
this feature, and RKE transmitter programming.
U(Customization):Press this button to customize the
feature settings on your vehicle. SeeDIC Vehicle
Customization on page 4-52for more information.
V(Set/Reset):Press this button to set or reset certain
functions and to turn off or acknowledge messages
on the DIC.
Trip/Fuel Menu Items
3
(Trip/Fuel):Press this button to scroll through
the following menu items:
Odometer
Press the trip/fuel button until XX km (mi) displays.
This display shows the distance the vehicle has been
driven in either kilometers (km) or miles (mi).
4-38
Page 185 of 424
Trip Odometers
Press the trip/fuel button until A or B displays. This
display shows the current distance traveled in either
kilometers (km) or miles (mi) since the last reset for each
trip odometer. Both trip odometers can be used at the
same time.
Each trip odometer can be reset to zero separately by
pressing the set/reset button while the desired trip
odometer is displayed.
The trip odometer has a feature called the retro-active
reset. This can be used to set the trip odometer to
the number of miles (kilometers) driven since the ignition
was last turned on. This can be used if the trip
odometer is not reset at the beginning of the trip.
To use the retro-active reset feature, press and hold
the set/reset button for at least four seconds. The trip
odometer will display the number of kilometers (km) or
miles (mi) driven since the ignition was last turned on and
the vehicle was moving. Once the vehicle begins moving,
the trip odometer will accumulate mileage. For example, if
the vehicle was driven 8 km (5 miles) before it is started
again, and then the retro-active reset feature is activated,
the display will show 8 km (5 miles). As the vehicle
begins moving, the display will then increase to 8.1 km
(5.1 miles), 8.2 km (5.2 miles), etc.If the retro-active reset feature is activated after the
vehicle is started, but before it begins moving, the
display will show the number of kilometers (km) or
miles (mi) that were driven during the last ignition cycle.
Fuel Range
Press the trip/fuel button until FUEL RANGE displays.
This display shows the approximate number of
remaining kilometers (km) or miles (mi) the vehicle can
be driven without refueling. The display will show
LOW if the fuel level is low.
The fuel range estimate is based on an average of the
vehicle’s fuel economy over recent driving history
and the amount of fuel remaining in the fuel tank.
This estimate will change if driving conditions change.
For example, if driving in traffic and making frequent
stops, this display may read one number, but if
the vehicle is driven on a freeway, the number may
change even though the same amount of fuel is in the
fuel tank. This is because different driving conditions
produce different fuel economies. Generally, freeway
driving produces better fuel economy than city driving.
If your vehicle is low on fuel, the FUEL LEVEL LOW
message will be displayed. See “FUEL LEVEL LOW”
underDIC Warnings and Messages on page 4-44
for more information.
4-39