2010 GMC CANYON coolant level
[x] Cancel search: coolant levelPage 274 of 448
Driving On Grades
Reduce speed and shift to a lower gearbeforestarting
down a long or steep downgrade. If the transmission is
not shifted down, the brakes might have to be used so
much that they would get hot and no longer work well.
Vehicles with automatic transmissions can tow in
D (Drive), but you may want to shift to a lower gear
selection if the transmission shifts too often (e.g., under
heavy loads and/or hilly conditions). If the vehicle has
a manual transmission it is better not to use the
highest gear.
When towing at high altitude on steep uphill grades,
consider the following: Engine coolant will boil at a lower
temperature than at normal altitudes. If the engine is
turned off immediately after towing at high altitude on
steep uphill grades, the vehicle may show signs similar to
engine overheating. To avoid this, let the engine run whileparked, preferably on level ground, with an automatic
transmission in P (Park) or a manual transmission in
N (Neutral) with the parking brake applied, for a
few minutes before turning the engine off. If the overheat
warning comes on, seeEngine Overheating on page 6-35.
Parking on Hills
{WARNING:
Parking the vehicle on a hill with the trailer
attached can be dangerous. If something goes
wrong, the rig could start to move. People can be
injured, and both the vehicle and the trailer can be
damaged. When possible, always park the rig on a
flat surface.
5-58
Page 289 of 448
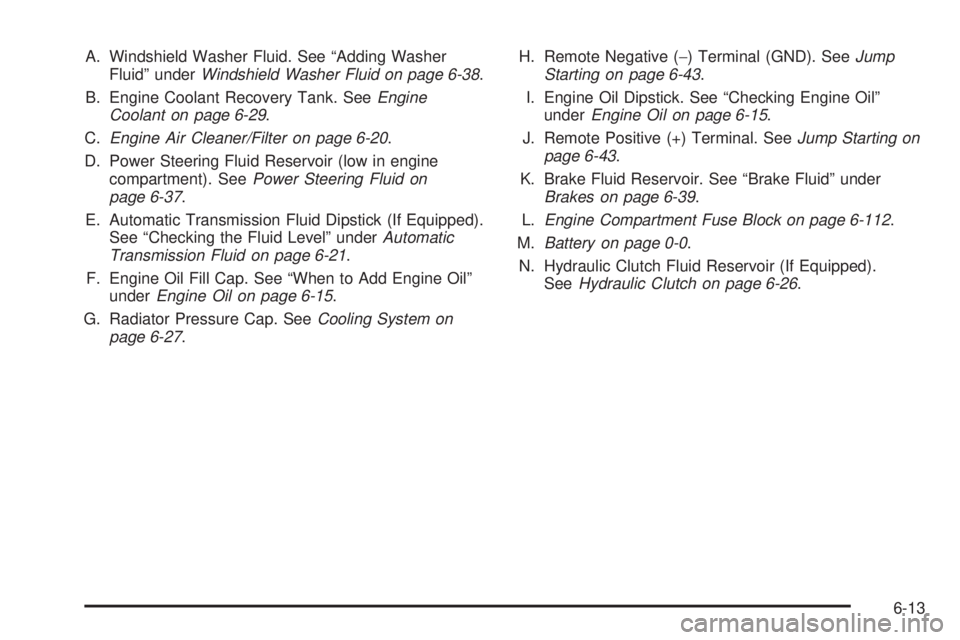
A. Windshield Washer Fluid. See “Adding Washer
Fluid” underWindshield Washer Fluid on page 6-38.
B. Engine Coolant Recovery Tank. SeeEngine
Coolant on page 6-29.
C.Engine Air Cleaner/Filter on page 6-20.
D. Power Steering Fluid Reservoir (low in engine
compartment). SeePower Steering Fluid on
page 6-37.
E. Automatic Transmission Fluid Dipstick (If Equipped).
See “Checking the Fluid Level” underAutomatic
Transmission Fluid on page 6-21.
F. Engine Oil Fill Cap. See “When to Add Engine Oil”
underEngine Oil on page 6-15.
G. Radiator Pressure Cap. SeeCooling System on
page 6-27.H. Remote Negative (−) Terminal (GND). SeeJump
Starting on page 6-43.
I. Engine Oil Dipstick. See “Checking Engine Oil”
underEngine Oil on page 6-15.
J. Remote Positive (+) Terminal. SeeJump Starting on
page 6-43.
K. Brake Fluid Reservoir. See “Brake Fluid” under
Brakes on page 6-39.
L.Engine Compartment Fuse Block on page 6-112.
M.Battery on page 0-0.
N. Hydraulic Clutch Fluid Reservoir (If Equipped).
SeeHydraulic Clutch on page 6-26.
6-13
Page 291 of 448
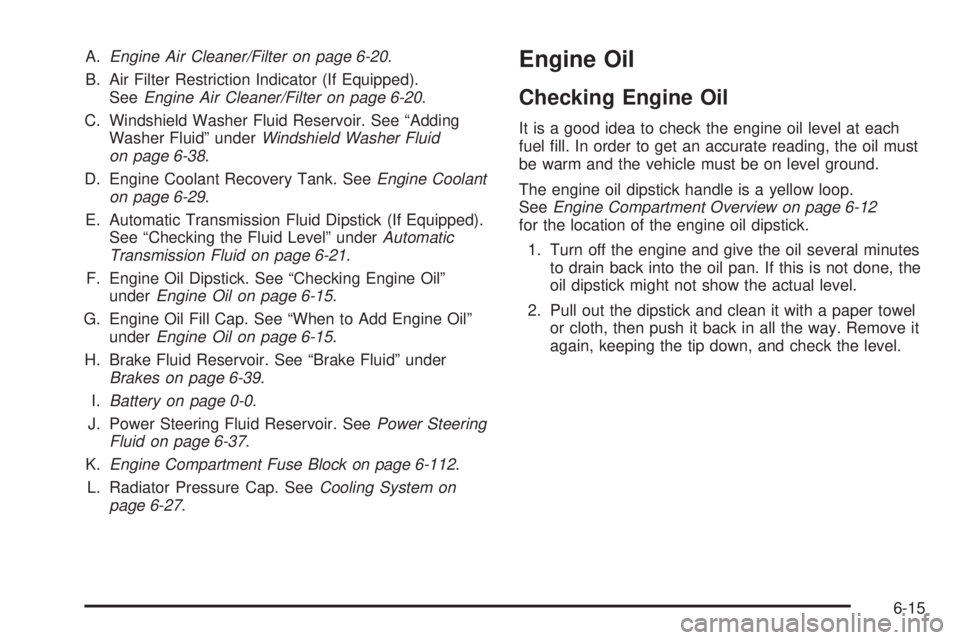
A.Engine Air Cleaner/Filter on page 6-20.
B. Air Filter Restriction Indicator (If Equipped).
SeeEngine Air Cleaner/Filter on page 6-20.
C. Windshield Washer Fluid Reservoir. See “Adding
Washer Fluid” underWindshield Washer Fluid
on page 6-38.
D. Engine Coolant Recovery Tank. SeeEngine Coolant
on page 6-29.
E. Automatic Transmission Fluid Dipstick (If Equipped).
See “Checking the Fluid Level” underAutomatic
Transmission Fluid on page 6-21.
F. Engine Oil Dipstick. See “Checking Engine Oil”
underEngine Oil on page 6-15.
G. Engine Oil Fill Cap. See “When to Add Engine Oil”
underEngine Oil on page 6-15.
H. Brake Fluid Reservoir. See “Brake Fluid” under
Brakes on page 6-39.
I.Battery on page 0-0.
J. Power Steering Fluid Reservoir. SeePower Steering
Fluid on page 6-37.
K.Engine Compartment Fuse Block on page 6-112.
L. Radiator Pressure Cap. SeeCooling System on
page 6-27.Engine Oil
Checking Engine Oil
It is a good idea to check the engine oil level at each
fuel fill. In order to get an accurate reading, the oil must
be warm and the vehicle must be on level ground.
The engine oil dipstick handle is a yellow loop.
SeeEngine Compartment Overview on page 6-12
for the location of the engine oil dipstick.
1. Turn off the engine and give the oil several minutes
to drain back into the oil pan. If this is not done, the
oil dipstick might not show the actual level.
2. Pull out the dipstick and clean it with a paper towel
or cloth, then push it back in all the way. Remove it
again, keeping the tip down, and check the level.
6-15
Page 303 of 448
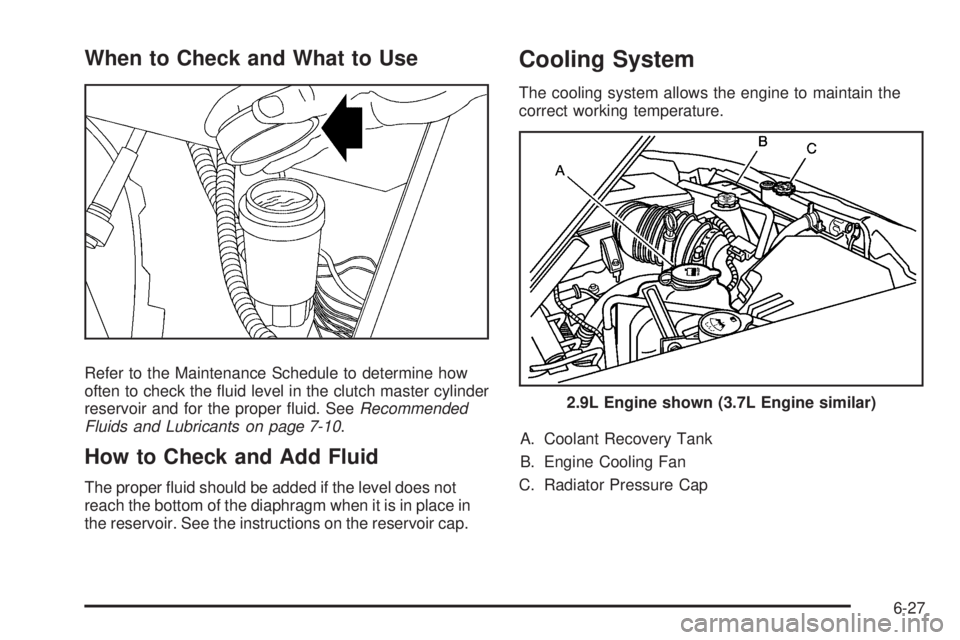
When to Check and What to Use
Refer to the Maintenance Schedule to determine how
often to check the fluid level in the clutch master cylinder
reservoir and for the proper fluid. SeeRecommended
Fluids and Lubricants on page 7-10.
How to Check and Add Fluid
The proper fluid should be added if the level does not
reach the bottom of the diaphragm when it is in place in
the reservoir. See the instructions on the reservoir cap.
Cooling System
The cooling system allows the engine to maintain the
correct working temperature.
A. Coolant Recovery Tank
B. Engine Cooling Fan
C. Radiator Pressure Cap
2.9L Engine shown (3.7L Engine similar)
6-27
Page 307 of 448
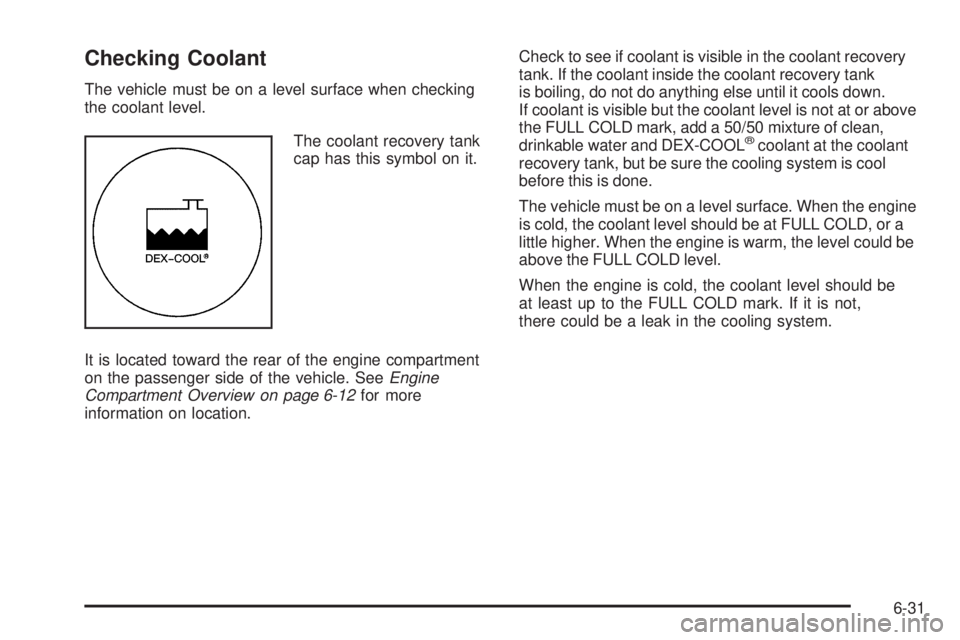
Checking Coolant
The vehicle must be on a level surface when checking
the coolant level.
The coolant recovery tank
cap has this symbol on it.
It is located toward the rear of the engine compartment
on the passenger side of the vehicle. SeeEngine
Compartment Overview on page 6-12for more
information on location.Check to see if coolant is visible in the coolant recovery
tank. If the coolant inside the coolant recovery tank
is boiling, do not do anything else until it cools down.
If coolant is visible but the coolant level is not at or above
the FULL COLD mark, add a 50/50 mixture of clean,
drinkable water and DEX-COOL
®coolant at the coolant
recovery tank, but be sure the cooling system is cool
before this is done.
The vehicle must be on a level surface. When the engine
is cold, the coolant level should be at FULL COLD, or a
little higher. When the engine is warm, the level could be
above the FULL COLD level.
When the engine is cold, the coolant level should be
at least up to the FULL COLD mark. If it is not,
there could be a leak in the cooling system.
6-31
Page 310 of 448
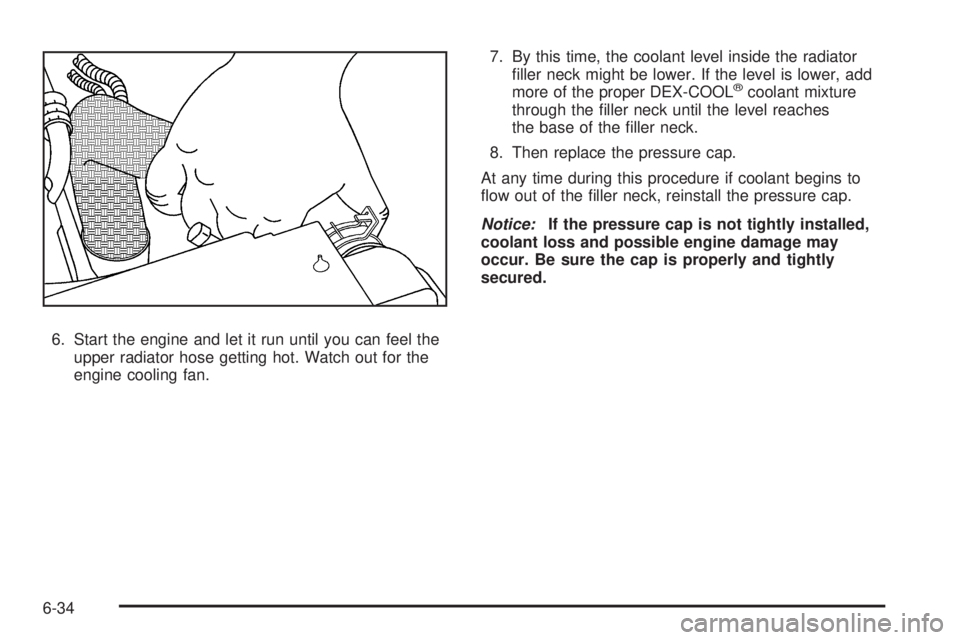
6. Start the engine and let it run until you can feel the
upper radiator hose getting hot. Watch out for the
engine cooling fan.7. By this time, the coolant level inside the radiator
filler neck might be lower. If the level is lower, add
more of the proper DEX-COOL
®coolant mixture
through the filler neck until the level reaches
the base of the filler neck.
8. Then replace the pressure cap.
At any time during this procedure if coolant begins to
flow out of the filler neck, reinstall the pressure cap.
Notice:If the pressure cap is not tightly installed,
coolant loss and possible engine damage may
occur. Be sure the cap is properly and tightly
secured.
6-34
Page 311 of 448

Engine Overheating
The vehicle has a coolant temperature gage displayed
on the instrument panel to warn if the engine is
overheating. SeeEngine Coolant Temperature Gage on
page 4-27. If the engine is too hot, the air conditioning
might stop working. This is normal and helps cool
the engine.
You may decide not to lift the hood when the warning
appears, but instead get service help right away.
SeeRoadside Assistance Program on page 8-7.
If you do decide to lift the hood, make sure the vehicle
is parked on a level surface.
Then check to see if the engine cooling fan is running.
If the engine is overheating, the fan should be running.
If it is not, do not continue to run the engine and have the
vehicle serviced.
The engine cooling fan speed should increase when
idle speed is doubled by pushing the accelerator
pedal down. If it does not, the vehicle needs service.
Turn off the engine.
Notice:Engine damage from running the engine
without coolant is not covered by the warranty.
Notice:If the engine catches �re because of being
driven with no coolant, your vehicle can be badly
damaged. The costly repairs would not be covered
by the vehicle warranty.
If Steam is Coming from the Engine
Compartment
{WARNING:
Steam from an overheated engine can burn you
badly, even if you just open the hood. Stay away
from the engine if you see or hear steam coming
from it. Just turn it off and get everyone away
from the vehicle until it cools down. Wait until
there is no sign of steam or coolant before you
open the hood.
If you keep driving when your engine is
overheated, the liquids in it can catch fire. You or
others could be badly burned. Stop your engine if
it overheats, and get out of the vehicle until the
engine is cool.
6-35
Page 399 of 448

Rotation of New Tires
To maintain ride, handling, and performance of
the vehicle, it is important that the first rotation
service for new tires be performed when they
have 8 000 to 13 000 km (5,000 to 8,000 miles).
SeeTire Inspection and Rotation on page 6-71.
Scheduled Maintenance
When the Change Oil Message
Displays
Change engine oil and filter. SeeEngine Oil on
page 6-15.An Emission Control Service.
When the Change Oil message displays, service is
required for the vehicle as soon as possible, within the
next 1 000 km/600 miles. If driving under the best
conditions, the engine oil life system might not indicate
the need for vehicle service for more than a year.
The engine oil and filter must be changed at least
once a year and the oil life system must be reset. Your
dealer/retailer has trained service technicians who will
perform this work and reset the system. If the engine oil
life system is reset accidentally, service the vehicle within
5 000 km/3,000 miles since the last service. Reset the oil
life system whenever the oil is changed. SeeEngine Oil
Life System on page 6-18.When the Change Oil message displays, certain
services, checks, and inspections are required.
The services described for MaintenanceIshould be
performed at every engine oil change. The services
described for MaintenanceIIshould be performed when:
•MaintenanceIwas performed the last time the
engine oil was changed.
•It has been 10 months or more since the Change
Oil message has displayed or since the last
service.
MaintenanceI
•Change engine oil and filter. SeeEngine Oil on
page 6-15.An Emission Control Service.
•Engine coolant level check. SeeEngine Coolant on
page 6-29.
•Windshield washer fluid level check. SeeWindshield
Washer Fluid on page 6-38.
•Tire inflation check. SeeIn�ation - Tire Pressure on
page 6-64.
•Tire wear inspection. SeeTire Inspection and
Rotation on page 6-71.
•Rotate tires. SeeTire Inspection and Rotation on
page 6-71.
7-3