Page 313 of 448

Power Steering Fluid
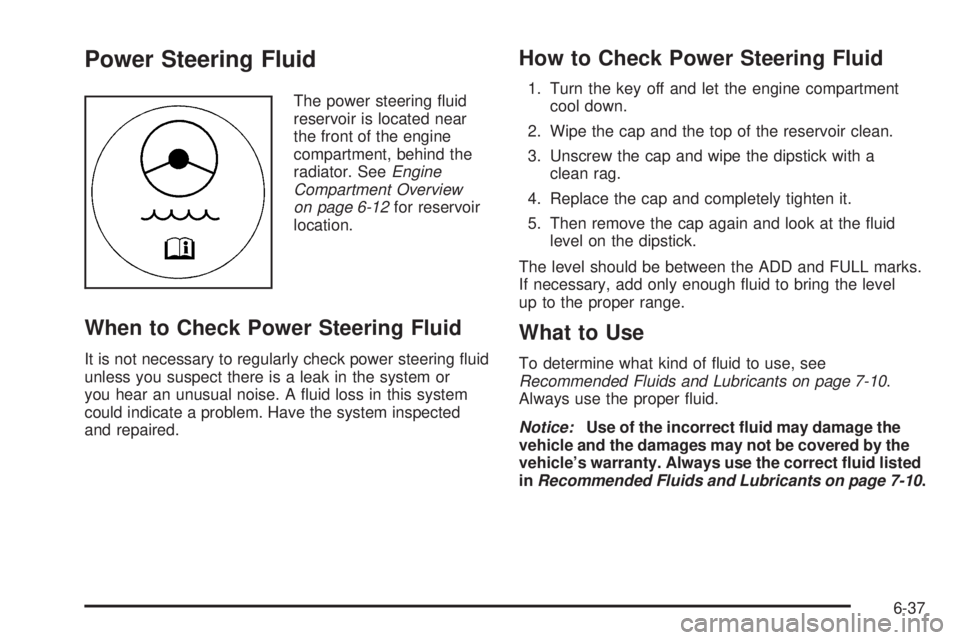
The power steering fluid
reservoir is located near
the front of the engine
compartment, behind the
radiator. SeeEngine
Compartment Overview
on page 6-12for reservoir
location.
When to Check Power Steering Fluid
It is not necessary to regularly check power steering fluid
unless you suspect there is a leak in the system or
you hear an unusual noise. A fluid loss in this system
could indicate a problem. Have the system inspected
and repaired.
How to Check Power Steering Fluid
1. Turn the key off and let the engine compartment
cool down.
2. Wipe the cap and the top of the reservoir clean.
3. Unscrew the cap and wipe the dipstick with a
clean rag.
4. Replace the cap and completely tighten it.
5. Then remove the cap again and look at the fluid
level on the dipstick.
The level should be between the ADD and FULL marks.
If necessary, add only enough fluid to bring the level
up to the proper range.
What to Use
To determine what kind of fluid to use, see
Recommended Fluids and Lubricants on page 7-10.
Always use the proper fluid.
Notice:Use of the incorrect �uid may damage the
vehicle and the damages may not be covered by the
vehicle’s warranty. Always use the correct �uid listed
inRecommended Fluids and Lubricants on page 7-10.
6-37
Page 315 of 448

Brakes
Brake Fluid
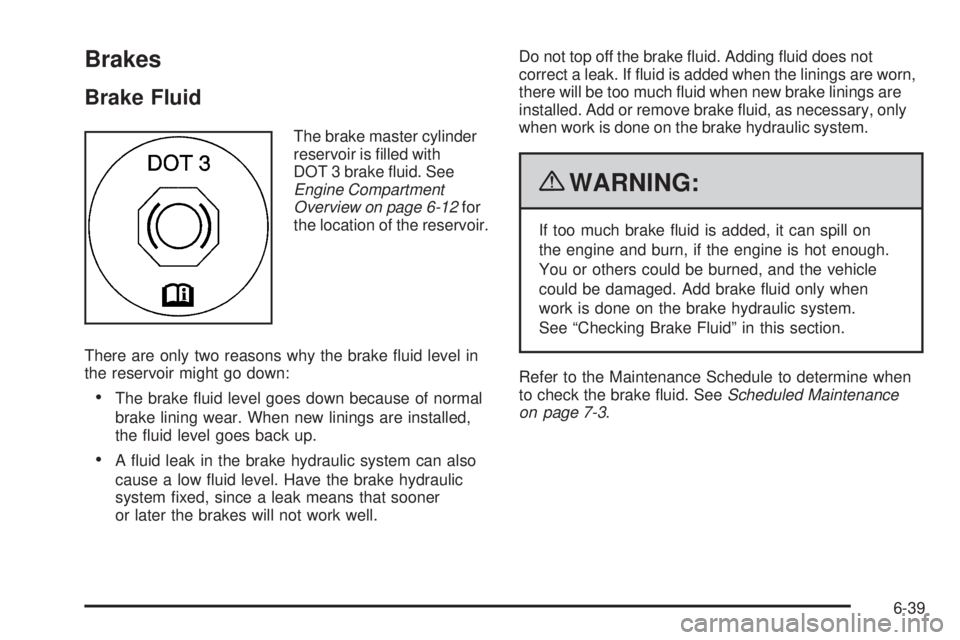
The brake master cylinder
reservoir is filled with
DOT 3 brake fluid. See
Engine Compartment
Overview on page 6-12for
the location of the reservoir.
There are only two reasons why the brake fluid level in
the reservoir might go down:
•The brake fluid level goes down because of normal
brake lining wear. When new linings are installed,
the fluid level goes back up.
•A fluid leak in the brake hydraulic system can also
cause a low fluid level. Have the brake hydraulic
system fixed, since a leak means that sooner
or later the brakes will not work well.Do not top off the brake fluid. Adding fluid does not
correct a leak. If fluid is added when the linings are worn,
there will be too much fluid when new brake linings are
installed. Add or remove brake fluid, as necessary, only
when work is done on the brake hydraulic system.
{WARNING:
If too much brake fluid is added, it can spill on
the engine and burn, if the engine is hot enough.
You or others could be burned, and the vehicle
could be damaged. Add brake fluid only when
work is done on the brake hydraulic system.
See “Checking Brake Fluid” in this section.
Refer to the Maintenance Schedule to determine when
to check the brake fluid. SeeScheduled Maintenance
on page 7-3.
6-39
Page 316 of 448

Checking Brake Fluid
Check brake fluid by looking at the brake fluid reservoir.
SeeEngine Compartment Overview on page 6-12.
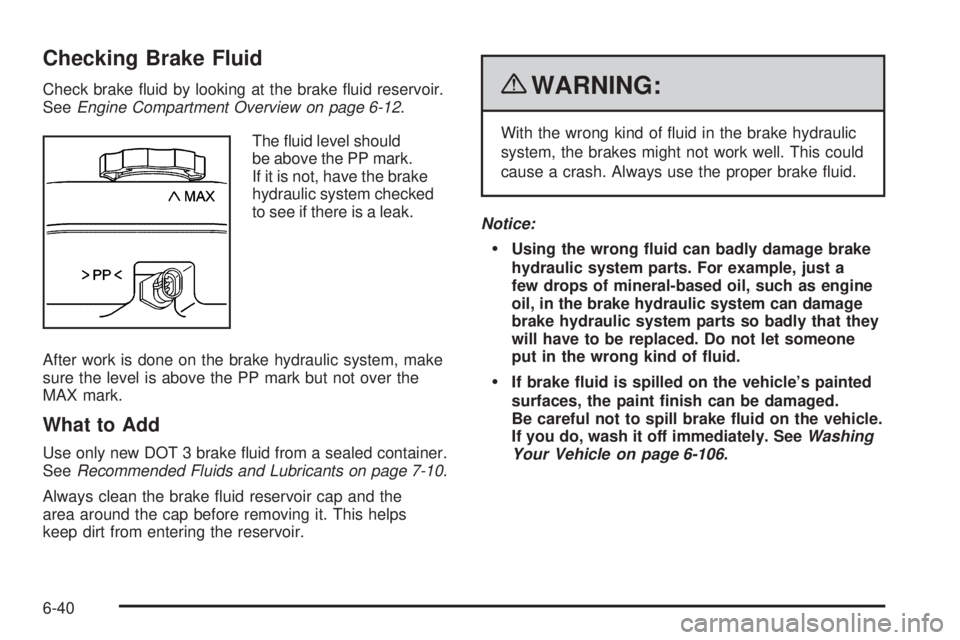
The fluid level should
be above the PP mark.
If it is not, have the brake
hydraulic system checked
to see if there is a leak.
After work is done on the brake hydraulic system, make
sure the level is above the PP mark but not over the
MAX mark.
What to Add
Use only new DOT 3 brake fluid from a sealed container.
SeeRecommended Fluids and Lubricants on page 7-10.
Always clean the brake fluid reservoir cap and the
area around the cap before removing it. This helps
keep dirt from entering the reservoir.
{WARNING:
With the wrong kind of fluid in the brake hydraulic
system, the brakes might not work well. This could
cause a crash. Always use the proper brake fluid.
Notice:
Using the wrong �uid can badly damage brake
hydraulic system parts. For example, just a
few drops of mineral-based oil, such as engine
oil, in the brake hydraulic system can damage
brake hydraulic system parts so badly that they
will have to be replaced. Do not let someone
put in the wrong kind of �uid.
If brake �uid is spilled on the vehicle’s painted
surfaces, the paint �nish can be damaged.
Be careful not to spill brake �uid on the vehicle.
If you do, wash it off immediately. SeeWashing
Your Vehicle on page 6-106.
6-40
Page 321 of 448

{WARNING:
Fans or other moving engine parts can injure you
badly. Keep your hands away from moving parts
once the engine is running.
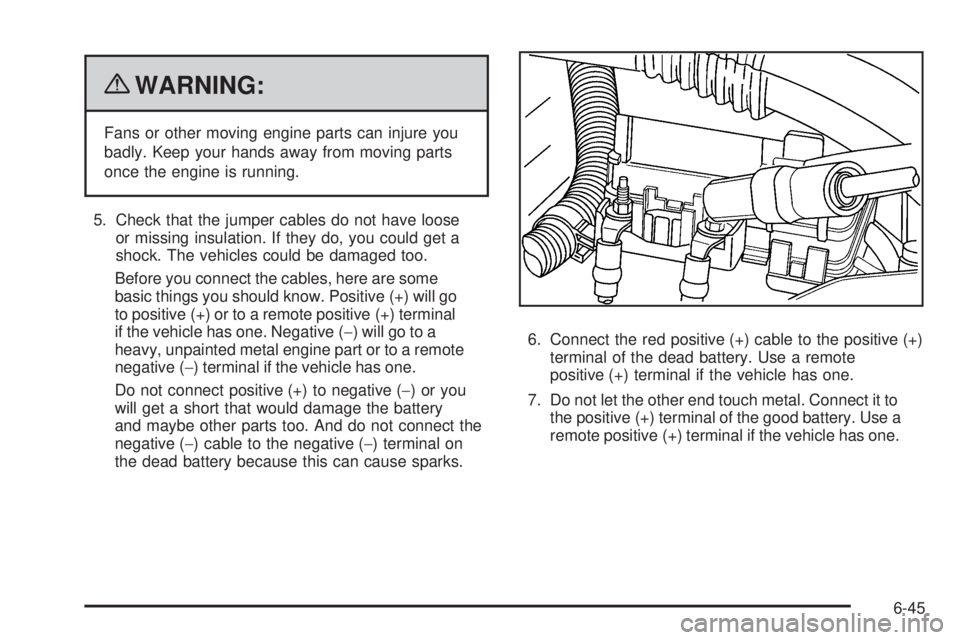
5. Check that the jumper cables do not have loose
or missing insulation. If they do, you could get a
shock. The vehicles could be damaged too.
Before you connect the cables, here are some
basic things you should know. Positive (+) will go
to positive (+) or to a remote positive (+) terminal
if the vehicle has one. Negative (−) will go to a
heavy, unpainted metal engine part or to a remote
negative (−) terminal if the vehicle has one.
Do not connect positive (+) to negative (−)oryou
will get a short that would damage the battery
and maybe other parts too. And do not connect the
negative (−) cable to the negative (−) terminal on
the dead battery because this can cause sparks.6. Connect the red positive (+) cable to the positive (+)
terminal of the dead battery. Use a remote
positive (+) terminal if the vehicle has one.
7. Do not let the other end touch metal. Connect it to
the positive (+) terminal of the good battery. Use a
remote positive (+) terminal if the vehicle has one.
6-45
Page 346 of 448

The TPMS sensor matching procedure is outlined
below:
1. Set the parking brake.
2. Turn the ignition switch to ON/RUN with the
engine off.
3. Turn the exterior lamp switch from AUTO to OFF
four times within three seconds. A double horn chirp
will sound and the TPMS low tire warning light starts
flashing. The double horn chirp and flashing TPMS
warning light indicates the TPMS matching process
has started. The TPMS warning light should continue
flashing throughout the matching procedure.
The LOW TIRE message displays on the Driver
Information Center (DIC).
4. Start with the driver side front tire.
5. Remove the valve cap from the valve cap stem.
Activate the TPMS sensor by increasing or
decreasing the tire’s air pressure for 10 seconds,
then stop and listen for a single horn chirp. The
single horn chirp should sound within 15 seconds,
confirming that the sensor identification code has
been matched to this tire and wheel position. If you
do not hear the confirming single horn chirp, turn the
ignition switch to LOCK and start over beginning with
Step 2.6. Proceed to the passenger side front tire, and repeat
the procedure in Step 5.
7. Proceed to the passenger side rear tire, and repeat
the procedure in Step 5.
8. Proceed to the driver side rear tire, and repeat the
procedure in Step 5.
9. After hearing the confirming horn chirp for the driver
side rear tire, check to see if the TPMS low tire
warning light and the DIC LOW TIRE messages
have turned off. If yes, the TPMS sensors have been
relearned. Turn the ignition switch to LOCK/OFF.
If the low tire warning light and the SERV TPM
message on the DIC are on after completing Step 5
for the driver side rear tire, the sensor relearn
process has not been successful. Turn the ignition
switch to LOCK/OFF and repeat the matching
process beginning with Step 2.
10. Set all four tires to the recommended air pressure
level as indicated on the Tire and Loading
Information label.
11. Put the valve caps back on the valve stems.
6-70
Page 395 of 448
Capacities and Speci�cations (cont’d)
ApplicationCapacities
Metric English
Transmission
Automatic (Pan Removal and Filter Replacement) 4.7 L 5.0 qt
Manual – Rear-Wheel Drive (Drain and Refill) 2.2 L 2.3 qt
Manual – Four-Wheel Drive (Drain and Refill) 2.3 L 2.4 qt
Wheel Nut Torque 140Y100 lb ft
All capacities are approximate. When adding, be sure to fill to the approximate level, as recommended in this
manual. Recheck fluid level after filling.
Engine Speci�cations
Type VIN Code Transmission Spark Plug Gap
2.9L L4 9Automatic
Manual1.01 mm (0.040 in)
3.7L L5 E Automatic 1.01 mm (0.040 in)
5.3L V8 P Automatic 1.01 mm (0.040 in)
6-119
Page 397 of 448
Maintenance Schedule......................................7-2
Introduction...................................................7-2
Scheduled Maintenance...................................7-3
Owner Checks and Services............................7-8Recommended Fluids and Lubricants...............7-10
Maintenance Replacement Parts.....................7-12
Engine Drive Belt Routing..............................7-13
Maintenance Record.....................................7-14
Section 7 Maintenance Schedule
7-1
Page 399 of 448

Rotation of New Tires
To maintain ride, handling, and performance of
the vehicle, it is important that the first rotation
service for new tires be performed when they
have 8 000 to 13 000 km (5,000 to 8,000 miles).
SeeTire Inspection and Rotation on page 6-71.
Scheduled Maintenance
When the Change Oil Message
Displays
Change engine oil and filter. SeeEngine Oil on
page 6-15.An Emission Control Service.
When the Change Oil message displays, service is
required for the vehicle as soon as possible, within the
next 1 000 km/600 miles. If driving under the best
conditions, the engine oil life system might not indicate
the need for vehicle service for more than a year.
The engine oil and filter must be changed at least
once a year and the oil life system must be reset. Your
dealer/retailer has trained service technicians who will
perform this work and reset the system. If the engine oil
life system is reset accidentally, service the vehicle within
5 000 km/3,000 miles since the last service. Reset the oil
life system whenever the oil is changed. SeeEngine Oil
Life System on page 6-18.When the Change Oil message displays, certain
services, checks, and inspections are required.
The services described for MaintenanceIshould be
performed at every engine oil change. The services
described for MaintenanceIIshould be performed when:
•MaintenanceIwas performed the last time the
engine oil was changed.
•It has been 10 months or more since the Change
Oil message has displayed or since the last
service.
MaintenanceI
•Change engine oil and filter. SeeEngine Oil on
page 6-15.An Emission Control Service.
•Engine coolant level check. SeeEngine Coolant on
page 6-29.
•Windshield washer fluid level check. SeeWindshield
Washer Fluid on page 6-38.
•Tire inflation check. SeeIn�ation - Tire Pressure on
page 6-64.
•Tire wear inspection. SeeTire Inspection and
Rotation on page 6-71.
•Rotate tires. SeeTire Inspection and Rotation on
page 6-71.
7-3