Page 16 of 104

Idle control:
For periods of extended idle, the throttle should be set at an rpm that is
sufficient to keep the engine at normal operating temperatures. This
action can reduce the amount of engine damaging deposits.
•The engine contains a unique “Cold Weather - Idle up feature”
calibration strategy within the PCM. Under the appropriate conditions,
the strategy will automatically elevate the engine idle speed after
130 seconds of idling in cold ambient temperatures. For this feature to
be activated, the truck must be in P (Park) (for automatic
transmission), in neutral (for manual transmission) with the parking
brake applied and engine oil temperature below 158°F (70°C). This
strategy raises the rpm to a level that reduces the potential to
produce “coking” or “wet stacking”, which is common to all diesel
engines when idling for extended periods during cold ambient
temperatures.
•Your vehicle may have a factory option for a Stationary Elevated Idle
Control (SEIC) through dash-mounted Upfitter switches will allow the
operator to elevate the idle rpm for extended idle periods, as well as
aftermarket equipment such as PTO operation. This feature must be
configured even if ordered from the factory. See your authorized
dealer for required upfitting.
Operation in snow
Vehicle operation in heavy snowfall or extreme rain conditions may feed
excessive amounts of snow/water into the air intake system. This could
plug/soak the air filter with snow and may cause the engine to lose
power and possibly shut down.
You may not need to change the air filter and the vehicle may be driven
up to 200 miles (320 km) under the following conditions:
•Snow:At the earliest opportunity, open the hood and clear all the
snow and ice from the air filter housing inlet (do NOT remove the air
filter) and reset the air filter restriction gauge.
•Wet:The air filter will dry after about 15–30 minutes at highway
speeds. At the earliest opportunity, open the hood and reset the air
filter restriction gauge.
Refer toAir filter and restriction gaugein theMaintenance and
Specificationschapter of this supplement for more information.
Driving
16
2010 Econoline(eco)
Supplement(supplement), 1st Printing
USA(fus)
Page 44 of 104

2. Remove and discard the old fuel filter element.
3. Carefully clean the mating surfaces.
Installation - both
The engine will not run properly if the fuel filter is not installed
in housing.
1. Install the new fuel filter and cap seal into the fuel filter housing.
Refer toMotorcraft part numberslater in this chapter for the fuel filter
part number.
2. Tighten cap onto fuel filter housing slowly, allowing fuel to soak into
the fuel filter element. Tighten cap until it contacts the housing.
Turn the ignition key to on for 30 seconds, then turn it to off. Do this a
total of six times in a row to purge any trapped air from the fuel system.
Replace the filter bowl O-ring with new seal (included in filter kit) every
time you service the filter.
After filter service, a no start or rough running engine may indicate that
air is entering the system through the filter bowl seal or drain. Make sure
the drain lever is pointing rearward and stowed against the HFCM case.
Using a fuel which has more than average impurities may require
the fuel filter to be replaced more frequently than the service
interval specifies.
ENGINE OIL
Checking the engine oil level
Because it is normal to add some oil between oil changes, check your
engine oil level each time you stop for fuel. To check the engine oil level
consistently and accurately, the following procedure is recommended:
1. Have engine at normal operating temperature (at least into the
NORMAL range on the engine coolant temperature gauge).
2. Park the vehicle on a level surface, then turn off the engine and open
the hood.
3. Allow at least20 minutesafter engine shutdown to ensure that the
oil contained in the upper parts of the engine has returned to the oil
pan.
4. Protecting yourself from engine heat, pull out the dipstick, wipe it
clean and reinsert fully.
Maintenance and Specifications
44
2010 Econoline(eco)
Supplement(supplement), 1st Printing
USA(fus)
Page 49 of 104

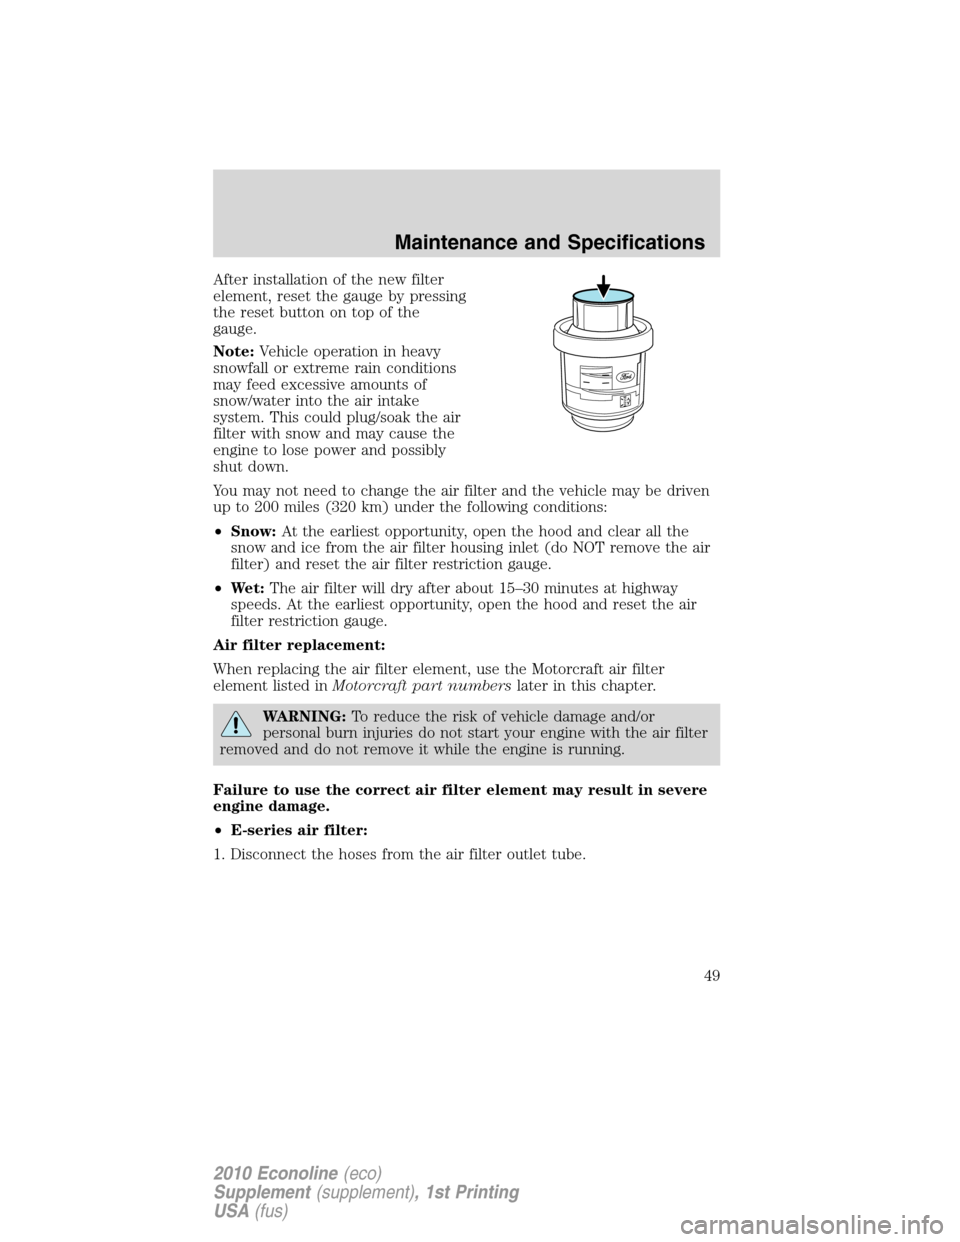
After installation of the new filter
element, reset the gauge by pressing
the reset button on top of the
gauge.
Note:Vehicle operation in heavy
snowfall or extreme rain conditions
may feed excessive amounts of
snow/water into the air intake
system. This could plug/soak the air
filter with snow and may cause the
engine to lose power and possibly
shut down.
You may not need to change the air filter and the vehicle may be driven
up to 200 miles (320 km) under the following conditions:
•Snow:At the earliest opportunity, open the hood and clear all the
snow and ice from the air filter housing inlet (do NOT remove the air
filter) and reset the air filter restriction gauge.
•Wet:The air filter will dry after about 15–30 minutes at highway
speeds. At the earliest opportunity, open the hood and reset the air
filter restriction gauge.
Air filter replacement:
When replacing the air filter element, use the Motorcraft air filter
element listed inMotorcraft part numberslater in this chapter.
WARNING:To reduce the risk of vehicle damage and/or
personal burn injuries do not start your engine with the air filter
removed and do not remove it while the engine is running.
Failure to use the correct air filter element may result in severe
engine damage.
•E-series air filter:
1. Disconnect the hoses from the air filter outlet tube.
Maintenance and Specifications
49
2010 Econoline(eco)
Supplement(supplement), 1st Printing
USA(fus)