2010 FORD F750 AUX
[x] Cancel search: AUXPage 36 of 274

2.TEXT:The filename (Fi), song
title (So), artist text (Ar) or album
text (AL) may be viewed while
playing an MP3 selection. When MP3 selection text is shown on the
message display, its corresponding text indicator (Fi, So, Ar, or AL) is
shown in the elapsed time display. Press TEXT to scroll through the text
fields. The display will scroll through all of the text in the current field
before changing to the next field. (TEXT must be pressed within
3 seconds of the previous press to proceed to the next/last text display.
The last text field shown on the display will become the new display
message default.
TEXT is also available when equipped with Satellite radio. Your radio
comes equipped with Satellite ready capability. The kit to enable Satellite
reception is available through your dealer. Detailed Satellite instructions
are included with the dealer installed kit.
Dealer installed satellite kit only available in the continental United
States.
3.AUX:This function is not
operational.
4.MUTE:Press to MUTE playing
media; press again to return to
playing media.
5.EJ:Press to eject a CD.
6.Bass:Press BASS; then press
SEL
/to decrease/increase
the bass output.
Treble:Press TREB; then press
SEL
/to decrease/increase
the treble output.
7.Select:Use with Bass, Treble,
Balance, Fade and other menu
selections.
Entertainment Systems
36
2010 F-650/750(f67)
Supplement(supplement), 1st Printing
USA(fus)
Page 41 of 274

2.TEXT:The filename (Fi), song
title (So), artist text (Ar) or album
text (AL) may be viewed while
playing an MP3 selection. When MP3 selection text is shown on the
message display, its corresponding text indicator (Fi, So, Ar, or AL) is
shown in the elapsed time display. Press TEXT to scroll through the text
fields. The display will scroll all of the text in the current field before
changing to the next field. (TEXT must be pressed within 3 seconds of
the previous button press to proceed to the next/last text display.)
TEXT is also available when equipped with Satellite radio. Your radio
comes equipped with Satellite ready capability. The kit to enable Satellite
reception is available through your dealer. Detailed Satellite instructions
are included with the dealer installed kit.Dealer installed satellite kit
only available in the continental United States.
3.AUX:Press to switch between
the current playing media and DVD
(if equipped).
4.MUTE:Press to MUTE playing
media; press again to return to
playing media
5.EJ:Press to eject a CD. Press EJ
and a memory preset to eject a
specific disc. Press and hold to eject
all loaded discs.
6.Bass:Press BASS; then press
SEL
/to decrease/increase
the bass output.
Treble:Press TREB; then press
SEL
/to decrease/increase
the treble output.
7.Select:Use with Bass, Treble,
Balance, Fade and other menu
functions.
8.Balance:Press BAL; then press
SEL
/to shift sound to the
left/right speakers.
Entertainment Systems
41
2010 F-650/750(f67)
Supplement(supplement), 1st Printing
USA(fus)
Page 55 of 274

WARNING:Never adjust the steering wheel when the vehicle is
moving.
AUXILIARY POWER POINT
Power outlets are designed for accessory plugs only. Do not insert
any other object in the power outlet as this will damage the
outlet and blow the fuse. Do not hang any type of accessory or
accessory bracket from the plug. Improper use of the power
outlet can cause damage not covered by your warranty.
The power point is an additional
power source for electrical
accessories. The power points are
located on the instrument panel and
inside the center console storage
bin.
Do not use the power point for
operating the cigarette lighter
element (if equipped).
To prevent the fuse from being blown, do not use the power point(s)
over the vehicle capacity of 12 VDC/180W/15A. If the power point or
cigar lighter socket is not working, a fuse may have blown. Refer to
Fuses and relaysin theRoadside Emergencieschapter for information
on checking and replacing fuses.
To have full capacity usage of your power point, the engine is required to
be running (in a safe manner) to avoid unintentional discharge of the
battery. To prevent the battery from being discharged:
•do not use the power point longer than necessary when the engine is
not running,
•do not leave battery chargers, video game adapters, computers and
other devices plugged in overnight or when the vehicle is parked for
extended periods.
Always keep the power point caps closed when not being used.
Cigarette/Cigar lighter (if equipped)
Do not plug optional electrical accessories into the cigarette lighter
socket.
Do not hold the lighter in with your hand while it is heating, this will
damage the lighter element and socket. The lighter will be released from
its heating position when it is ready to be used.
POWER POINT
Driver Controls
55
2010 F-650/750(f67)
Supplement(supplement), 1st Printing
USA(fus)
Page 57 of 274

One touch down
•Press AUTO completely down and
release quickly. The driver’s
window will open fully. Press
again to stop window operation.
Window lock
The window lock feature allows only
the driver to operate the power
windows.
To lock out all the window controls
except for the driver’s press the left
side of the control. Press the right side to restore the window controls.
EXTERIOR MIRRORS
With the doors closed and the seat
adjusted for proper comfort, move
the mirrors to maximize rear
viewing area by adjusting the
western mirrors left or right as
required.
Adjust the auxiliary convex mirrors.
Convex mirrors are a ball-stud
design for precise adjustment to
maximize viewing area.
AUTO
Driver Controls
57
2010 F-650/750(f67)
Supplement(supplement), 1st Printing
USA(fus)
Page 110 of 274

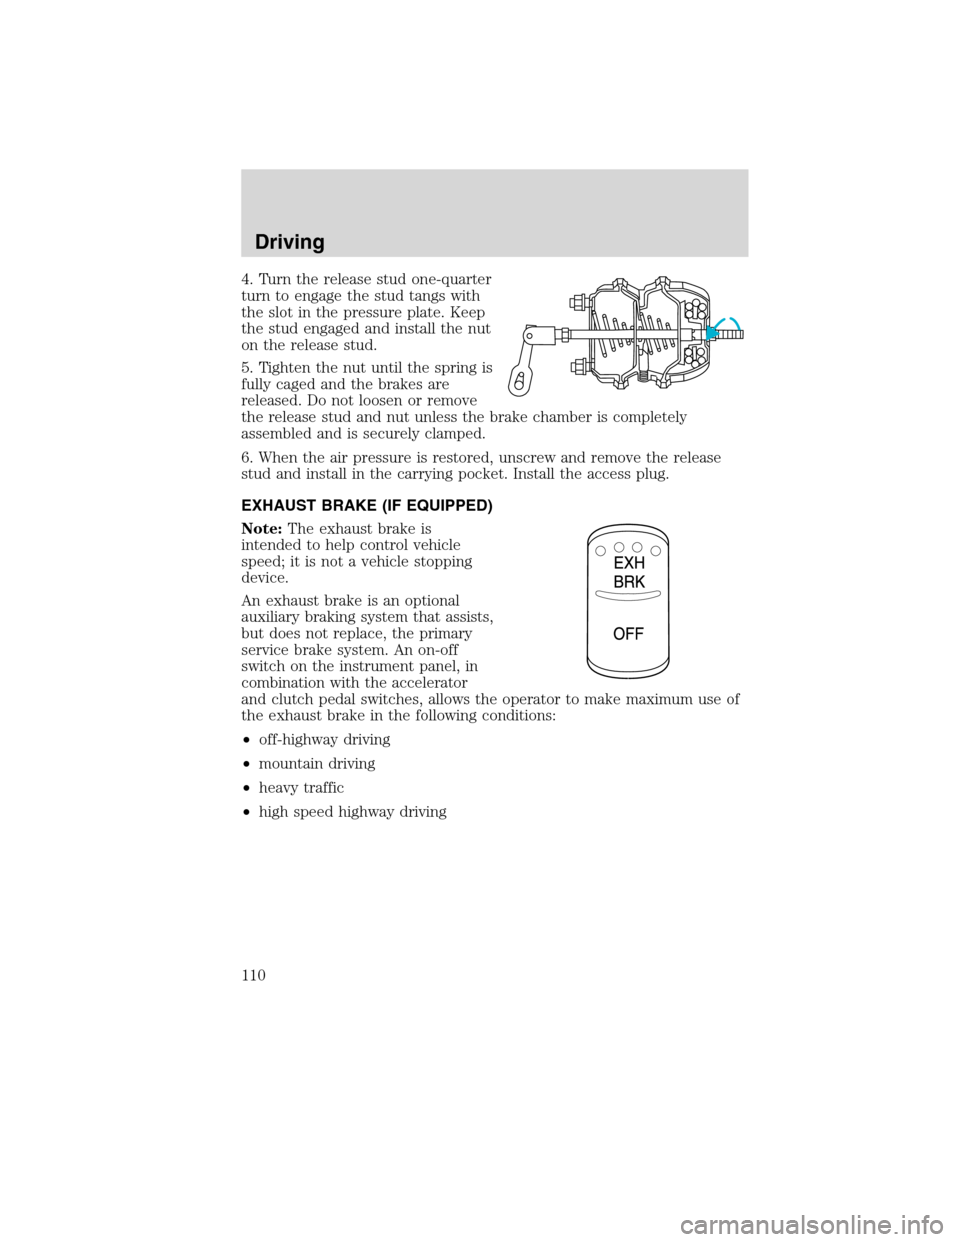
4. Turn the release stud one-quarter
turn to engage the stud tangs with
the slot in the pressure plate. Keep
the stud engaged and install the nut
on the release stud.
5. Tighten the nut until the spring is
fully caged and the brakes are
released. Do not loosen or remove
the release stud and nut unless the brake chamber is completely
assembled and is securely clamped.
6. When the air pressure is restored, unscrew and remove the release
stud and install in the carrying pocket. Install the access plug.
EXHAUST BRAKE (IF EQUIPPED)
Note:The exhaust brake is
intended to help control vehicle
speed; it is not a vehicle stopping
device.
An exhaust brake is an optional
auxiliary braking system that assists,
but does not replace, the primary
service brake system. An on-off
switch on the instrument panel, in
combination with the accelerator
and clutch pedal switches, allows the operator to make maximum use of
the exhaust brake in the following conditions:
•off-highway driving
•mountain driving
•heavy traffic
•high speed highway driving
Driving
110
2010 F-650/750(f67)
Supplement(supplement), 1st Printing
USA(fus)
Page 113 of 274

Make sure the exhaust brake is turned off before shutting off the engine.
Note:Installing an exhaust or auxiliary brake does not necessarily
protect the engine from exceeding maximum governed speed. The
primary brakes should be used to make sure the engine never exceeds
maximum governed speed under any conditions.
TRAILER BRAKE HAND CONTROL (IF EQUIPPED)
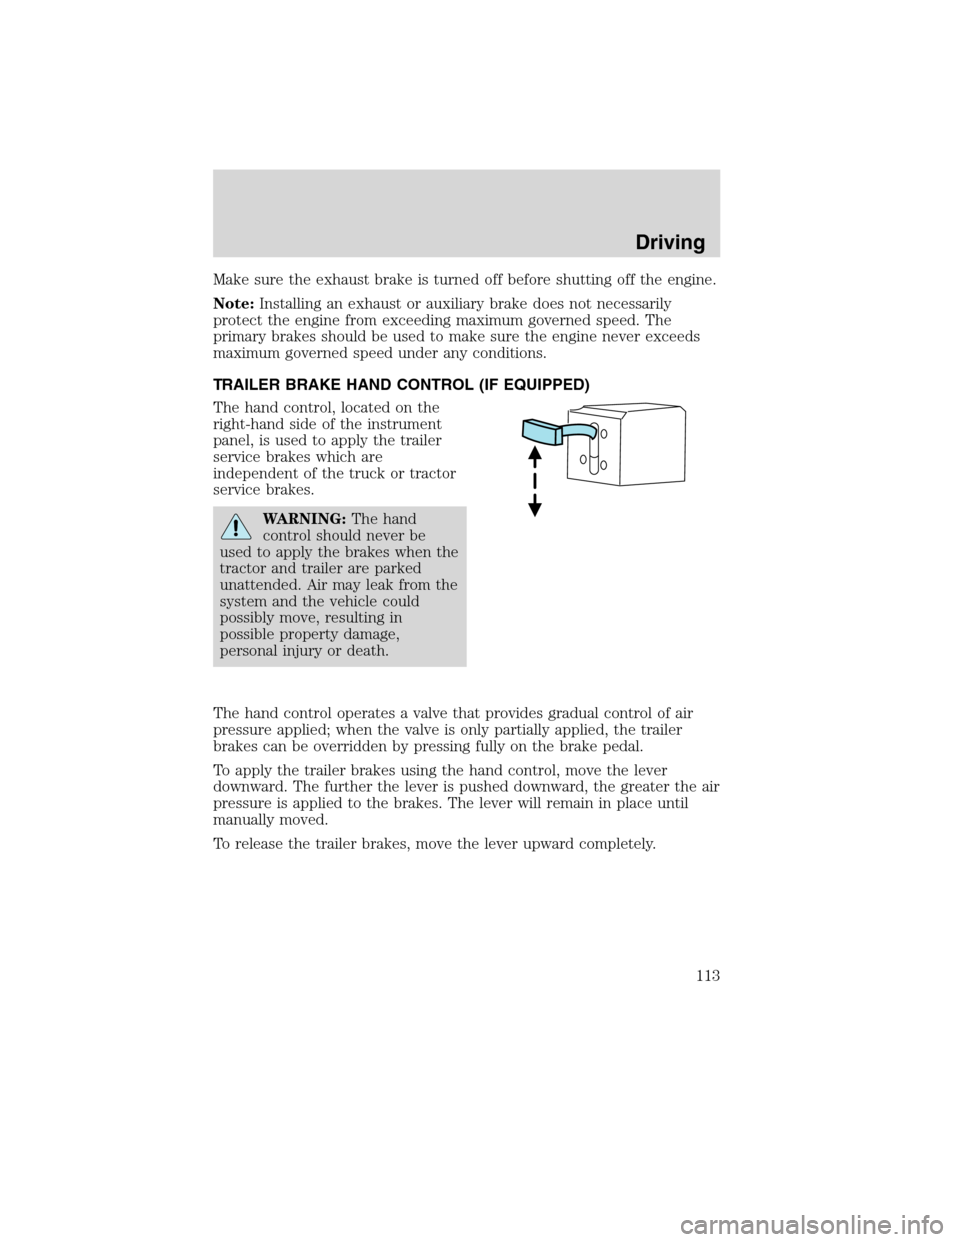
The hand control, located on the
right-hand side of the instrument
panel, is used to apply the trailer
service brakes which are
independent of the truck or tractor
service brakes.
WARNING:The hand
control should never be
used to apply the brakes when the
tractor and trailer are parked
unattended. Air may leak from the
system and the vehicle could
possibly move, resulting in
possible property damage,
personal injury or death.
The hand control operates a valve that provides gradual control of air
pressure applied; when the valve is only partially applied, the trailer
brakes can be overridden by pressing fully on the brake pedal.
To apply the trailer brakes using the hand control, move the lever
downward. The further the lever is pushed downward, the greater the air
pressure is applied to the brakes. The lever will remain in place until
manually moved.
To release the trailer brakes, move the lever upward completely.
Driving
113
2010 F-650/750(f67)
Supplement(supplement), 1st Printing
USA(fus)
Page 122 of 274

AUTOMATIC TRANSMISSION OPERATION (IF EQUIPPED)
Main transmission, auxiliary transmission, transfer case and power
take-off (PTO) control shift patterns can be found on a placard or decal
on the driver’s sun visor, on the instrument panel or on the shift control
itself.
The main transmission control is used to select the various gear ratios or
speeds of the transmission. Selecting D (Direct Drive), does not change
the transmission gear ratio, but is used where the gear ratios in the main
transmission are adequate to handle the vehicle operation.
If the transmission fails to shift properly, check the inline 10A fuse
located in the battery cables above the battery.
WARNING:Hold the brake pedal down while you move the
gearshift lever between positions. If you don’t hold the brake
pedal down, your vehicle may move unexpectedly and cause property
damage, personal injury or death.
Allison 2200 with park pawl feature
Note:For Allison automatic transmission-equipped vehicles, also refer to
the separateAllison Transmission Operator’s Manual.
A parking pawl effectively grounds the transmission’s output shaft
preventing rotation of the driveline. If the vehicle is stationary, selecting
the P (Park) position places the transmission in neutral and engages the
parking pawl (always use the parking brake, also).
Note:If the P (Park) position is selected when the vehicle is in motion,
the parking pawl mechanism will ratchet andNOThold the truck.
WARNING:Always set the parking brake fully. Do not use the
gearshift in place of the parking brake.
WARNING: To avoid sudden, unexpected vehicle
movement and possible personal injury or death:
1. Bring the vehicle to a complete stop.
2. Shift the transmission into P (Park). Slowly lift your foot from the
brake pedal to engage the transmission parking pawl mechanism.
3. Apply the parking brake and make sure it is holding properly. Do not
rely solely on the parking mechanism of the transmission.)
4. Turn the engine off when you leave the vehicle.Never leave the
vehicle unattended when the engine is running.
Driving
122
2010 F-650/750(f67)
Supplement(supplement), 1st Printing
USA(fus)
Page 148 of 274

Fuse/Relay
LocationFuse Amp
RatingFuse Description
114 — Not used
115 20A** Ignition switch, Passenger compartment fuse
box fuses 8, 9, 10 and 11
116 30A** Left/Right turn relays, Back-up lamp relay
117 20A** Stoplamps relay
118 60A** Hydraulic brake vehicles (Trailer tow package
only)
601 60A** Hydraulic brake vehicles (Trailer tow package
only), Air brake vehicles (Trailer tow package
only)
602 60A** Air brake trailer tow fuse block
30A** Hydraulic brake, ABS
201 — Windshield washer relay
202 — Wiper high/low relay
203 — Wiper run/park relay
204 — Windshield wiper relay
205 — Body builder relay, right turn
206 — Body builder relay, left turn
207 — ABS event relay (Air brake vehicles only)
— Stop lamp relay (Hydraulic brake vehicles
only)
208 — Body builder relay, back-up lamps relay
209 — Auxiliary stoplamp relay
301 — Fuel heater/transfer pump relay
302 — Body builder relay, parking lamps relay
303 — Blower motor relay
304 — ABS relay, Hydraulic modulator relay
* Mini fuse **Maxi fuse
Roadside Emergencies
148
2010 F-650/750(f67)
Supplement(supplement), 1st Printing
USA(fus)