2010 FORD F250 SUPER DUTY automatic transmission
[x] Cancel search: automatic transmissionPage 265 of 408
WARNING: If you smell exhaust fumes inside your vehicle, have
your dealer inspect your vehicle immediately. Do not drive if you
smell exhaust fumes.
Important safety precautions
When the engine starts, the idle RPM runs faster to warm the engine. If
the engine idle speed does not slow down automatically, have the vehicle
checked. If your vehicle is operated in a heavy snow storm or blowing
snow conditions, the engine air induction may become partially clogged
with snow and/or ice. If this occurs, the engine may experience a
significant reduction in power output. At the earliest opportunity, clear
all the snow and/or ice away from the air induction inlet. The following
starting instructions are for vehicles equipped with a gasoline engine; if
your vehicle is equipped with a Diesel engine, refer to Starting the
engine in your 6.0 and 6.4 Liter Power Stroke Direct Injection Turbo
Diesel Owner’s Guide Supplement .
Before starting the vehicle:
1. Make sure all occupants buckle their safety belts. For more
information on safety belts and their proper usage, refer to the Seating
and Safety Restraints chapter.
2. Make sure the headlamps and electrical accessories are off.
If starting a vehicle with an automatic transmission:
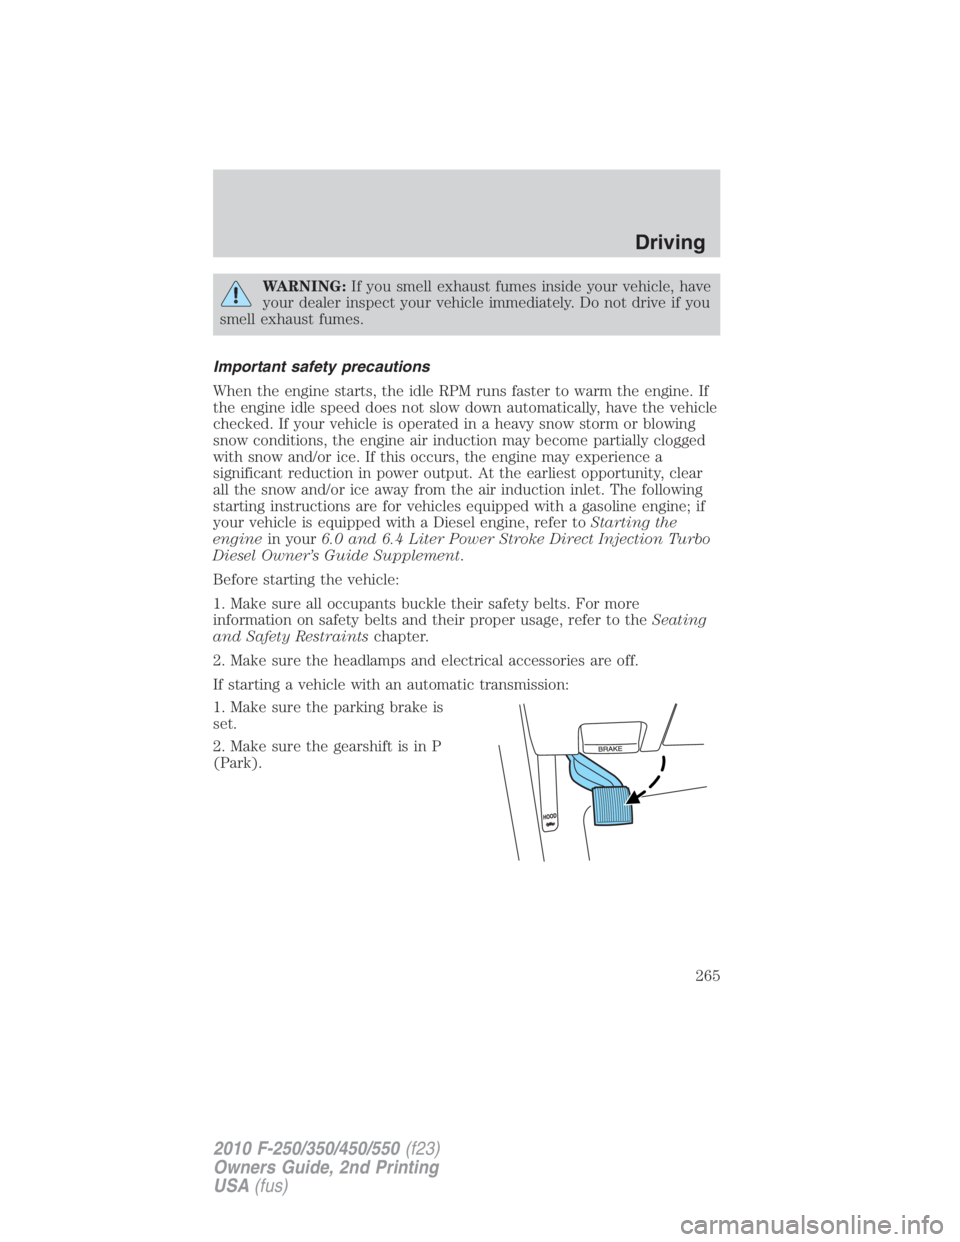
1. Make sure the parking brake is
set.
2. Make sure the gearshift is in P
(Park). Driving
265
2010 F-250/350/450/550 (f23)
Owners Guide, 2nd Printing
USA (fus)
Page 271 of 408
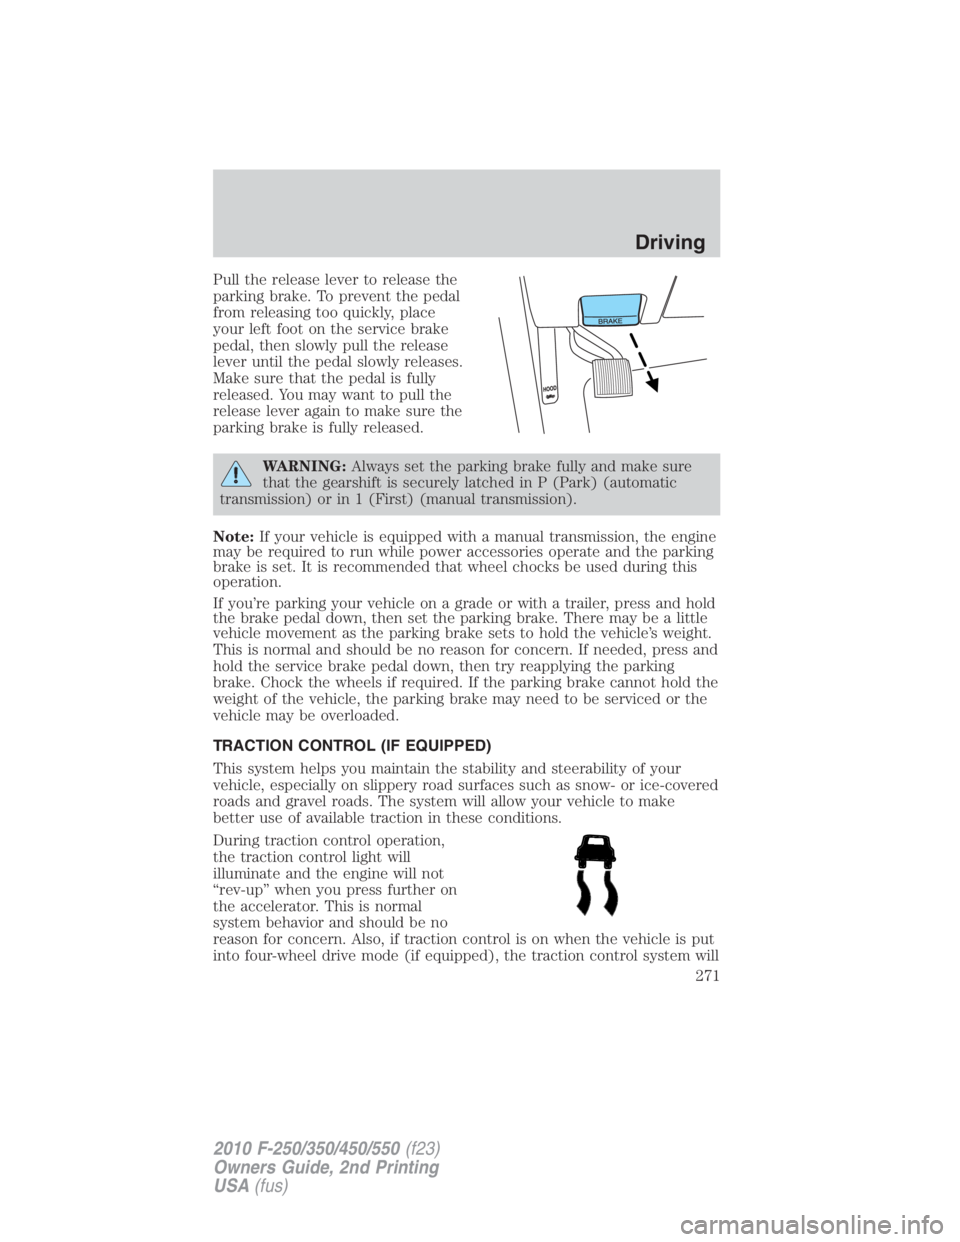
Pull the release lever to release the
parking brake. To prevent the pedal
from releasing too quickly, place
your left foot on the service brake
pedal, then slowly pull the release
lever until the pedal slowly releases.
Make sure that the pedal is fully
released. You may want to pull the
release lever again to make sure the
parking brake is fully released.
WARNING: Always set the parking brake fully and make sure
that the gearshift is securely latched in P (Park) (automatic
transmission) or in 1 (First) (manual transmission).
Note: If your vehicle is equipped with a manual transmission, the engine
may be required to run while power accessories operate and the parking
brake is set. It is recommended that wheel chocks be used during this
operation.
If you’re parking your vehicle on a grade or with a trailer, press and hold
the brake pedal down, then set the parking brake. There may be a little
vehicle movement as the parking brake sets to hold the vehicle’s weight.
This is normal and should be no reason for concern. If needed, press and
hold the service brake pedal down, then try reapplying the parking
brake. Chock the wheels if required. If the parking brake cannot hold the
weight of the vehicle, the parking brake may need to be serviced or the
vehicle may be overloaded.
TRACTION CONTROL (IF EQUIPPED)
This system helps you maintain the stability and steerability of your
vehicle, especially on slippery road surfaces such as snow- or ice-covered
roads and gravel roads. The system will allow your vehicle to make
better use of available traction in these conditions.
During traction control operation,
the traction control light will
illuminate and the engine will not
“rev-up” when you press further on
the accelerator. This is normal
system behavior and should be no
reason for concern. Also, if traction control is on when the vehicle is put
into four-wheel drive mode (if equipped), the traction control system will Driving
271
2010 F-250/350/450/550 (f23)
Owners Guide, 2nd Printing
USA (fus)
Page 275 of 408
WARNING: Do not drive your vehicle until you verify that the
brakelamps are working.
WARNING: Always set the parking brake fully and make sure
the gearshift is latched in P (Park). Turn the ignition to the off
position and remove the key whenever you leave your vehicle.
WARNING: If the parking brake is fully released, but the brake
warning lamp remains illuminated, the brakes may not be
working properly. See your authorized dealer as soon as possible.
AUTOMATIC TRANSMISSION OPERATION (IF EQUIPPED)
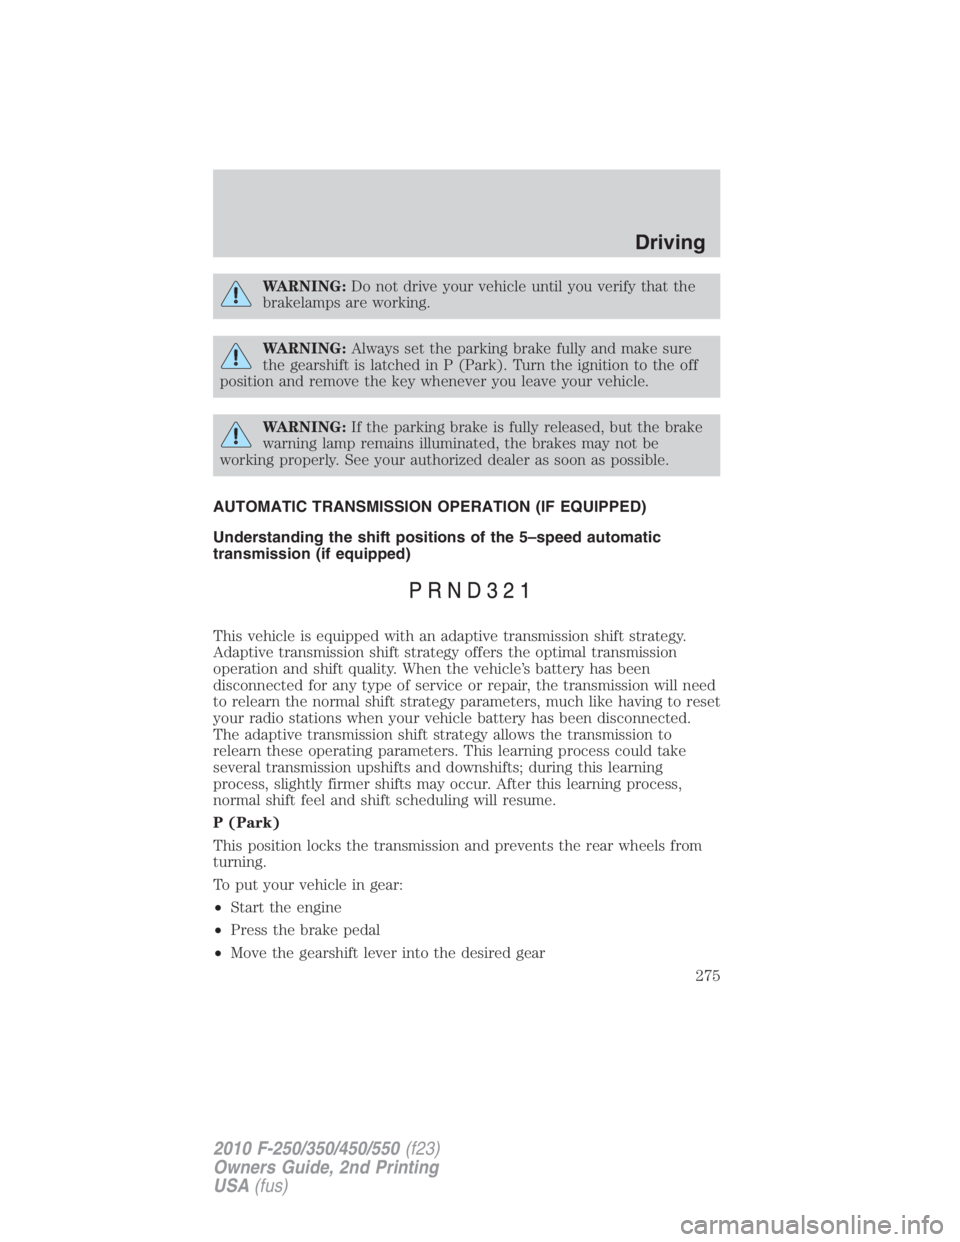
Understanding the shift positions of the 5–speed automatic
transmission (if equipped)
This vehicle is equipped with an adaptive transmission shift strategy.
Adaptive transmission shift strategy offers the optimal transmission
operation and shift quality. When the vehicle’s battery has been
disconnected for any type of service or repair, the transmission will need
to relearn the normal shift strategy parameters, much like having to reset
your radio stations when your vehicle battery has been disconnected.
The adaptive transmission shift strategy allows the transmission to
relearn these operating parameters. This learning process could take
several transmission upshifts and downshifts; during this learning
process, slightly firmer shifts may occur. After this learning process,
normal shift feel and shift scheduling will resume.
P (Park)
This position locks the transmission and prevents the rear wheels from
turning.
To put your vehicle in gear:
• Start the engine
• Press the brake pedal
• Move the gearshift lever into the desired gear Driving
275
2010 F-250/350/450/550 (f23)
Owners Guide, 2nd Printing
USA (fus)
Page 276 of 408
To put your vehicle in P (Park):
• Come to a complete stop
• Move the gearshift lever and securely latch it in P (Park)
WARNING: Always set the parking brake fully and make sure
the gearshift is latched in P (Park). Turn the ignition to the off
position and remove the key whenever you leave your vehicle.
R (Reverse)
With the gearshift lever in R (Reverse), the vehicle will move backward.
Always come to a complete stop before shifting into and out of R
(Reverse).
N (Neutral)
With the gearshift lever in N (Neutral), the vehicle can be started and is
free to roll. Hold the brake pedal down while in this position.
D (Overdrive) with Tow/Haul Off
D (Overdrive) with tow/haul off is the normal driving position for the
best fuel economy. The overdrive function allows automatic upshifts and
downshifts through gears one through five.
D (Overdrive) with Tow/Haul On
The tow/haul feature improves transmission operation when towing a
trailer or a heavy load. All transmission gear ranges are available when
using tow/haul.
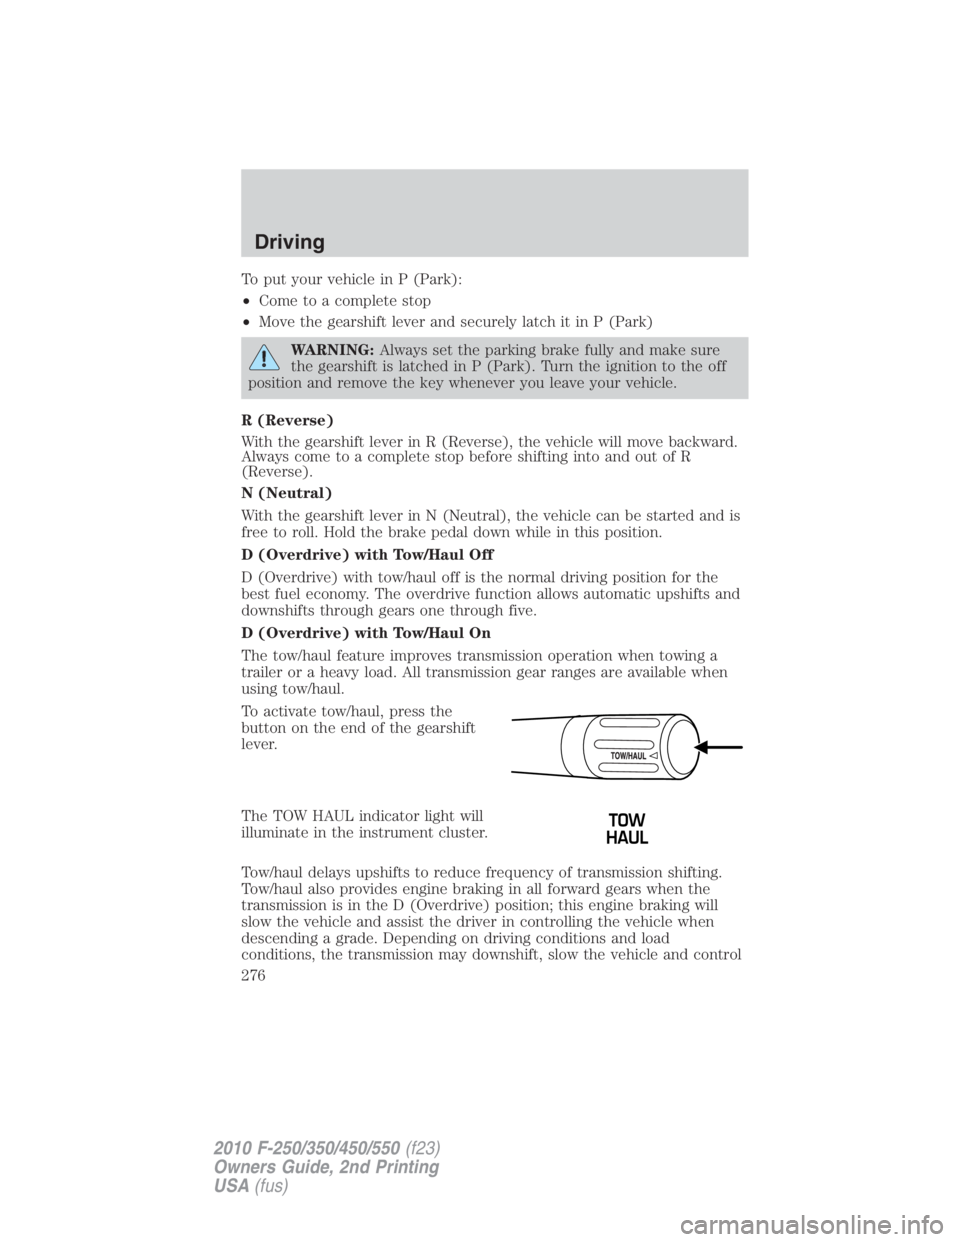
To activate tow/haul, press the
button on the end of the gearshift
lever.
The TOW HAUL indicator light will
illuminate in the instrument cluster.
Tow/haul delays upshifts to reduce frequency of transmission shifting.
Tow/haul also provides engine braking in all forward gears when the
transmission is in the D (Overdrive) position; this engine braking will
slow the vehicle and assist the driver in controlling the vehicle when
descending a grade. Depending on driving conditions and load
conditions, the transmission may downshift, slow the vehicle and controlDriving
276
2010 F-250/350/450/550 (f23)
Owners Guide, 2nd Printing
USA (fus)
Page 277 of 408
the vehicle speed when descending a hill, without the accelerator pedal
being pressed. The amount of downshift braking provided will vary based
upon the amount the brake pedal is depressed.
To deactivate the tow/haul feature and return to normal driving mode,
press the button on the end of the gearshift lever. The TOW HAUL light
will no longer be illuminated.
When you shut-off and restart the engine, the transmission will
automatically return to normal D (Overdrive) mode (Tow/Haul OFF).
WARNING: Do not use the tow/haul feature when driving in icy
or slippery conditions as the increased engine braking can cause
the rear wheels to slide and the vehicle to swing around with the
possible loss of vehicle control.
3 (Third)
Transmission starts and operates in third gear only.
Used for improved traction on slippery roads. Selecting 3 (Third)
provides engine braking.
2 (Second)
Use 2 (Second) to start-up on slippery roads or to provide additional
engine braking on downgrades.
1 (First)
• Provides maximum engine braking.
• Allows upshifts by moving gearshift lever.
• The transmission will not downshift into 1 (First) at high speeds; it
will downshift to a lower gear and then shift into 1 (First) when the
vehicle reaches slower speeds.
Forced downshifts
• Allowed in D (Overdrive) or D (Drive).
• Press the accelerator to the floor.
• Allows transmission to select an appropriate gear.
If your vehicle gets stuck in mud or snow
If your vehicle gets stuck in mud or snow, it may be rocked out by
shifting between forward and reverse gears, stopping between shifts in a
steady pattern. Press lightly on the accelerator in each gear.
Do not rock the vehicle if the engine is not at normal operating
temperature or damage to the transmission may occur. Driving
277
2010 F-250/350/450/550 (f23)
Owners Guide, 2nd Printing
USA (fus)
Page 285 of 408
• For proper operation, make sure that each hub is fully engaged
and that both hub locks are set to the same position (both set
to LOCK or both set to FREE). To engage LOCK, turn the hub
locks completely clockwise; to disengage the hubs (FREE),
turn the hub locks completely counterclockwise.
• The vehicle should not be driven in 4X4 High or 4X4 Low
modes with the hub locks set to FREE as this condition may
damage driveline system components.
• Some vehicles may be equipped with wheel ornaments that cover the
4x4 manual hub lock. These ornaments must be removed to access
the manual hub locks.
Electronic Shift On the Fly (ESOF) 4x4 system (if equipped)
If equipped with the electronic shift 4WD System, and the
instrument panel control is moved to 4X4 LOW while the vehicle
is moving above 5 mph (8 km/h), the system will not engage and
no damage will occur to the 4WD system. Before 4X4 LOW can be
engaged, the vehicle speed must be below 5 mph (8 km/h) with
the transmission in N (Neutral). If your vehicle is equipped with
a manual transmission, the clutch pedal also must be depressed.
The 4x4 Low indicator will flash continuously until these actions
are performed by the user. This vehicle is equipped with a
non-synchronous low range gearset which will not allow the
transfer case to shift into 4X4 LOW if vehicle speed is above
5 mph (8 km/h). It is recommended that a shift to 4X4 LOW is
performed while the vehicle is rolling at a speed below 5 mph
(8 km/h).
The 4WD system:
• provides 4x4 High engagement and disengagement while the vehicle is
moving.
• is operated by a rotary control located on the instrument panel that
allows you select 2WD, 4x4 High or 4x4 Low operation.
• uses auto-manual hub locks that can be engaged and disengaged
automatically based on the 4x4 mode selected. Driving
285
2010 F-250/350/450/550 (f23)
Owners Guide, 2nd Printing
USA (fus)
Page 295 of 408
the driveline. Therefore, the vehicle is free to roll even if the automatic
transmission is in P (Park) or the manual transmission is in gear. Do not
leave the vehicle unattended with the transfer case in the N (Neutral)
position. Always set the parking brake fully and turn off the ignition
when leaving the vehicle.
WARNING: Always set the parking brake fully and make sure
the gearshift is latched in P (Park). Turn the ignition to the off
position and remove the key whenever you leave your vehicle.
WARNING: If the parking brake is fully released, but the brake
warning lamp remains illuminated, the brakes may not be
working properly. See your authorized dealer.
4WD Systems
4WD (when you select a 4WD mode), uses all four wheels to power the
vehicle. This increases traction, enabling you to drive over terrain and
road conditions that a conventional two-wheel drive vehicle cannot.
Power is supplied to all four wheels through a transfer case. On 4WD
vehicles, the transfer case allows you to select 4WD when necessary.
Information on transfer case operation and shifting procedures can be
found in the Driving chapter. Information on transfer case maintenance
can be found in the Maintenance and Specifications chapter. You
should become thoroughly familiar with this information before you
operate your vehicle.
Normal characteristics
On some 4WD models, the initial shift from two-wheel drive to 4x4 while
the vehicle is moving can cause some momentary clunk and ratcheting
sounds. This is the front drivetrain coming up to speed and the
automatic locking hubs engaging and is not cause for concern.
Sand
When driving over sand, try to keep all four wheels on the most solid
area of the trail. Avoid reducing the tire pressures but shift to a lower
gear and drive steadily through the terrain. Apply the accelerator slowly
and avoid spinning the wheels.
Avoid excessive speed because vehicle momentum can work against you
and cause the vehicle to become stuck to the point that assistance may
be required from another vehicle. Remember, you may be able to back
out the way you came if you proceed with caution. Driving
295
2010 F-250/350/450/550 (f23)
Owners Guide, 2nd Printing
USA (fus)
Page 302 of 408
WARNING: Do not attempt to service, repair, or modify the air
bag supplemental restraint system (SRS) or its fuses. See your
Ford or Lincoln Mercury dealer.
WARNING: Additional equipment such as snowplow equipment
may effect the performance of the airbag sensors increasing the
risk of injury. Please refer to the Body Builders Layout Book for
instructions about the appropriate installation of additional equipment.
Transmission operation while plowing
Operate the vehicle with the automatic transmission gearshift lever in
the D (Overdrive) position and Tow/Haul off.
• Shift transfer case to 4x4 LOW (4WD Low) when plowing in small
areas at speeds below 5 mph (8 km/h).
• Shift transfer case to 4x4 HIGH (4WD High) when plowing larger
areas or light snow at higher speeds. Do not exceed 15 mph
(24 km/h).
• Do not shift the transmission from a forward gear to R (Reverse) until
the engine is at idle and the wheels are stopped.
• If the vehicle is stuck, shift the transmission in a steady motion
between forward and reverse gears. Do not rock the vehicle for more
than a few minutes. The transmission and tires may be damaged or
the engine can overheat.
Do not rock the vehicle if the engine is not at normal operating
temperature. Do not rock the vehicle for more than a minute. The
transmission and tires may be damaged or the engine may
overheat.
Refer to Transmission temperature gauge in the Instrument Cluster
chapter for transmission fluid temperature information.
WARNING: Do not spin the wheels at over 35 mph (55 km/h).
The tires may fail and injure a passenger or bystander.Driving
302
2010 F-250/350/450/550 (f23)
Owners Guide, 2nd Printing
USA (fus)