Page 58 of 344

5. For safety reasons, connecting or adjusting the settings on your
portable music player should not be attempted while the vehicle is
moving. Also, the portable music player should be stored in a secure
location, such as the center console or the glove box, when the vehicle is
in motion. The audio extension cable must be long enough to allow the
portable music player to be safely stored while the vehicle is in motion.
USB port (if equipped)
WARNING:Driving while distracted can result in loss of vehicle
control, accident and injury. Ford strongly recommends that
drivers use extreme caution when using any device that may take their
focus off the road. The driver’s primary responsibility is the safe
operation of their vehicle. Only use cell phones and other devices not
essential to the driving task when it is safe to do so.
Your vehicle may be equipped with a
USB port inside your center console.
This feature allows you to plug in
media playing devices, memory
sticks, and also to charge devices if
they support this feature. For
further information on this feature,
refer toAccessing and using your
USB portin theSYNC�supplement
orNavigation Systemsupplement.
GENERAL AUDIO INFORMATION
Radio frequencies:
AM and FM frequencies are established by the Federal Communications
Commission (FCC) and the Canadian Radio and Telecommunications
Commission (CRTC). Those frequencies are:
AM: 530, 540–1700, 1710 kHz
FM: 87.7, 87.9–107.7, 107.9 MHz
Radio reception factors:
There are three factors that can affect radio reception:
•Distance/strength: The further you travel from an FM station, the
weaker the signal and the weaker the reception.
•Terrain: Hills, mountains, tall buildings, power lines, electric fences,
traffic lights and thunderstorms can interfere with your reception.
Entertainment Systems
58
2010 07+ Explorer Sport Trac(esp)
Owners Guide(own2002), 1st Printing
USA(fus)
Page 59 of 344
•Station overload: When you pass a broadcast tower, a stronger signal
may overtake a weaker one and play while the weak station frequency
is displayed.
CD/CD player care
Do:
•Handle discs by their edges only.
(Never touch the playing
surface).
•Inspect discs before playing.
•Clean only with an approved CD
cleaner.
•Wipe discs from the center out.
Don’t:
•Expose discs to direct sunlight or heat sources for extended periods
of time.
•Clean using a circular motion.
CD units are designed to play commercially pressed 4.75 in
(12 cm) audio compact discs only. Due to technical
incompatibility, certain recordable and re-recordable compact
discs may not function correctly when used in Ford CD players.
Do not use any irregular shaped
CDs or discs with a scratch
protection film attached.
Entertainment Systems
59
2010 07+ Explorer Sport Trac(esp)
Owners Guide(own2002), 1st Printing
USA(fus)
Page 66 of 344
•Remove any snow, ice or leaves from the air intake area at the base of
the windshield.
•To improve the A/C cool down when the vehicle interior is
significantly warmer than the outside temperature, drive with the
windows slightly open for 2–3 minutes after start up or until the
vehicle has been “aired out.”
•If you are driving during extreme high ambient temperatures and
idling for extended periods of time in gear, it is recommended to run
the A/C in the MAX A/C position, adjust the blower fan speed to the
lowest setting, turn off the rear A/C unit and put the vehicle’s
transmission into the P (Park) to continue to receive cool air from
your A/C system.
For maximum cooling performance in panel (
) mode:
•Select MAX A/C mode. MAX A/C uses recirculated air with A/C to
provide a cooler airflow.
•Move the temperature control to the coolest setting.
•Set the fan to the highest speed initially, then adjust in order to
maintain comfort.
To allow side window defogging and demisting while warming up the
vehicle cabin:
1. Select
.
2. Select A/C.
3. Set the temperature control to maintain comfort.
4. Set the fan speed to the highest setting.
5. Direct the outer instrument panel vents towards the side windows. To
increase airflow to the outer instrument panel vents, close the vents
located in the middle of the instrument panel.
To allow windshield defogging and demisting while warming up vehicle:
1. Select
floor/defrost mode.
2. Set temperature control to maintain comfort.
3. Set fan to highest setting.
Climate Controls
66
2010 07+ Explorer Sport Trac(esp)
Owners Guide(own2002), 1st Printing
USA(fus)
Page 69 of 344
14.Driver’s side temperature
control:Press to increase or
decrease the temperature on the
driver side of the cabin. This control
also sets the passenger side temperature when DUAL is disengaged.
Recommended initial settings are 72°F (22°C) to 75°F (24°C) and then
adjust for comfort.
15.Fan Speed:Manually increases
or decreases the fan speed.
16.EXT:Displays the outside air
temperature. Press again to display
cabin temperature settings. Exterior
readings are more accurate when the vehicle is moving.
17.Temperature conversion:
Press to toggle between Fahrenheit
and Celsius temperature on the
DATC display only. The set point temperatures in Celsius will be
displayed in half-degree increments.
Operating tips
•To reduce fog build up on the windshield during humid weather, place
the air flow selector in the
position.
•To reduce humidity build up inside the vehicle, do not drive with the
air flow selector in OFF or with recirculated air engaged.
•Do not put objects under the front seats that will interfere with the
airflow to the rear seats.
•Remove any snow, ice or leaves from the air intake area at the base of
the windshield.
•To improve the A/C cool down, drive with the windows slightly open
for 2–3 minutes after start up or until the vehicle has been “aired out.”
•If you are driving during extreme high ambient temperatures and
idling for extended periods of time in gear, it is recommended to run
the A/C in the MAX A/C position, adjust the blower fan speed to the
lowest setting, turn off the rear A/C unit and put the vehicle’s
transmission into the P (Park) to continue to receive cool air from
your A/C system.
EXT
F C
Climate Controls
69
2010 07+ Explorer Sport Trac(esp)
Owners Guide(own2002), 1st Printing
USA(fus)
Page 71 of 344
HEADLAMP CONTROL
Turns the lamps off.
Turns on the parking lamps,
instrument panel lamps, license
plate lamps and tail lamps.
Turns the headlamps on.
Autolamp control
(if equipped)
The autolamp control sets the
headlamps to turn on and off
automatically. The autolamp control,
located on the headlamp control,
may be set to:
•turn on the lamps automatically
at night
•turn off the lamps automatically
during the daylight
•keep the lamps on for up to three minutes after the key is turned to
off.
To turn the autolamps on, rotate the control counterclockwise to
.
Note:With autolamps, your vehicle has awindshield wiper rainlamp
feature. When the headlamp control is in the autolamp position and the
windshield wipers are turned on during daylight, the exterior lamps will
turn on after a brief delay.
AP
Lights
71
2010 07+ Explorer Sport Trac(esp)
Owners Guide(own2002), 1st Printing
USA(fus)
Page 72 of 344
Fog lamp control
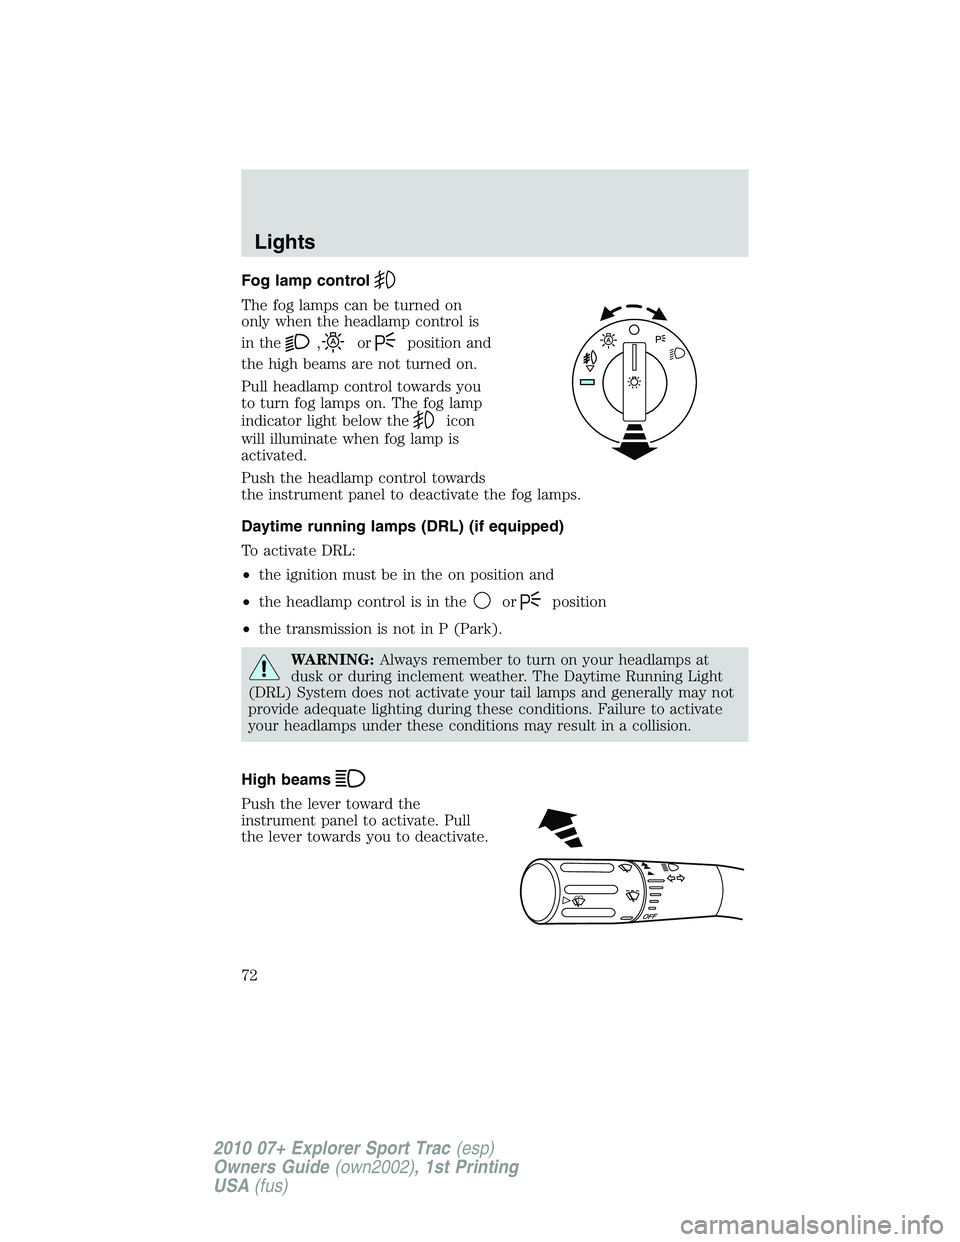
The fog lamps can be turned on
only when the headlamp control is
in the
,orposition and
the high beams are not turned on.
Pull headlamp control towards you
to turn fog lamps on. The fog lamp
indicator light below the
icon
will illuminate when fog lamp is
activated.
Push the headlamp control towards
the instrument panel to deactivate the fog lamps.
Daytime running lamps (DRL) (if equipped)
To activate DRL:
•the ignition must be in the on position and
•the headlamp control is in the
orposition
•the transmission is not in P (Park).
WARNING:Always remember to turn on your headlamps at
dusk or during inclement weather. The Daytime Running Light
(DRL) System does not activate your tail lamps and generally may not
provide adequate lighting during these conditions. Failure to activate
your headlamps under these conditions may result in a collision.
High beams
Push the lever toward the
instrument panel to activate. Pull
the lever towards you to deactivate.
O
F
F
Lights
72
2010 07+ Explorer Sport Trac(esp)
Owners Guide(own2002), 1st Printing
USA(fus)
Page 73 of 344
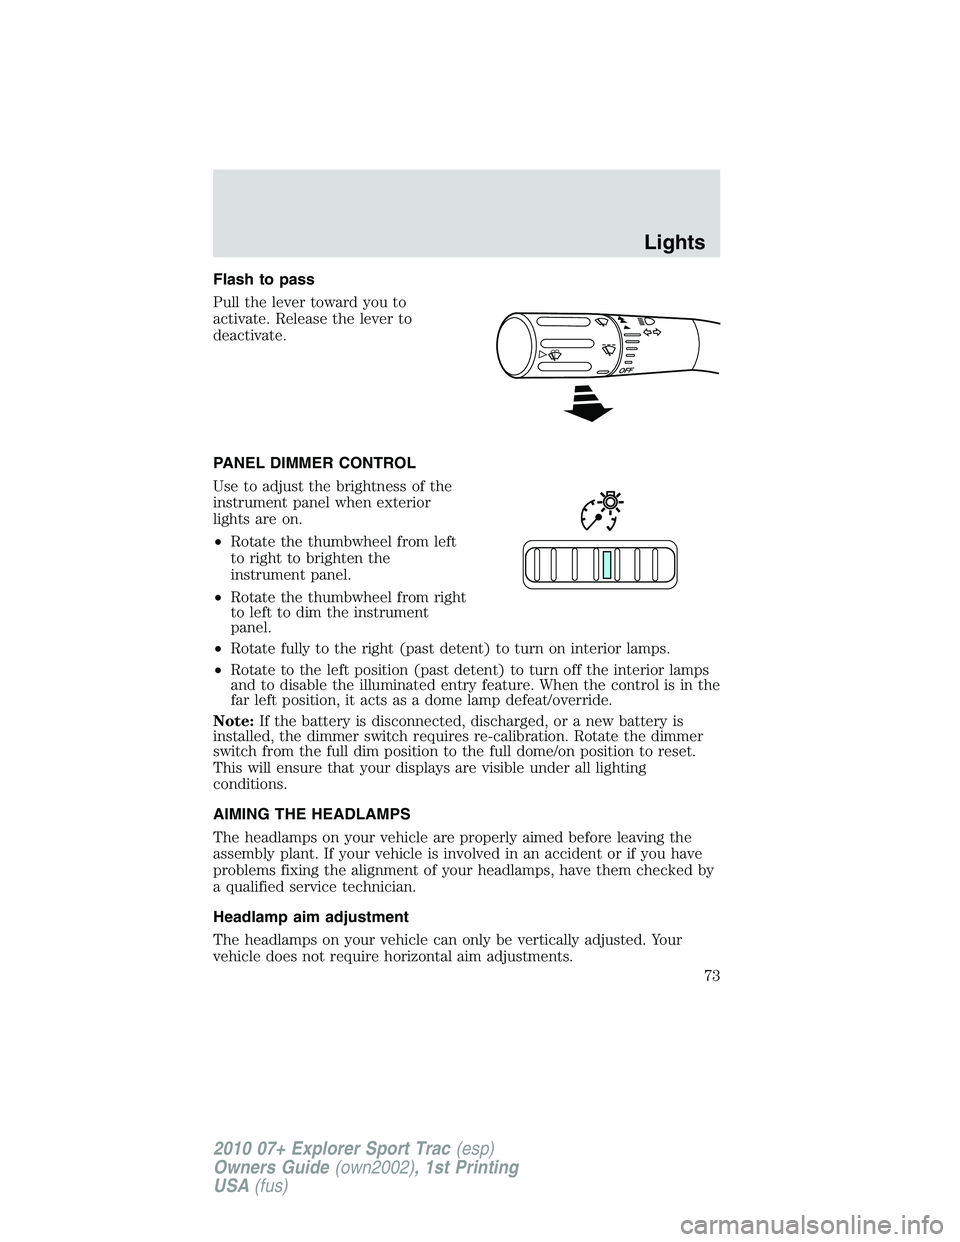
Flash to pass
Pull the lever toward you to
activate. Release the lever to
deactivate.
PANEL DIMMER CONTROL
Use to adjust the brightness of the
instrument panel when exterior
lights are on.
•Rotate the thumbwheel from left
to right to brighten the
instrument panel.
•Rotate the thumbwheel from right
to left to dim the instrument
panel.
•Rotate fully to the right (past detent) to turn on interior lamps.
•Rotate to the left position (past detent) to turn off the interior lamps
and to disable the illuminated entry feature. When the control is in the
far left position, it acts as a dome lamp defeat/override.
Note:If the battery is disconnected, discharged, or a new battery is
installed, the dimmer switch requires re-calibration. Rotate the dimmer
switch from the full dim position to the full dome/on position to reset.
This will ensure that your displays are visible under all lighting
conditions.
AIMING THE HEADLAMPS
The headlamps on your vehicle are properly aimed before leaving the
assembly plant. If your vehicle is involved in an accident or if you have
problems fixing the alignment of your headlamps, have them checked by
a qualified service technician.
Headlamp aim adjustment
The headlamps on your vehicle can only be vertically adjusted. Your
vehicle does not require horizontal aim adjustments.
Lights
73
2010 07+ Explorer Sport Trac(esp)
Owners Guide(own2002), 1st Printing
USA(fus)
Page 74 of 344
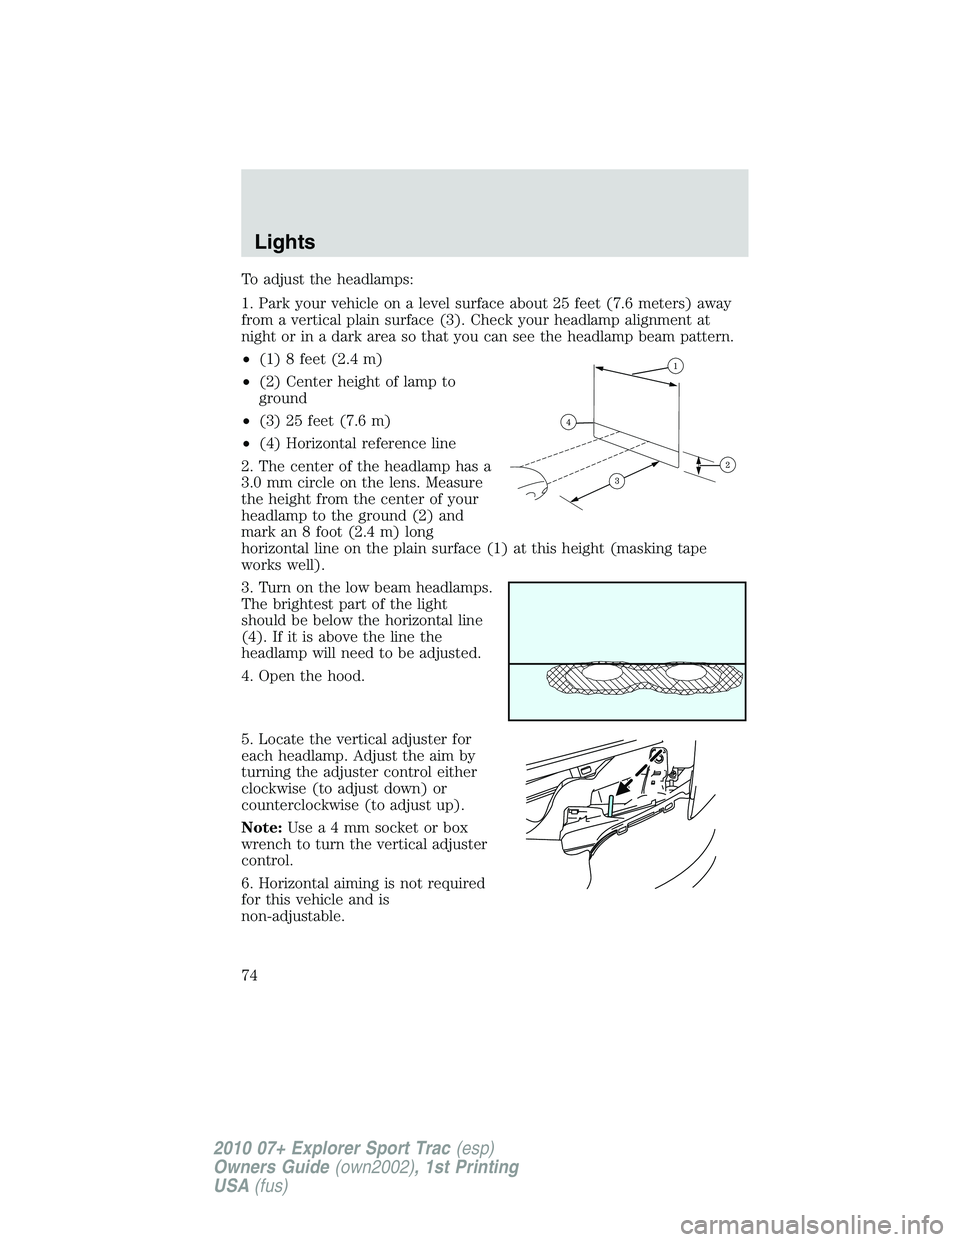
To adjust the headlamps:
1. Park your vehicle on a level surface about 25 feet (7.6 meters) away
from a vertical plain surface (3). Check your headlamp alignment at
night or in a dark area so that you can see the headlamp beam pattern.
•(1) 8 feet (2.4 m)
•(2) Center height of lamp to
ground
•(3) 25 feet (7.6 m)
•(4) Horizontal reference line
2. The center of the headlamp has a
3.0 mm circle on the lens. Measure
the height from the center of your
headlamp to the ground (2) and
mark an 8 foot (2.4 m) long
horizontal line on the plain surface (1) at this height (masking tape
works well).
3. Turn on the low beam headlamps.
The brightest part of the light
should be below the horizontal line
(4). If it is above the line the
headlamp will need to be adjusted.
4. Open the hood.
5. Locate the vertical adjuster for
each headlamp. Adjust the aim by
turning the adjuster control either
clockwise (to adjust down) or
counterclockwise (to adjust up).
Note:Usea4mmsocket or box
wrench to turn the vertical adjuster
control.
6. Horizontal aiming is not required
for this vehicle and is
non-adjustable.
Lights
74
2010 07+ Explorer Sport Trac(esp)
Owners Guide(own2002), 1st Printing
USA(fus)