Page 1 of 404
Introduction 4
Instrument Cluster 12
Warning lights and chimes 12
Gauges 18
Message center 21
Entertainment Systems 39
How to get going 39
AM/FM stereo with CD 43
AM/FM stereo with in-dash six CD 50
Auxiliary input jack (Line in) 58
USB port 60
Satellite radio information 63
Family entertainment system 66
Navigation system 98
SYNC�98
Climate Controls 99
Manual heating and air conditioning 99
Automatic temperature control 101
Auxiliary passenger climate control 104
Rear window defroster 105
Lights 106
Headlamps 106
Turn signal control 110
Bulb replacement 111
Driver Controls 117
Windshield wiper/washer control 117
Steering wheel adjustment 118
Power windows 122
Mirrors 124
Speed control 128
Table of Contents
1
2010 Explorer(exp)
Owners Guide(own2002), 1st Printing
USA(fus)
Page 12 of 404
WARNING LIGHTS AND CHIMES
Standard instrument cluster
Optional instrument cluster
Warning lights and gauges can alert you to a vehicle condition that may
become serious enough to cause expensive repairs. A warning light may
illuminate when a problem exists with one of your vehicle’s functions.
Many lights will illuminate when you start your vehicle to make sure the
bulb works. If any light remains on after starting the vehicle, refer to the
respective system warning light for additional information.
Note:Some warning lights will display in the message center as words
and function the same as the warning light.
Note:Depending on which options your vehicle has, some indicators
may not be present in your vehicle.
Instrument Cluster
12
2010 Explorer(exp)
Owners Guide(own2002), 1st Printing
USA(fus)
Page 13 of 404

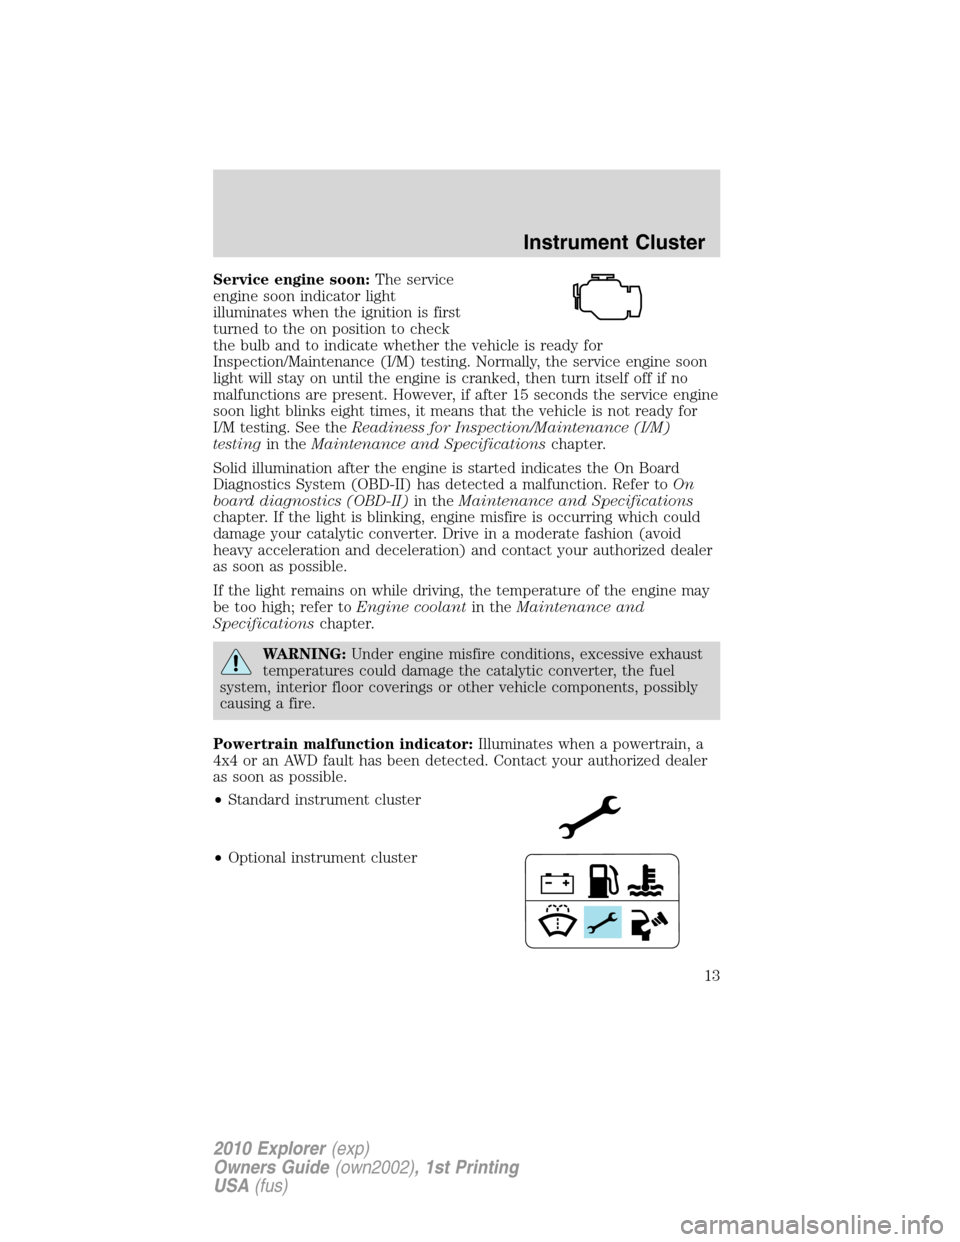
Service engine soon:The service
engine soon indicator light
illuminates when the ignition is first
turned to the on position to check
the bulb and to indicate whether the vehicle is ready for
Inspection/Maintenance (I/M) testing. Normally, the service engine soon
light will stay on until the engine is cranked, then turn itself off if no
malfunctions are present. However, if after 15 seconds the service engine
soon light blinks eight times, it means that the vehicle is not ready for
I/M testing. See theReadiness for Inspection/Maintenance (I/M)
testingin theMaintenance and Specificationschapter.
Solid illumination after the engine is started indicates the On Board
Diagnostics System (OBD-II) has detected a malfunction. Refer toOn
board diagnostics (OBD-II)in theMaintenance and Specifications
chapter. If the light is blinking, engine misfire is occurring which could
damage your catalytic converter. Drive in a moderate fashion (avoid
heavy acceleration and deceleration) and contact your authorized dealer
as soon as possible.
If the light remains on while driving, the temperature of the engine may
be too high; refer toEngine coolantin theMaintenance and
Specificationschapter.
WARNING:Under engine misfire conditions, excessive exhaust
temperatures could damage the catalytic converter, the fuel
system, interior floor coverings or other vehicle components, possibly
causing a fire.
Powertrain malfunction indicator:Illuminates when a powertrain, a
4x4 or an AWD fault has been detected. Contact your authorized dealer
as soon as possible.
•Standard instrument cluster
•Optional instrument cluster
Instrument Cluster
13
2010 Explorer(exp)
Owners Guide(own2002), 1st Printing
USA(fus)
Page 16 of 404

Low tire pressure warning:
Illuminates when your tire pressure
is low. If the light remains on at
start up or while driving, the tire
pressure should be checked. Refer
toInflating your tiresin theTires, Wheels and Loadingchapter. When
the ignition is first turned to on, the light will illuminate for three
seconds to ensure the bulb is working. If the light does not turn on,
contact your authorized dealer as soon as possible. For more information
on this system, refer toTire pressure monitoring system (TPMS)in
theTires, Wheels and Loadingchapter.
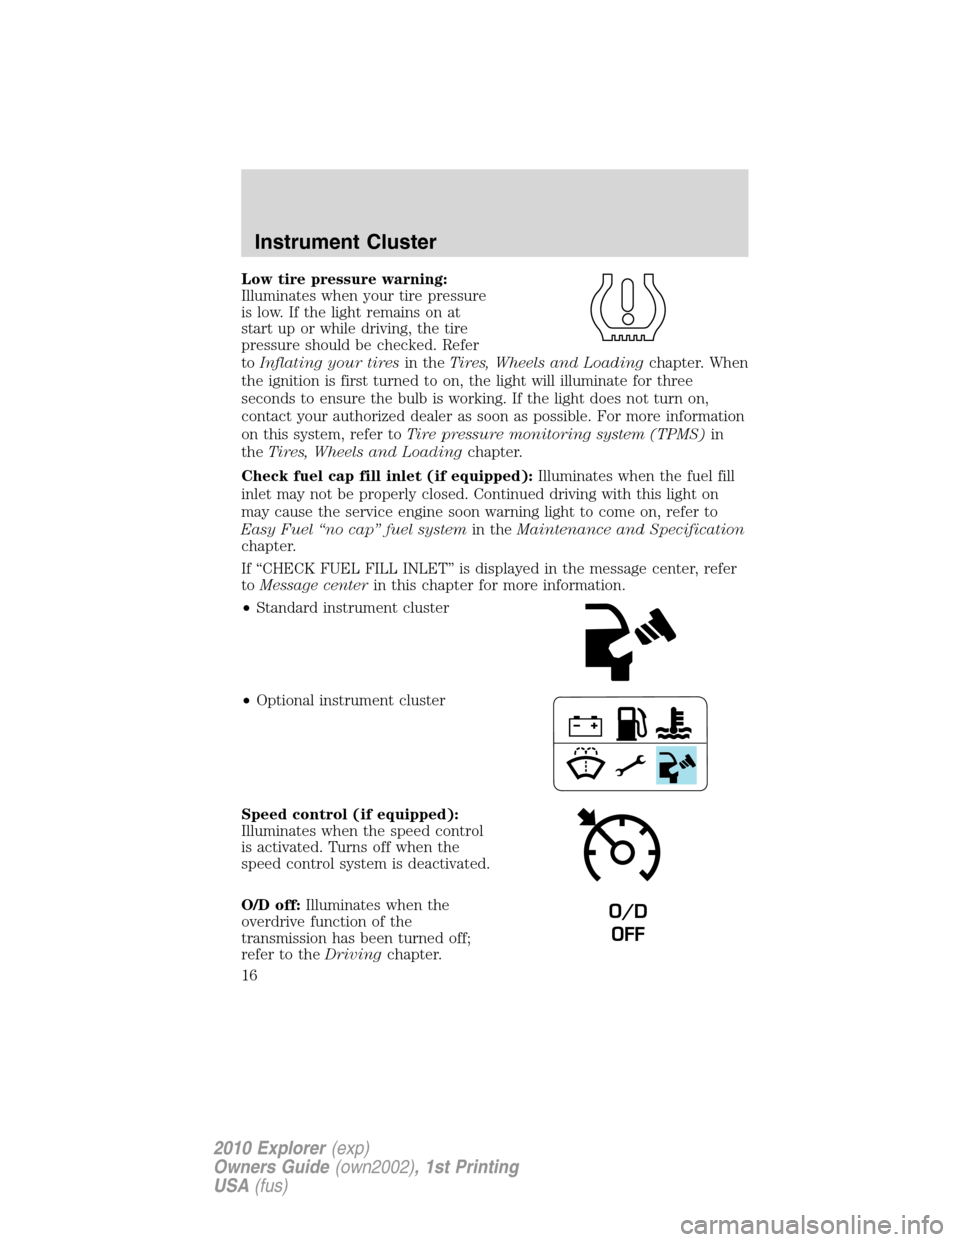
Check fuel cap fill inlet (if equipped):Illuminates when the fuel fill
inlet may not be properly closed. Continued driving with this light on
may cause the service engine soon warning light to come on, refer to
Easy Fuel “no cap” fuel systemin theMaintenance and Specification
chapter.
If “CHECK FUEL FILL INLET” is displayed in the message center, refer
toMessage centerin this chapter for more information.
•Standard instrument cluster
•Optional instrument cluster
Speed control (if equipped):
Illuminates when the speed control
is activated. Turns off when the
speed control system is deactivated.
O/D off:Illuminates when the
overdrive function of the
transmission has been turned off;
refer to theDrivingchapter.
O/D
OFF
Instrument Cluster
16
2010 Explorer(exp)
Owners Guide(own2002), 1st Printing
USA(fus)
Page 17 of 404

AdvanceTrac�:Flashes when the
AdvanceTrac�with RSC�system is
active. Illuminates solid when the
system has been disabled (by the
driver or as a result of a system
failure); refer to theDriving
chapter for more information.
Four wheel drive low
(if equipped):Illuminates when
four-wheel drive low is engaged. If
the light fails to illuminate when the
ignition is turned ON, or remains on, contact your authorized dealer as
soon as possible.
Four wheel drive high
(if equipped):Illuminates when
four-wheel drive is engaged. If the
light fails to illuminate when the ignition is turned on, or remains on,
contact your authorized dealer as soon as possible.
Door ajar:Illuminates when the
ignition is in the on position and any
door, liftgate or the liftgate glass is
open.
Low fuel (if equipped):
Illuminates when the fuel level in
the fuel tank is at or near empty
(refer toFuel gaugein this
chapter).
Low washer fluid (if equipped):
Illuminates when the windshield
washer fluid is low.
Turn signal:Illuminates when the
left or right turn signal or the
hazard lights are turned on. If the
indicators stay on or flash faster, check for a burned out bulb.
4x4
LOW
4x4
Instrument Cluster
17
2010 Explorer(exp)
Owners Guide(own2002), 1st Printing
USA(fus)
Page 111 of 404

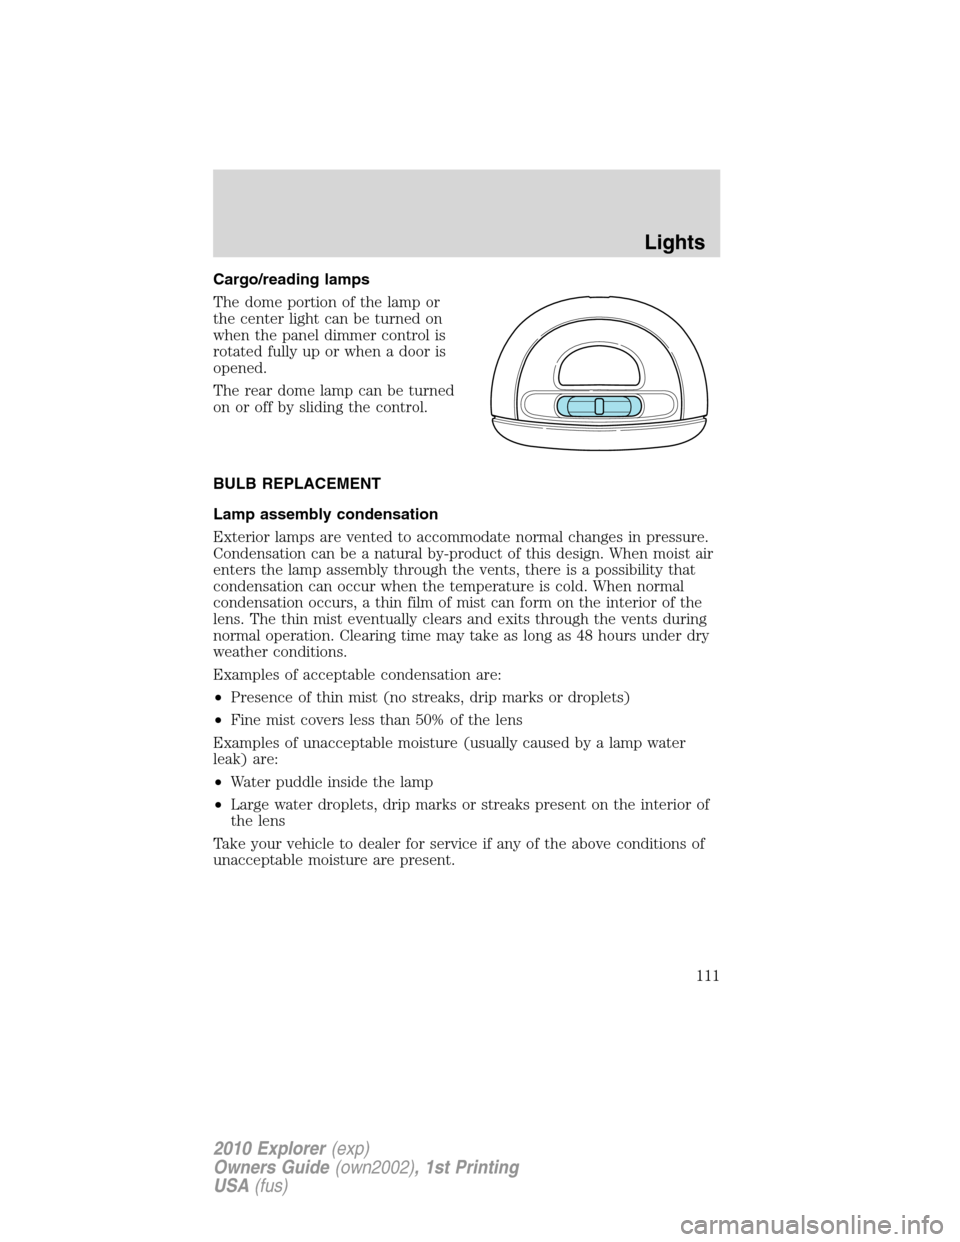
Cargo/reading lamps
The dome portion of the lamp or
the center light can be turned on
when the panel dimmer control is
rotated fully up or when a door is
opened.
The rear dome lamp can be turned
on or off by sliding the control.
BULB REPLACEMENT
Lamp assembly condensation
Exterior lamps are vented to accommodate normal changes in pressure.
Condensation can be a natural by-product of this design. When moist air
enters the lamp assembly through the vents, there is a possibility that
condensation can occur when the temperature is cold. When normal
condensation occurs, a thin film of mist can form on the interior of the
lens. The thin mist eventually clears and exits through the vents during
normal operation. Clearing time may take as long as 48 hours under dry
weather conditions.
Examples of acceptable condensation are:
•Presence of thin mist (no streaks, drip marks or droplets)
•Fine mist covers less than 50% of the lens
Examples of unacceptable moisture (usually caused by a lamp water
leak) are:
•Water puddle inside the lamp
•Large water droplets, drip marks or streaks present on the interior of
the lens
Take your vehicle to dealer for service if any of the above conditions of
unacceptable moisture are present.
Lights
111
2010 Explorer(exp)
Owners Guide(own2002), 1st Printing
USA(fus)
Page 112 of 404

Using the right bulbs
Replacement bulbs are specified in the chart below. Headlamp bulbs
must be marked with an authorized “D.O.T.” for North America and an
“E” for Europe to ensure lamp performance, light brightness and pattern
and safe visibility. Using incorrect bulbs may damage the lamp assembly
or void the lamp assembly warranty or may not provide quality bulb burn
time.
Function Number of bulbs Trade number
Headlamp low & high
beam2
H13
Front park/turn lamp 2 3457 NAK (amber)
Side park/turn lamp 2 194
Upper rear tail lamp 2 194
Rear backup lamp 2 921
Lower rear
stop/tail/turn lamp2
3057K
High-mount stop
lamps5
W5WL
Rear license plate
lamps2
168
Front fog lamp 2 9145
Cargo lamp 1 211-2
Interior overhead lamp 1 912 (906)
Front door courtesy
lamp1
168
Map lamps 2 168 (T10)
Ashtray lamp 1 161
Visor vanity lamp -
Slide on rail system
(SOR)2
A6224PF
All replacement bulbs are clear in color except where noted.
To replace all instrument panel lights - see your authorized dealer .
Replacing interior bulbs
Check the operation of the bulbs frequently. To replace any of the
interior bulbs, see a dealer or qualified technician.
Lights
112
2010 Explorer(exp)
Owners Guide(own2002), 1st Printing
USA(fus)
Page 113 of 404
Replacing exterior bulbs
Check the operation of all the bulbs frequently.
Replacing headlamp bulbs
Do not touch the glass of a halogen bulb.
1. Turn off the headlamps and open
the hood.
2. Remove three screws from the
headlamp assembly and pull
headlamp forward.
3. Disconnect the electrical
connector.
4. Remove the old bulb by turning
counterclockwise and pull it out.
WARNING:Handle a halogen headlamp bulb carefully and keep
out of children’s reach. Grasp the bulb only by its plastic base
and do not touch the glass. The oil from your hand could cause the
bulb to break the next time the headlamps are operated.
Reverse steps to reinstall bulb(s).
Lights
113
2010 Explorer(exp)
Owners Guide(own2002), 1st Printing
USA(fus)