2010 FORD EXPEDITION towing
[x] Cancel search: towingPage 300 of 420
If the system is off, the rear air suspension will not operate and will not
raise (pump) or lower (vent) while the vehicle is not moving. However, if
the system determines that the vehicle is low or high and needs to make
a height adjustment while driving at speeds above 15 mph (24 km/h), the
system will pump or vent as required. Normal vehicle operation does not
require any action by the driver.
WARNING:On vehicles equipped with air suspension, turn the
air suspension and the ignition switch off prior to jacking,
hoisting or towing your vehicle.
LIMITED-SLIP AXLE (IF EQUIPPED)
This axle provides added traction on slippery surfaces, particularly when
one wheel is on a poor traction surface. Under normal conditions, the
limited slip axle functions like a standard rear axle.
Extended use of other than the manufacturer’s specified size tires on a
limited slip rear axle could result in a permanent reduction in
effectiveness. This loss of effectiveness does not affect normal driving
and should not be noticeable to the driver.
PREPARING TO DRIVE
WARNING:Utility vehicles have a significantly higher rollover
rate than other types of vehicles.
WARNING:In a rollover crash, an unbelted person is
significantly more likely to die than a person wearing a seat belt.
Utility vehicles and trucks have larger tires and increased ground
clearance, giving the vehicle a higher center of gravity than a passenger
car.
WARNING:Vehicles with a higher center of gravity such as
utility vehicles and trucks handle differently than vehicles with a
lower center of gravity. Utility vehicles and trucks arenotdesigned for
cornering at speeds as high as passenger cars any more than low-slung
sports cars are designed to perform satisfactorily under off-road
conditions. Avoid sharp turns, excessive speed or abrupt maneuvers in
these vehicles. Failure to drive cautiously could result in an increased
risk of loss of vehicle control, vehicle rollover, personal injury and
death.
Driving
300
2010 Expedition(exd)
Owners Guide(own2002), 1st Printing
USA(fus)
Page 305 of 420
To put your vehicle in P (Park):
•Come to a complete stop
•Move the gearshift lever and securely latch it in P (Park)
WARNING:Always set the parking brake fully and make sure
the gearshift is latched in P (Park). Turn the ignition to the off
position and remove the key whenever you leave your vehicle.
R (Reverse)
With the gearshift lever in R (Reverse), the vehicle will move backward.
Always come to a complete stop before shifting into and out of R
(Reverse).
N (Neutral)
With the gearshift lever in N (Neutral), the vehicle can be started and is
free to roll. Hold the brake pedal down while in this position.
D (Overdrive) with Tow/Haul Off
The normal driving position for the best fuel economy. Transmission
operates in gears one through six.
D (Overdrive) with Tow/Haul On
The Tow/Haul feature improves transmission operation when towing a
trailer or a heavy load. All transmission gear ranges are available when
using Tow/Haul.
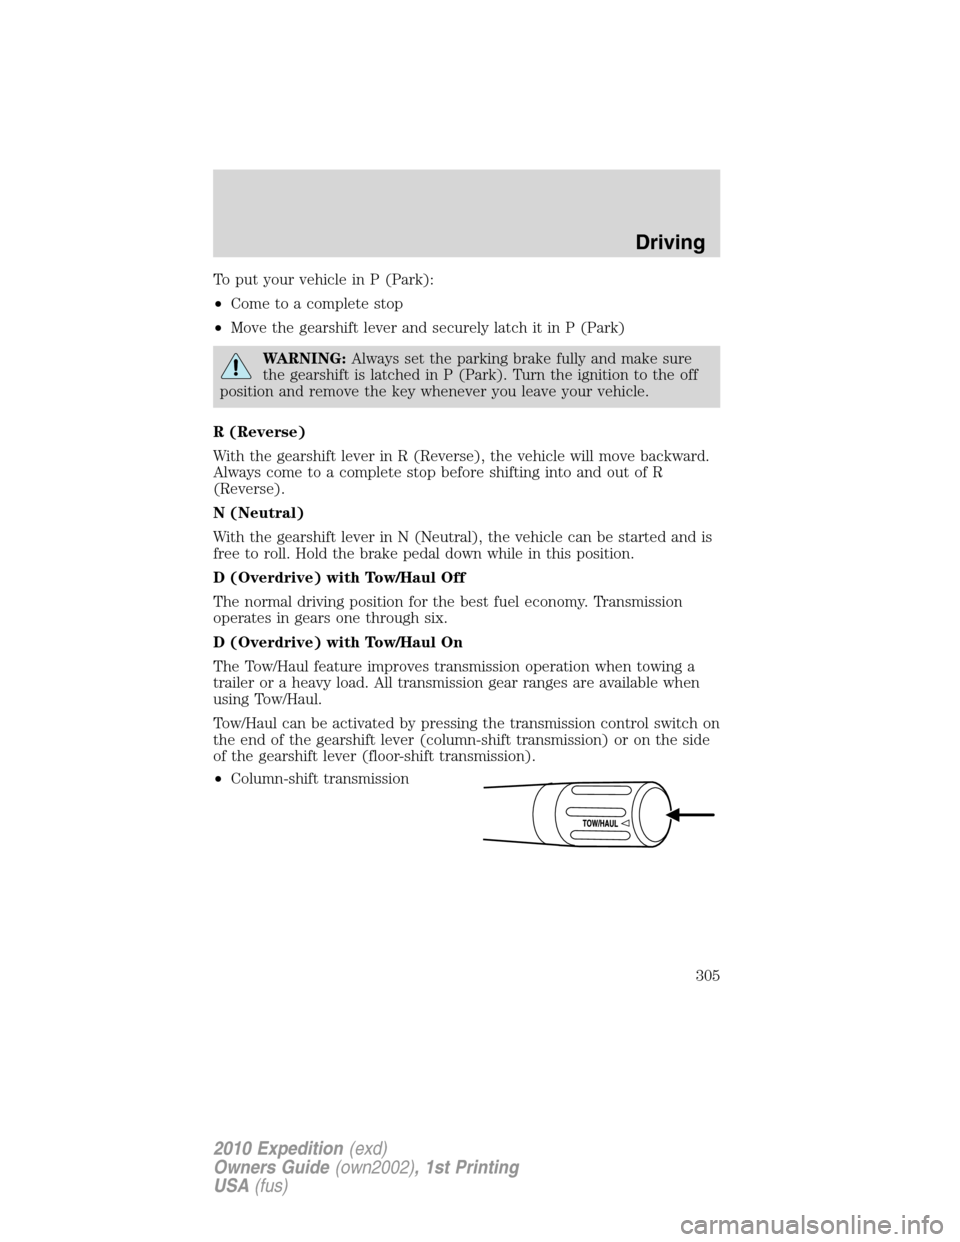
Tow/Haul can be activated by pressing the transmission control switch on
the end of the gearshift lever (column-shift transmission) or on the side
of the gearshift lever (floor-shift transmission).
•Column-shift transmission
Driving
305
2010 Expedition(exd)
Owners Guide(own2002), 1st Printing
USA(fus)
Page 311 of 420
Image delay if displayed through the rearview mirror:
When shifting out of R (Reverse) and into any other gear, the image in
the rearview mirror will remain on for a few seconds before it shuts off
to assist in parking or trailer hookup.
Image delay if displayed through the Navigation screen:
After shifting out of R (Reverse) and into any gear other than P (Park),
the image in the navigation screen will remain until the vehicle speed
reaches five mph (8 km/h), only if the rear camera delay feature is on, or
until any navigation radio button is pressed.
Note:The default setting for the camera delay is off. Press the
“Settings” button found on the navigation screen (if equipped) to set the
camera delay feature to on or off.
When towing, the camera system will only see what is being towed
behind the vehicle; this might not provide adequate coverage as it
usually provides in normal operation and some objects might not be
seen.
The camera lens for the camera is located on the liftgate, above the
license plate. Keep the lens clean so the video image remains clear and
undistorted. Clean the lens with a soft, lint-free cloth and non-abrasive
cleaner.
Note:If the camera system image is not clear or seems distorted, it may
be covered with water droplets, snow, mud or any other substance. If
this occurs, clean the camera lens before using the reverse camera
system.
WARNING:The camera system is a reverse aid supplement
device that still requires the driver to use it in conjunction with
the rearview mirror and the side mirrors for maximum coverage.
WARNING:Objects that are close to either corner of the
bumper or under the bumper, might not be seen on the screen
due to the limited coverage of the camera system.
WARNING:Backup as slow as possible since higher speeds
might limit your reaction time to stop the vehicle.
WARNING:Do not use the camera system with the liftgate
open.
Driving
311
2010 Expedition(exd)
Owners Guide(own2002), 1st Printing
USA(fus)
Page 324 of 420
ROADSIDE ASSISTANCE
Getting roadside assistance
To fully assist you should you have a vehicle concern, Ford Motor
Company offers a complimentary roadside assistance program. This
program is separate from the New Vehicle Limited Warranty. The service
is available:
•24–hours, seven days a week
•for the coverage period listed on the Roadside Assistance Card
included in your Owner Guide portfolio.
Roadside assistance will cover:
•a flat tire change with a good spare (except vehicles that have been
supplied with a tire inflation kit)
•battery jump start
•lock-out assistance (key replacement cost is the customer’s
responsibility)
•fuel delivery – Independent Service Contractors, if not prohibited by
state, local or municipal law shall deliver up to 2.0 gallons (7.5L) of
gasoline or 5 gallons (18.9L) of diesel fuel to a disabled vehicle. Fuel
delivery service is limited to two no-charge occurrences within a
12-month period.
•winch out – available within 100 feet (30.5 meters) of a paved or
county maintained road, no recoveries.
•towing – Ford/Mercury/Lincoln eligible vehicle towed to an authorized
dealer within 35 miles (56.3 km) of the disablement location or to the
nearest authorized dealer. If a member requests to be towed to an
authorized dealer more than 35 miles (56.3 km) from the disablement
location, the member shall be responsible for any mileage costs in
excess of 35 miles (56.3 km).
Trailers shall be covered up to $200 if the disabled eligible vehicle
requires service at the nearest authorized dealer. If the trailer is disabled,
but the towing vehicle is operational, the trailer does not qualify for any
roadside services.
Roadside Emergencies
324
2010 Expedition(exd)
Owners Guide(own2002), 1st Printing
USA(fus)
Page 325 of 420
Canadian customers refer to your Customer Information Guide
for information on:
•coverage period
•exact fuel amounts
•towing of your disabled vehicle
•emergency travel expense reimbursement
•travel planning benefits
In Canada, for uninterrupted Roadside Assistance coverage, you may
purchase extended coverage prior to your Basic Warranty’s Roadside
Assistance expiring. For more information and enrollment, contact
1–877–294–2582 or visit our website at www.ford.ca.
Using roadside assistance
Complete the roadside assistance identification card and place it in your
wallet for quick reference. In the United States, this card is found in the
Owner Guide portfolio in the glove compartment. In Canada, the card is
found in theCustomer Information Guidein the glove compartment.
U.S. Ford, Mercury and Lincoln vehicle customers who require Roadside
Assistance, call 1-800-241-3673.
Canadian customers who require roadside assistance, call
1-800-665-2006.
If you need to arrange roadside assistance for yourself, Ford Motor
Company will reimburse a reasonable amount for towing to the nearest
dealership within 35 miles. To obtain reimbursement information, U.S.
Ford, Mercury and Lincoln vehicle customers call 1-800-241-3673.
Customers will be asked to submit their original receipts.
Canadian customers who need to obtain reimbursement information, call
1–800–665–2006.
HAZARD FLASHER CONTROL
The hazard flasher control is located
on the instrument panel by the
radio. The hazard flashers will
operate when the ignition is in any
position or if the key is not in the
ignition.
Press in the flasher control and all front and rear direction signals will
flash. Press the flasher control again to turn them off. Use it when your
vehicle is disabled and is creating a safety hazard for other motorists.
Roadside Emergencies
325
2010 Expedition(exd)
Owners Guide(own2002), 1st Printing
USA(fus)
Page 337 of 420
•Wet weather driving capability
•All-Wheel driving capability (if applicable)
•Load leveling adjustment (if applicable)
When driving with the full-size dissimilar spare tire/wheel additional
caution should be given to:
•Towing a trailer
•Driving vehicles equipped with a camper body
•Driving vehicles with a load on the cargo rack
Drive cautiously when using a full-size dissimilar spare tire/wheel and
seek service as soon as possible.
Stopping and securing the vehicle
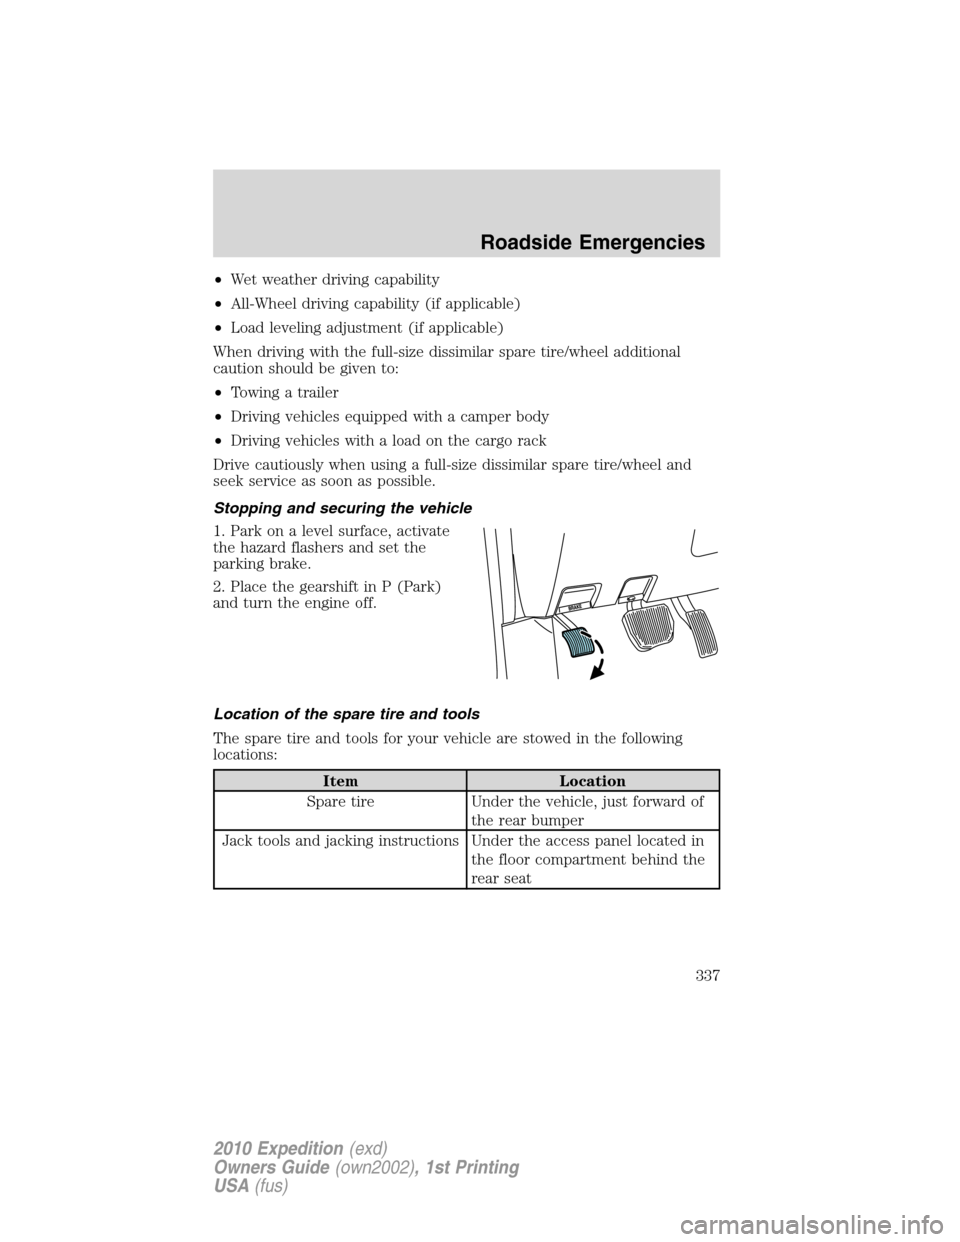
1. Park on a level surface, activate
the hazard flashers and set the
parking brake.
2. Place the gearshift in P (Park)
and turn the engine off.
Location of the spare tire and tools
The spare tire and tools for your vehicle are stowed in the following
locations:
Item Location
Spare tire Under the vehicle, just forward of
the rear bumper
Jack tools and jacking instructions Under the access panel located in
the floor compartment behind the
rear seat
Roadside Emergencies
337
2010 Expedition(exd)
Owners Guide(own2002), 1st Printing
USA(fus)
Page 339 of 420
Tire change procedure
WARNING:To help prevent the vehicle from moving when you
change a tire, be sure the parking brake is set, then block the
wheels (both front or both rear) on the opposite end of the vehicle
from the wheel being changed. If on a grade, block both opposite
wheels on the downward side of the hill.
WARNING:If the vehicle slips off the jack, you or someone else
could be seriously injured.
WARNING:On vehicles equipped with air suspension, turn off
the Air Suspension system prior to jacking, hoisting or towing
your vehicle.
WARNING:Turn off the running boards (if equipped) before
jacking or placing any object under the vehicle. Never place your
hand between the extended running board and the vehicle. A moving
running board may cause injury.
WARNING:Do not attempt to change a tire on the side of the
vehicle close to moving traffic. Pull far enough off the road to
avoid the danger of being hit when operating the jack and changing the
wheel.
Note:Passengers should not remain in the vehicle when the vehicle is
being jacked.
If your vehicle is equipped with air suspension, refer toMessage center
in theInstrument Clusterchapter for instructions on turning the air
suspension system off.
Refer to the instruction sheet (located in the rear floor compartment
behind the 3rd row seat with the jack tray tools assembly kit) for
detailed tire change instructions.
Roadside Emergencies
339
2010 Expedition(exd)
Owners Guide(own2002), 1st Printing
USA(fus)
Page 342 of 420
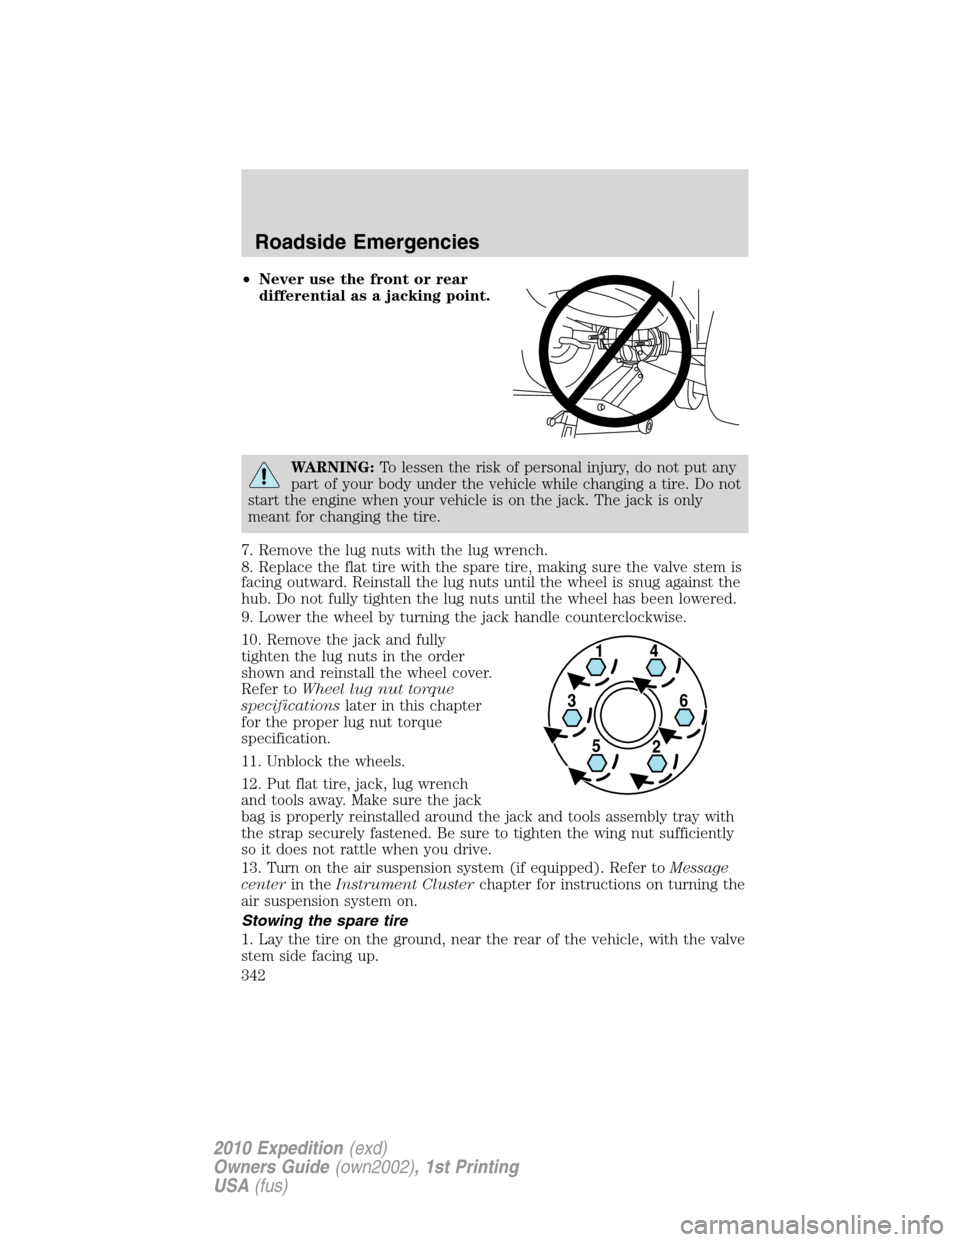
•Never use the front or rear
differential as a jacking point.
WARNING:To lessen the risk of personal injury, do not put any
part of your body under the vehicle while changing a tire. Do not
start the engine when your vehicle is on the jack. The jack is only
meant for changing the tire.
7. Remove the lug nuts with the lug wrench.
8. Replace the flat tire with the spare tire, making sure the valve stem is
facing outward. Reinstall the lug nuts until the wheel is snug against the
hub. Do not fully tighten the lug nuts until the wheel has been lowered.
9. Lower the wheel by turning the jack handle counterclockwise.
10. Remove the jack and fully
tighten the lug nuts in the order
shown and reinstall the wheel cover.
Refer toWheel lug nut torque
specificationslater in this chapter
for the proper lug nut torque
specification.
11. Unblock the wheels.
12. Put flat tire, jack, lug wrench
and tools away. Make sure the jack
bag is properly reinstalled around the jack and tools assembly tray with
the strap securely fastened. Be sure to tighten the wing nut sufficiently
so it does not rattle when you drive.
13. Turn on the air suspension system (if equipped). Refer toMessage
centerin theInstrument Clusterchapter for instructions on turning the
air suspension system on.
Stowing the spare tire
1. Lay the tire on the ground, near the rear of the vehicle, with the valve
stem side facing up.
Roadside Emergencies
342
2010 Expedition(exd)
Owners Guide(own2002), 1st Printing
USA(fus)