Page 83 of 420
Headphones
Wireless headphones
WARNING:The driver should never use the headphones while
driving the vehicle. Using headphones may prevent the driver
from hearing audible warnings such as horns or emergency sirens,
which could result in a crash causing serious injury. Give your full
attention to driving and to the road.
Your FES system is equipped with
two sets of battery powered,
infrared wireless headphones. Two
AAA batteries are needed to operate
the headphones. (Batteries are
included.)
Additional infrared wireless
headphones may be purchased for
use with the system. Also, wired
headphones may be purchased and
plugged in where indicated on the
left and right hand sides of the
system. Refer toWired
Headphonesfollowing.
Entertainment Systems
83
2010 Expedition(exd)
Owners Guide(own2002), 1st Printing
USA(fus)
Page 84 of 420
To install the batteries, remove the screw at the bottom of the cover.
Then, lightly press down on top and slide the cover off.
When replacing the batteries, use two new batteries (alkaline
recommended) and install them with the correct orientation as indicated
in the battery housing.
Entertainment Systems
84
2010 Expedition(exd)
Owners Guide(own2002), 1st Printing
USA(fus)
Page 116 of 420

WARNING:Always remember to turn on your headlamps at
dusk or during inclement weather. The Daytime Running Lamp
(DRL) system does not activate the tail lamps and generally may not
provide adequate lighting during these conditions. Failure to activate
your headlamps under these conditions may result in a collision.
PANEL DIMMER CONTROL
Use to adjust the brightness of the
instrument panel and all applicable
switches in the vehicle during
headlamp and parking lamp
operation.
Move the control to the full upright
position, past detent, to turn on the
interior lamps.
Move the control to the full down
position, past detent, to prevent the
interior lights from illuminating when the doors are opened. When the
control is in the full down position, it acts as a dome lamp
defeat/override.
Note:If the battery is disconnected, discharged, or a new battery is
installed, the dimmer switch requires re-calibration. Rotate the dimmer
switch from the full dim position to the full dome/on position to reset.
This will ensure that your displays are visible under all lighting
conditions.
AIMING THE HEADLAMPS
The headlamps on your vehicle are properly aimed at the assembly plant.
If your vehicle has been in an accident the alignment of your headlamps
should be checked by your authorized dealer.
Vertical aim adjustment
Before aim adjustment, disable the air suspension system. Refer to
Message centerin theDriver Controlschapter.
Lights
116
2010 Expedition(exd)
Owners Guide(own2002), 1st Printing
USA(fus)
Page 119 of 420

Second row map lamps (if equipped)
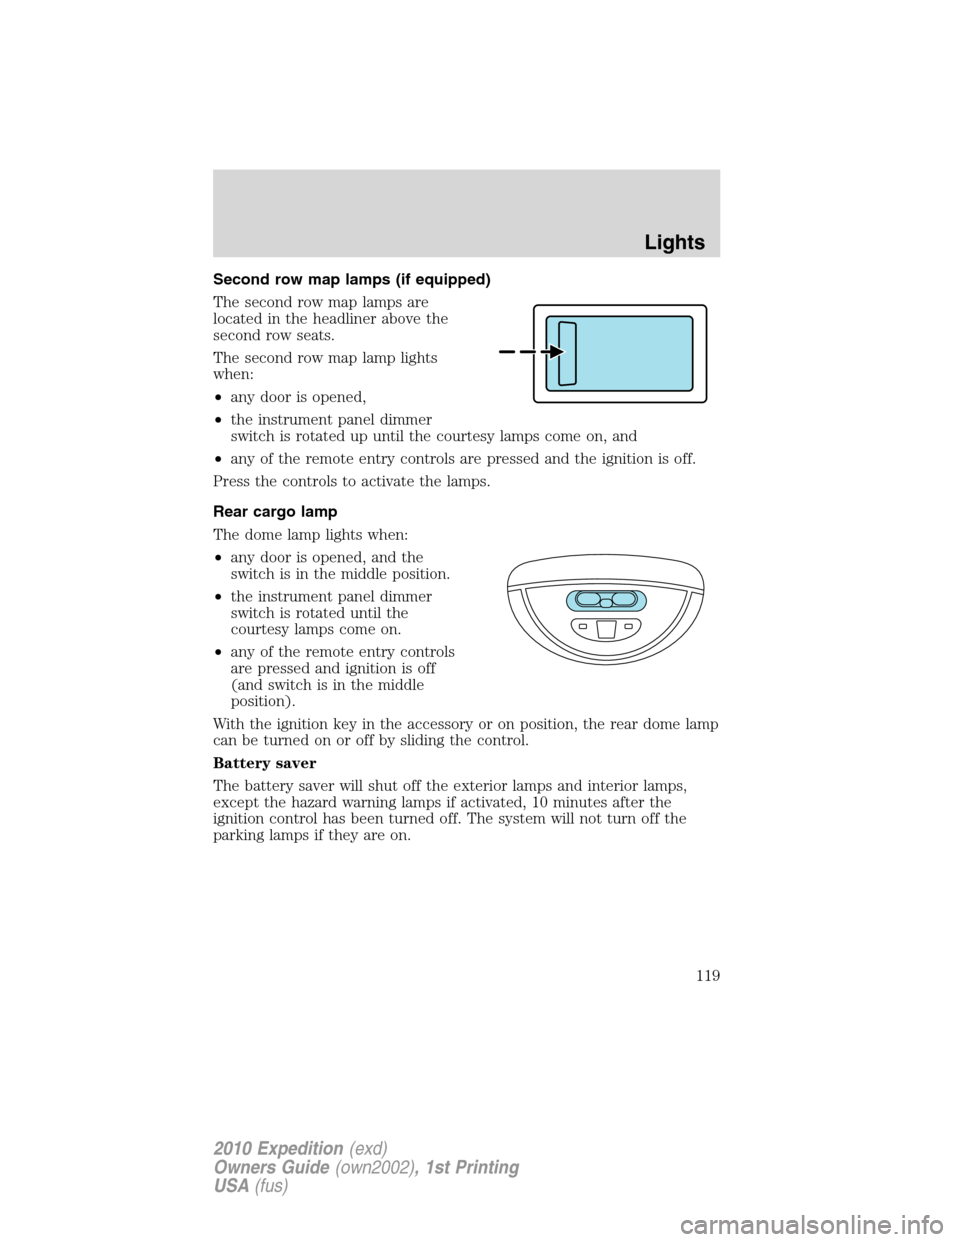
The second row map lamps are
located in the headliner above the
second row seats.
The second row map lamp lights
when:
•any door is opened,
•the instrument panel dimmer
switch is rotated up until the courtesy lamps come on, and
•any of the remote entry controls are pressed and the ignition is off.
Press the controls to activate the lamps.
Rear cargo lamp
The dome lamp lights when:
•any door is opened, and the
switch is in the middle position.
•the instrument panel dimmer
switch is rotated until the
courtesy lamps come on.
•any of the remote entry controls
are pressed and ignition is off
(and switch is in the middle
position).
With the ignition key in the accessory or on position, the rear dome lamp
can be turned on or off by sliding the control.
Battery saver
The battery saver will shut off the exterior lamps and interior lamps,
except the hazard warning lamps if activated, 10 minutes after the
ignition control has been turned off. The system will not turn off the
parking lamps if they are on.
Lights
119
2010 Expedition(exd)
Owners Guide(own2002), 1st Printing
USA(fus)
Page 131 of 420

AUXILIARY POWER POINT (12VDC)
Power outlets are designed for accessory plugs only. Do not insert
any other object in the power outlet as this will damage the
outlet and blow the fuse. Do not hang any type of accessory or
accessory bracket from the plug. Improper use of the power
outlet can cause damage not covered by your warranty.
Auxiliary power points can be found in the following locations:
•On the instrument panel
•On the rear of the center console, accessible from the rear seats
•On the right rear quarter panel, accessible from the liftgate or the
third row seat
Do not use the power point for operating the cigarette lighter element (if
equipped).
To prevent the fuse from being blown, do not use the power point(s)
over the vehicle capacity of 12 VDC/180W. If the power point or cigar
lighter socket is not working, a fuse may have blown. Refer toFuses and
relaysin theRoadside Emergencieschapter for information on
checking and replacing fuses.
To have full capacity usage of your power point, the engine is required to
be running to avoid unintentional discharge of the battery. To prevent
the battery from being discharged:
•do not use the power point longer than necessary when the engine is
not running,
•do not leave battery chargers, video game adapters, computers and
other devices plugged in overnight or when the vehicle is parked for
extended periods.
Always keep the power point caps closed when not being used.
Cupholder/Ashtray (if equipped)
The cupholder/ashtray is located on
the instrument panel.
To open cupholder/ashtray, push in
on the door and release. The door
will spring out 1/4+ inches. Then
pull cupholder/ashtray assembly out
the remaining distance to utilize. To
close, push assembly in completely
and release.
Driver Controls
131
2010 Expedition(exd)
Owners Guide(own2002), 1st Printing
USA(fus)
Page 146 of 420

Programming
Do not program HomeLink�with the vehicle parked in the garage.
Note:Your vehicle may require the ignition switch to be turned to the
accessory position for programming and/or operation of the HomeLink�.
It is also recommended that a new battery be placed in the hand-held
transmitter of the device being programmed to HomeLink�for quicker
training and accurate transmission of the radio-frequency signal.
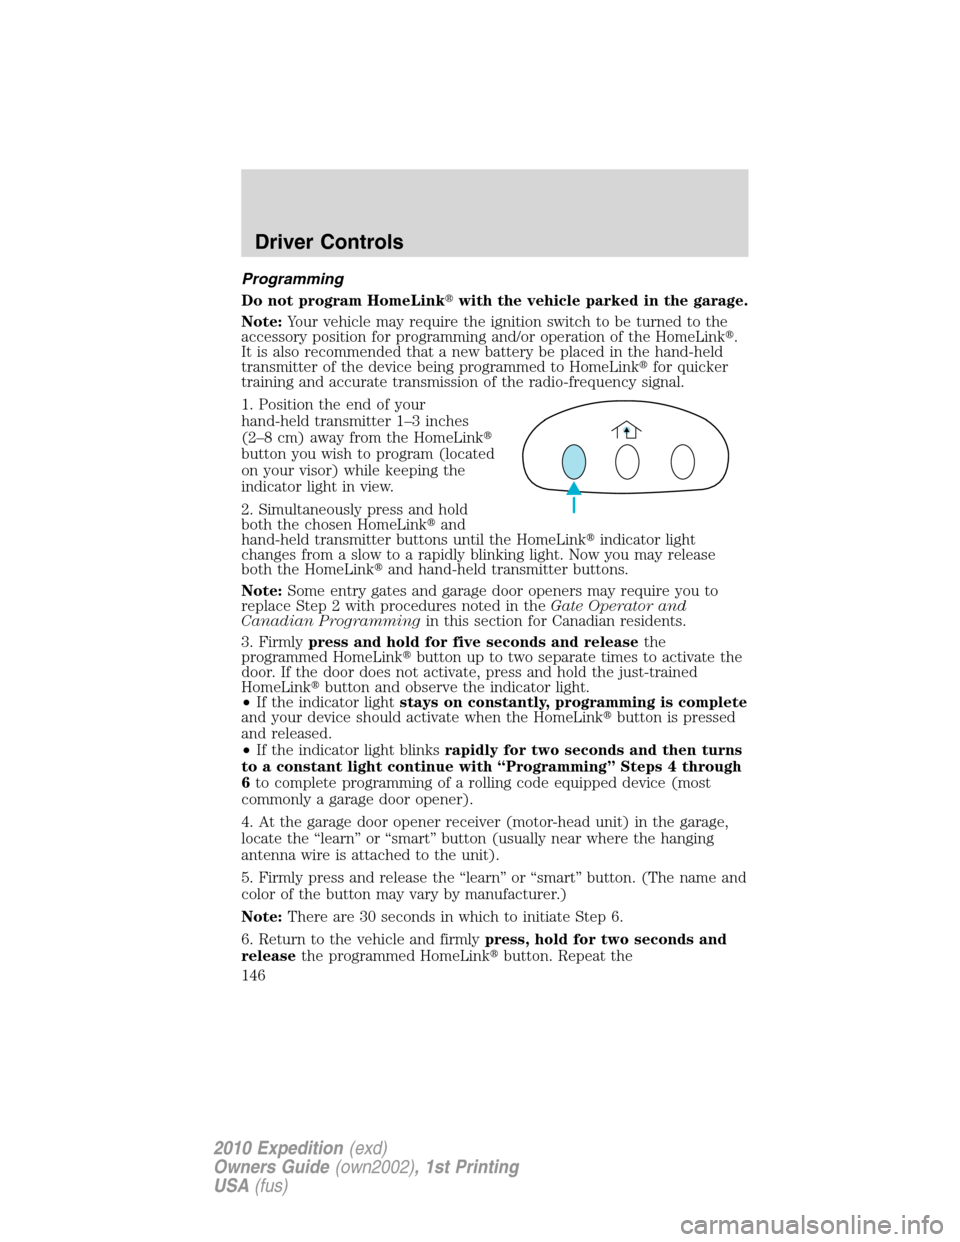
1. Position the end of your
hand-held transmitter 1–3 inches
(2–8 cm) away from the HomeLink�
button you wish to program (located
on your visor) while keeping the
indicator light in view.
2. Simultaneously press and hold
both the chosen HomeLink�and
hand-held transmitter buttons until the HomeLink�indicator light
changes from a slow to a rapidly blinking light. Now you may release
both the HomeLink�and hand-held transmitter buttons.
Note:Some entry gates and garage door openers may require you to
replace Step 2 with procedures noted in theGate Operator and
Canadian Programmingin this section for Canadian residents.
3. Firmlypress and hold for five seconds and releasethe
programmed HomeLink�button up to two separate times to activate the
door. If the door does not activate, press and hold the just-trained
HomeLink�button and observe the indicator light.
•If the indicator lightstays on constantly, programming is complete
and your device should activate when the HomeLink�button is pressed
and released.
•If the indicator light blinksrapidly for two seconds and then turns
to a constant light continue with “Programming” Steps 4 through
6to complete programming of a rolling code equipped device (most
commonly a garage door opener).
4. At the garage door opener receiver (motor-head unit) in the garage,
locate the “learn” or “smart” button (usually near where the hanging
antenna wire is attached to the unit).
5. Firmly press and release the “learn” or “smart” button. (The name and
color of the button may vary by manufacturer.)
Note:There are 30 seconds in which to initiate Step 6.
6. Return to the vehicle and firmlypress, hold for two seconds and
releasethe programmed HomeLink�button. Repeat the
Driver Controls
146
2010 Expedition(exd)
Owners Guide(own2002), 1st Printing
USA(fus)
Page 150 of 420
If you do not know if your garage
door opener is a rolling code or
fixed code device, open your garage
door opener’s remote control battery
cover. If a panel of DIP switches is
present your garage door opener is
a fixed code device. If not, your
garage door opener is a rolling code
device.
Rolling code programming
Note:Programming the rolling code garage door opener involves
time-sensitive actions. Read the entire procedure prior to beginning so
you will know which actions are time-sensitive. If you do not follow the
time-sensitive actions, the device will time out and you will have to
repeat the procedure.
Note:Do not program the Car2U�system with the vehicle in the garage.
Make sure that your key is on and engine off while programming the
transmitter.
1. Firmly press the two outer
Car2U�system buttons for
1–2 seconds, then release.
12
34
5
6789
1
01
1
1
2
C
TS
206-12
T
124
O
N
Driver Controls
150
2010 Expedition(exd)
Owners Guide(own2002), 1st Printing
USA(fus)
Page 152 of 420

Note:The Car2U�system allows for three devices to be programmed. If
you need to change or replace any of the three devices after it has been
initially programmed, it is necessary to erase the current settings using
theErasing the Car2U�Home Automation System buttonsprocedure
and then programming all of the devices being used.
Fixed code programming
Note:Do not program the Car2U�system with the vehicle in the garage.
Make sure that your key is on and engine off while programming the
transmitter.
1. To program units with fixed code DIP switches, you will need the
garage door hand-held transmitter, paper and a pen or pencil.
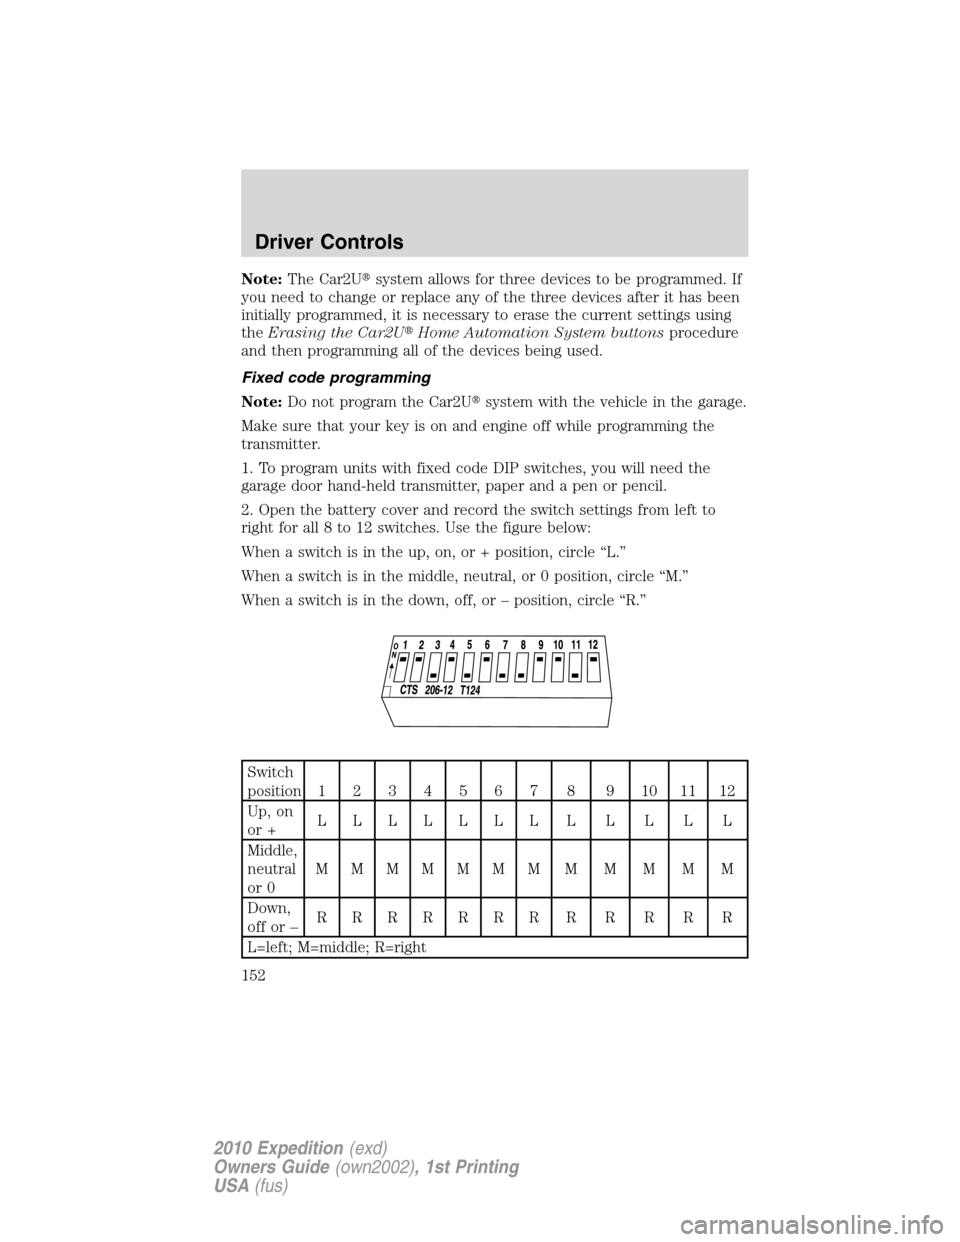
2. Open the battery cover and record the switch settings from left to
right for all 8 to 12 switches. Use the figure below:
When a switch is in the up, on, or + position, circle “L.”
When a switch is in the middle, neutral, or 0 position, circle “M.”
When a switch is in the down, off, or – position, circle “R.”
Switch
position1234567 8 9101112
Up, on
or +LLLLLLLLLLLL
Middle,
neutral
or 0MMMMMMMMMMMM
Down,
offor–RRRRRRRRRRRR
L=left; M=middle; R=right
Driver Controls
152
2010 Expedition(exd)
Owners Guide(own2002), 1st Printing
USA(fus)