Page 194 of 315

HAZARD WARNING FLASHER
The Hazard Warning flasher switch is on the top of the
steering column, just behind the steering wheel.Press the switch to turn on the Hazard Warning
flasher. When the switch is activated, all directional turn signals will flash on and off to warn oncoming traffic
of an emergency. Press the switch a second time to turn
off the Hazard Warning flasher.
This is an emergency warning system and it should not
be used when the vehicle is in motion. Use it when your
vehicle is disabled and it is creating a safety hazard for
other motorists.
When you must leave the vehicle to seek assistance, the
Hazard Warning flasher will continue to operate even
though the ignition is placed in the OFF position.
NOTE:
With extended use the Hazard Warning flasher
may wear down your battery.
IF YOUR ENGINE OVERHEATS
In any of the following situations, you can reduce the
potential for overheating by taking the appropriate ac-
tion.Hazard Warning Switch
190 WHAT TO DO IN EMERGENCIES
Page 212 of 315

▫Manual Transmission ................. 235
▫ Hydraulic Clutch .................... 236
▫ Rear Axle .......................... 237
▫ Appearance Care And Protection From
Corrosion .......................... 237
▫ Aero Group — If Equipped ............. 241
� Fuses .............................. 244
▫ Power Distribution Center .............. 244
▫ Mini-Power Distribution Center .......... 247
� Vehicle Storage ....................... 247
� Replacement Bulbs .................... 250
� Bulb Replacement ..................... 251
▫
Auxiliary High Beam Headlamp, Front Park/
Turn Signal Lamp, Front Side Marker Lamp
. . 251 ▫
High Intensity
Discharge Headlamps (HID) ............ 252
▫ Front Fog Lamp ..................... 253
▫ Taillamp, Tail/Stop Lamp, Rear Marker
Lamp ............................. 254
▫ Taillamp, Tail/Stop Lamp, Rear Marker
Lamp (Coupe Models) ................. 255
▫ Backup Lamp, Rear Turn Signal Lamp ..... 256
▫ License Lamp ....................... 259
� Fluid Capacities ...................... 260
� Fluids, Lubricants, And Genuine Parts ....... 261
▫ Engine ............................ 261
▫ Chassis ........................... 262
208 MAINTAINING YOUR VEHICLE
Page 254 of 315

properly. If not, there is a problem with a switch or the
system. See your authorized dealer for service.
•Cover the vehicle whenever possible to prevent acci-
dental damage to the finish.
REPLACEMENT BULBS
LIGHT BULBS – InteriorBulb Number
Message Center Indicators .................. 103
Cluster ................................ 103
Gauge Pack ............................ 103
Heater Control ........................... 37
Interior Lamp ......................... 212–2
Courtesy Foot Well Lights .................. 194
Cargo Lamp (Coupe Liftgate) ................ 168LIGHT BULBS – Exterior
(Convertible Models)
Bulb Number
Low/High Beam High Intensity Discharge
(HID) Headlamp .... Serviced at authorized dealer only
Auxiliary High Beam Headlamp .....(HB3A) 9005XS
Front Park/Turn Signal Lamp .............3157AK
Fog Lamp ....................... (H10 U) 9145
Front Side Marker Lamp .................. 2886X
Center High Mounted Stop Lamp
(CHMSL) ................ 16LED (not serviceable)
Tail/Stop Lamp ......................... 3157
Taillamp ............................... 194
Rear Marker Lamp ....................... 194
Backup Lamp .......................... 3157
Rear Turn Signal Lamp .................3457AK
License Lamp ........................... 168
250 MAINTAINING YOUR VEHICLE
Page 255 of 315

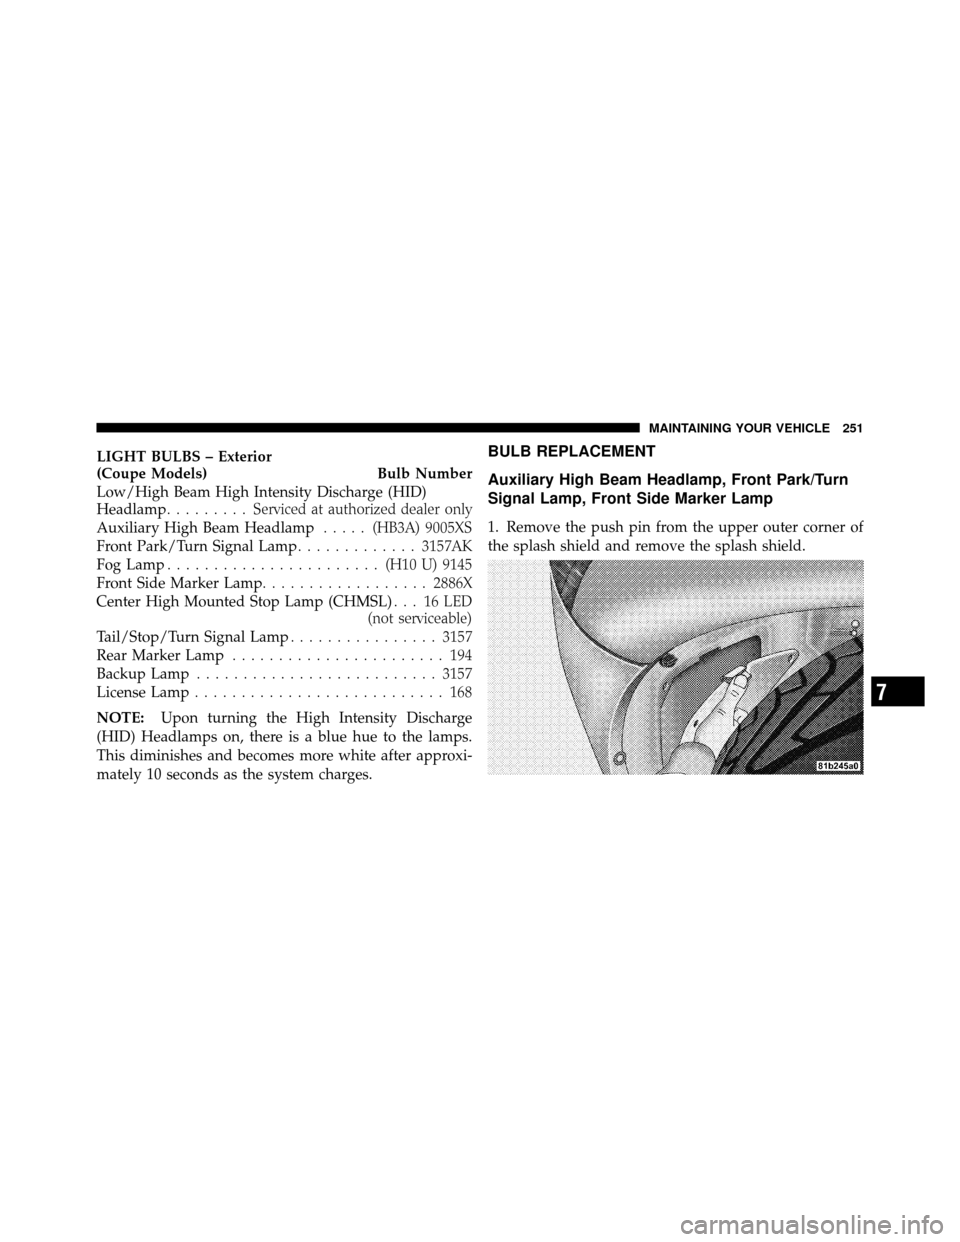
LIGHT BULBS – Exterior
(Coupe Models) Bulb Number
Low/High Beam High Intensity Discharge (HID)
Headlamp......... Ser viced at authorized dealer only
Auxiliary High Beam Headlamp .....(HB3A) 9005XS
Front Park/Turn Signal Lamp .............3157AK
Fog Lamp ....................... (H10 U) 9145
Front Side Marker Lamp .................. 2886X
Center High Mounted Stop Lamp (CHMSL) . . . 16 LED
(not serviceable)
Tail/Stop/Turn Signal Lamp ................3157
Rear Marker Lamp ....................... 194
Backup Lamp .......................... 3157
License Lamp ........................... 168
NOTE: Upon turning the High Intensity Discharge
(HID) Headlamps on, there is a blue hue to the lamps.
This diminishes and becomes more white after approxi-
mately 10 seconds as the system charges.BULB REPLACEMENT
Auxiliary High Beam Headlamp, Front Park/Turn
Signal Lamp, Front Side Marker Lamp
1. Remove the push pin from the upper outer corner of
the splash shield and remove the splash shield.
7
MAINTAINING YOUR VEHICLE 251
Page 256 of 315
2. Turn the appropriate bulb and socket assembly coun-
terclockwise, and then pull it out of the headlamp
assembly.3. Pull the bulb out of the socket assembly.
4. Push the replacement bulb into the socket assembly.
5. Reinstall the bulb and socket assembly into the head-
lamp assembly, and then turn it clockwise.
6. Install the splash shield and push pin.
High Intensity Discharge Headlamps (HID)
The headlamps are a type of high voltage discharge tube.
High voltage can remain in the circuit even with the
headlamp switch off and the key removed.
Because of
this, you should not attempt to service a headlamp bulb
yourself. If a headlamp bulb fails, take your vehicle to
an authorized dealer for service.
1 — Front Side Marker Lamp
2 — Front Park/Turn Signal Lamp
3 — Low/High Beam HID Headlamp
4 — Auxiliary High Beam Headlamp
5 — Headlamp Adjustment — Aim Up and Down
252 MAINTAINING YOUR VEHICLE
Page 260 of 315
Backup Lamp, Rear Turn Signal Lamp
1. Open the trunk.
2. Remove the two fasteners and then remove the access
panel.3. Remove the three upper lamp assembly retaining nuts.
256 MAINTAINING YOUR VEHICLE
Page 262 of 315
6. Turn the appropriate bulb and socket assembly coun-
terclockwise, and then pull it out of the lower lamp
assembly.7. Pull the bulb out of the socket assembly.
8. Push the replacement bulb into the socket assembly.
9. Reinstall the bulb and socket assembly into the lower
lamp assembly, and then turn it clockwise.
1 — Backup Lamp
2 — Rear Turn Signal Lamp
258 MAINTAINING YOUR VEHICLE
Page 304 of 315

Engine Oil Viscosity................... 215,260
Engine Oil Viscosity Chart ................. 215
Enhanced Accident Response Feature .......... 53
Ethanol ............................... 182
Exhaust Gas Caution ............30,64,185,224,225
Exhaust System ....................... 64,224
Express Down Windows ................... 21
Exterior Finish Care ...................... 238
Exterior Lights .......................... 67
Filters Air Cleaner .......................... 216
Engine Oil ........................ 216,261
Engine Oil Disposal .................... 216
Finish Care ............................ 238
Flashers Hazard Warning .................... 11 1,190
Turn Signal ...................... 67,91,111
Flash-To-Pass ........................... 91 Flooded Engine Starting
................... 146
Floor Console .......................... 102
Fluid Capacities ......................... 260
Fluid Leaks ............................. 67
Fluid Level Checks Brake ............................ 233,262
Capacities ........................... 260
Clutch Fluid .......................... 236
Cooling System ....................... 227
Engine Oil ........................... 214
Manual Transmission ................235,262
Power Steering ..................... 154,262
Fluids ................................ 261
Fluids, Lubricants and Genuine Parts .......... 261
Fog Lights ......................... 88,90,110
Four-Way Hazard Flasher .................. 190
Freeing A Stuck Vehicle ................... 205
Fuel ................................. 181
Adding ............................. 185
300 INDEX