Page 95 of 315

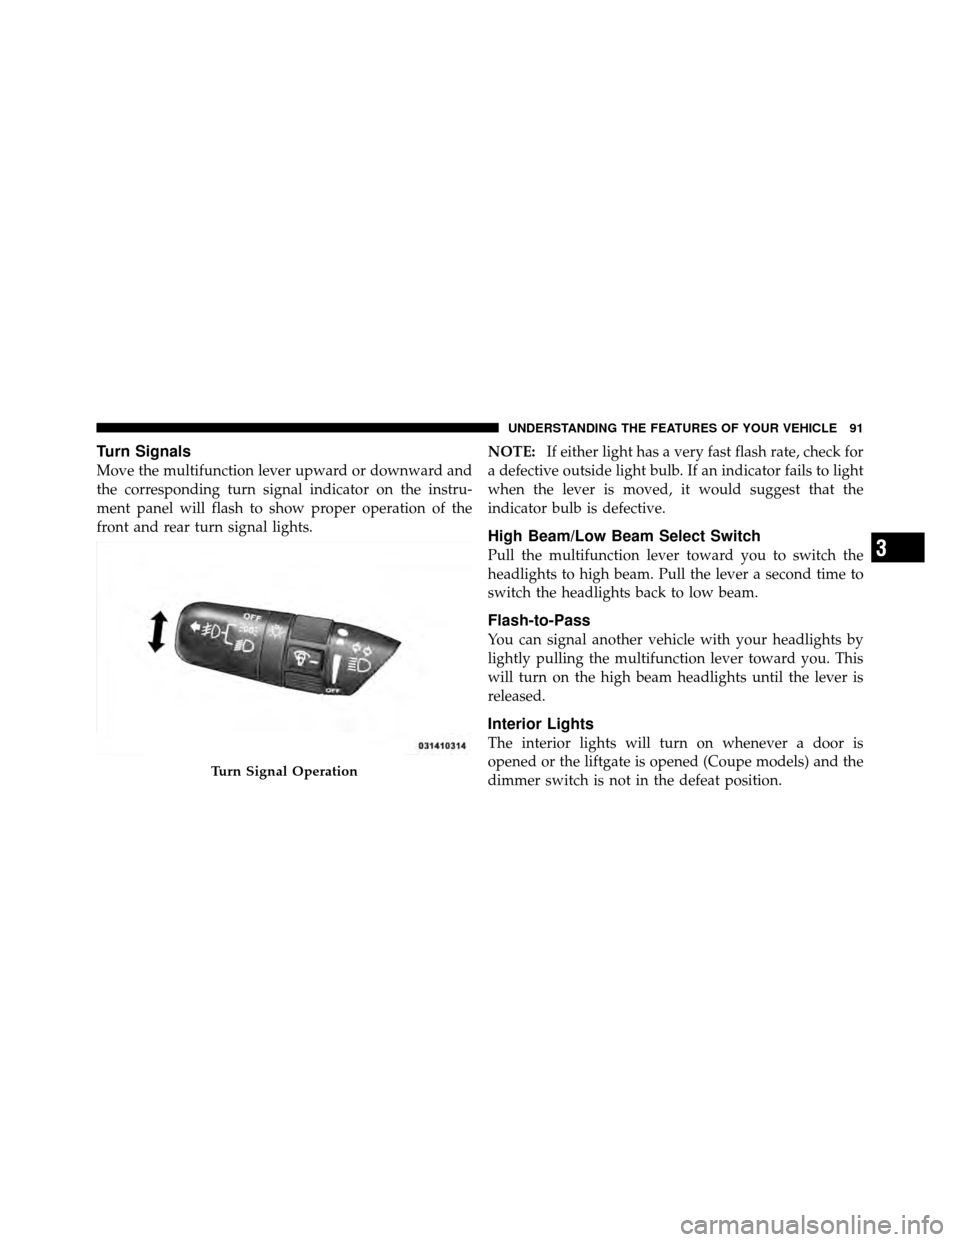
Turn Signals
Move the multifunction lever upward or downward and
the corresponding turn signal indicator on the instru-
ment panel will flash to show proper operation of the
front and rear turn signal lights.NOTE:
If either light has a very fast flash rate, check for
a defective outside light bulb. If an indicator fails to light
when the lever is moved, it would suggest that the
indicator bulb is defective.
High Beam/Low Beam Select Switch
Pull the multifunction lever toward you to switch the
headlights to high beam. Pull the lever a second time to
switch the headlights back to low beam.
Flash-to-Pass
You can signal another vehicle with your headlights by
lightly pulling the multifunction lever toward you. This
will turn on the high beam headlights until the lever is
released.
Interior Lights
The interior lights will turn on whenever a door is
opened or the liftgate is opened (Coupe models) and the
dimmer switch is not in the defeat position.
Turn Signal Operation
3
UNDERSTANDING THE FEATURES OF YOUR VEHICLE 91
Page 96 of 315

The interior lights will turn on, remain on for about
30 seconds, and then fade to off if any of the following
occur:
•A door is opened using the outside door handle and
then closed.
•A door is unlocked using the Remote Keyless Entry
(RKE) transmitter.
•A door is unlocked using the outside driver’s door key
cylinder.
The interior lights will turn on and remain on for about
four seconds and then fade to off if a door is opened
using the inside door handle.
Courtesy/Reading Lights
Two courtesy/reading lights are located in the bottom of
the rearview mirror. You can turn these lights on and off
from the switches in the bottom of the mirror or from the dimmer control in the multifunction lever. These lights
are also controlled automatically by the Illuminated
Entry system.
Courtesy lights are also found in the driver’s foot well,
the passenger’s foot well, and in the liftgate on Coupe
models. You can turn this light on and off from theCourtesy/Reading Light Switches
92 UNDERSTANDING THE FEATURES OF YOUR VEHICLE
Page 97 of 315

dimmer control in the multifunction lever. This light is
also controlled automatically by the Illuminated Entry
system.
Battery Saver Feature — Interior Lights
To protect the battery, the interior lights will turn off
automatically 15 minutes after the ignition switch is
moved to the OFF/LOCK position. This will occur if the
interior lights were switched on manually or are on
because a door is open or the liftgate is open (Coupe
models). To restore interior light operation, turn the
ignition switch to the ON/RUN position or cycle the
light switch.
Dimmer Control
The dimmer control is part of the multifunction lever. It
controls the operation of the interior lights and the
brightness of the instrument panel lights.
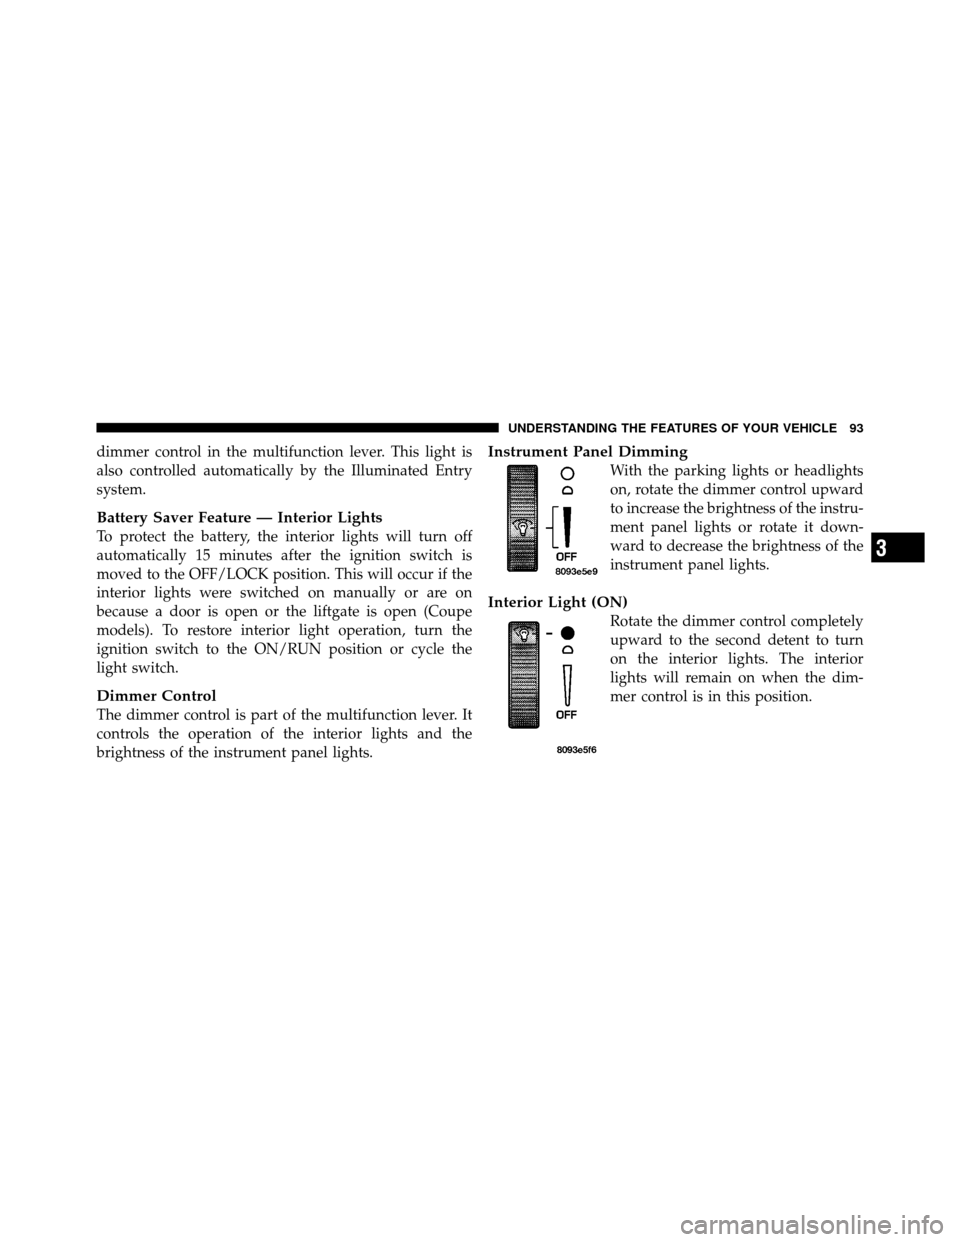
Instrument Panel Dimming
With the parking lights or headlights
on, rotate the dimmer control upward
to increase the brightness of the instru-
ment panel lights or rotate it down-
ward to decrease the brightness of the
instrument panel lights.
Interior Light (ON)
Rotate the dimmer control completely
upward to the second detent to turn
on the interior lights. The interior
lights will remain on when the dim-
mer control is in this position.
3
UNDERSTANDING THE FEATURES OF YOUR VEHICLE 93
Page 98 of 315

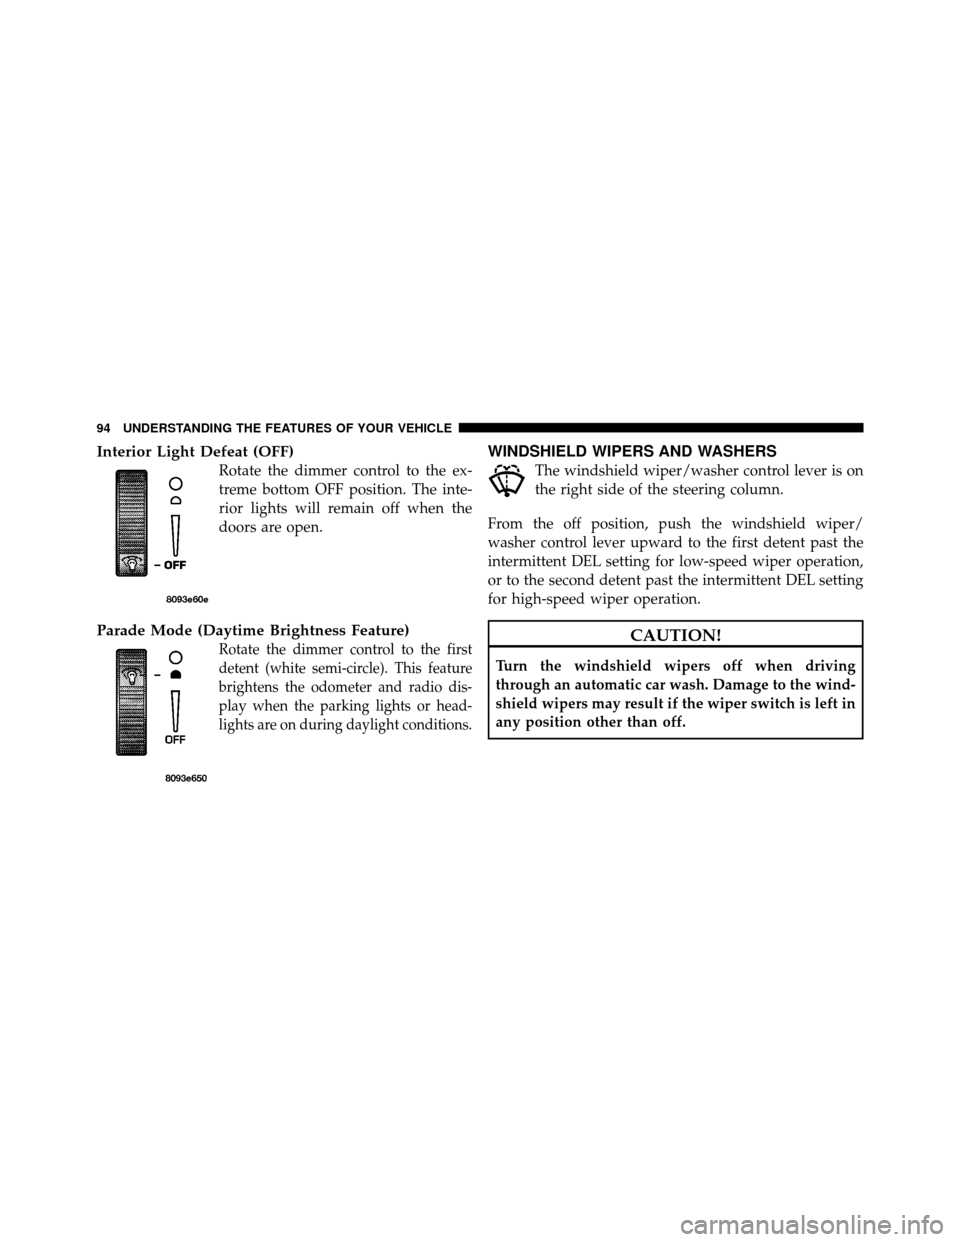
Interior Light Defeat (OFF)
Rotate the dimmer control to the ex-
treme bottom OFF position. The inte-
rior lights will remain off when the
doors are open.
Parade Mode (Daytime Brightness Feature)
Rotate the dimmer control to the first
detent (white semi-circle). This feature
brightens the odometer and radio dis-
play when the parking lights or head-
lights are on during daylight conditions.
WINDSHIELD WIPERS AND WASHERS
The windshield wiper/washer control lever is on
the right side of the steering column.
From the off position, push the windshield wiper/
washer control lever upward to the first detent past the
intermittent DEL setting for low-speed wiper operation,
or to the second detent past the intermittent DEL setting
for high-speed wiper operation.
CAUTION!
Turn the windshield wipers off when driving
through an automatic car wash. Damage to the wind-
shield wipers may result if the wiper switch is left in
any position other than off.
94 UNDERSTANDING THE FEATURES OF YOUR VEHICLE
Page 112 of 315

INSTRUMENT CLUSTER DESCRIPTIONS
Speedometer
Shows the vehicle’s speed in miles-
per-hour (mph) and kilometers-per-
hour (km/h).
Odometer/Trip Odometer
The odometer shows the total distance the vehicle has
been driven.
NOTE:U.S. Federal regulations require that upon trans-
fer of vehicle ownership, the seller certify to the pur-
chaser the correct mileage that the vehicle has been
driven. If your odometer needs to be repaired or serviced, the repair technician should leave the odometer reading
the same as it was before the repair or service. If s/he
cannot do so, then the odometer must be set at zero, and
a sticker must be placed in the door jamb stating what the
mileage was before the repair or service. It is a good idea
for you to make a record of the odometer reading before
the repair/service, so that you can be sure that it is
properly reset, or that the door jamb sticker is accurate if
the odometer must be reset at zero.
The trip odometer shows individual trip mileage. Press
and release the TRIP button once to switch the display
from odometer to trip odometer. Press and release the
TRIP button a second time to return the display to
odometer. While in trip mode, press and hold the TRIP
button for at least one second to reset the trip odometer
to zero.
108 UNDERSTANDING YOUR INSTRUMENT PANEL
Page 124 of 315

NOTE:Power to operate the radio is supplied through
the ignition switch. It must be in the ON or ACC position
to operate the radio.
PTY (Program Type)
Pressing the INFO button once while in FM mode will
turn on the PTY mode for five seconds. If no action is
taken during the five second time out, the PTY icon will
turn off. Pressing the TUNE button within five seconds
will allow the program format type to be selected. Many
radio stations do not currently broadcast PTY informa-
tion.
Toggle the TUNE button to select the following format
types:
Program Type Radio Display
Adult Hits Adult Hit
Classical Classical
Classic Rock Classic Rock
Program TypeRadio Display
College College
Country Country
Information Inform
Jazz Jazz
Foreign Language Language
News News
Nostalgia Nostalgia
Oldies Oldies
Personality Personality
Public Public
Rhythm and Blues R & B
Religious Music Religious Music
Religious Talk Religious Talk
Rock Rock
Soft Soft
Soft Rock Soft Rock
120 UNDERSTANDING YOUR INSTRUMENT PANEL
Page 127 of 315

both AM and FM. This allows a total of 10 AM and 10 FM
stations to be locked into memory. You can recall the
stations stored in SET 2 memory by pressing the push-
button twice.
To Change from Clock to Radio Mode
Press the TIME button to change the display between
radio frequency and time.
General Information
This radio complies with Part 15 of FCC rules and with
RSS-210 of Industry Canada. Operation is subject to the
following conditions:
1. This device may not cause harmful interference.
2.
This device must accept any interference received, in-
cluding interference that may cause undesired operation.
NOTE: Changes or modifications not expressively ap-
proved by the party responsible for compliance could
void the user’s authority to operate the equipment.
CD Player Operation
NOTE:
•The ignition switch must be in the ON or ACC
position and the volume control ON before the CD
player will operate.
•This Radio is capable of playing compact discs (CD),
recordable compact discs (CD-R), rewritable compact
discs (CD-RW), compact discs with MP3 tracks, and
multisession compact discs with CD and MP3 tracks.
Inserting The Compact Disc
CAUTION!
This CD player will accept only 4–3/4 in (12 cm) discs
only. The use of other sized discs may damage the
CD player mechanism.
You may either insert or eject a disc with the radio OFF.
4
UNDERSTANDING YOUR INSTRUMENT PANEL 123
Page 128 of 315

If you insert a disc with the ignition ON and the radio
OFF, the display will show the time of day. If you insert
a disc with the ignition OFF, the display will show the
time of day for about five seconds, then go out.
If the power is ON, the unit will switch from radio to CD
mode and begin to play when you insert the disc. The
display will show the track number and index time in
minutes and seconds. Play will begin at the start of track
one.
Seek
Press the top of the SEEK button for the next selection on
the CD. Press the bottom of the button to return to the
beginning of the current selection, or return to the
beginning of the previous selection if the CD is within the
first 10 seconds of the current selection.
EJT — Eject
Press the EJT button and the disc will unload and move
to the entrance for easy removal. The unit will switch to
the radio mode.
If you do not remove the disc within 15 seconds, it will be
reloaded. The radio mode will continue to appear.
The disc can be ejected with the radio off.
FF/TUNE/RW
Press FF (Fast Forward) and the CD player will begin to
fast forward until FF is released. The RW (Rewind)
button works in a similar manner.
RND — Random Play
Press the RND button while the CD is playing to activate
Random Play. This feature plays the selections on the
compact disc in random order to provide an interesting
change of pace.
124 UNDERSTANDING YOUR INSTRUMENT PANEL