Page 330 of 450
8. After the NEUTRAL indicator light turns off, release
the NEUTRAL button.
9. After the NEUTRAL button has been released, the
transfer case will shift into the position identified by the
transfer case switch.
10. Start the engine. Shift the transmission into DRIVE to
verify that the transfer case has engaged.
11. Set the parking brake. Shift the transmission into
PARK.
NOTE:
•Steps 1 through 5 are requirements that must be met
prior to pressing the NEUTRAL button, and must
continue to be met until one second elapses and the
shift has been completed. If any of these requirements
(with the exception of 3 - key ON) are not met prior to
pressing the NEUTRAL button or are no longer met
during the one second time, then all of the modeposition indicator lights will flash continuously until
all requirements are met or until the NEUTRAL button
is released.
•The ignition key must be ON for a shift to take place
and for the position indicator lights to be operable. If
the key is not ON, the shift will not take place and no
position indicator lights will be on or flashing.
•Flashing NEUTRAL position indicator light indicates
that shift requirements have not been met.
CAUTION!
•Do not use a bumper mounted clamp-on tow bar on
your vehicle. The bumper face bar will be damaged.
•Do not disconnect the rear driveshaft because
fluid will leak from the transfer case and damage
internal parts.
5
STARTING AND OPERATING 329
Page 339 of 450
Preparations
1. Park the vehicle on a firm, level surface. Avoid icy or
slippery areas.
WARNING!
Do not attempt to change a tire on the side of the
vehicle close to moving traffic. Pull far enough off
the road to avoid the danger of being hit when
operating the jack or changing the wheel.
2. Set the parking brake.
3. Place the shift lever in PARK (automatic transmission).
On 4-Wheel Drive vehicles, shift the transfer case to the
4L position.
4. Turn the ignition OFF.
5. Turn on the Hazard Warning flasher. 6. Block both the front and rear of the
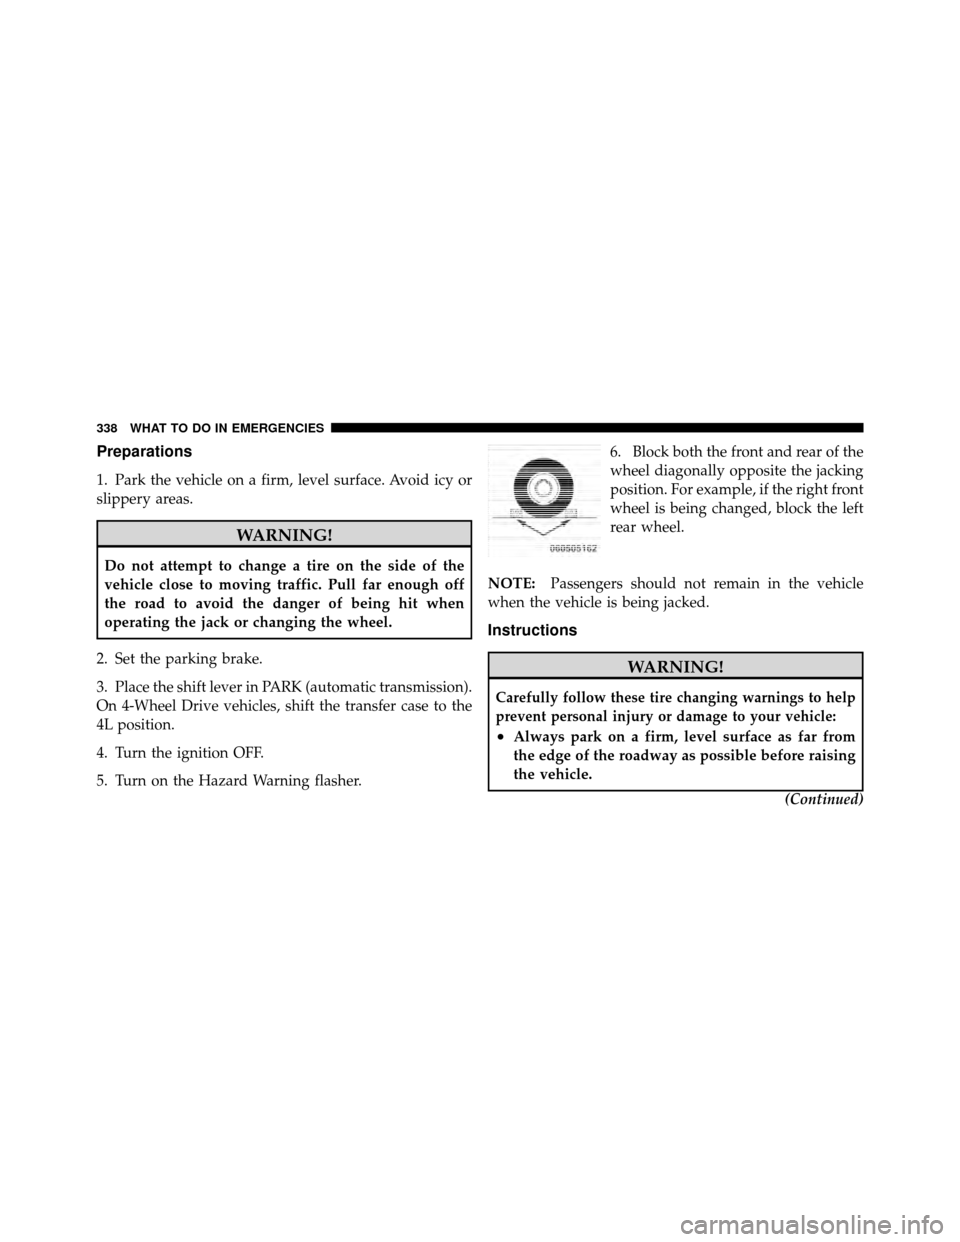
wheel diagonally opposite the jacking
position. For example, if the right front
wheel is being changed, block the left
rear wheel.
NOTE: Passengers should not remain in the vehicle
when the vehicle is being jacked.
Instructions
WARNING!
Carefully follow these tire changing warnings to help
prevent personal injury or damage to your vehicle:
•Always park on a firm, level surface as far from
the edge of the roadway as possible before raising
the vehicle.
(Continued)
338 WHAT TO DO IN EMERGENCIES
Page 340 of 450
WARNING! (Continued)
•Block the wheel diagonally opposite the wheel to
be raised.
•Set the parking brake firmly and set an automatic
transmission in PARK; a manual transmission in
REVERSE.
•Never start or run the engine with the vehicle on a
jack.
•Do not let anyone sit in the vehicle when it is on a
jack.
•Do not get under the vehicle when it is on a jack.
•Only use the jack in the positions indicated and
for lifting this vehicle during a tire change.
•If working on or near a roadway, be extremely
careful of motor traffic.(Continued)
WARNING! (Continued)
•To assure that spare tires, flat or inflated, are
securely stowed, spares must be stowed with the
valve stem facing the ground.
•Turn on the Hazard Warning flasher.
1. Lower and remove the spare wheel, jack, and tools
from stowage.
2. Using the wheel wrench, loosen, but do not remove,
the wheel nuts by turning them counterclockwise one
turn while the wheel is still on the ground.
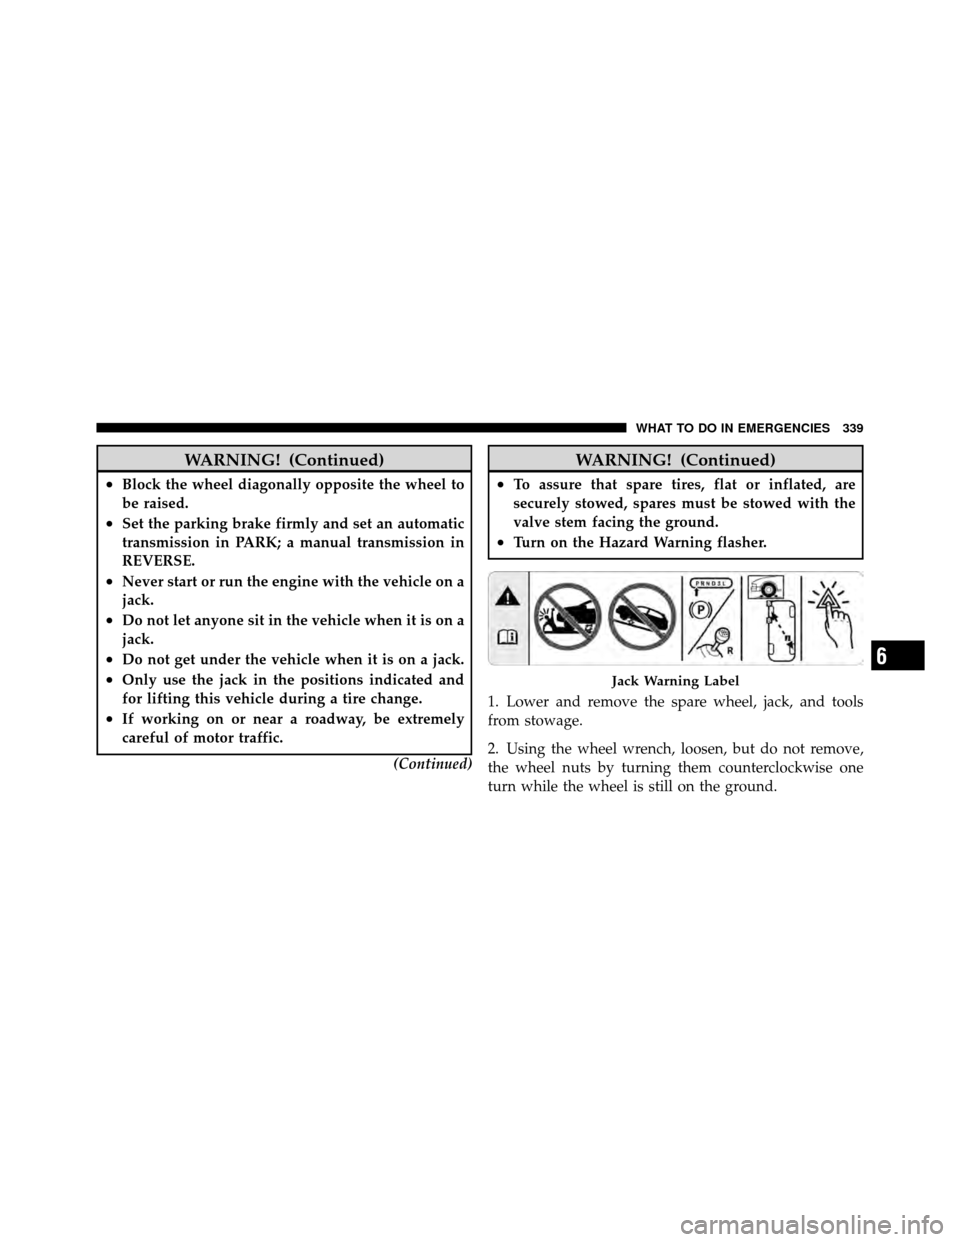
Jack Warning Label
6
WHAT TO DO IN EMERGENCIES 339
Page 343 of 450
WARNING!
A loose tire or jack thrown forward in a collision or
hard stop could injure someone in the vehicle. Al-
ways stow the jack, tools and the extra tire and wheel
in the places provided.
8. Lower the jack to its fully closed position. Stow the
replaced tire, jack, and tools as previously described.
9. Adjust the tire pressure when possible.
NOTE: Do not oil wheel studs. For chrome wheels, do
not substitute with chrome plated wheel nuts.
WARNING!
Carefully follow these tire changing warnings to
help prevent personal injury or damage to your
vehicle:
(Continued)
WARNING! (Continued)
•Always park on a firm, level surface as far from
the edge of the roadway as possible before raising
the vehicle.
•Block the wheel diagonally opposite the wheel to
be raised.
•Apply the parking brake firmly before jacking.
•Never start the engine with the vehicle on a jack.
•Do not let anyone sit in the vehicle when it is on a
jack.
•Do not get under the vehicle when it is on a jack.
•Only use the jack in the positions indicated.
•If working on or near a roadway, be extremely
careful of motor traffic.
•To assure that spare tires, flat or inflated, are
securely stowed, spares must be stowed with the
valve stem facing the ground.
342 WHAT TO DO IN EMERGENCIES
Page 346 of 450
WARNING!
•Take care to avoid the radiator cooling fan when-
ever the hood is raised. It can start anytime the
ignition switch is on. You can be injured by
moving fan blades.
•Remove any metal jewelry such as watch bands or
bracelets that might make an inadvertent electrical
contact. You could be seriously injured.
•Batteries contain sulfuric acid that can burn your
skin or eyes and generate hydrogen gas which is
flammable and explosive. Keep open flames or
sparks away from the battery.
1. Set the parking brake, shift the automatic transmission
into PARK and turn the ignition to LOCK.
2. Turn off the heater, radio, and all unnecessary electri-
cal accessories. 3. If using a another vehicle to jump-start the battery,
park the vehicle within the jumper cables reach, set the
parking brake and make sure the ignition is OFF.
WARNING!
Do not allow vehicles to touch each other as this
could establish a ground connection and personal
injury could result.
Jump-Starting Procedure
WARNING!
Failure to follow this procedure could result in per-
sonal injury or property damage due to battery ex-
plosion.
6
WHAT TO DO IN EMERGENCIES 345
Page 377 of 450

WARNING! (Continued)
•Do not allow petroleum based fluid to contami-
nate the brake fluid. Brake seal components could
be damaged, causing partial or complete brake
failure. This could result in an accident.
Automatic Transmission
NOTE:If your vehicle is equipped with a dipstick, use
the following procedure. If your vehicle has a capped
dipstick, it is sealed and should not be tampered with.
Your authorized dealer has the proper tools to ensure that
the fluid level is set properly.
Fluid Level Check
Check the fluid level while the transmission is at normal
operating temperature 180° F (82° C). This occurs after at
least 15 miles (24 km) of driving. At normal operating
temperature the fluid cannot be held comfortably be-
tween the fingertips. To check the automatic transmission fluid level properly,
the following procedure must be used:
1. Operate the engine at idle speed and normal operating
temperature.
2. The vehicle must be on level ground.
3. Fully apply the parking brake and press the brake
pedal.
4. Place the shift lever momentarily into each gear posi-
tion, ending with the shift lever in PARK.
5. Remove the dipstick, wipe it clean and reinsert it until
seated.
6. Remove the dipstick again and note the fluid level on
both sides. The fluid level should be between the “HOT”
(upper) reference holes on the dipstick at normal operat-
ing temperature. Verify that solid coating of oil is seen on
both sides of the dipstick. If the fluid is low, add as
376 MAINTAINING YOUR VEHICLE
Page 378 of 450

required into the dipstick tube.Do not overfill.After
adding any quantity of oil through the oil fill tube, wait
a minimum of two minutes for the oil to fully drain into
the transmission before rechecking the fluid level.
NOTE: If it is necessary to check the transmission below
the operating temperature, the fluid level should be
between the two “COLD” (lower) holes on the dipstick
with the fluid at approximately 70° F (21° C) (room
temperature). If the fluid level is correctly established at
room temperature, it should be between the “HOT”
(upper) reference holes when the transmission reaches
180° F (82° C). Remember it is best to check the level at
the normal operating temperature.CAUTION!
Be aware that if the fluid temperature is below 50° F
(10° C) it may not register on the dipstick. Do not add
fluid until the temperature is elevated enough to
produce an accurate reading.
7. Check for leaks. Release the parking brake.
To prevent dirt and water from entering the transmission
after checking or replenishing fluid, make certain that the
dipstick cap is properly reseated. It is normal for the
dipstick cap to spring back slightly from its fully-seated
position, as long as its seal remains engaged in the
dipstick tube.
7
MAINTAINING YOUR VEHICLE 377
Page 434 of 450

Special Additives...................... 378
Torque Converter ...................... 257
Axle Fluid ............................. 401
Axle Lubrication (Axle Fluid) ............... 379
Battery ............................... 362
Keyless Transmitter Replacement (RKE) ....... 25
Saving Feature (Protection) ............... 130
Belts, Seat ............................ 37,76
Body Mechanism Lubrication ............... 364
Box, Sound ............................ 229
B-Pillar Location ........................ 279
Brake Fluid ............................ 401
Brake System ........................ 270,374
Anti-Lock (ABS) .................... 270,271
Fluid Check .......................... 374
Master Cylinder ....................... 374
Parking ............................. 269
Warning Light ..................... 176,181Brake/Transmission Interlock
............... 253
Break-In Recommendations, New Vehicle ........ 74
Bulb Replacement ....................... 391
Bulbs, Light .......................... 77,390
Calibration, Compass ..................... 146
Camper ............................... 164
Capacities, Fluid ........................ 399
Caps, Filler Oil (Engine) .......................... 360
Power Steering ........................ 268
Radiator (Coolant Pressure) ............... 371
Car Washes ............................ 380
Carbon Monoxide Warning ............75,164,302
Cargo Light ............................ 133
Cargo (Vehicle Loading) ................... 309
Cellular Phone ........................ 86,237
Center High Mounted Stop Light ............ 395
Certification Label ....................... 309
10
INDEX 433