Page 332 of 450
WHAT TO DO IN EMERGENCIES
CONTENTS
�Hazard Warning Flasher ................ 332
� Jacking And Tire Changing ............... 333
▫ Jack Location ....................... 333
▫ Removing The Spare Tire ............... 335
▫ Tire Changing Procedure ............... 337
▫ Preparations ........................ 338
▫ Instructions ........................ 338
▫ To Stow The Flat Or Spare .............. 343�
Jump-Starting Procedures ................ 343
▫ Preparations For Jump-Start ............. 344
▫ Jump-Starting Procedure ............... 345
� Freeing A Stuck Vehicle ................. 347
� Emergency Tow Hooks — If Equipped ...... 348
� Towing A Disabled Vehicle ............... 349
▫ Four-Wheel Drive Vehicles .............. 349
▫ Two-Wheel Drive Vehicles .............. 350
6
Page 334 of 450
JACKING AND TIRE CHANGING
Jack Location
In this vehicle, the scissor jack and tire changing tools for
Extended Cab models are stowed in a compartment
under the rear passenger seat. Crew Cab model scissor
jack and tire changing tools are accessed by lifting up the
rear passenger seat.
The jack is secured in place by turning the jack screw
until the jack is secured into place.
A finger-operated helper tool is provided to assist re-
moval and stowage of the jack. This tool must be
removed to operate the jack for changing the spare tire.
Jack Stowage Location (Extended Cab)6
WHAT TO DO IN EMERGENCIES 333
Page 339 of 450
Preparations
1. Park the vehicle on a firm, level surface. Avoid icy or
slippery areas.
WARNING!
Do not attempt to change a tire on the side of the
vehicle close to moving traffic. Pull far enough off
the road to avoid the danger of being hit when
operating the jack or changing the wheel.
2. Set the parking brake.
3. Place the shift lever in PARK (automatic transmission).
On 4-Wheel Drive vehicles, shift the transfer case to the
4L position.
4. Turn the ignition OFF.
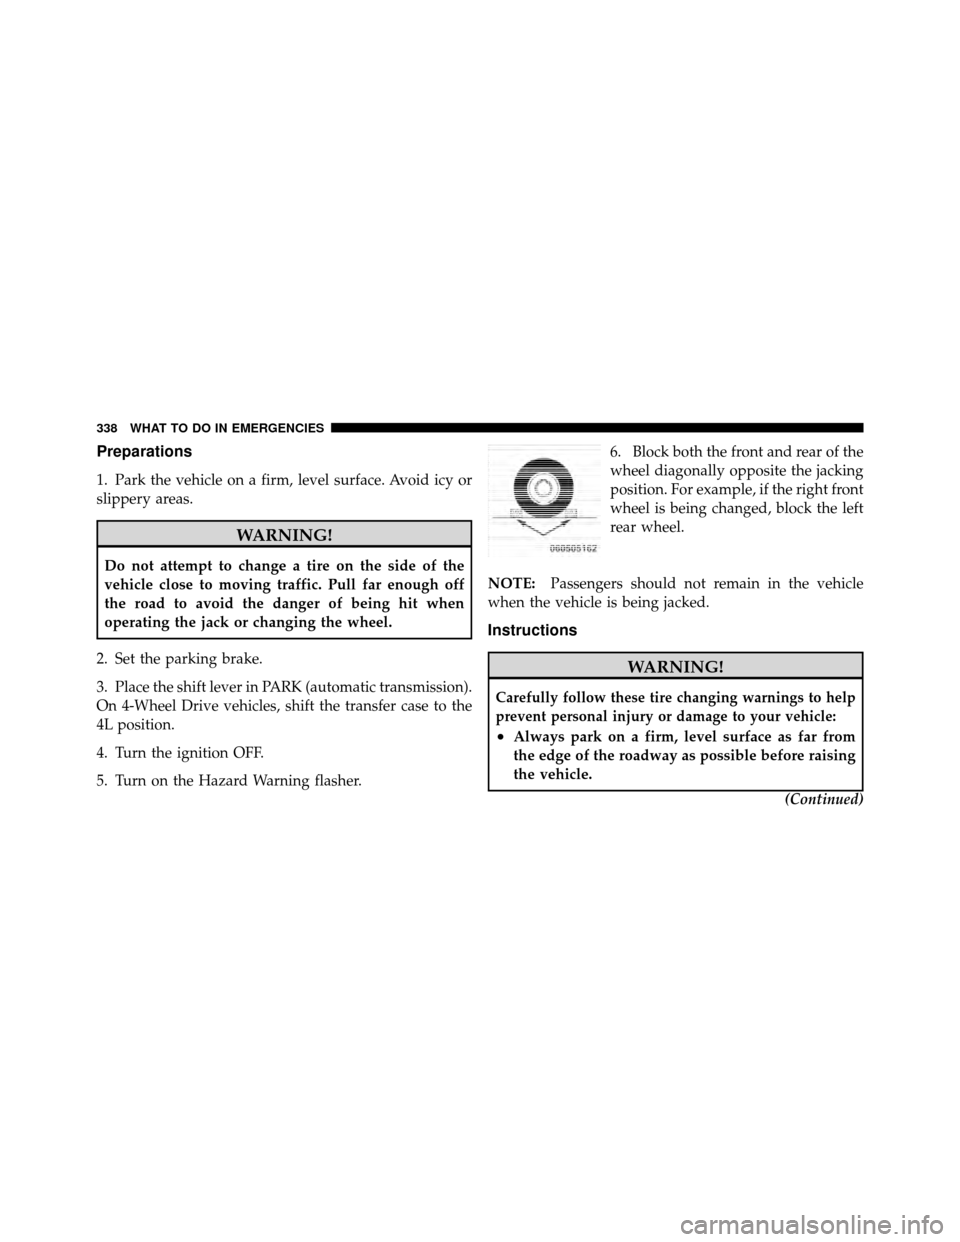
5. Turn on the Hazard Warning flasher. 6. Block both the front and rear of the
wheel diagonally opposite the jacking
position. For example, if the right front
wheel is being changed, block the left
rear wheel.
NOTE: Passengers should not remain in the vehicle
when the vehicle is being jacked.
Instructions
WARNING!
Carefully follow these tire changing warnings to help
prevent personal injury or damage to your vehicle:
•Always park on a firm, level surface as far from
the edge of the roadway as possible before raising
the vehicle.
(Continued)
338 WHAT TO DO IN EMERGENCIES
Page 341 of 450
3. When changing a front wheel, place the jack under the
frame rail behind the wheel. Locate the jack as far
forward as possible on the straight part of the frame prior
to inboard transition, as shown. Operate the jack using
the jack drive tube and the wheel wrench - the tube
extension, may be used but is not required.4. When changing a rear wheel, assemble the jack drive
tube to the jack and connect the drive tube to the
extension tube. Place the jack under the axle in the
positions shown with the drive tubes extending to the
rear. Connect the jack tube extension and wheel wrench.
Positioning of the Jack Front Wheels
Left Rear Jacking Location
340 WHAT TO DO IN EMERGENCIES
Page 342 of 450
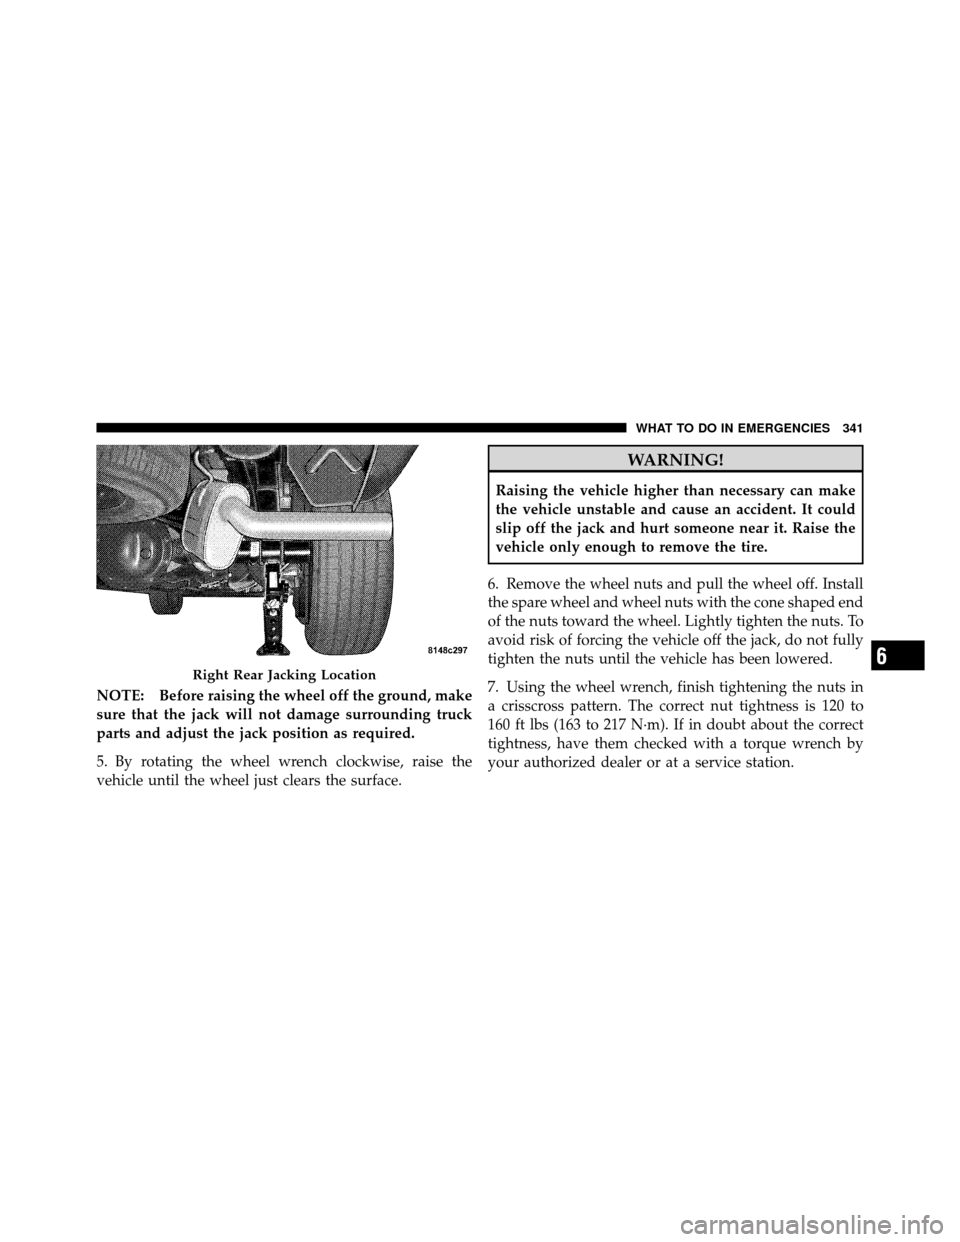
NOTE: Before raising the wheel off the ground, make
sure that the jack will not damage surrounding truck
parts and adjust the jack position as required.
5. By rotating the wheel wrench clockwise, raise the
vehicle until the wheel just clears the surface.
WARNING!
Raising the vehicle higher than necessary can make
the vehicle unstable and cause an accident. It could
slip off the jack and hurt someone near it. Raise the
vehicle only enough to remove the tire.
6. Remove the wheel nuts and pull the wheel off. Install
the spare wheel and wheel nuts with the cone shaped end
of the nuts toward the wheel. Lightly tighten the nuts. To
avoid risk of forcing the vehicle off the jack, do not fully
tighten the nuts until the vehicle has been lowered.
7. Using the wheel wrench, finish tightening the nuts in
a crisscross pattern. The correct nut tightness is 120 to
160 ft lbs (163 to 217 N·m). If in doubt about the correct
tightness, have them checked with a torque wrench by
your authorized dealer or at a service station.
Right Rear Jacking Location6
WHAT TO DO IN EMERGENCIES 341
Page 343 of 450
WARNING!
A loose tire or jack thrown forward in a collision or
hard stop could injure someone in the vehicle. Al-
ways stow the jack, tools and the extra tire and wheel
in the places provided.
8. Lower the jack to its fully closed position. Stow the
replaced tire, jack, and tools as previously described.
9. Adjust the tire pressure when possible.
NOTE: Do not oil wheel studs. For chrome wheels, do
not substitute with chrome plated wheel nuts.
WARNING!
Carefully follow these tire changing warnings to
help prevent personal injury or damage to your
vehicle:
(Continued)
WARNING! (Continued)
•Always park on a firm, level surface as far from
the edge of the roadway as possible before raising
the vehicle.
•Block the wheel diagonally opposite the wheel to
be raised.
•Apply the parking brake firmly before jacking.
•Never start the engine with the vehicle on a jack.
•Do not let anyone sit in the vehicle when it is on a
jack.
•Do not get under the vehicle when it is on a jack.
•Only use the jack in the positions indicated.
•If working on or near a roadway, be extremely
careful of motor traffic.
•To assure that spare tires, flat or inflated, are
securely stowed, spares must be stowed with the
valve stem facing the ground.
342 WHAT TO DO IN EMERGENCIES
Page 436 of 450
Daytime Running Lights................... 132
Dealer Service .......................... 358
Defroster, Rear Window ................... 162
Defroster, Windshield ................... 76,239
Delay (Intermittent) Wipers ................. 135
Diagnostic System, Onboard ................ 355
Differential, Limited-Slip .................. 264
Dimmer Switch, Headlight ................. 175
Dipsticks Automatic Transmission ................. 376
Oil (Engine) .......................... 359
Power Steering ........................ 268
Disposal Antifreeze (Engine Coolant) ............... 372
Door Locks ............................. 29
Door Opener, Garage ..................... 148
Driving Through Flowing, Rising, or Shallow Standing
Water .............................. 265 E-85 Fuel
............................. 303
Electric Remote Mirrors .................... 85
Electrical Power Outlets ................... 154
Electronic Speed Control (Cruise Control) ...... 138
Emergency, In Case of Freeing Vehicle When Stuck ............... 347
Jacking ............................. 337
Jump Starting ......................... 343
Tow Hooks .......................... 348
Towing ............................. 349
Emission Control System Maintenance ......356,404
Engine Air Cleaner .......................... 362
Block Heater ......................... 251
Break-In Recommendations ................ 74
Coolant (Antifreeze) .................... 400
Exhaust Gas Caution .................. 75,302
Flooded, Starting ...................... 250
Fuel Requirements ..................... 399
10
INDEX 435
Page 439 of 450
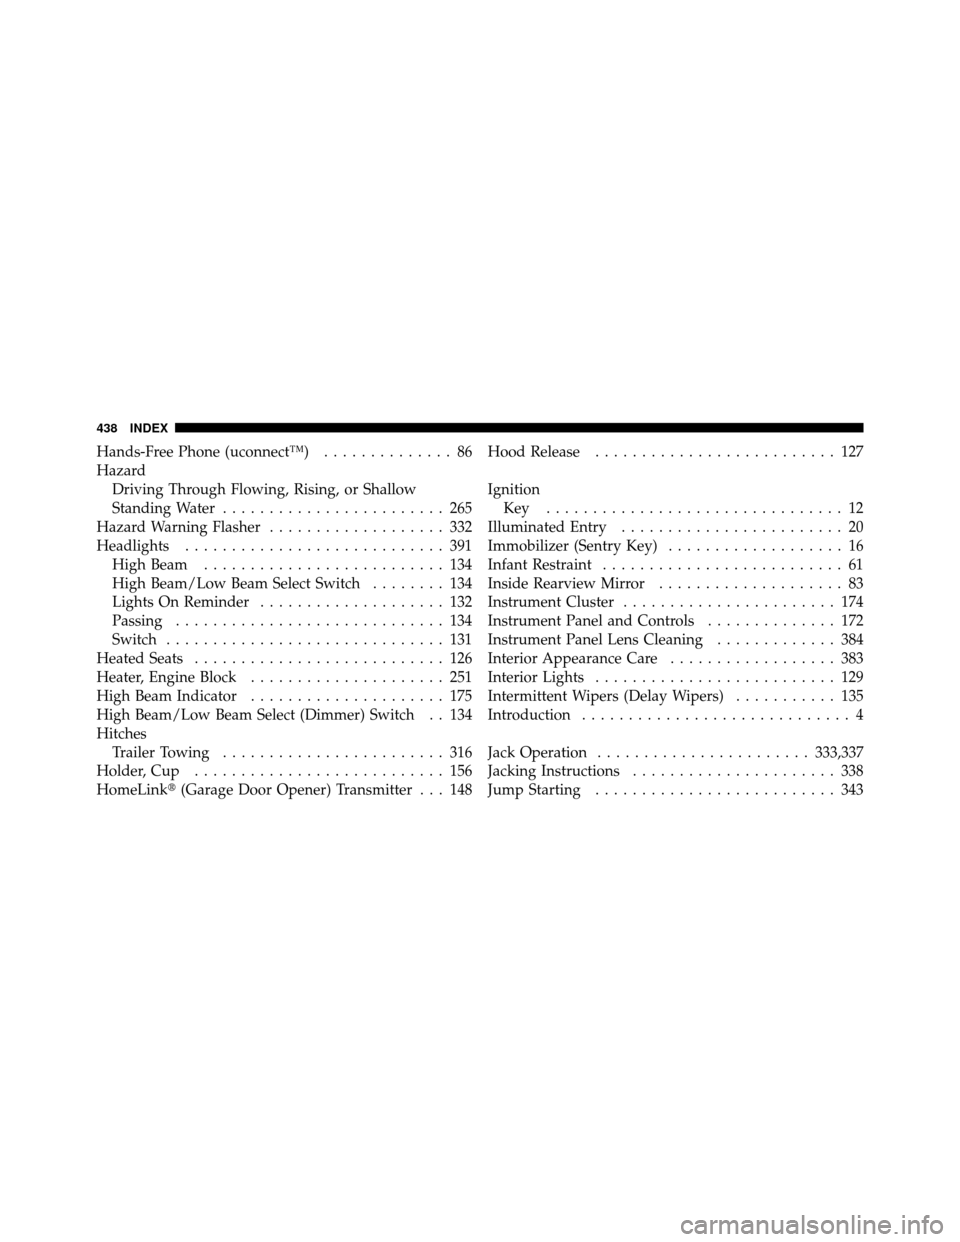
Hands-Free Phone (uconnect™).............. 86
Hazard Driving Through Flowing, Rising, or Shallow
Standing Water ........................ 265
Hazard Warning Flasher ................... 332
Headlights ............................ 391
High Beam .......................... 134
High Beam/Low Beam Select Switch ........ 134
Lights On Reminder .................... 132
Passing ............................. 134
Switch .............................. 131
Heated Seats ........................... 126
Heater, Engine Block ..................... 251
High Beam Indicator ..................... 175
High Beam/Low Beam Select (Dimmer) Switch . . 134
Hitches Trailer Towing ........................ 316
Holder, Cup ........................... 156
HomeLink� (Garage Door Opener) Transmitter . . . 148 Hood Release
.......................... 127
Ignition Key ................................ 12
Illuminated Entry ........................ 20
Immobilizer (Sentry Key) ................... 16
Infant Restraint .......................... 61
Inside Rearview Mirror .................... 83
Instrument Cluster ....................... 174
Instrument Panel and Controls .............. 172
Instrument Panel Lens Cleaning ............. 384
Interior Appearance Care .................. 383
Interior Lights .......................... 129
Intermittent Wipers (Delay Wipers) ........... 135
Introduction ............................. 4
Jack Operation ....................... 333,337
Jacking Instructions ...................... 338
Jump Starting .......................... 343
438 INDEX