Page 226 of 538
Gently pull up on the tab to raise the sun screen.
Continue pulling the sun screen until the tab is near the
top of the window.
Once the screen is completely to the top of the window,
extend the top bar of the sun screen over the two hooks
attached to the top of the window.To lower the sun screen, gently lift the tab upward to
disengage the hooks, and feed the screen back into the
base sill.
Sun Screen Attaching To Retainer Clips
Sun Screen Extended
3
UNDERSTANDING THE FEATURES OF YOUR VEHICLE 225
Page 231 of 538
▫Three-Zone Temperature Control —
If Equipped ........................ 307
▫ Rear Manual Climate Control —
If Equipped ........................ 309
▫ Automatic Temperature Control (ATC) —
If Equipped ........................ 312
▫ Summer Operation ................... 320 ▫
Winter Operation .................... 321
▫ Vacation/Storage .................... 321
▫ Window Fogging .................... 321
▫ Outside Air Intake ................... 321
▫ Operating Tips ...................... 322
▫ A/C Air Filter— If Equipped ............ 322
230 UNDERSTANDING YOUR INSTRUMENT PANEL
Page 256 of 538
“RESET” or show dashes for two seconds. Then, the
history information will be erased, and the averaging will
continue from the last fuel average reading before the
reset.
Distance To Empty (DTE)
Shows the estimated distance that can be traveled with
the fuel remaining in the tank. This estimated distance is
determined by a weighted average of the instantaneous
and average fuel economy, according to the current fuel
tank level.
NOTE:Significant changes in driving style or vehicle
loading will greatly affect the actual drivable distance of
the vehicle, regardless of the DTE displayed value.
When the DTE value is less than 30 miles (48 km)
estimated driving distance, the DTE display will change
to a text display of �LOW FUEL.�This display will
continue until the vehicle runs out of fuel. Adding a significant amount of fuel to the vehicle will turn off the
�LOW FUEL�
text and a new DTE value will display.
Elapsed Time
Shows the total elapsed time of travel since the last reset
when the ignition switch is in the ACC position. Elapsed
time will increment when the ignition switch is in the ON
or START position.
Display Units of Measure in:
To make your selection, press and release the STEP
button until “ENGLISH” or “METRIC” appears.
To Reset the Display
Reset will only occur while a resettable function is being
displayed. Press and release the RESET button once to
clear the resettable function being displayed. To reset all
resettable functions, press and release the RESET button
a second time, within three seconds of resetting the
currently-displayed function (Reset ALL will display
during this three-second window).
4
UNDERSTANDING YOUR INSTRUMENT PANEL 255
Page 261 of 538
Headlamp Off Delay
When this feature is selected, the driver can choose to
have the headlights remain on for 0, 30, 60, or 90 seconds
when exiting the vehicle. To make your selection, press
and release the RESET button until 0, 30, 60, or 90
appears.
Easy Exit Seat
This feature provides automatic driver seat positioning to
enhance driver mobility when entering and exiting the
vehicle. To make your selection, press and release the
RESET button until YES (Y) or NO (N) appears.
NOTE:The seat will return to the memorized seat
location (if Recall Memory with Remote Key Unlock is set
to ON) when the RKE transmitter is used to unlock the
door. Refer to “Driver Memory Seat” in “Understanding
The Features Of Your Vehicle” for further information.
Tilt MIRR. In Reverse
When this feature is selected and the vehicle is placed in
a reverse gear, the driver’s side mirror will tilt downward
to allow the driver to see into the previous blind spot and
avoid objects in close proximity to the rear of the vehicle.
Key-Off Power Delay
When this feature is selected, the power window
switches, radio, Uconnect™ Phone (if equipped), DVD
video system (if equipped), power sunroof (if equipped),
and power outlets will remain active for up to 10 minutes
after the ignition switch is turned OFF. Opening a vehicle
door will cancel this feature. To make your selection,
press and release the RESET button until Off, 45 sec.,
5 min., or 10 min. appears.
ILLUMIN. Approach
When this feature is selected, the headlights will activate
and remain on for up to 90 seconds when the doors are
260 UNDERSTANDING YOUR INSTRUMENT PANEL
Page 271 of 538
Push the rotary TUNE/SCROLL control knob again to
exit setting tone, balance, and fade.
AM/FM Button
Press the buttons to select either AM or FM mode.
SET/RND Button — To Set the Pushbutton
Memory
When you are receiving a station that you wish to
commit to pushbutton memory, press the SET/RND
button. The symbol SET 1 will now show in the display
window. Select the button (1 to 6) you wish to lock onto
this station and press and release that button. If a button
is not selected within five seconds after pressing the
SET/RND button, the station will continue to play but
will not be stored into pushbutton memory.You may add a second station to each pushbutton by
repeating the above procedure with this exception: Press
the SET/RND button twice and SET 2 will show in the
display window. Each button can be set for SET 1 and
SET 2 in both AM and FM. This allows a total of 12 AM
and 12 FM stations to be stored into pushbutton memory.
The stations stored in SET 2 memory can be selected by
pressing the pushbutton twice.
Every time a preset button is used, a corresponding
button number will display.
Buttons 1 - 6
These buttons tune the radio to the stations that you
commit to pushbutton memory (12 AM and 12 FM
stations).
DISC Button
Pressing the DISC button will allow you to switch from
AM/FM modes to Disc modes.
270 UNDERSTANDING YOUR INSTRUMENT PANEL
Page 283 of 538
window. Select the button (1–6) you wish to lock onto this
station and press and release that button. If a button is
not selected within five seconds after pressing the SET/
RND button, the station will continue to play but will not
be stored into pushbutton memory.
You may add a second station to each pushbutton by
repeating the above procedure with this exception: Press
the SET/RND button twice and SET 2 will show in the
display window. Each button can be set for SET 1 and
SET 2 in both AM and FM. This allows a total of 12 AM
and 12 FM stations to be stored into pushbutton memory.
The stations stored in SET 2 memory can be selected by
pressing the pushbutton twice.
Every time a preset button is used, a corresponding
button number will display.Buttons 1 - 6
These buttons tune the radio to the stations that you
commit to pushbutton memory (12 AM and 12 FM
stations).
DISC/AUX Button
Pressing the DISC/AUX button will allow you to switch
from AM/FM modes to DISC/AUX mode.
Operation Instructions — CD MODE for CD and
MP3 Audio Play
NOTE:
•The ignition switch must be in the ON/RUN or ACC
position to operate the radio.
•This radio is capable of playing compact discs (CD),
recordable compact discs (CD-R), rewritable compact
discs (CD-RW), compact discs with MP3 tracks and
multisession compact discs with CD and MP3 tracks.
282 UNDERSTANDING YOUR INSTRUMENT PANEL
Page 298 of 538
MUSIC TYPE Button
Pressing this button once will turn on the Music Type
mode for five seconds. Pressing the MUSIC TYPE button
or turning the TUNE/SCROLL control knob within five
seconds will allow the program format type to be se-
lected.
Toggle the MUSIC TYPE button again to select the music
type.
By pressing the SEEK button when the Music Type
function is active, the radio will be tuned to the next
channel with the same selected Music Type name.
If a preset button is activated while in the Music Type
(Program Type) mode, the Music Type mode will be
exited and the radio will tune to the preset channel.
SETUP Button
Pressing the SETUP button allows you to select the
following items:
•Display Sirius ID number — Press the AUDIO/
SELECT button to display the Sirius ID number. This
number is used to activate, deactivate, or change the
Sirius subscription.
SET Button – To Set the Pushbutton Memory
When you are receiving a channel that you wish to
commit to pushbutton memory, press the SET button.
The symbol SET 1 will now show in the display window.
Select the button (1-6) you wish to lock onto this channel
and press and release that button. If a button is not
selected within five seconds after pressing the SET but-
ton, the channel will continue to play but will not be
stored into pushbutton memory.
You may add a second channel to each pushbutton by
repeating the above procedure with this exception: Press
the SET button twice and SET 2 will show in the display
window. Each button can be set for SET 1 and SET 2. This
allows a total of 12 Satellite channels to be stored into
4
UNDERSTANDING YOUR INSTRUMENT PANEL 297
Page 306 of 538
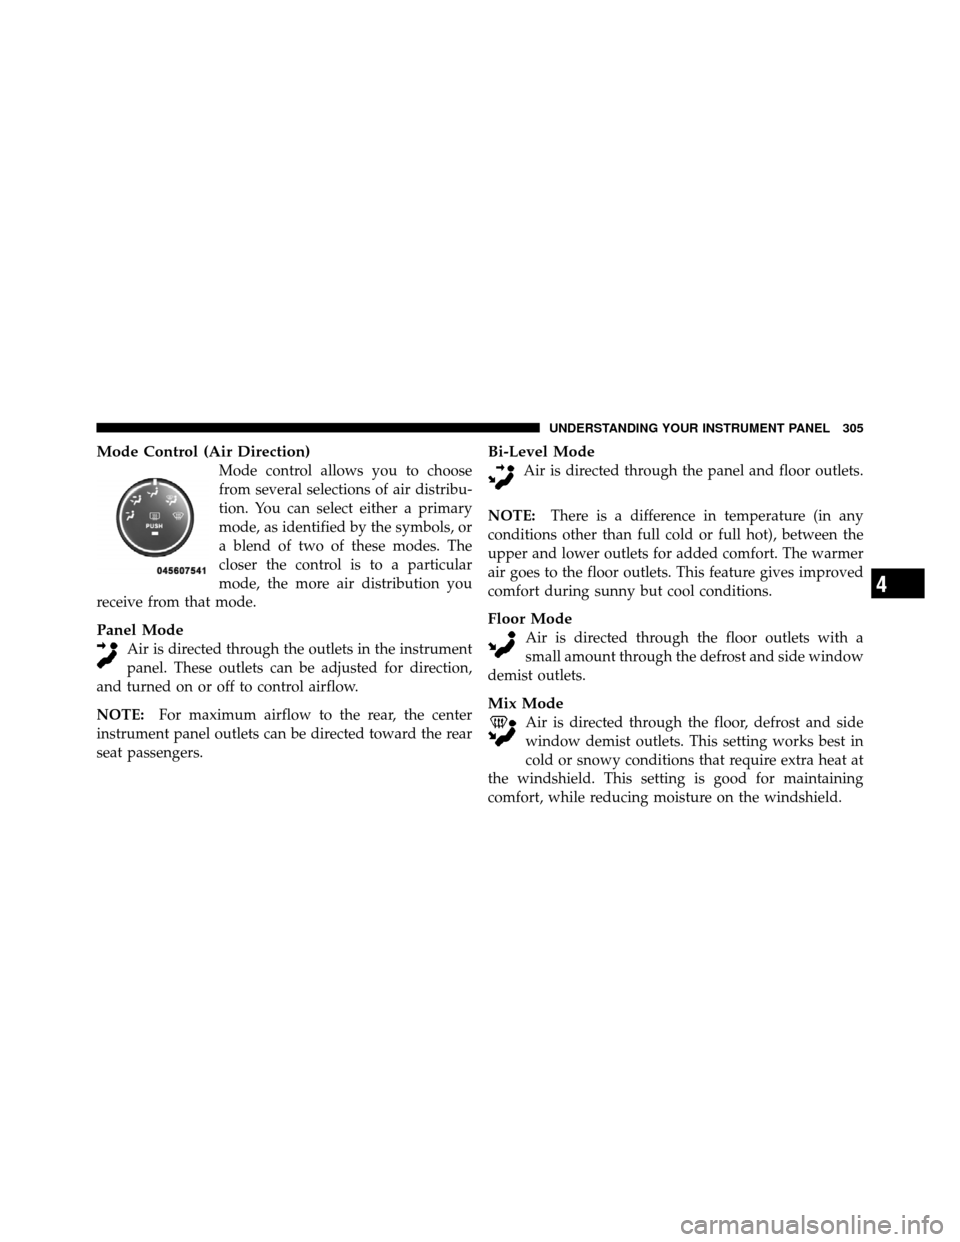
Mode Control (Air Direction)
Mode control allows you to choose
from several selections of air distribu-
tion. You can select either a primary
mode, as identified by the symbols, or
a blend of two of these modes. The
closer the control is to a particular
mode, the more air distribution you
receive from that mode.
Panel Mode
Air is directed through the outlets in the instrument
panel. These outlets can be adjusted for direction,
and turned on or off to control airflow.
NOTE: For maximum airflow to the rear, the center
instrument panel outlets can be directed toward the rear
seat passengers.
Bi-Level Mode
Air is directed through the panel and floor outlets.
NOTE: There is a difference in temperature (in any
conditions other than full cold or full hot), between the
upper and lower outlets for added comfort. The warmer
air goes to the floor outlets. This feature gives improved
comfort during sunny but cool conditions.
Floor Mode
Air is directed through the floor outlets with a
small amount through the defrost and side window
demist outlets.
Mix Mode
Air is directed through the floor, defrost and side
window demist outlets. This setting works best in
cold or snowy conditions that require extra heat at
the windshield. This setting is good for maintaining
comfort, while reducing moisture on the windshield.
4
UNDERSTANDING YOUR INSTRUMENT PANEL 305