Page 260 of 436

2. Shift the transmission into NEUTRAL.
3. Apply the parking brake.
4. Start the engine.
5. Release the clutch pedal.
6. Rotate the steering wheel one-half turn to the left.
7. Press the “ESC Off” switch four times within 20 sec-
onds. The “ESC Off Indicator Light” should turn on and
turn off two times.
8. Rotate the steering wheel back to center and then an
additional half-turn to the right.
9. Turn the ignition switch to the OFF position and then
back to the ON position. If the sequence was completed
properly, the “ESC Off Indicator Light” will blink several
times to confirm HSA is disabled.10. Repeat these steps if you want to return this feature
to it’s previous setting.
EVIC Equipped Vehicles
HSA is a Customer Programmable Feature on a EVIC
equipped vehicle. If you wish to turn off the HSA feature,
refer to “Customer Programmable Features/Electronic
Vehicle Information Center (EVIC)” in Section 4 of this
manual.
Electronic Stability Control (ESC)
This system enhances directional control and stability of
the vehicle under various driving conditions. ESC cor-
rects for over/under steering of the vehicle by applying
the brake of the appropriate wheel to assist in counter-
acting the over/under steer condition. Engine power
may also be reduced to help the vehicle maintain the
desired path. ESC uses sensors in the vehicle to deter-
mine the vehicle path intended by the driver and com-
pares it to the actual path of the vehicle. When the actual
260 STARTING AND OPERATING
Page 261 of 436

path does not match the intended path, ESC applies the
brake of the appropriate wheel to assist in counteracting
the oversteer or understeer condition
•Over-steer - when the vehicle is turning more than
appropriate for the steering wheel position.
•Under-steer - when the vehicle is turning less than
appropriate for the steering wheel position.
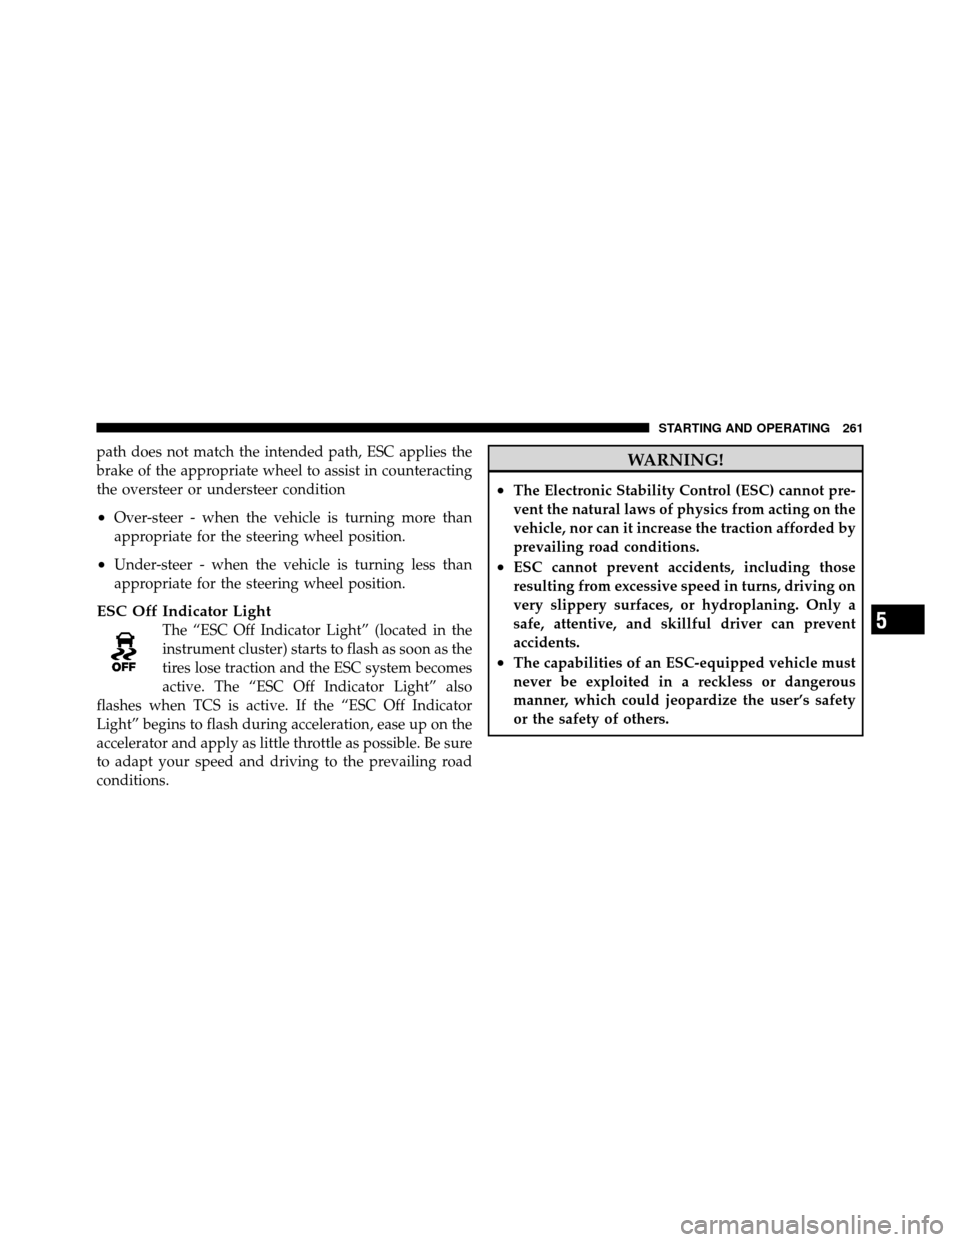
ESC Off Indicator Light
The “ESC Off Indicator Light” (located in the
instrument cluster) starts to flash as soon as the
tires lose traction and the ESC system becomes
active. The “ESC Off Indicator Light” also
flashes when TCS is active. If the “ESC Off Indicator
Light” begins to flash during acceleration, ease up on the
accelerator and apply as little throttle as possible. Be sure
to adapt your speed and driving to the prevailing road
conditions.
WARNING!
•The Electronic Stability Control (ESC) cannot pre-
vent the natural laws of physics from acting on the
vehicle, nor can it increase the traction afforded by
prevailing road conditions.
•ESC cannot prevent accidents, including those
resulting from excessive speed in turns, driving on
very slippery surfaces, or hydroplaning. Only a
safe, attentive, and skillful driver can prevent
accidents.
•The capabilities of an ESC-equipped vehicle must
never be exploited in a reckless or dangerous
manner, which could jeopardize the user’s safety
or the safety of others.
5
STARTING AND OPERATING 261
Page 263 of 436

Partial ESC Mode
This mode is entered by momentarily pressing the “ESC
Off” switch (located in the lower switch bank below the
heater/air conditioning controls). When in “Partial Off”
mode, the TCS portion of ESC, except for the limited slip
feature described in the TCS section, has been disabled
and the “ESC Off Indicator Light” will be illuminated. All
other stability features of ESC function normally, with the
exception of engine power reduction. This mode is
intended to be used if the vehicle is in deep snow, sand,
or gravel conditions and more wheel spin than ESC
would normally allow is required to gain traction.
To turn ESC on again, momentarily press the “ESC Off”
switch. This will restore the normal “ESC On” mode of
operation.WARNING!
In the Partial ESC mode, the engine torque reduction
and stability features are desensitized. Therefore, the
enhanced vehicle stability offered by ESC is unavail-
able.
NOTE: To improve the vehicle’s traction when driving
with snow chains, or starting off in deep snow, sand or
gravel, it may be desirable to switch to the “Partial Off”
mode by pressing the “ESC Off” switch. Once the situa-
tion requiring ESC to be switched to the “Partial Off”
mode is overcome, turn ESC on again by momentarily
pressing the “ESC Off” switch. This may be done while
the vehicle is in motion.
5
STARTING AND OPERATING 263
Page 276 of 436

WARNING!
Temporary use spare tires are for emergency use only.
With these tires, do not drive more than 50 mph
(80 km/h). Temporary-use spare tires have limited
tread life. When the tread is worn to the tread wear
indicators, the temporary use spare tire needs to be
replaced. Be sure to follow the warnings, which
apply to your spare. Failure to do so could result in
spare tire failure and loss of vehicle control.
CAUTION!
Prolonged use of limited use spare, or an incorrect
tire size on either front wheel, may damage transaxle
differential and result in loss of vehicle mobility.Do not install a wheel cover or attempt to mount a
conventional tire on the compact spare wheel since the
wheel is designed specifically for the compact spare.
Do not install more than one compact spare tire/wheel
on the vehicle at any given time.
CAUTION!
Because of the reduced ground clearance, do not take
your vehicle through an automatic car wash with the
compact spare installed. Damage to the vehicle may
result.
Tire Spinning
When stuck in mud, sand, snow, or icy conditions, do not
spin your vehicle’s wheels faster than 30 mph (48 km/h)
or for longer than 30 seconds continuously without
stopping.
276 STARTING AND OPERATING
Page 277 of 436
Refer to “Freeing A Stuck Vehicle” in Section 6 of this
manual for additional information.
WARNING!
Fast spinning tires can be dangerous. Forces gener-
ated by excessive wheel speeds may cause tire dam-
age or failure. A tire could explode and injure some-
one. Do not spin your vehicle’s wheels faster than
30 mph (48 km/h) or for more than 30 seconds
continuously when you are stuck, and do not let
anyone near a spinning wheel, no matter what the
speed.
Tread Wear Indicators
Tread wear indicators are in the original equipment tires
to help you in determining when your tires should be
replaced.These indicators are molded into the bottom of the tread
grooves. They will appear as bands when the tread depth
becomes 1/16 in (2 mm). When the tread is worn to the
tread wear indicators, the tire should be replaced.
1 — Worn Tire
2 — New Tire
5
STARTING AND OPERATING 277
Page 279 of 436

WARNING!
•Do not use a tire, wheel size or rating other than
that specified for your vehicle. Some combinations
of unapproved tires and wheels may change sus-
pension dimensions and performance characteris-
tics, resulting in changes to steering, handling, and
braking of your vehicle. This can cause unpredict-
able handling and stress to steering and suspen-
sion components. You could lose control and have
an accident resulting in serious injury or death.
Use only the tire and wheel sizes with load ratings
approved for your vehicle.
•Never use a tire with a smaller load index or
capacity, other than what was originally equipped
on your vehicle. Using a tire with a smaller load
index could result in tire overloading and failure.
You could lose control and have an accident.(Continued)
WARNING! (Continued)
•Failure to equip your vehicle with tires having
adequate speed capability can result in sudden tire
failure and loss of vehicle control.
CAUTION!
Replacing original tires with tires of a different size may
result in false speedometer and odometer readings.
TIRE CHAINS
Due to limited clearance, tire chains are not recom-
mended.
CAUTION!
Damage to the vehicle may result if tire chains are
used.
5
STARTING AND OPERATING 279
Page 283 of 436

CAUTION!
•The TPMS has been optimized for the original
equipment tires and wheels. TPMS pressures and
warning have been established for the tire size
equipped on your vehicle. Undesirable system
operation or sensor damage may result when us-
ing replacement equipment that is not of the same
size, type, and/or style. Aftermarket wheels can
cause sensor damage. Do not use aftermarket tire
sealants or balance beads if your vehicle is
equipped with a TPMS, as damage to the sensors
may result.
•After inspecting or adjusting the tire pressure,
always reinstall the valve stem cap. This will
prevent moisture and dirt from entering the valve
stem, which could damage the Tire Pressure Moni-
toring Sensor.NOTE:
•The TPMS is not intended to replace normal tire care
and maintenance, or to provide warning of a tire
failure or condition.
•The TPMS should not be used as a tire pressure gauge
while adjusting your tire pressure.
•Driving on a significantly under-inflated tire causes
the tire to overheat and can lead to tire failure.
Under-inflation also reduces fuel efficiency and tire
tread life, and may affect the vehicle’s handling and
stopping ability.
•The TPMS is not a substitute for proper tire mainte-
nance, and it is the driver ’s responsibility to maintain
correct tire pressure using an accurate tire pressure
gauge, even if under-inflation has not reached the
level to trigger illumination of the “Tire Pressure
Monitoring Telltale Light.”
5
STARTING AND OPERATING 283
Page 284 of 436

•Seasonal temperature changes will affect tire pressure,
and the TPMS will monitor the actual tire pressure in
the tire.
Base System
The Tire Pressure Monitor System (TPMS) uses wireless
technology with wheel rim mounted electronic sensors to
monitor tire pressure levels. Sensors, mounted to each
wheel as part of the valve stem, transmit tire pressure
readings to the Receiver Module.
NOTE:It is particularly important for you to check the
tire pressure in all of the tires on your vehicle monthly
and to maintain the proper pressure.
The TPMS consists of the following components:
•Receiver Module
•Four Tire Pressure Monitoring Sensors
•Tire Pressure Monitoring Telltale Light
Tire Pressure Monitoring Low Pressure Warnings
The “Tire Pressure Monitoring Telltale Light” will
illuminate in the instrument cluster and a chime
will sound when tire pressure is low in one or
more of the four active road tires. Should this occur, you
should stop as soon as possible, check the inflation
pressure of each tire on your vehicle, and inflate each tire
to the vehicle’s recommended cold placard pressure
value. Once the system receives the updated tire pres-
sures, the system will automatically update and the “Tire
Pressure Monitoring Telltale Light” will turn off. The
vehicle may need to be driven for up to 20 minutes above
15 mph (25 km/h) in order for the TPMS to receive this
information.
284 STARTING AND OPERATING