Page 206 of 444

CAUTION!
•This CD player will accept 4–3/4 in (12 cm) discs
only. The use of other sized discs may damage the
CD player mechanism.
•Do not use adhesive labels. These labels can peel
away and jam the player mechanism.
•RES is a single CD player. Do not attempt to insert
a second CD if one is already loaded.
•Dual-media disc types (one side is a DVD, the
other side is a CD) should not be used, and they
can cause damage to the player.
EJECT Button - Ejecting a CD
Press the EJECT button to eject the CD.If you have ejected a disc and have not removed it within
10 seconds, it will be reloaded. If the CD is not removed,
the radio will reinsert the CD but will not play it.
A disc can be ejected with the radio and ignition OFF.
NOTE:
Ejecting with the ignition OFF is not allowed on
convertible or soft-top models (if equipped).
SEEK Button
Press the right SEEK button for the next selection on the
CD. Press the left SEEK button to return to the beginning
of the current selection, or return to the beginning of the
previous selection if the CD is within the first second of
the current selection. Pressing and holding the SEEK
button will allow faster scrolling through the tracks in
CD and MP3 modes.
TIME Button
Press this button to change the display from a large CD
playing time display to a small CD playing time display.
4
UNDERSTANDING YOUR INSTRUMENT PANEL 205
Page 207 of 444

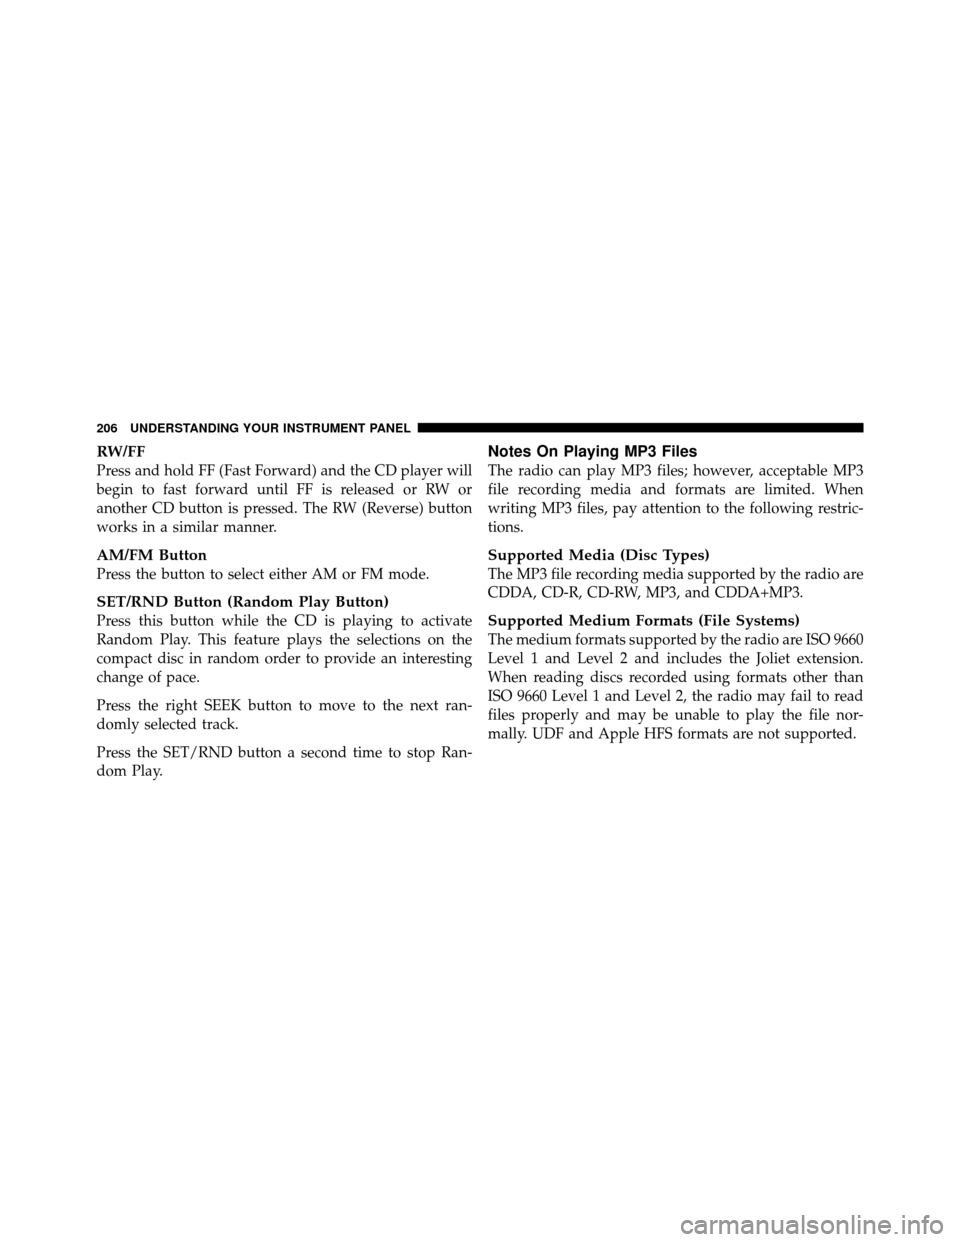
RW/FF
Press and hold FF (Fast Forward) and the CD player will
begin to fast forward until FF is released or RW or
another CD button is pressed. The RW (Reverse) button
works in a similar manner.
AM/FM Button
Press the button to select either AM or FM mode.
SET/RND Button (Random Play Button)
Press this button while the CD is playing to activate
Random Play. This feature plays the selections on the
compact disc in random order to provide an interesting
change of pace.
Press the right SEEK button to move to the next ran-
domly selected track.
Press the SET/RND button a second time to stop Ran-
dom Play.
Notes On Playing MP3 Files
The radio can play MP3 files; however, acceptable MP3
file recording media and formats are limited. When
writing MP3 files, pay attention to the following restric-
tions.
Supported Media (Disc Types)
The MP3 file recording media supported by the radio are
CDDA, CD-R, CD-RW, MP3, and CDDA+MP3.
Supported Medium Formats (File Systems)
The medium formats supported by the radio are ISO 9660
Level 1 and Level 2 and includes the Joliet extension.
When reading discs recorded using formats other than
ISO 9660 Level 1 and Level 2, the radio may fail to read
files properly and may be unable to play the file nor-
mally. UDF and Apple HFS formats are not supported.
206 UNDERSTANDING YOUR INSTRUMENT PANEL
Page 210 of 444

LIST Button (CD Mode for MP3 Play)
Pressing the LIST button will bring up a list of all folders
on the disc. Scrolling up or down the list is done by
turning the TUNE/SCROLL control knob. Selecting a
folder by pressing the TUNE/SCROLL control knob will
begin playing the files contained in that folder (or the
next folder in sequence if the selection does not contain
playable files).
The folder list will time out after five seconds.
INFO Button (CD Mode for MP3 Play)
Pressing the INFO button repeatedly will scroll through
the following TAG information: Song Title, Artist, File
Name, and Folder Name (if available).
Press the INFO button once more to return to�elapsed
time� priority mode. Press and hold the INFO button for three seconds or
more and the radio will display song titles for each file.
Press and hold the INFO button again for three seconds
to return to
�elapsed time� display.
Operation Instructions - Auxiliary Mode
The auxiliary (AUX) jack is an audio input jack which
allows the user to plug in a portable device such as an
MP3 player or cassette player and utilize the vehicle’s
audio system to amplify the source and play through the
vehicle speakers.
Pressing the AUX button will change the mode to auxil-
iary device if the AUX jack is connected.
NOTE:The AUX device must be turned on and the
device’s volume set to the proper level. If the AUX audio
is not loud enough, turn the device’s volume up. If the
AUX audio sounds distorted, turn the device’s volume
down.
4
UNDERSTANDING YOUR INSTRUMENT PANEL 209
Page 216 of 444
•The LCD screen swings up from the rear of the armrest
to allow the rear seat passenger(s) to view the display.NOTE:
Close the armrest after the LCD screen has been
raised to its viewing position.
•The radio and DVD player controls allow front seat
operation for easy setup in the case of younger rear
seat passengers.
Opening the Rear Seat VES™VES™ Video Screen
4
UNDERSTANDING YOUR INSTRUMENT PANEL 215
Page 217 of 444
•A battery-powered infrared remote control snaps into
a molded compartment in the center console armrest
upper storage bin.
•Two wireless infrared headsets allow rear seat passen-
gers to listen to the same or individual audio sources.Audio/Video RCA Jacks (AUX Jacks)
on the rear of the center console enable
the monitor to display video directly
from a video camera, connect video
games for display on the screen, or
play music directly from an MP3
player.
1. Video in (yellow)
2. Left audio in (white)
3. Right audio in (red)
NOTE: Refer to the “Uconnect™ Multimedia” section of
Uconnect™ User Manual located on the DVD for further
details.REMOTE SOUND SYSTEM CONTROLS —
IF EQUIPPED
The remote sound system controls are located on the rear
surface of the steering wheel. The left and right controls
VES™ Remote Control
216 UNDERSTANDING YOUR INSTRUMENT PANEL
Page 220 of 444

NOTE:If you experience difficulty in playing a particu-
lar disc, it may be damaged (i.e., scratched, reflective
coating removed, a hair, moisture or dew on the disc)
oversized, or have protection encoding. Try a known
good disc before considering disc player service.
RADIO OPERATION AND CELLULAR PHONES
Under certain conditions, the cellular phone being on in
your vehicle can cause erratic or noisy performance from
your radio. This condition may be lessened or eliminated
by relocating the cellular phone antenna. This condition
is not harmful to the radio. If your radio performance
does not satisfactorily “clear” by the repositioning of the
antenna, it is recommended that the radio volume be
turned down or off during cellular phone operation.
CLIMATE CONTROLS
The Air Conditioning and Heating System is designed to
make you comfortable in all types of weather.
Manual Heating and Air Conditioning
The Manual Temperature Controls consist of a series of
outer rotary dials and inner push knobs.
Manual Temperature Control
4
UNDERSTANDING YOUR INSTRUMENT PANEL 219
Page 429 of 444

Door Locks, Automatic.................... 30
Door Opener, Garage ..................... 120
Driving On Slippery Surfaces ................... 250
Through Flowing, Rising, or Shallow
Standing Water ........................ 251
DVD Player (Video Entertainment System™) .... 214
E-85 Fuel ............................. 299
Electric Rear Window Defrost ............... 138
Electric Remote Mirrors .................... 90
Electrical Power Outlets ................... 129
Electronic Speed Control (Cruise Control) ....... 117
Electronic Stability Program (ESP) ............ 263
Electronic Vehicle Information Center (EVIC) .... 158
Emergency, In Case of Jacking ............................. 323
Jump Starting ......................... 329
Towing ............................. 335 Emergency Trunk Release
.................37,38
Emission Control System Maintenance ......345,396
Engine .......................... 341,342,343
Air Cleaner .......................... 352
Block Heater ......................... 241
Break-In Recommendations ................ 79
Checking Oil Level ..................... 348
Coolant (Antifreeze) ................. 361,393
Cooling ............................. 361
Exhaust Gas Caution .................. 81,298
Fails to Start .......................... 239
Flooded, Starting ...................... 239
Fuel Requirements .................. 294,392
Jump Starting ......................... 329
Oil ........................... 348,392,393
Oil Change Interval ............151,161,349,396
Oil Filler Cap ................ 341,342,343,350
Oil Filter ............................ 351
Oil Filter Disposal ..................... 351
428 INDEX
Page:
< prev 1-8 9-16 17-24