Page 19 of 88

HEATED SEATS
Front Heated Seats
• The controls for front heated seats arelocated near the bottom of the center
instrument panel.
• Press the switch once to select High-level heating. Press the switch a second time to
select Low-level heating. Press the switch a
third time to shut the heating elements
Off.
Rear Heated Seats
• Rear seat heated seat switches are locatedon the rear of the center console.
• Press the switch once to select High-level heating. Press the switch a second time to
select Low-level heating. Press the switch a
third time to shut the heating elements
Off.
WARNING!
• Persons who are unable to feel pain to the skin because of advanced age,chronic illness, diabetes, spinal cord injury, medication, alcohol use, exhaustion
or other physical conditions must exercise care when using the seat heater. It
may cause burns even at low temperatures, especially if used for long periods of
time.
• Do not place anything on the seat that insulates against heat, such as a blanket or cushion. This may cause the seat heater to overheat. Sitting in a seat that has
been overheated could cause serious burns due to the increased surface
temperature of the seat.
17
GETTING STARTED
Page 39 of 88

REMOTE AUDIO CONTROLS
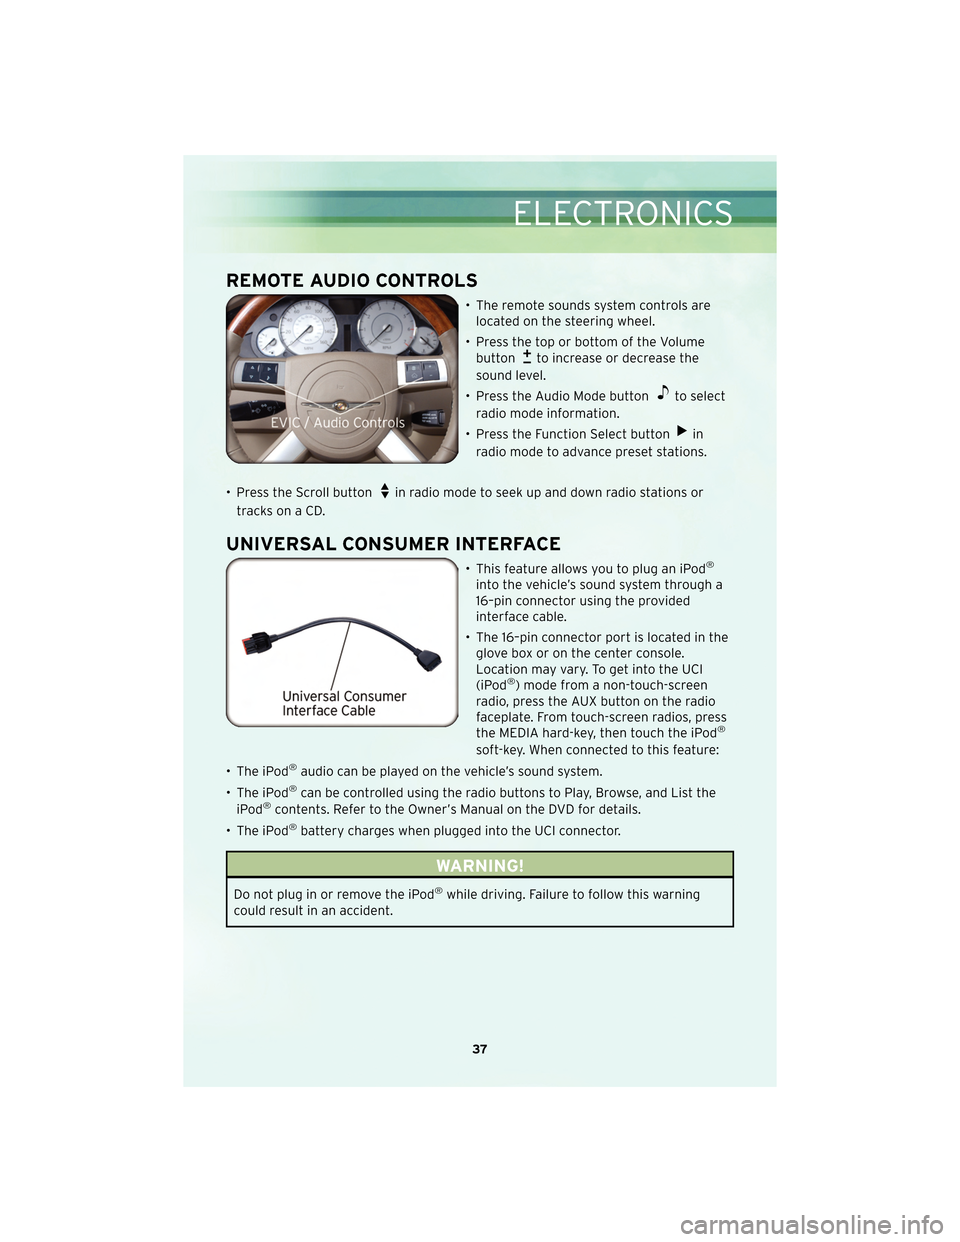
• The remote sounds system controls arelocated on the steering wheel.
• Press the top or bottom of the Volume button
to increase or decrease the
sound level.
• Press the Audio Mode button
to select
radio mode information.
• Press the Function Select button
in
radio mode to advance preset stations.
• Press the Scroll button
in radio mode to seek up and down radio stations or
tracks on a CD.
UNIVERSAL CONSUMER INTERFACE
• This feature allows you to plug an iPod®
into the vehicle’s sound system through a
16–pin connector using the provided
interface cable.
• The 16–pin connector port is located in the glove box or on the center console.
Location may vary. To get into the UCI
(iPod
®) mode from a non-touch-screen
radio, press the AUX button on the radio
faceplate. From touch-screen radios, press
the MEDIA hard-key, then touch the iPod
®
soft-key. When connected to this feature:
• The iPod
®audio can be played on the vehicle’s sound system.
• The iPod
®can be controlled using the radio buttons to Play, Browse, and List the
iPod®contents. Refer to the Owner’s Manual on the DVD for details.
• The iPod
®battery charges when plugged into the UCI connector.
WARNING!
Do not plug in or remove the iPod®while driving. Failure to follow this warning
could result in an accident.
37
ELECTRONICS
Page 40 of 88

ELECTRONIC VEHICLE INFORMATION CENTER (EVIC)
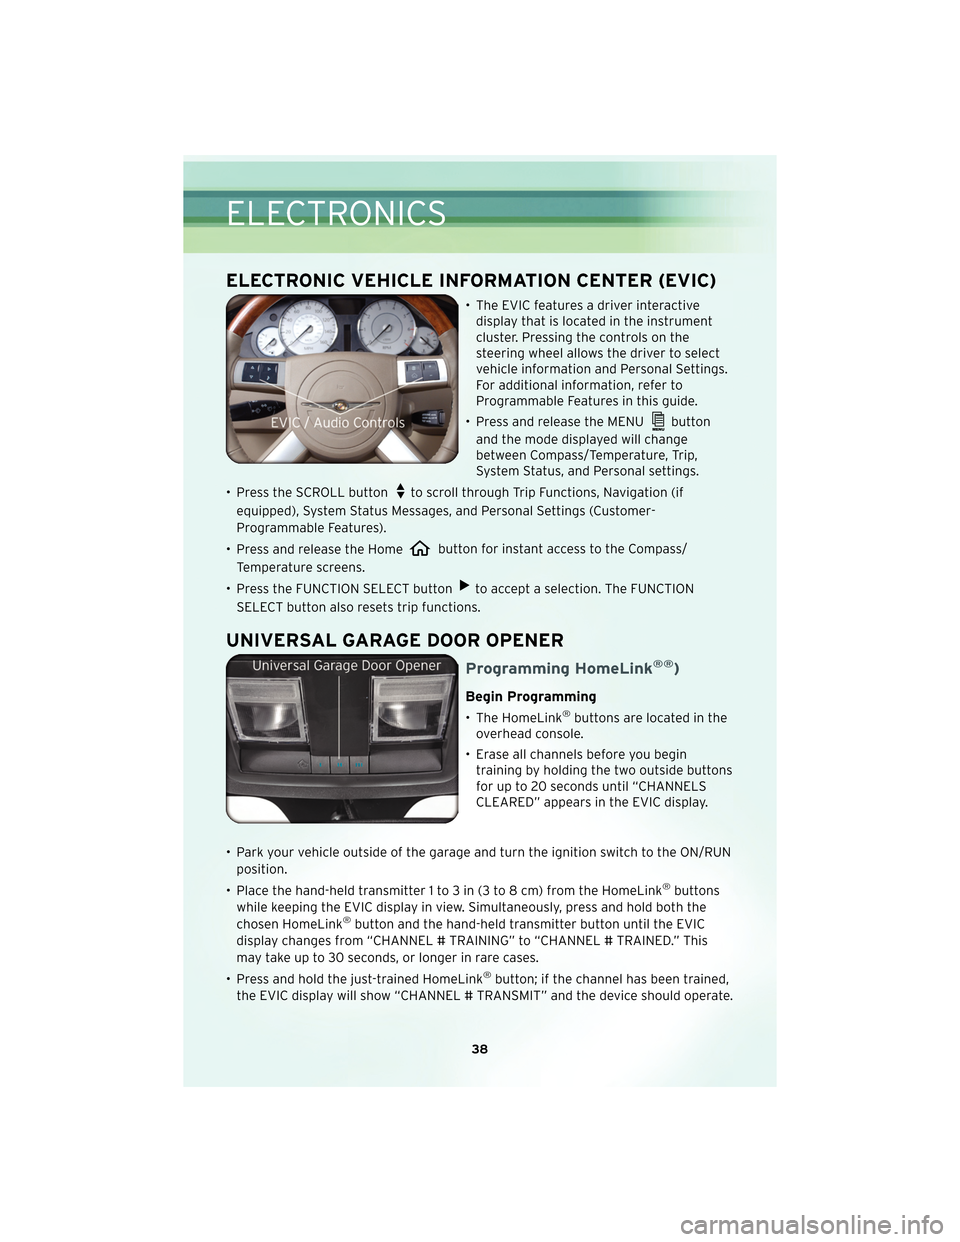
• The EVIC features a driver interactivedisplay that is located in the instrument
cluster. Pressing the controls on the
steering wheel allows the driver to select
vehicle information and Personal Settings.
For additional information, refer to
Programmable Features in this guide.
• Press and release the MENU
button
and the mode displayed will change
between Compass/Temperature, Trip,
System Status, and Personal settings.
• Press the SCROLL button
to scroll through Trip Functions, Navigation (if
equipped), System Status Messages, and Personal Settings (Customer-
Programmable Features).
• Press and release the Home
button for instant access to the Compass/
Temperature screens.
• Press the FUNCTION SELECT button
to accept a selection. The FUNCTION
SELECT button also resets trip functions.
UNIVERSAL GARAGE DOOR OPENER
Programming HomeLink®®)
Begin Programming
• The HomeLink®buttons are located in the
overhead console.
• Erase all channels before you begin training by holding the two outside buttons
for up to 20 seconds until “CHANNELS
CLEARED” appears in the EVIC display.
• Park your vehicle outside of the garage and turn the ignition switch to the ON/RUN position.
• Place the hand-held transmitter 1 to 3 in (3 to 8 cm) from the HomeLink
®buttons
while keeping the EVIC display in view. Simultaneously, press and hold both the
chosen HomeLink
®button and the hand-held transmitter button until the EVIC
display changes from “CHANNEL # TRAINING” to “CHANNEL # TRAINED.” This
may take up to 30 seconds, or longer in rare cases.
• Press and hold the just-trained HomeLink
®button; if the channel has been trained,
the EVIC display will show “CHANNEL # TRANSMIT” and the device should operate.
ELECTRONICS
38
Page 42 of 88

• The second outlet in the center console is powered directly from the battery(power available at all times). Items plugged into this outlet may discharge the
battery and/or prevent engine starting.
NOTE: Do not exceed the maximum power of 160 Watts (13 Amps) at 12 Volts. If the
160 Watt (13 Amp) power rating is exceeded the fuse protecting the system will need
to be replaced.
Uconnect™ Phone
• The Uconnect™ Phone is a voice-activated, hands-free, in-vehicle communications system.
• The Uconnect™ Phone allows you to dial a phone number with your cellular phone using simple voice commands.
• For vehicles equipped with Video Entertainment System (VES)™, refer to the Uconnect™ Phone section of the Uconnect™ User’s Manual on the DVD for further
details.
• For vehicles not equipped with VES™, refer to your vehicle Owner’s Manual on the DVD for further details.
WARNING!
• Any voice commanded system should be used only in safe driving conditionsfollowing local laws and phone use. All attention should be kept on the roadway
ahead. Failure to do so may result in an accident causing serious injury or death.
• Your phone must be turned on and paired to the Uconnect™ Phone to allow use of this vehicle feature in emergency situations, when the cellular phone has
network coverage and stays paired to the Uconnect™ Phone.
NOTE: The Uconnect™ Phone requires a cellular phone equipped with the
Bluetooth
®Hands-Free Profile, Version 0.96 or higher. For Uconnect™ customer
support, call 1–877–855–8400.
Phone Pairing
NOTE: Pairing is a one-time initial setup before using the phone. You will also need
to follow the Bluetooth®instructions in your cell phone user guide to complete the
phone pairing setup.
• Press the Phone button
to begin.
• Wait for the “ready” prompt and beep.
• (After the BEEP), say “Uconnect setup”.
• (After the BEEP), say “phone pairing”.
• (After the BEEP), say “pair a phone”.
• Follow the audible prompts.
ELECTRONICS
40
Page 47 of 88
• Remove the rubber tray from thestorage bin located to the right of
the shift lever. The override access
port is at the top of the bin to the
right of the shift lever gate.
• Turn the ignition switch to the ACC or ON position without
starting the engine.
• Firmly set the parking brake.
• Press and maintain firm pressure on the brake pedal. • Using a screwdriver, press and
hold the override tab through the
access port on the center console.
• Move the shift lever into the NEUTRAL position and start the
vehicle.
• Reinstall the override cover.
• Have your vehicle inspected by your local authorized dealer if the shift
lock manual override has been used.
45
UTILITY