Page 298 of 538

72°F (22°C) is the recommended setting for maximum
comfort for the average person; however, this may vary.
NOTE:The temperature setting can be adjusted at any
time without affecting automatic operation.
Air conditioning in this system is automatic.
Pressing the air conditioning control button while
in AUTO mode will cause the indicator in the
control button to flash three times and then turn off. This
indicates that the system is in AUTO mode and request-
ing the air conditioning is not necessary.
The system will automatically control recircu-
lation. However, pressing the recirculation con-
trol button will temporarily put the system in
Recirculation mode (10 minutes). This can be
used when outside conditions such as smoke, odors,
dust, or high humidity are present. Activating recircula-
tion will cause the indicator in the control button to illuminate. After 10 minutes, the system will return to
normal AUTO mode function and the indicator will turn
off.
NOTE:
•The surface of the climate control panel and the top
center of the instrument panel should be kept free of
debris due to the location of the climate control
sensors. Mud on the windshield may also cause poor
operation of this system.
•Extended use of recirculation may cause the windows
to fog. If the interior of the windows begin to fog, press
the recirculation button to return to outside air. Some
temp/humidity conditions will cause captured inte-
rior air to condense on windows and hamper visibility.
For this reason, the system will not allow recirculation
to be selected while in Defrost or Defrost/Floor mode.
4
UNDERSTANDING YOUR INSTRUMENT PANEL 297
Page 301 of 538
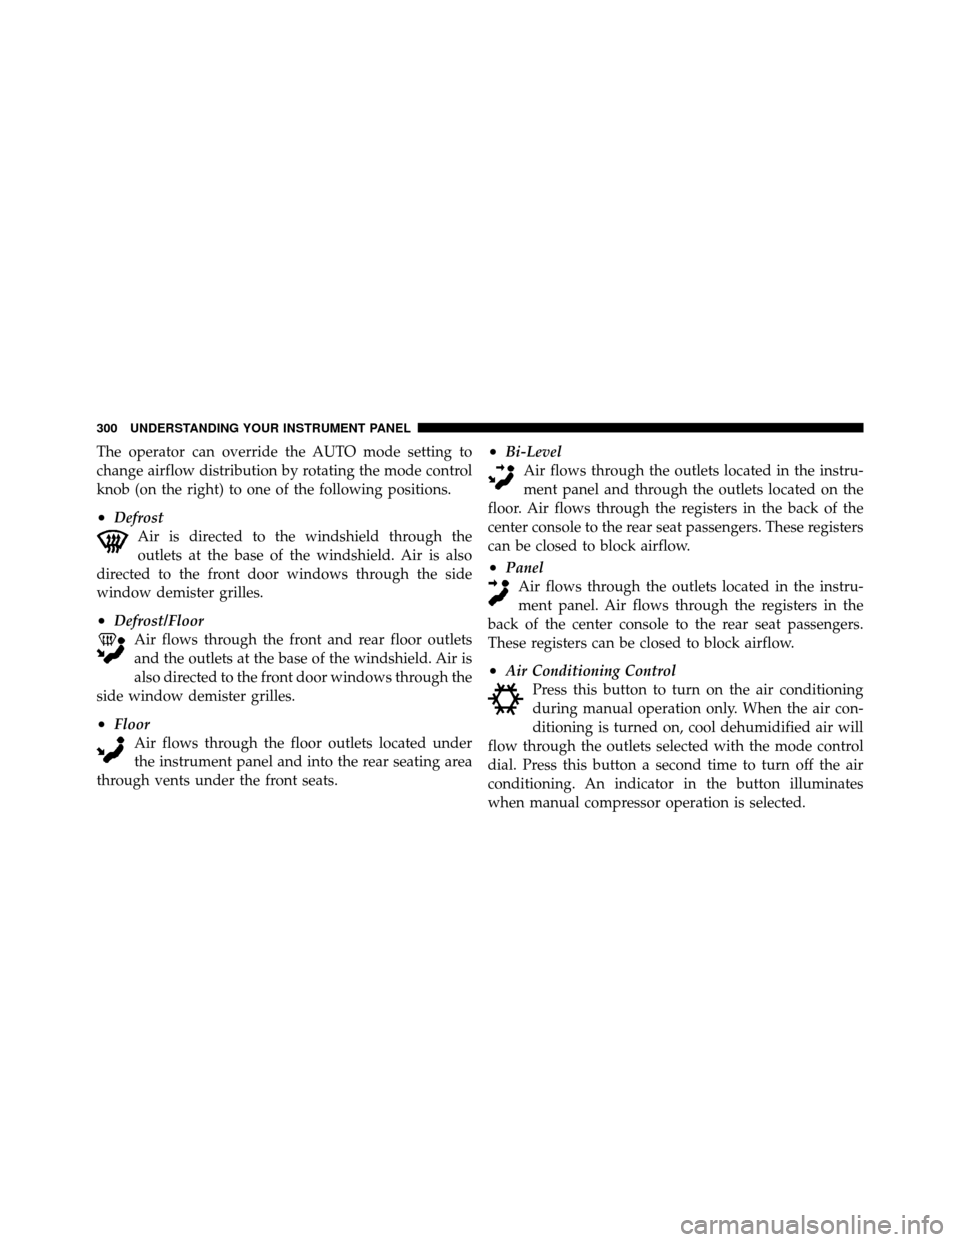
The operator can override the AUTO mode setting to
change airflow distribution by rotating the mode control
knob (on the right) to one of the following positions.
•DefrostAir is directed to the windshield through the
outlets at the base of the windshield. Air is also
directed to the front door windows through the side
window demister grilles.
•Defrost/Floor Air flows through the front and rear floor outlets
and the outlets at the base of the windshield. Air is
also directed to the front door windows through the
side window demister grilles.
•Floor Air flows through the floor outlets located under
the instrument panel and into the rear seating area
through vents under the front seats.
•Bi-Level Air flows through the outlets located in the instru-
ment panel and through the outlets located on the
floor. Air flows through the registers in the back of the
center console to the rear seat passengers. These registers
can be closed to block airflow.
•Panel Air flows through the outlets located in the instru-
ment panel. Air flows through the registers in the
back of the center console to the rear seat passengers.
These registers can be closed to block airflow.
•Air Conditioning Control Press this button to turn on the air conditioning
during manual operation only. When the air con-
ditioning is turned on, cool dehumidified air will
flow through the outlets selected with the mode control
dial. Press this button a second time to turn off the air
conditioning. An indicator in the button illuminates
when manual compressor operation is selected.
300 UNDERSTANDING YOUR INSTRUMENT PANEL
Page 302 of 538

NOTE:To control the air conditioning manually, the
mode selector must be moved out of the AUTO position.
•Recirculation Control This button can be used to block out smoke,
odors, dust, high humidity, or if rapid cooling
is desired. The Recirculation mode should only
be used temporarily. An indicator in the button
illuminates when the Recirculation mode is active. You
may use this feature separately.
NOTE: Extended use of recirculation may cause the
windows to fog. If the interior of the windows begins to
fog, press the recirculation button to return to outside air.
Some temp/humidity conditions will cause captured
interior air to condense on windows and hamper visibil-
ity. For this reason, the system will not allow recirculation
to be selected while in Defrost or Defrost/Floor mode. Attempting to use the recirculation while in these modes
will cause the indicator in the control button to blink and
then turn off.
Operating Tips
NOTE:
Refer to the chart at the end of this section for
suggested control settings for various weather condi-
tions.
Summer Operation
The engine cooling system in air-conditioned vehicles
must be protected with a high-quality antifreeze coolant
to provide proper corrosion protection and to protect
against engine overheating. A solution of 50% ethylene
glycol antifreeze coolant and 50% water is recommended.
Refer to “Maintenance Procedures” in “Maintaining Your
Vehicle” for proper coolant selection.
4
UNDERSTANDING YOUR INSTRUMENT PANEL 301
Page 303 of 538
Winter Operation
Use of the air Recirculation mode during Winter months
is not recommended because it may cause window
fogging.
Vacation Storage
Any time you store your vehicle or keep it out of service
(i.e., vacation) for two weeks or more, run the air
conditioning system at idle for about five minutes in the
fresh air and high blower setting. This will ensure
adequate system lubrication to minimize the possibility
of compressor damage when the system is started again.
Window Fogging
Interior fogging on the windshield can be quickly re-
moved by turning the mode selector to Defrost. The
Defrost/Floor mode can be used to maintain a clear
windshield and provide sufficient heating. If side win-
dow fogging becomes a problem increase blower speed.
Vehicle windows tend to fog on the inside in mild but
rainy or humid weather.NOTE:
Recirculate without A/C should not be used for
long periods, as fogging may occur.
Outside Air Intake
Make sure the air intake, located directly in front of the
windshield, is free of obstructions such as leaves. Leaves
collected in the air intake may reduce airflow, and if they
enter the plenum, they could plug the water drains. In
Winter months, make sure the air intake is clear of ice,
slush, and snow.
A/C Air Filter
The climate control system filters outside air containing
dust, pollen and some odors. Strong odors cannot be
totally filtered out. Refer to “Maintenance Procedures” in
“Maintaining Your Vehicle” for filter replacement
instructions.
302 UNDERSTANDING YOUR INSTRUMENT PANEL
Page 358 of 538
CAUTION!
After inspecting or adjusting the tire pressure, al-
ways reinstall the valve stem cap. This will prevent
moisture and dirt from entering the valve stem,
which could damage the valve stem.
Inflation pressures specified on the placard are always
“cold tire inflation pressure.” Cold tire inflation pressure
is defined as the tire pressure after the vehicle has not
been driven for at least three hours, or driven less than
1 mile (1.6 km) after a three hour period. The cold tire
inflation pressure must not exceed the maximum infla-
tion pressure molded into the tire sidewall.
Check tire pressures more often if subject to a wide range
of outdoor temperatures, as tire pressures vary with
temperature changes. Tire pressures change by approximately 1 psi (7 kPa) per
12°F (7°C) of air temperature change. Keep this in mind
when checking tire pressure inside a garage, especially in
the Winter.
Example: If garage temperature = 68°F (20°C) and the
outside temperature = 32°F (0°C) then the cold tire
inflation pressure should be increased by 3 psi (21 kPa),
which equals 1 psi (7 kPa) for every 12°F (7°C) for this
outside temperature condition.
Tire pressure may increase from 2 to 6 psi (13 to 40 kPa)
during operation. DO NOT reduce this normal pressure
build up or your tire pressure will be too low.
5
STARTING AND OPERATING 357
Page 361 of 538
WARNING!
The limited-use spare tires are for emergency use
only. Installation of this limited-use spare tire affects
vehicle handling. With this tire, do not drive more
than 50 mph (80 km/h). Keep inflated to the cold tire
inflation pressure listed on either your tire placard or
limited-use spare tire and wheel assembly. Replace
(or repair) the original tire at the first opportunity
and reinstall it on your vehicle. Failure to do so could
result in loss of vehicle control.
Tire Spinning
When stuck in mud, sand, snow, or ice conditions, do not
spin your vehicle’s wheels faster than 30 mph (48 km/h)
or for longer than 30 seconds continuously without
stopping when you are stuck.
WARNING!
Fast spinning tires can be dangerous. Forces gener-
ated by excessive wheel speeds may cause tire dam-
age or failure. A tire could explode and injure some-
one. Do not spin your vehicle’s wheels faster than
30 mph (48 km/h) or for more than 30 seconds
continuously when you are stuck, and do not let
anyone near a spinning wheel, no matter what the
speed.
Tread Wear Indicators
Tread wear indicators are in the original equipment tires
to help you in determining when your tires should be
replaced.
360 STARTING AND OPERATING
Page 378 of 538
MMT In Gasoline
MMT is a manganese-containing metallic additive that is
blended into some gasoline to increase octane. Gasoline
blended with MMT provides no performance advantage
beyond gasoline of the same octane number without
MMT. Gasoline blended with MMT reduces spark plug
life and reduces emissions system performance in some
vehicles. The manufacturer recommends that gasoline
without MMT be used in your vehicle. The MMT content
of gasoline may not be indicated on the gasoline pump,
therefore, you should ask your gasoline retailer whether
the gasoline contains MMT. It is even more important to
look for gasoline without MMT in Canada, because MMT
can be used at levels higher than those allowed in the
United States. MMT is prohibited in Federal and Califor-
nia reformulated gasoline.
Materials Added to Fuel
All gasoline sold in the United States is required to
contain effective detergent additives. Use of additional
detergents or other additives is not needed under normal
conditions and they would result in additional cost.
Therefore, you should not have to add anything to the
fuel.
Fuel System Cautions
CAUTION!
Follow these guidelines to maintain your vehicle’s
performance:
•The use of leaded gas is prohibited by Federal law.
Using leaded gasoline can impair engine perfor-
mance and damage the emissions control system.(Continued)
5
STARTING AND OPERATING 377
Page 380 of 538
WARNING! (Continued)
•Guard against carbon monoxide with proper
maintenance. Have the exhaust system inspected
every time the vehicle is raised. Have any abnor-
mal conditions repaired promptly. Until repaired,
drive with all side windows fully open.
•Keep the trunk closed when driving your vehicle
to prevent carbon monoxide and other poisonous
exhaust gases from entering the vehicle.
ADDING FUEL
Fuel Filler Cap (Gas Cap)
The gas cap is located behind the fuel filler door on the
left side of the vehicle. Push in on the left side (near the
edge) of the fuel filler door to access the fuel filler cap. If
the gas cap is lost or damaged, be sure the replacement
cap is for use with this vehicle.
Fuel Filler Door
5
STARTING AND OPERATING 379