Page 301 of 538

The operator can override the AUTO mode setting to
change airflow distribution by rotating the mode control
knob (on the right) to one of the following positions.
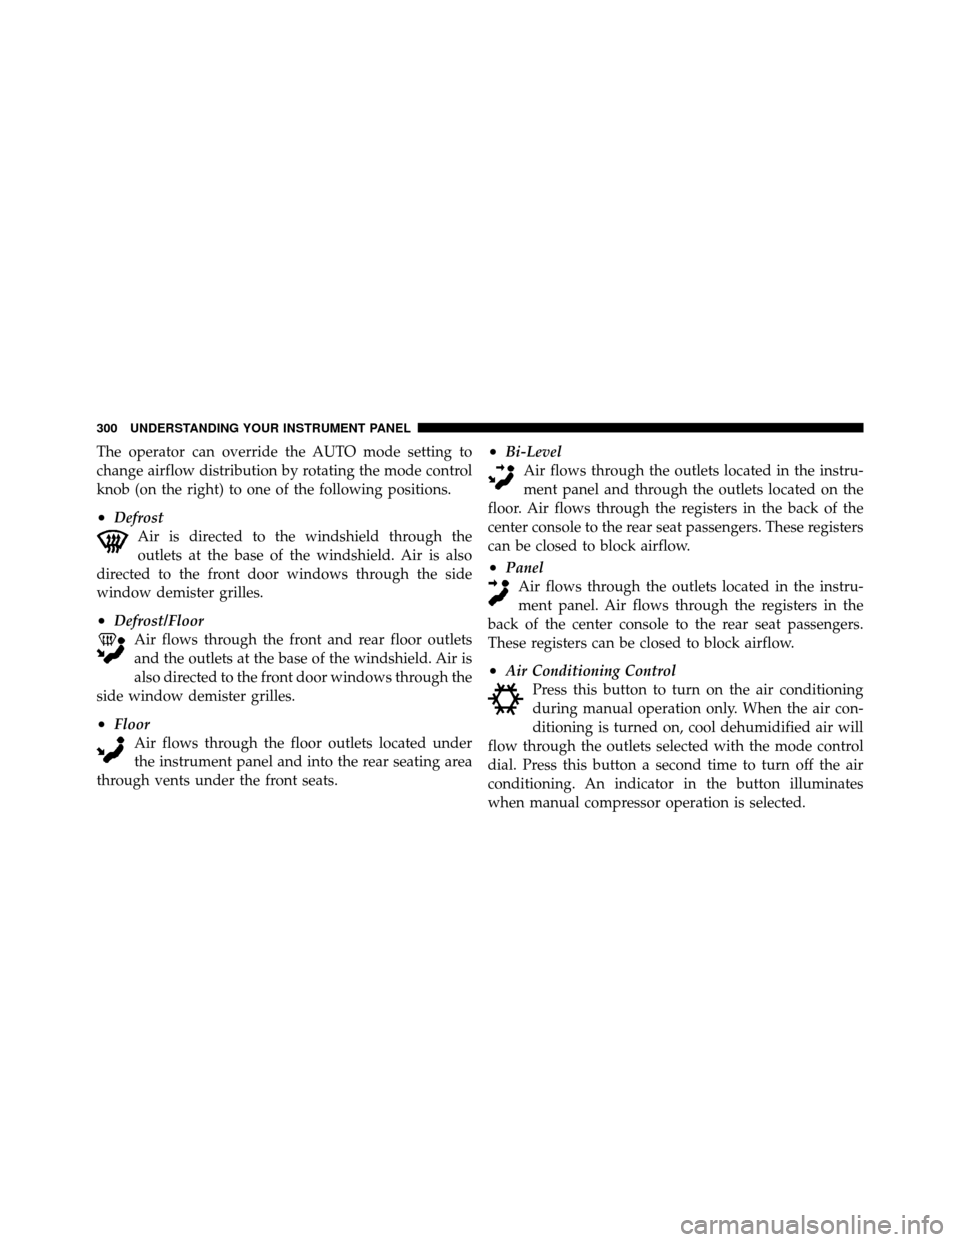
•DefrostAir is directed to the windshield through the
outlets at the base of the windshield. Air is also
directed to the front door windows through the side
window demister grilles.
•Defrost/Floor Air flows through the front and rear floor outlets
and the outlets at the base of the windshield. Air is
also directed to the front door windows through the
side window demister grilles.
•Floor Air flows through the floor outlets located under
the instrument panel and into the rear seating area
through vents under the front seats.
•Bi-Level Air flows through the outlets located in the instru-
ment panel and through the outlets located on the
floor. Air flows through the registers in the back of the
center console to the rear seat passengers. These registers
can be closed to block airflow.
•Panel Air flows through the outlets located in the instru-
ment panel. Air flows through the registers in the
back of the center console to the rear seat passengers.
These registers can be closed to block airflow.
•Air Conditioning Control Press this button to turn on the air conditioning
during manual operation only. When the air con-
ditioning is turned on, cool dehumidified air will
flow through the outlets selected with the mode control
dial. Press this button a second time to turn off the air
conditioning. An indicator in the button illuminates
when manual compressor operation is selected.
300 UNDERSTANDING YOUR INSTRUMENT PANEL
Page 302 of 538

NOTE:To control the air conditioning manually, the
mode selector must be moved out of the AUTO position.
•Recirculation Control This button can be used to block out smoke,
odors, dust, high humidity, or if rapid cooling
is desired. The Recirculation mode should only
be used temporarily. An indicator in the button
illuminates when the Recirculation mode is active. You
may use this feature separately.
NOTE: Extended use of recirculation may cause the
windows to fog. If the interior of the windows begins to
fog, press the recirculation button to return to outside air.
Some temp/humidity conditions will cause captured
interior air to condense on windows and hamper visibil-
ity. For this reason, the system will not allow recirculation
to be selected while in Defrost or Defrost/Floor mode. Attempting to use the recirculation while in these modes
will cause the indicator in the control button to blink and
then turn off.
Operating Tips
NOTE:
Refer to the chart at the end of this section for
suggested control settings for various weather condi-
tions.
Summer Operation
The engine cooling system in air-conditioned vehicles
must be protected with a high-quality antifreeze coolant
to provide proper corrosion protection and to protect
against engine overheating. A solution of 50% ethylene
glycol antifreeze coolant and 50% water is recommended.
Refer to “Maintenance Procedures” in “Maintaining Your
Vehicle” for proper coolant selection.
4
UNDERSTANDING YOUR INSTRUMENT PANEL 301
Page 303 of 538

Winter Operation
Use of the air Recirculation mode during Winter months
is not recommended because it may cause window
fogging.
Vacation Storage
Any time you store your vehicle or keep it out of service
(i.e., vacation) for two weeks or more, run the air
conditioning system at idle for about five minutes in the
fresh air and high blower setting. This will ensure
adequate system lubrication to minimize the possibility
of compressor damage when the system is started again.
Window Fogging
Interior fogging on the windshield can be quickly re-
moved by turning the mode selector to Defrost. The
Defrost/Floor mode can be used to maintain a clear
windshield and provide sufficient heating. If side win-
dow fogging becomes a problem increase blower speed.
Vehicle windows tend to fog on the inside in mild but
rainy or humid weather.NOTE:
Recirculate without A/C should not be used for
long periods, as fogging may occur.
Outside Air Intake
Make sure the air intake, located directly in front of the
windshield, is free of obstructions such as leaves. Leaves
collected in the air intake may reduce airflow, and if they
enter the plenum, they could plug the water drains. In
Winter months, make sure the air intake is clear of ice,
slush, and snow.
A/C Air Filter
The climate control system filters outside air containing
dust, pollen and some odors. Strong odors cannot be
totally filtered out. Refer to “Maintenance Procedures” in
“Maintaining Your Vehicle” for filter replacement
instructions.
302 UNDERSTANDING YOUR INSTRUMENT PANEL
Page 304 of 538
Control Setting Suggestions for Various Weather Conditions
4
UNDERSTANDING YOUR INSTRUMENT PANEL 303
Page 321 of 538

When parking on a flat surface, place the shift lever in the
PARK position first, and then apply the parking brake.
When parking on a hill, it is important to set the parking
brake before placing the shift lever in PARK, otherwise
the load on the transmission locking mechanism may
make it difficult to move the shift lever out of park. As an
added precaution, turn the front wheels toward the curb
on a downhill grade and away from the curb on an uphill
grade.
WARNING!
Never use the PARK position as a substitute for the
parking brake. Always apply the parking brake fully
when parked to guard against vehicle movement and
possible injury or damage.
The following indicators should be used to ensure that
you have engaged the shift lever in the PARK position:
•When shifting into PARK move the shift lever all the
way forward and left until it stops and is fully seated.
•Look at the shift indicator display on the instrument
panel to ensure it is in the PARK position.
CAUTION!
Damage to the shifter could result if the shift lever is
moved out of PARK before the ignition switch is
turned from the LOCK (OFF position with Keyless
Go™) to the ON position (RUN position with Key-
less Go™).
REVERSE
This range is used for moving the vehicle rearward.
Always stop before moving the shift lever to REVERSE.
320 STARTING AND OPERATING
Page 326 of 538

When parking on a flat surface, place the shift lever in the
PARK position first, and then apply the parking brake.
When parking on a hill, it is important to set the parking
brake before placing the shift lever in PARK, otherwise
the load on the transmission locking mechanism may
make it difficult to move the shift lever out of PARK. As
an added precaution, turn the front wheels toward the
curb on a downhill grade and away from the curb on an
uphill grade.
WARNING!
Never use the PARK position as a substitute for the
parking brake. Always apply parking brake fully
when parked to guard against vehicle movement and
possible injury or damage.The following indicators should be used to ensure that
you have engaged the shift lever in the PARK position:
•When shifting into PARK, move the shift lever all the
way forward and left until it stops and is fully seated.
•Look at the shift indicator display on the instrument
panel to ensure it is in the PARK position.
CAUTION!
Damage to the shifter could result if the shift lever is
moved out of PARK before the ignition switch is
turned from the LOCK (OFF position with Keyless
Go™) to the ON position (RUN position with Key-
less Go™).
REVERSE
This range is used for moving the vehicle rearward.
Always stop before moving the shift lever to REVERSE.
5
STARTING AND OPERATING 325
Page 331 of 538

To maximize fuel economy, your AWD vehicle automati-
cally defaults to rear-wheel drive (RWD) when road and
environmental conditions are such that wheel slip is
unlikely to occur. When specific road and environmental
conditions require increased levels of road traction, the
vehicle automatically shifts into AWD mode. Automatic
AWD operation could be activated by outside tempera-
ture, wheel slip, or other predetermined conditions (there
may be a slight delay for AWD engagement after a wheel
slip condition occurs). AWD can also be manually se-
lected by moving the shift lever into the AutoStick�mode
(+/-) or activating the windshield wipers for an extended
period of time. Drive mode, RWD or AWD, is displayed
momentarily in the Electronic Vehicle Information Center
(EVIC) in the gage area of the vehicle display when the
transmission is first shifted into gear, and if the drive
mode changes during vehicle operation.
NOTE: If the “t CASE” or “SERVICE AWD SYSTEM”
warning message appears after engine start up, or during driving, it means that the AWD system is not functioning
properly and that service is required. Refer to “Electronic
Vehicle Information Center (EVIC)” in “Understanding
Your Instrument Panel” for further information.
CAUTION!
All wheels must have the same size and type tires.
Unequal tire sizes must not be used. Unequal tire
size may cause failure of the front differential and/or
the transfer case.
DRIVING ON SLIPPERY SURFACES
Acceleration
Rapid acceleration on snow covered, wet, or other slip-
pery surfaces may cause the rear wheels to pull errati-
cally to the right or left. This phenomenon occurs when
there is a difference in the surface traction under the rear
(driving) wheels.
330 STARTING AND OPERATING
Page 337 of 538

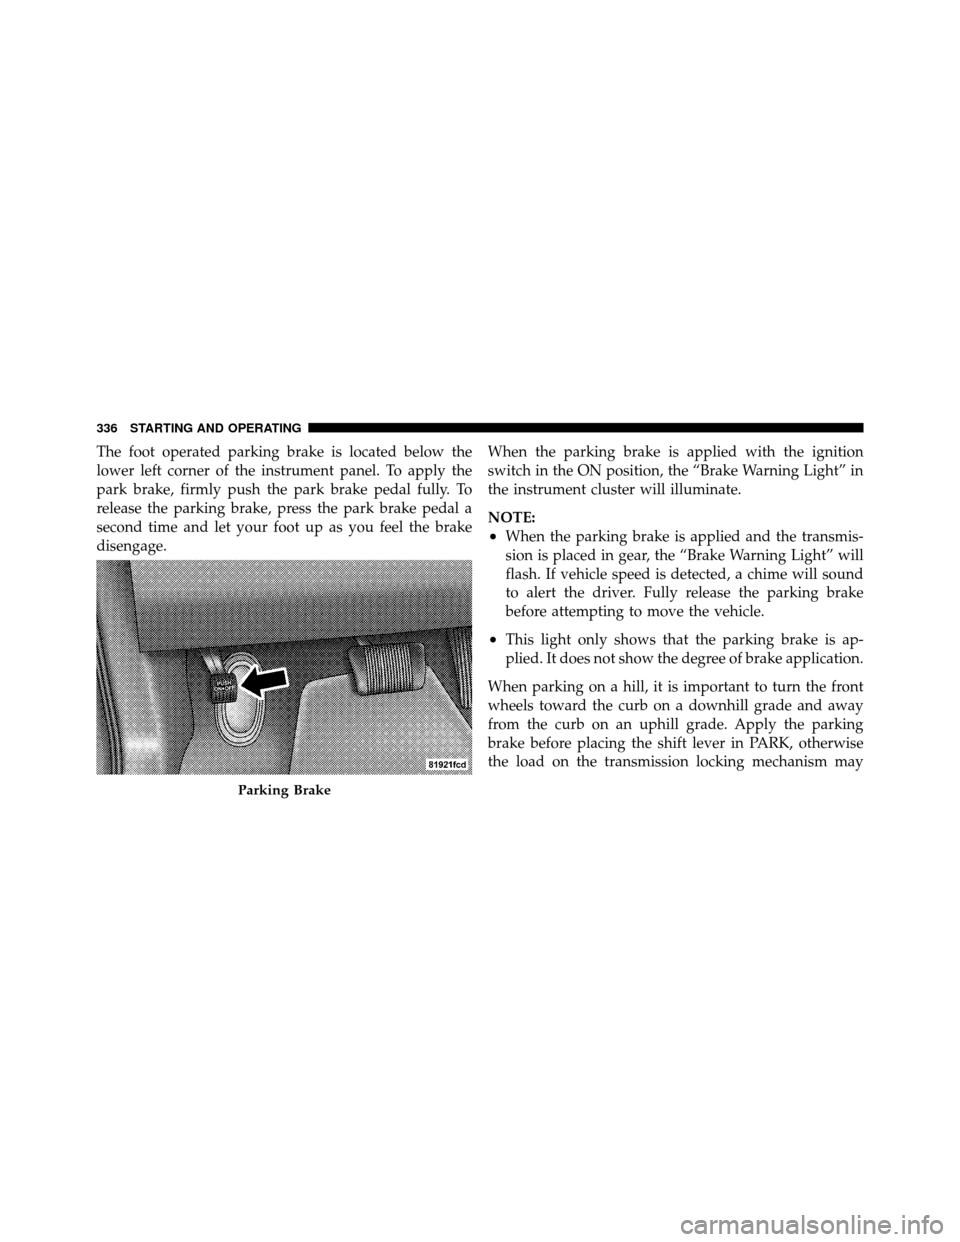
The foot operated parking brake is located below the
lower left corner of the instrument panel. To apply the
park brake, firmly push the park brake pedal fully. To
release the parking brake, press the park brake pedal a
second time and let your foot up as you feel the brake
disengage.When the parking brake is applied with the ignition
switch in the ON position, the “Brake Warning Light” in
the instrument cluster will illuminate.
NOTE:
•When the parking brake is applied and the transmis-
sion is placed in gear, the “Brake Warning Light” will
flash. If vehicle speed is detected, a chime will sound
to alert the driver. Fully release the parking brake
before attempting to move the vehicle.
•This light only shows that the parking brake is ap-
plied. It does not show the degree of brake application.
When parking on a hill, it is important to turn the front
wheels toward the curb on a downhill grade and away
from the curb on an uphill grade. Apply the parking
brake before placing the shift lever in PARK, otherwise
the load on the transmission locking mechanism may
Parking Brake
336 STARTING AND OPERATING