2010 CHEVROLET SUBURBAN light
[x] Cancel search: lightPage 232 of 608
Auxiliary Roof-Mounted Lamp
If the vehicle has this feature, this button includes wiring
provisions for a dealer or a qualified service center to
install an auxiliary roof lamp.
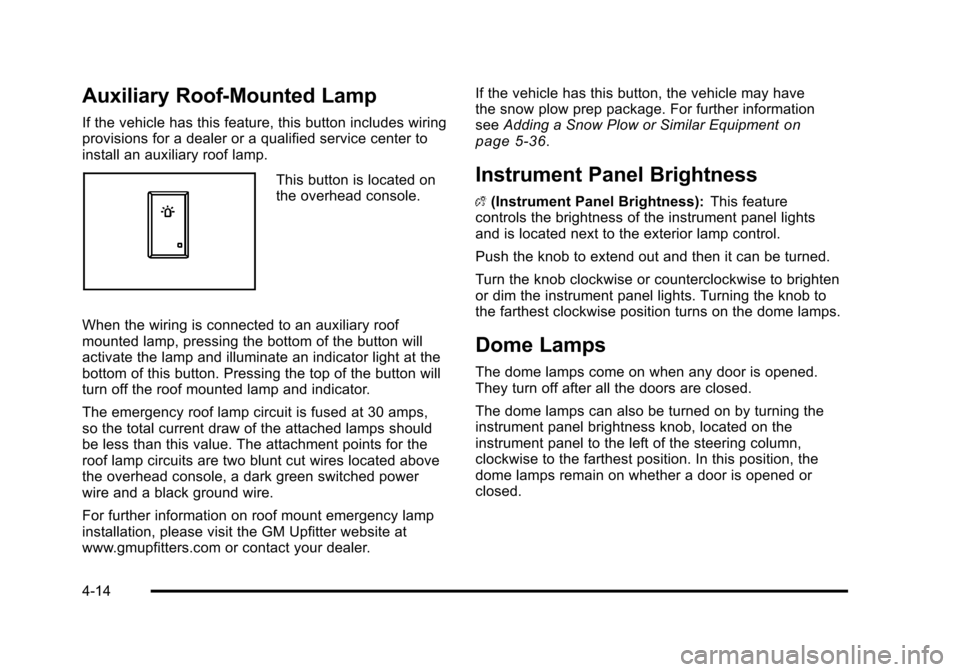
This button is located on
the overhead console.
When the wiring is connected to an auxiliary roof
mounted lamp, pressing the bottom of the button will
activate the lamp and illuminate an indicator light at the
bottom of this button. Pressing the top of the button will
turn off the roof mounted lamp and indicator.
The emergency roof lamp circuit is fused at 30 amps,
so the total current draw of the attached lamps should
be less than this value. The attachment points for the
roof lamp circuits are two blunt cut wires located above
the overhead console, a dark green switched power
wire and a black ground wire.
For further information on roof mount emergency lamp
installation, please visit the GM Upfitter website at
www.gmupfitters.com or contact your dealer. If the vehicle has this button, the vehicle may have
the snow plow prep package. For further information
see
Adding a Snow Plow or Similar Equipment
on
page 5‑36.
Instrument Panel Brightness
D (Instrument Panel Brightness): This feature
controls the brightness of the instrument panel lights
and is located next to the exterior lamp control.
Push the knob to extend out and then it can be turned.
Turn the knob clockwise or counterclockwise to brighten
or dim the instrument panel lights. Turning the knob to
the farthest clockwise position turns on the dome lamps.
Dome Lamps
The dome lamps come on when any door is opened.
They turn off after all the doors are closed.
The dome lamps can also be turned on by turning the
instrument panel brightness knob, located on the
instrument panel to the left of the steering column,
clockwise to the farthest position. In this position, the
dome lamps remain on whether a door is opened or
closed.
4-14
Page 233 of 608
Dome Lamp Override
The dome lamp override button is located next to the
exterior lamps control.
k(Dome Off):Press the button in and the dome
lamps remain off when a door is opened. Press the
button again to return it to the extended position so that
the dome lamps come on when a door is opened.
Entry Lighting
The vehicle has an illuminated entry feature.
When the doors are opened, the dome lamps will
come on if the dome override button is in the extended
position. If the dome override button is pressed in, the
lamps will not come on.
Exit Lighting
The interior lamps come on when the key is removed
from the ignition. They turn off automatically in
20 seconds. The lights do not come on if the dome
override button is pressed in.
Reading Lamps
For vehicles with reading lamps they are located on the
overhead console.
To turn on the reading lamps, press the button located
next to each lamp. To turn them off, press the button
again.
The vehicle may also have reading lamps in other
locations. To turn the lamps on or off, press the button
located next to the lamp.
The lamps are fixed and cannot be adjusted.
Electric Power Management
The vehicle has Electric Power Management (EPM) that
estimates the battery's temperature and state of charge.
It then adjusts the voltage for best performance and
extended life of the battery.
When the battery's state of charge is low, the voltage
is raised slightly to quickly bring the charge back up.
When the state of charge is high, the voltage is lowered
slightly to prevent overcharging. If the vehicle has a
voltmeter gauge or a voltage display on the Driver
Information Center (DIC), you may see the voltage
move up or down. This is normal. If there is a problem,
an alert will be displayed.
4-15
Page 235 of 608
Certain accessory plugs may not be compatible to the
accessory power outlet and could result in blown
adapter or vehicle fuses. If you experience a problem,
see your dealer for additional information on the
accessory power plugs.
Notice:Adding any electrical equipment to the
vehicle can damage it or keep other components
from working as they should. The repairs would not
be covered by the vehicle warranty. Do not use
equipment exceeding maximum amperage rating of
20 amperes. Check with your dealer before adding
electrical equipment.
When adding electrical equipment, be sure to follow
the proper installation instructions included with the
equipment. Do not use equipment exceeding the
maximum amperage rating of 20 amperes.
Notice: Improper use of the power outlet can cause
damage not covered by the vehicle warranty. Do not
hang any type of accessory or accessory bracket
from the plug because the power outlets are
designed for accessory power plugs only.Ashtray(s) and Cigarette Lighter
The front ashtray is located near the center of the
instrument panel or on the front console, if equipped.
Pull on the ashtray door to open it.
Notice: If papers, pins, or other flammable items are
put in the ashtray, hot cigarettes or other smoking
materials could ignite them and possibly damage
the vehicle. Never put flammable items in the
ashtray.
To remove the front ashtray pull the ashtray up.
To use the cigarette lighter, push it in all the way, and let
go. When it is ready, it will pop back out by itself.
Notice: Holding a cigarette lighter in while it is
heating does not let the lighter back away from the
heating element when it is hot. Damage from
overheating can occur to the lighter or heating
element, or a fuse could be blown. Do not hold a
cigarette lighter in while it is heating.
4-17
Page 237 of 608

-(Defog):The defog mode is used to clear the
windows of fog or moisture. Air is directed to the
windshield, floor outlets, and side window vents. In this
mode, the system turns off recirculation and runs the air
conditioning compressor unless the outside temperature
is close to freezing. The recirculation mode cannot be
selected while in the defog mode.
0(Defrost): The defrost mode is used to remove fog
or frost from the windshield more quickly. Air is directed
to the windshield and side window vents, with some
directed to the floor vents. In this mode, the system
automatically forces outside air into the vehicle. The
recirculation mode cannot be selected while in the
defrost mode. The air conditioning compressor runs
automatically in this setting, unless the outside
temperature is close to freezing.
Do not drive the vehicle until all the windows are clear.
#(Air Conditioning): Press this button to turn the air
conditioning system on or off. An indicator light comes
on to show that the air conditioning is on. The air
conditioning can be selected in any mode as long as
the fan switch is on.
On hot days, open the windows to let hot inside air
escape; then close them. This helps to reduce the time
it takes for the vehicle to cool down. It also helps the
system to operate more efficiently. The air conditioning system removes moisture from the
air, so a small amount of water might drip under the
vehicle while idling or after turning off the engine. This
is normal.
h(Recirculation):
Press this button to turn the
recirculation mode on or off. An indicator light comes on
to show that recirculation is on.
This mode recirculates and helps to quickly cool the
air inside the vehicle. It can be used to help prevent
outside air and odors from entering the vehicle.
The recirculation mode cannot be used with floor,
defrost, or defogging modes. If recirculation is
selected while in one of those modes, the indicator
flashes three times and turns off. The air conditioning
compressor will also come on when this mode is
activated. While in recirculation mode the windows
may fog when the weather is cold and damp. To clear
the fog, select either the defog or defrost mode and
increase the fan speed. The recirculation mode can also
be turned off by turning off the engine.
REAR: Press to turn the rear heating and air
conditioning on. See Rear Air Conditioning and Heating
System
on page 4‑26or Rear Air Conditioning and
Heating System and Electronic Climate Controlson
page 4‑28for more information.
4-19
Page 240 of 608

Automatic Operation
AUTO (Automatic):When automatic operation is active
the system will control the inside temperature, the air
delivery, and the fan speed.
Use the steps below to place the entire system in
automatic mode:
1. Press the AUTO button. When AUTO is selected, the display will change to
show the current temperature(s) and AUTO will be
lit on the display. The current delivery mode and
fan speed will also be displayed for approximately
5 seconds.
When AUTO is selected, the air conditioning
operation and air inlet will be automatically
controlled. The air conditioning compressor will
run when the outside temperature is over about
4°C (40°F). The air inlet will normally be set to
outside air. If it is hot outside, the air inlet may
automatically switch to recirculate inside air to
help quickly cool down the vehicle. The light on
the button comes on in recirculation. 2. Set the driver's and passenger's temperature.
To find your comfort setting, start with a 23°C
(74°F) temperature setting and allow about
20 minutes for the system to regulate. Use the
driver's or passenger's temperature buttons to
adjust the temperature setting as necessary. If a
temperature setting of 15°C (60°F) is chosen, the
system remains at the maximum cooling setting.
If a temperature setting of 32°C (90°F) is chosen,
the system remains at the maximum heat setting.
Choosing either maximum setting will not cause
the vehicle to heat or cool any faster.
Do not to cover the solar sensor located on the top of
the instrument panel near the windshield. This sensor
regulates air temperature based on sun load and also
turns on the headlamps. For more information on the
solar sensor, see “Sensors”later in this section.
To avoid blowing cold air in cold weather, the system
will delay turning on the fan until warm air is available.
The length of delay depends on the engine coolant
temperature. Pressing the fan switch will override this
delay and change the fan to a selected speed.
4-22
Page 241 of 608
Manual Operation
D C(Fan Control):Press these buttons to increase or
decrease the fan speed.
Pressing either fan button while in automatic control
places the fan under manual control. The fan setting
remains displayed and the AUTO light turns off. The air
delivery mode remains under automatic control.
H G(Air Delivery Mode Control): Press these buttons
to change the direction of the airflow in the vehicle.
Repeatedly press either button until the desired mode
appears on the display. Pressing either mode button
while the system is off changes the air delivery mode
without turning the system on. Pressing either mode
button while in automatic control places the mode under
manual control.
The air delivery mode setting is displayed and the
AUTO light turns off. The fan remains under automatic
control.
H(Vent): Air is directed to the instrument panel
outlets.
)(Bi-Level): Air is divided between the instrument
panel and floor outlets. Some air is directed towards the
windshield and side window outlets.
6(Floor): Air is directed to the floor outlets, with some
to the windshield, side window outlets, and second row
floor outlets. In this mode, the system automatically
selects outside air.
-(Defog): This mode clears the windows of fog or
moisture. Air is directed to the windshield, floor outlets,
and side window vents. In this mode, the system
turns off recirculation and runs the air conditioning
compressor unless the outside temperature is close to
freezing. The recirculation mode cannot be selected
while in the defog mode.
0(Defrost): This mode removes fog or frost from
the windshield more quickly. Air is directed to the
windshield and side window vents, with some
directed to the floor vents. In this mode, the system
automatically forces outside air into the vehicle and
runs the air conditioning compressor unless the outside
temperature is close to freezing. The recirculation mode
cannot be selected while in the defrost mode.
The passenger temperature control cannot be activated
while in defrost mode. If the PASS button is pressed,
the button indicator flashes three times and will not
work. If the passenger temperature buttons are
adjusted, the driver temperature indicator changes.
The passenger temperature will not be displayed.
If vent, bi-level, or floor mode is selected again, the
climate control system displays the previous
temperature settings.
Do not drive the vehicle until all the windows are clear.
4-23
Page 242 of 608
#(Air Conditioning):Press to turn the air
conditioning (A/C) compressor on and off. An indicator
light comes on to show that the air conditioning is on.
If this button is pressed when the air conditioning
compressor is unavailable, the indicator flashes
three times and then turns off. If the air conditioning
is on and the outside temperature drops below a
temperature which is too cool for air conditioning to
be effective, the air conditioning light turns off to show
that the air conditioning mode has been canceled.
On hot days, open the windows long enough to let hot
inside air escape. This helps to reduce the time it takes
for the vehicle to cool down. It also helps the system to
operate more efficiently.
The air conditioning system removes moisture from the
air, so a small amount of water might drip under the
vehicle while idling or after turning off the engine. This
is normal.
@(Recirculation): Press to turn the recirculation
mode on or off. An indicator light comes on to show that
the recirculation is on.
This mode recirculates and helps to quickly cool the
air inside the vehicle. It can be used to help prevent
outside air and odors from entering the vehicle. The recirculation mode cannot be used with floor, defog,
or defrost modes. If recirculation is selected with one of
those modes, the indicator light flashes three times and
then turns off. The air conditioning compressor also
comes on when this mode is activated. While in
recirculation mode the windows may fog when the
weather is cold and damp. To clear the fog, select either
the defog or defrost mode and increase the fan speed.
The recirculation mode can also be turned off by turning
off the ignition.
REAR:
For vehicles with the rear heat and air
conditioning controls. Press to turn the rear climate
control system on or off. See Rear Air Conditioning and
Heating System and Electronic Climate Controls
on
page 4‑28.
Rear Window Defogger
The rear window defogger uses a warming grid to
remove fog from the rear window.
<(Rear Window Defogger): Press to turn the rear
window defogger on or off. It automatically turns off
several minutes after it has been activated. The
defogger can also be turned off by turning off the
engine. Do not drive the vehicle until all the windows
are clear.
4-24
Page 247 of 608
Automatic Operation, If Equipped.
AUTO:Press the air delivery mode button until this
setting is selected to control the inside temperature, air
delivery, and fan speed. AUTO appears in the display
when automatic operation is active.
+/− (Increase/Decrease Temperature) : Press
the + or −buttons to increase or decrease the cabin
temperature. The rear control temperature display will
show the temperature setting increasing or decreasing.
The display only indicates climate control functions
when the system is in rear independent mode.
Manual Operation
D C(Fan Control): Press these buttons on the rear
seat audio control panel to increase or decrease the
airflow. Pressing the fan up button when the system is
off will turn the system on. The air delivery mode will
remain under automatic control.
+/− (Temperature Control): Press these buttons to
adjust the temperature of the air flowing into the
passenger area. Press the + button for warmer air
and press the −button for cooler air.
N(Air Delivery Mode Control): Press the mode
button to change the direction of the airflow in the
vehicle. Repeatedly press the button until the desired
mode appears on the display. Multiple presses will cycle
through the delivery selections.
Warning Lights, Gauges, and
Indicators
Warning lights and gauges can signal that something is
wrong before it becomes serious enough to cause an
expensive repair or replacement. Paying attention to the
warning lights and gauges could prevent injury.
Warning lights come on when there might be or there is
a problem with one of the vehicle's functions. Some
warning lights come on briefly when the engine is
started to indicate they are working.
Gauges can indicate when there might be or there is
a problem with one of the vehicle's functions. Often
gauges and warning lights work together to indicate a
problem with the vehicle.
When one of the warning lights comes on and stays on
while driving, or when one of the gauges shows there
could be a problem, check the section that explains
what to do. Follow this manual's advice. Waiting to do
repairs can be costly and even dangerous.
4-29