2010 CHEVROLET SUBURBAN warning light
[x] Cancel search: warning lightPage 385 of 608
WARNING: (Continued)
For more information about carbon monoxide, see
Engine Exhaust on page 3‑50.
Snow can trap exhaust gases under your vehicle.
This can cause deadly CO (carbon monoxide) gas
to get inside. CO could overcome you and kill you.
You cannot see it or smell it, so you might not
know it is in your vehicle. Clear away snow from
around the base of your vehicle, especially any
that is blocking the exhaust.
Run the engine for short periods only as needed to
keep warm, but be careful.
To save fuel, run the engine for only short periods as
needed to warm the vehicle and then shut the engine
off and close the window most of the way to save heat.
Repeat this until help arrives but only when you feel
really uncomfortable from the cold. Moving about to
keep warm also helps.
If it takes some time for help to arrive, now and then
when you run the engine, push the accelerator pedal
slightly so the engine runs faster than the idle speed.
This keeps the battery charged to restart the vehicle
and to signal for help with the headlamps. Do this as
little as possible to save fuel.
If Your Vehicle is Stuck in Sand,
Mud, Ice, or Snow
Slowly and cautiously spin the wheels to free the
vehicle when stuck in sand, mud, ice, or snow. See
Rocking Your Vehicle to Get It Out on page 5‑28.
If the vehicle has a traction system, it can often help
to free a stuck vehicle. Refer to the vehicle's traction
system in the Index. If stuck too severely for the traction
system to free the vehicle, turn the traction system off
and use the rocking method.
{WARNING:
If the vehicle's tires spin at high speed, they can
explode, and you or others could be injured.
The vehicle can overheat, causing an engine
compartment fire or other damage. Spin the
wheels as little as possible and avoid going above
55 km/h (35 mph) as shown on the speedometer.
For information about using tire chains on the vehicle,
see Tire Chains on page 6‑86.
5-27
Page 386 of 608
Rocking Your Vehicle to Get It Out
Turn the steering wheel left and right to clear the area
around the front wheels. For four-wheel-drive vehicles,
shift into Four‐Wheel High or, if the vehicle has a
two‐speed automatic transfer case, Four‐Wheel Low.
For vehicles with StabiliTrak
®, turn the traction control
part of the system off. Shift back and forth between
R (Reverse) and a forward gear, spinning the wheels as
little as possible. To prevent transmission wear, wait
until the wheels stop spinning before shifting gears.
Release the accelerator pedal while shifting, and press
lightly on the accelerator pedal when the transmission is
in gear. Slowly spinning the wheels in the forward and
reverse directions causes a rocking motion that could
free the vehicle. If that does not get the vehicle out after
a few tries, it might need to be towed out. Recovery
hooks can be used, if the vehicle has them. If the
vehicle does need to be towed out, see Towing Your
Vehicle on page 5‑40.
Recovery Hooks
{WARNING:
These hooks, when used, are under a lot of force.
Always pull the vehicle straight out. Never pull on
the hooks at a sideways angle. The hooks could
break off and you or others could be injured from
the chain or cable snapping back.
5-28
Page 404 of 608
6. Use an adequate clamping device designed fortowing to ensure that the front wheels are locked
into the straight position.
{WARNING:
Shifting a four-wheel-drive vehicle's transfer case
into N (Neutral) can cause the vehicle to roll even
if the transmission is in P (Park). The driver or
others could be injured. Make sure the parking
brake is firmly set before the transfer case is
shifted to N (Neutral).
7. Shift the transfer case to N (Neutral). See “Shifting
into N (Neutral)” under“Four-Wheel Drive”.
8. Turn the ignition to LOCK/OFF.
After towing, see “Shifting Out of N (Neutral)” under
“Four-Wheel Drive”.
Level Control
Automatic Level Control
The automatic level control rear suspension is available
on light‐duty vehicles and comes as a part of the
Autoride
®suspension, if equipped. This type of level control is fully automatic and will
provide a better leveled riding position as well as better
handling under a variety of passenger and loading
conditions. An air compressor connected to the rear
shocks will raise or lower the rear of the vehicle to
maintain proper vehicle height. The system is activated
when the ignition key is turned to ON/RUN and will
automatically adjust vehicle height thereafter. The
system may exhaust (lower vehicle height) for up to
ten minutes after the ignition key has been turned off.
You may hear the air compressor operating when the
height is being adjusted.
If a weight‐distributing hitch is being used, it is
recommended to allow the shocks to inflate, thereby
leveling the vehicle prior to adjusting the hitch.
Autoride®
With this feature, improved vehicle ride and handling is
provided under a variety of passenger and loading
conditions.
The system is fully automatic and uses a computer
controller to continuously monitor vehicle speed, wheel
to body position, lift/dive and steering position of the
vehicle. The controller then sends signals to each shock
absorber to independently adjust the damping level to
provide the optimum vehicle ride.
5-46
Page 439 of 608
If the vehicle has a Driver Information Center (DIC), the
TIGHTEN GAS CAP message displays if the fuel cap is
not properly installed.
{WARNING:
If a fire starts while you are refueling, do not
remove the nozzle. Shut off the flow of fuel by
shutting off the pump or by notifying the station
attendant. Leave the area immediately.
Notice: If you need a new fuel cap, be sure to get
the right type. Your dealer can get one for you.
If you get the wrong type, it may not fit properly.
This may cause the malfunction indicator lamp to
light and may damage the fuel tank and emissions
system. See Malfunction Indicator Lamp
on
page 4‑39.
Filling a Portable Fuel Container
{WARNING:
Never fill a portable fuel container while it is in
the vehicle. Static electricity discharge from the
container can ignite the fuel vapor. You can be
badly burned and the vehicle damaged if this
occurs. To help avoid injury to you and others:
.Dispense fuel only into approved containers.
.Do not fill a container while it is inside a
vehicle, in a vehicle's trunk, pickup bed, or on
any surface other than the ground.
.Bring the fill nozzle in contact with the inside
of the fill opening before operating the nozzle.
Contact should be maintained until the filling is
complete.
.Do not smoke while pumping fuel.
.Do not use a cellular phone while
pumping fuel.
6-13
Page 447 of 608
On all vehicles, the Engine Oil Life System can be reset
as follows:1. Turn the ignition to ON/RUN with the engine off
2. Fully press the accelerator pedal slowly three times within five seconds.
3. Display the OIL LIFE REMAINING on the DIC. If the display shows 100%, the system is reset.
See DIC Operation and Displays (With DIC
Buttons)
on page 4‑47or DIC Operation and
Displays (Without DIC Buttons) on page 4‑55.
If the vehicle has a CHANGE ENGINE OIL SOON
message and it comes back on when the vehicle is
started and/or the OIL LIFE REMAINING is near 0%,
the Engine Oil Life System has not reset. Repeat the
procedure.
What to Do with Used Oil
Used engine oil contains certain elements that can be
unhealthy for your skin and could even cause cancer.
Do not let used oil stay on your skin for very long. Clean
your skin and nails with soap and water, or a good hand
cleaner. Wash or properly dispose of clothing or rags
containing used engine oil. See the manufacturer's
warnings about the use and disposal of oil products. Used oil can be a threat to the environment. If you
change your own oil, be sure to drain all the oil from the
filter before disposal. Never dispose of oil by putting it in
the trash, pouring it on the ground, into sewers, or into
streams or bodies of water. Recycle it by taking it to a
place that collects used oil.
Engine Air Cleaner/Filter
See
Engine Compartment Overviewon page 6‑16for
the location of the engine air cleaner/filter.
Inspect the air cleaner/filter at the Maintenance II
intervals and replace it at the first oil change after each
50,000 mile (80 000 km) interval. See Scheduled
Maintenance
on page 7‑3for more information.
If driving on dusty/dirty conditions, inspect the filter at
each engine oil change.
How to Inspect the Engine Air
Cleaner/Filter
To inspect the air cleaner/filter, remove the engine
air cleaner/filter from the vehicle by following
Steps 1 through 6. When the engine air cleaner/filter
is removed, lightly shake it to release loose dust and
dirt. If the engine air cleaner/filter remains caked with
dirt, a new filter is required.
6-21
Page 468 of 608
Brakes
Brake Fluid
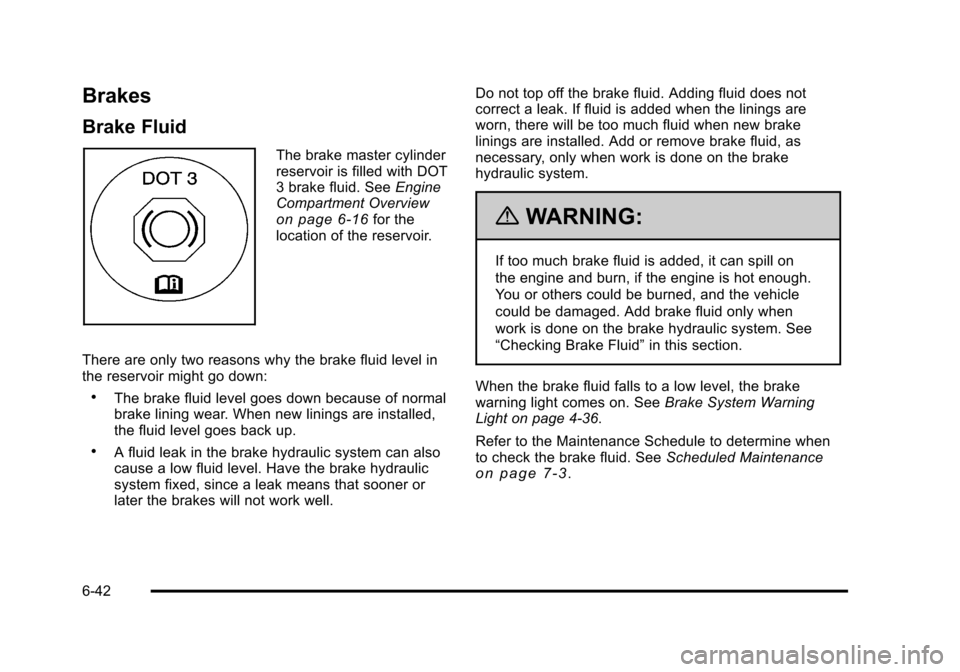
The brake master cylinder
reservoir is filled with DOT
3 brake fluid. SeeEngine
Compartment Overview
on page 6‑16for the
location of the reservoir.
There are only two reasons why the brake fluid level in
the reservoir might go down:
.The brake fluid level goes down because of normal
brake lining wear. When new linings are installed,
the fluid level goes back up.
.A fluid leak in the brake hydraulic system can also
cause a low fluid level. Have the brake hydraulic
system fixed, since a leak means that sooner or
later the brakes will not work well. Do not top off the brake fluid. Adding fluid does not
correct a leak. If fluid is added when the linings are
worn, there will be too much fluid when new brake
linings are installed. Add or remove brake fluid, as
necessary, only when work is done on the brake
hydraulic system.
{WARNING:
If too much brake fluid is added, it can spill on
the engine and burn, if the engine is hot enough.
You or others could be burned, and the vehicle
could be damaged. Add brake fluid only when
work is done on the brake hydraulic system. See
“Checking Brake Fluid”
in this section.
When the brake fluid falls to a low level, the brake
warning light comes on. See Brake System Warning
Light on page 4‑36.
Refer to the Maintenance Schedule to determine when
to check the brake fluid. See Scheduled Maintenance
on page 7‑3.
6-42
Page 470 of 608
Brake Wear
This vehicle has disc brakes. Disc brake pads have
built-in wear indicators that make a high-pitched
warning sound when the brake pads are worn and new
pads are needed. The sound can come and go or be
heard all the time the vehicle is moving, except when
applying the brake pedal firmly.
{WARNING:
The brake wear warning sound means that soon
the brakes will not work well. That could lead to
an accident. When the brake wear warning sound
is heard, have the vehicle serviced.
Notice: Continuing to drive with worn-out brake
pads could result in costly brake repair. Some driving conditions or climates can cause a brake
squeal when the brakes are first applied or lightly
applied. This does not mean something is wrong with
the brakes.
Properly torqued wheel nuts are necessary to help
prevent brake pulsation. When tires are rotated, inspect
brake pads for wear and evenly tighten wheel nuts in
the proper sequence to torque specifications in
Capacities and Specifications on page 6‑125.
Brake linings should always be replaced as complete
axle sets.Brake Pedal Travel
See your dealer if the brake pedal does not return to
normal height, or if there is a rapid increase in pedal
travel. This could be a sign that brake service might be
required.
Brake Adjustment
Every brake stop, the disc brakes adjust for wear.
6-44
Page 474 of 608
SeeEngine Compartment Overviewon page 6‑16for more information on the location of the remote
positive (+) and remote negative (−) terminals.
{WARNING:
An electric fan can start up even when the engine
is not running and can injure you. Keep hands,
clothing and tools away from any underhood
electric fan.
{WARNING:
Using an open flame near a battery can cause
battery gas to explode. People have been hurt
doing this, and some have been blinded. Use a
flashlight if you need more light.
(Continued)
WARNING: (Continued)
Be sure the battery has enough water. You do not
need to add water to the battery installed in your
new vehicle. But if a battery has filler caps, be
sure the right amount of fluid is there. If it is low,
add water to take care of that first. If you do not,
explosive gas could be present.
Battery fluid contains acid that can burn you. Do
not get it on you. If you accidentally get it in your
eyes or on your skin, flush the place with water
and get medical help immediately.
6-48