2010 CHEVROLET SILVERADO ECO mode
[x] Cancel search: ECO modePage 410 of 626
Towing
Towing Your Vehicle
To avoid damage, the disabled vehicle should be towed
with all four wheels off the ground. Consult your dealer
or a professional towing service if the disabled vehicle
must be towed. SeeRoadside Assistance Program
on
page 8‑7.
To tow the vehicle behind another vehicle for
recreational purposes, such as behind a motorhome,
see “Recreational Vehicle Towing” following.
Recreational Vehicle Towing
If the vehicle has a two–mode hybrid engine, see the
Two–mode Hybrid manual for more information.
Recreational vehicle towing means towing the vehicle
behind another vehicle–such as behind a motorhome.
The two most common types of recreational vehicle
towing are known as dinghy towing and dolly towing.
Dinghy towing is towing the vehicle with all four wheels
on the ground. Dolly towing is towing the vehicle with
two wheels on the ground and two wheels up on a
device known as a dolly. Here are some important things to consider before
recreational vehicle towing:
.What is the towing capacity of the towing vehicle?
Be sure to read the tow vehicle manufacturer's
recommendations.
.What is the distance that will be travelled? Some
vehicles have restrictions on how far and how long
they can tow.
.Is the proper towing equipment going to be used?
See your dealer or trailering professional for
additional advice and equipment
recommendations.
.Is the vehicle ready to be towed? Just as preparing
the vehicle for a long trip, make sure the vehicle is
prepared to be towed. See
Before Leaving on a
Long Trip on page 5‑23.
5-44
Page 417 of 626
Towing a Trailer
If the vehicle has a diesel engine, see the DURAMAX®
Diesel manual for more information.
If the vehicle has a two–mode hybrid engine, see the
Two–mode Hybrid manual for more information.
Do not tow a trailer during break‐in. SeeNew Vehicle
Break-In
on page 3‑21for more information.
{WARNING:
The driver can lose control when pulling a trailer if
the correct equipment is not used or the vehicle is
not driven properly. For example, if the trailer is
too heavy, the brakes may not work well or even
at all. The driver and passengers could be
seriously injured. The vehicle may also be
damaged; the resulting repairs would not be
covered by the vehicle warranty. Pull a trailer only
if all the steps in this section have been followed.
Ask your dealer for advice and information about
towing a trailer with the vehicle. Notice:
Pulling a trailer improperly can damage the
vehicle and result in costly repairs not covered by
the vehicle warranty. To pull a trailer correctly,
follow the advice in this section and see your dealer
for important information about towing a trailer with
the vehicle.
To identify the trailering capacity of the vehicle, read the
information in “Weight of the Trailer” that appears later
in this section.
Trailering is different than just driving the vehicle by
itself. Trailering means changes in handling,
acceleration, braking, durability and fuel economy.
Successful, safe trailering takes correct equipment, and
it has to be used properly.
The following information has many time-tested,
important trailering tips and safety rules. Many of these
are important for your safety and that of your
passengers. So please read this section carefully before
pulling a trailer.
5-51
Page 430 of 626
Fifth Wheel and Gooseneck Trailering
Fifth wheel and gooseneck trailers can be used with
many pickup models. These trailers place a
larger percentage of the weight (kingpin weight) on the
tow vehicle than conventional trailers. Make sure this
weight does not cause the vehicle to exceed GAWR
or GVWR.
Fifth wheel or gooseneck kingpin weight should be
15 to 25 percent of the trailer weight up to the maximum
amount specified in the trailering chart for the vehicle.
See“Weight of the Trailer” in this section for more
information.
The hitch should be located in the pickup bed so that its
centerline is over or slightly in front of the rear axle.
Take care that it is not so far forward that it will contact
the back of the cab in sharp turns. This is especially
important for short box pickups. Trailer pin box
extensions and sliding fifth wheel hitch assemblies can
help this condition. There should be at least six inches
of clearance between the top of the pickup box and the
bottom of the trailer shelf that extends over the box.
Make sure the hitch is attached to the tow vehicle frame
rails. Do not use the pickup box for support.
Safety Chains
Always attach chains between the vehicle and the
trailer. Cross the safety chains under the tongue of the
trailer to help prevent the tongue from contacting the
road if it becomes separated from the hitch. Instructions
about safety chains may be provided by the hitch
manufacturer or by the trailer manufacturer. If the trailer
being towed weighs up to 5,000 lbs (2 271 kg) with a
factory-installed step bumper, safety chains may be
attached to the attaching points on the bumper,
otherwise, safety chains should be attached to holes on
the trailer hitch platform. Always leave just enough
slack so the combination can turn. Never allow safety
chains to drag on the ground.
Tow/Haul Mode
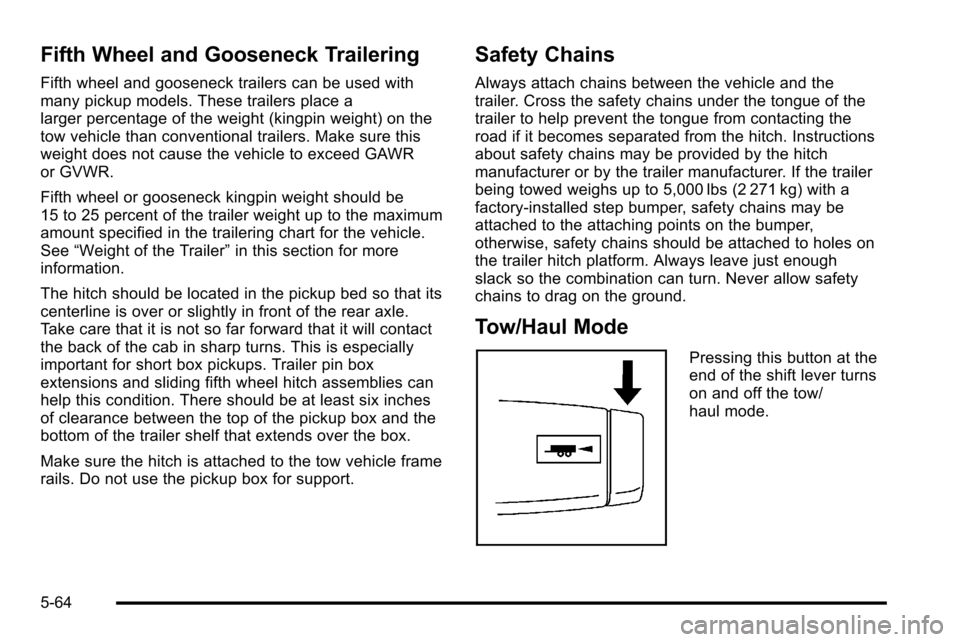
Pressing this button at the
end of the shift lever turns
on and off the tow/
haul mode.
5-64
Page 431 of 626
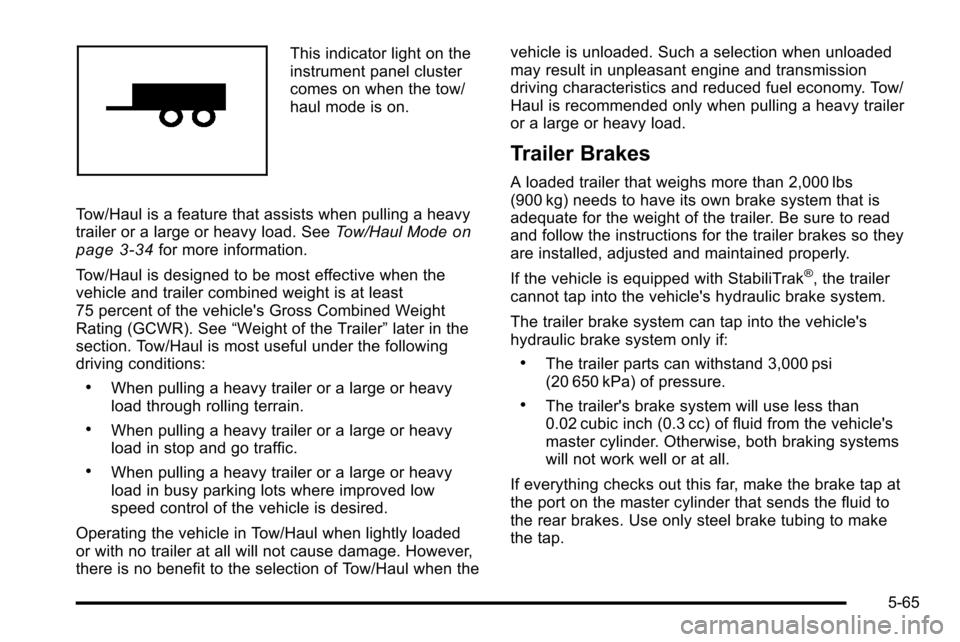
This indicator light on the
instrument panel cluster
comes on when the tow/
haul mode is on.
Tow/Haul is a feature that assists when pulling a heavy
trailer or a large or heavy load. See Tow/Haul Mode
on
page 3‑34for more information.
Tow/Haul is designed to be most effective when the
vehicle and trailer combined weight is at least
75 percent of the vehicle's Gross Combined Weight
Rating (GCWR). See “Weight of the Trailer” later in the
section. Tow/Haul is most useful under the following
driving conditions:
.When pulling a heavy trailer or a large or heavy
load through rolling terrain.
.When pulling a heavy trailer or a large or heavy
load in stop and go traffic.
.When pulling a heavy trailer or a large or heavy
load in busy parking lots where improved low
speed control of the vehicle is desired.
Operating the vehicle in Tow/Haul when lightly loaded
or with no trailer at all will not cause damage. However,
there is no benefit to the selection of Tow/Haul when the vehicle is unloaded. Such a selection when unloaded
may result in unpleasant engine and transmission
driving characteristics and reduced fuel economy. Tow/
Haul is recommended only when pulling a heavy trailer
or a large or heavy load.
Trailer Brakes
A loaded trailer that weighs more than 2,000 lbs
(900 kg) needs to have its own brake system that is
adequate for the weight of the trailer. Be sure to read
and follow the instructions for the trailer brakes so they
are installed, adjusted and maintained properly.
If the vehicle is equipped with StabiliTrak
®, the trailer
cannot tap into the vehicle's hydraulic brake system.
The trailer brake system can tap into the vehicle's
hydraulic brake system only if:
.The trailer parts can withstand 3,000 psi
(20 650 kPa) of pressure.
.The trailer's brake system will use less than
0.02 cubic inch (0.3 cc) of fluid from the vehicle's
master cylinder. Otherwise, both braking systems
will not work well or at all.
If everything checks out this far, make the brake tap at
the port on the master cylinder that sends the fluid to
the rear brakes. Use only steel brake tubing to make
the tap.
5-65
Page 442 of 626
Heavy-DutyTrailer Wiring Harness
Package
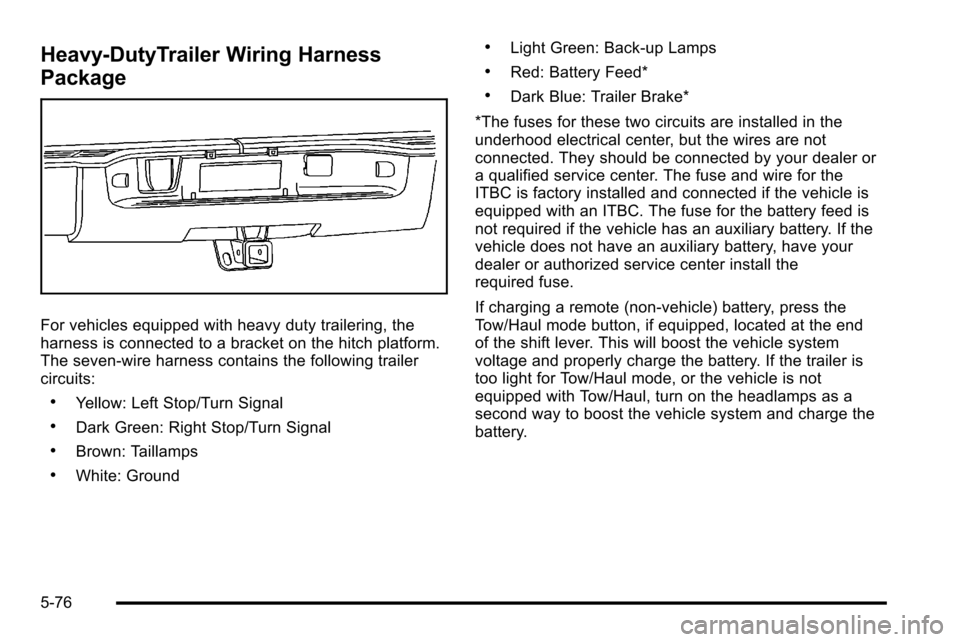
For vehicles equipped with heavy duty trailering, the
harness is connected to a bracket on the hitch platform.
The seven-wire harness contains the following trailer
circuits:
.Yellow: Left Stop/Turn Signal
.Dark Green: Right Stop/Turn Signal
.Brown: Taillamps
.White: Ground
.Light Green: Back-up Lamps
.Red: Battery Feed*
.Dark Blue: Trailer Brake*
*The fuses for these two circuits are installed in the
underhood electrical center, but the wires are not
connected. They should be connected by your dealer or
a qualified service center. The fuse and wire for the
ITBC is factory installed and connected if the vehicle is
equipped with an ITBC. The fuse for the battery feed is
not required if the vehicle has an auxiliary battery. If the
vehicle does not have an auxiliary battery, have your
dealer or authorized service center install the
required fuse.
If charging a remote (non-vehicle) battery, press the
Tow/Haul mode button, if equipped, located at the end
of the shift lever. This will boost the vehicle system
voltage and properly charge the battery. If the trailer is
too light for Tow/Haul mode, or the vehicle is not
equipped with Tow/Haul, turn on the headlamps as a
second way to boost the vehicle system and charge the
battery.
5-76
Page 456 of 626
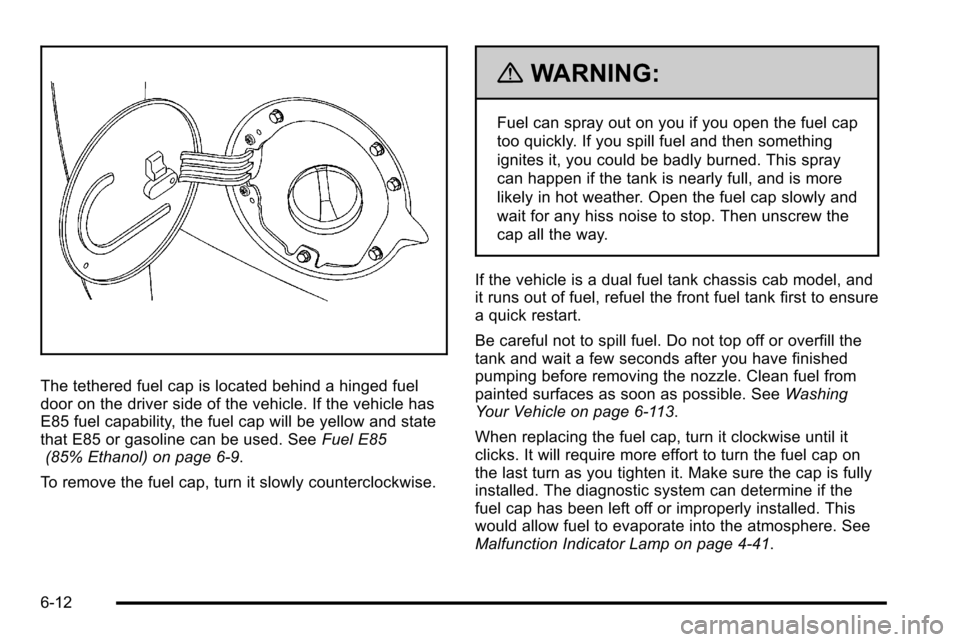
The tethered fuel cap is located behind a hinged fuel
door on the driver side of the vehicle. If the vehicle has
E85 fuel capability, the fuel cap will be yellow and state
that E85 or gasoline can be used. SeeFuel E85
(85% Ethanol) on page 6‑9.
To remove the fuel cap, turn it slowly counterclockwise.
{WARNING:
Fuel can spray out on you if you open the fuel cap
too quickly. If you spill fuel and then something
ignites it, you could be badly burned. This spray
can happen if the tank is nearly full, and is more
likely in hot weather. Open the fuel cap slowly and
wait for any hiss noise to stop. Then unscrew the
cap all the way.
If the vehicle is a dual fuel tank chassis cab model, and
it runs out of fuel, refuel the front fuel tank first to ensure
a quick restart.
Be careful not to spill fuel. Do not top off or overfill the
tank and wait a few seconds after you have finished
pumping before removing the nozzle. Clean fuel from
painted surfaces as soon as possible. See Washing
Your Vehicle on page 6‑113.
When replacing the fuel cap, turn it clockwise until it
clicks. It will require more effort to turn the fuel cap on
the last turn as you tighten it. Make sure the cap is fully
installed. The diagnostic system can determine if the
fuel cap has been left off or improperly installed. This
would allow fuel to evaporate into the atmosphere. See
Malfunction Indicator Lamp on page 4‑41.
6-12
Page 465 of 626
Always reset the engine oil life to 100% after every oil
change. It will not reset itself. To reset the Engine Oil
Life System on most vehicles:1. Display the OIL LIFE REMAINING on the DIC. If the vehicle does not have DIC buttons, the
vehicle must be in P (Park) to access this display.
See DIC Operation and Displays (With DIC
Buttons)
on page 4‑49or DIC Operation and
Displays (Without DIC Buttons) on page 4‑56.
2. Press and hold the SET/RESET button on the DIC, or the trip odometer reset stem if the vehicle does
not have DIC buttons, for more than five seconds.
The oil life will change to 100%.
On all vehicles, the Engine Oil Life System can be reset
as follows: 1. Turn the ignition to ON/RUN with the engine off
2. Fully press the accelerator pedal slowly three times within five seconds.
3. Display the OIL LIFE REMAINING on the DIC. If the display shows 100%, the system is reset.
See DIC Operation and Displays (With DIC
Buttons)
on page 4‑49or DIC Operation and
Displays (Without DIC Buttons) on page 4‑56. If the vehicle has a CHANGE ENGINE OIL SOON
message and it comes back on when the vehicle is
started and/or the OIL LIFE REMAINING is near 0%,
the Engine Oil Life System has not reset. Repeat the
procedure.
What to Do with Used Oil
Used engine oil contains certain elements that can be
unhealthy for your skin and could even cause cancer.
Do not let used oil stay on your skin for very long. Clean
your skin and nails with soap and water, or a good hand
cleaner. Wash or properly dispose of clothing or rags
containing used engine oil. See the manufacturer's
warnings about the use and disposal of oil products.
Used oil can be a threat to the environment. If you
change your own oil, be sure to drain all the oil from the
filter before disposal. Never dispose of oil by putting it in
the trash, pouring it on the ground, into sewers, or into
streams or bodies of water. Recycle it by taking it to a
place that collects used oil.
Engine Air Cleaner/Filter
If the vehicle has a diesel engine, see
“Pickup Models”
under “Engine Air Cleaner/Filter” in the DURAMAX®
Diesel Supplement for the correct inspection and
replacement procedures.
SeeEngine Compartment Overview
on page 6‑16for
the location of the engine air cleaner/filter.
6-21
Page 481 of 626
Notice:After driving in the overheated engine
protection operating mode, to avoid engine damage,
allow the engine to cool before attempting any
repair. The engine oil will be severely degraded.
Repair the cause of coolant loss, change the oil and
reset the oil life system. See Engine Oil
on
page 6‑18.
Engine Fan Noise
If the vehicle has a clutched engine cooling fan, when
the clutch is engaged, the fan spins faster to provide
more air to cool the engine. In most everyday driving
conditions, the fan is spinning slower and the clutch is
not fully engaged. This improves fuel economy and
reduces fan noise. Under heavy vehicle loading, trailer
towing, and/or high outside temperatures, the fan speed
increases as the clutch more fully engages, so you may
hear an increase in fan noise. This is normal and should
not be mistaken as the transmission slipping or making
extra shifts. It is merely the cooling system functioning
properly. The fan will slow down when additional cooling
is not required and the clutch disengages.
You may also hear this fan noise when you start the
engine. It will go away as the fan clutch partially
disengages.
If the vehicle has electric cooling fans, you may hear
the fans spinning at low speed during most everyday
driving. The fans may turn off if no cooling is required. Under heavy vehicle loading, trailer towing, and/or high
outside temperatures, or if you are operating the air
conditioning system, the fans may change to high
speed and you may hear an increase in fan noise. This
is normal and indicates that the cooling system is
functioning properly. The fans will change to low speed
when additional cooling is no longer required.
Power Steering Fluid
See
Engine Compartment
Overviewon page 6‑16for reservoir location.
When to Check Power Steering Fluid
It is not necessary to regularly check power steering
fluid unless you suspect there is a leak in the system or
you hear an unusual noise. A fluid loss in this system
could indicate a problem. Have the system inspected
and repaired.
6-37