2010 CHEVROLET SILVERADO tires
[x] Cancel search: tiresPage 2 of 626

2010 Chevrolet Silverado Owner ManualM
Headlamp Aiming . . . . . . . . . . . . . . . . . . . . . . . . . . . . . . . 6-54
Bulb Replacement . . . . . . . . . . . . . . . . . . . . . . . . . . . . . . 6-57
Windshield Wiper Blade Replacement . . . . . . . . . . . 6-63
Tires . . . . . . . . . . . . . . . . . . . . . . . . . . . . . . . . . . . . . . . . . . . . 6-64
Appearance Care . . . . . . . . . . . . . . . . . . . . . . . . . . . . . . 6-110
Vehicle Identification . . . . . . . . . . . . . . . . . . . . . . . . . . . 6-117
Electrical System . . . . . . . . . . . . . . . . . . . . . . . . . . . . . . 6-117
Capacities and Specifications . . . . . . . . . . . . . . . . . . 6-126 Maintenance Schedule
. . . . . . . . . . . . . . . . . . . . . . . . . . . 7-1
Maintenance Schedule . . . . . . . . . . . . . . . . . . . . . . . . . . . 7-2
Customer Assistance Information . . . . . . . . . . . . . . . 8-1
Customer Assistance and Information . . . . . . . . . . . . 8-2
Reporting Safety Defects . . . . . . . . . . . . . . . . . . . . . . . . 8-15
Vehicle Data Recording and Privacy . . . . . . . . . . . . . 8-17
Index . . . . . . . . . . . . . . . . . . . . . . . . . . . . . . . . . . . . i-1
Page 38 of 626
Tire Pressure Monitor
This vehicle may have a Tire Pressure Monitor
System (TPMS).
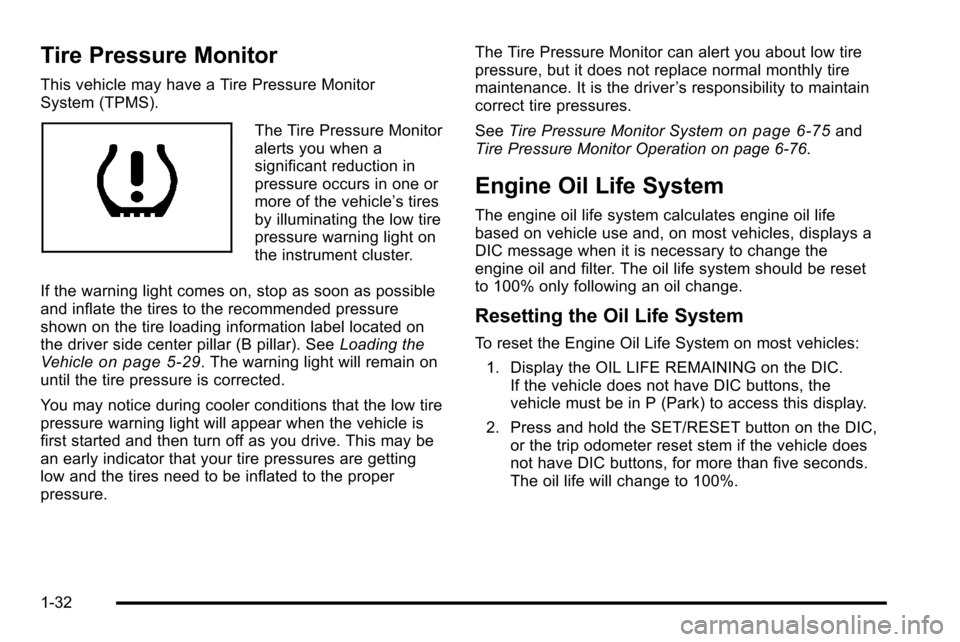
The Tire Pressure Monitor
alerts you when a
significant reduction in
pressure occurs in one or
more of the vehicle’s tires
by illuminating the low tire
pressure warning light on
the instrument cluster.
If the warning light comes on, stop as soon as possible
and inflate the tires to the recommended pressure
shown on the tire loading information label located on
the driver side center pillar (B pillar). See Loading the
Vehicle
on page 5‑29. The warning light will remain on
until the tire pressure is corrected.
You may notice during cooler conditions that the low tire
pressure warning light will appear when the vehicle is
first started and then turn off as you drive. This may be
an early indicator that your tire pressures are getting
low and the tires need to be inflated to the proper
pressure. The Tire Pressure Monitor can alert you about low tire
pressure, but it does not replace normal monthly tire
maintenance. It is the driver
’s responsibility to maintain
correct tire pressures.
See Tire Pressure Monitor System
on page 6‑75and
Tire Pressure Monitor Operation on page 6‑76.
Engine Oil Life System
The engine oil life system calculates engine oil life
based on vehicle use and, on most vehicles, displays a
DIC message when it is necessary to change the
engine oil and filter. The oil life system should be reset
to 100% only following an oil change.
Resetting the Oil Life System
To reset the Engine Oil Life System on most vehicles:
1. Display the OIL LIFE REMAINING on the DIC. If the vehicle does not have DIC buttons, the
vehicle must be in P (Park) to access this display.
2. Press and hold the SET/RESET button on the DIC, or the trip odometer reset stem if the vehicle does
not have DIC buttons, for more than five seconds.
The oil life will change to 100%.
1-32
Page 39 of 626
On all vehicles, the Engine Oil Life System can be reset
as follows:1. Turn the ignition to ON/RUN with the engine off
2. Fully press the accelerator pedal slowly three times within five seconds.
3. Display the OIL LIFE REMAINING on the DIC. If the display shows 100%, the system is reset.
See Engine Oil Life System on page 6‑20.
Fuel E85 (85% Ethanol)
Vehicles that have the 5.3L V8 engine (VIN Code 0), the
5.3L V8 engine (VIN Code 3), the 6.0L V8 engine (VIN
Code J), or the 6.2L V8 engine (VIN Code 2) have a
yellow fuel cap and can use either unleaded gasoline or
ethanol fuel containing up to 85% ethanol (E85). See
Gasoline Octane
on page 6‑7andFuel E85 (85%
Ethanol) on page 6‑9.
Driving for Better Fuel Economy
Driving habits can affect fuel mileage. Here are some
driving tips to get the best fuel economy possible.
.Avoid fast starts and accelerate smoothly.
.Brake gradually and avoid abrupt stops.
.Avoid idling the engine for long periods of time.
.When road and weather conditions are
appropriate, use cruise control, if equipped.
.Always follow posted speed limits or drive more
slowly when conditions require.
.Keep vehicle tires properly inflated.
.Combine several trips into a single trip.
.Replace the vehicle's tires with the same TPC
Spec number molded into the tire's sidewall near
the size.
.Follow recommended scheduled maintenance.
1-33
Page 135 of 626

deployment of the passenger airbag(s) or prevent
the passenger sensing system from properly turning
off the passenger airbag(s). SeePassenger Sensing
System on page 2‑86.
If you have any questions about this, you should
contact Customer Assistance before you modify
your vehicle. The phone numbers and addresses for
Customer Assistance are in Step Two of the
Customer Satisfaction Procedure in this manual.
See Customer Satisfaction Procedure on page 8‑2.
If the vehicle has rollover roof-rail airbags, see
Different Size Tires and Wheels
on page 6‑85for
additional important information.
Q: What if I added a snow plow? Will it keep the airbags from working properly?
A: We have designed our airbag systems to work
properly under a wide range of conditions, including
snow plowing with vehicles that have the optional
Snow Plow Prep Package (RPO VYU). But do not
change or defeat the snow plow's “tripping
mechanism.” If you do, it can damage your snow
plow and your vehicle, and it may cause an airbag
inflation. Q: Because I have a disability, I have to get my
vehicle modified. How can I find out whether this
will affect my airbag system?
A: If you have questions, call Customer Assistance.
The phone numbers and addresses for Customer
Assistance are in Step Two of the Customer
Satisfaction Procedure in this manual. See
Customer Satisfaction Procedure on page 8‑2.
In addition, your dealer and the service manual have
information about the location of the airbag sensors,
sensing and diagnostic module and airbag wiring.
2-93
Page 170 of 626
1 (First):For the Hydra-Matic®4-Speed transmission
this position reduces vehicle speed even more than
2 (Second) without using the brakes. You can use it on
very steep hills, or in deep snow or mud. If the shift
lever is put in 1 (First) while the vehicle is moving
forward, the transmission does not shift into first gear
until the vehicle is going slowly enough.
For an Allison Transmission
®or Hydra-Matic®6-Speed
transmission, this position reduces vehicle speed
without using the brakes. You can use it for major/
severe downgrades and off-road driving where the
vehicle would otherwise accelerate due to steepness of
grade. When you shift to 1 (First) it provides the lowest
gear appropriate to current road speed and continues to
downshift as the vehicle slows, eventually downshifting
to 1 (First) gear.
Notice: Spinning the tires or holding the vehicle in
one place on a hill using only the accelerator pedal
may damage the transmission. The repair will not be
covered by the vehicle warranty. If you are stuck, do
not spin the tires. When stopping on a hill, use the
brakes to hold the vehicle in place.
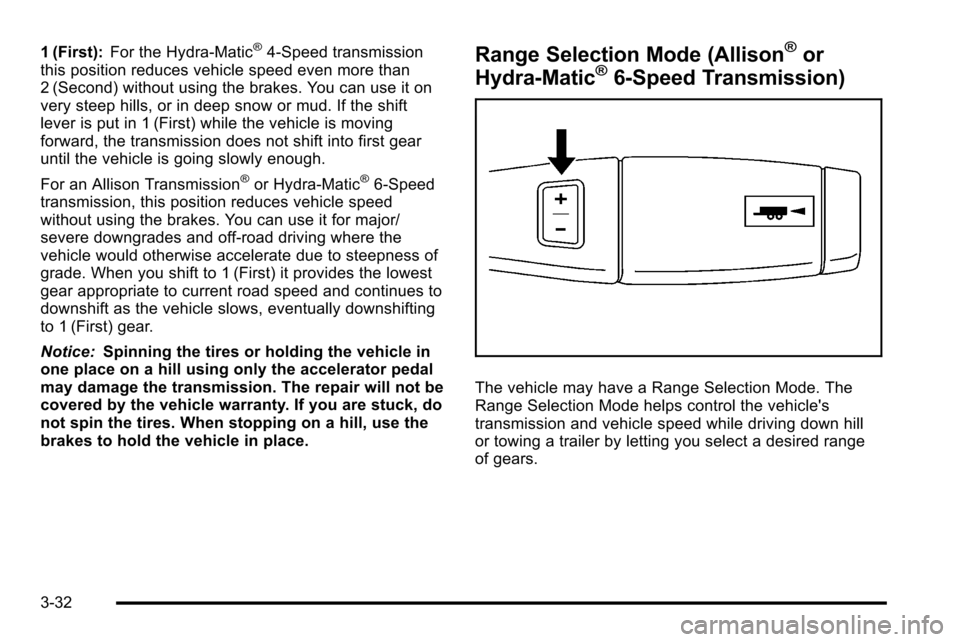
Range Selection Mode (Allison®or
Hydra-Matic®6-Speed Transmission)
The vehicle may have a Range Selection Mode. The
Range Selection Mode helps control the vehicle's
transmission and vehicle speed while driving down hill
or towing a trailer by letting you select a desired range
of gears.
3-32
Page 171 of 626
To use this feature, do the following:1. Move the shift lever to M (Manual Mode).
2. Press the plus/minus buttons, located on the steering column shift lever, to select the desired
range of gears for current driving conditions.
When M (Manual Mode) is selected a number displays
next to the M, indicating the current gear.
This number is the highest gear that can be used.
However, the vehicle can automatically shift to lower
gears as it adjusts to driving conditions. This means
that all gears below that number are available. When
5 (Fifth) is selected, 1 (First) through 5 (Fifth) gears are
automatically shifted by the vehicle, but 6 (Sixth) cannot
be used until the plus/minus button located on the
steering column lever is used to change to the gear.
Grade Braking is not available when Range Selection
Mode is active. See Tow/Haul Mode on page 3‑34.
While using Range Selection Mode, cruise control and
the Tow/Haul mode can be used. Notice:
Spinning the tires or holding the vehicle in
one place on a hill using only the accelerator pedal
may damage the transmission. The repair will not be
covered by the vehicle warranty. If you are stuck, do
not spin the tires. When stopping on a hill, use the
brakes to hold the vehicle in place.
Low Traction Mode
If your vehicle has the Allison Transmission®, or the
Hydra-Matic®6-Speed Automatic Transmission, it has a
Low Traction Mode that can assist in vehicle
acceleration when road conditions are slippery, such as
with ice or snow. While the vehicle is at a stop, select
the second gear range using Range Selection Mode.
This will limit torque to the wheels after it detects wheel
slip, preventing the tires from spinning.
3-33
Page 177 of 626
When Using the Manual Transfer Case
.Shifting should be made using quick motions.
Shifting slowly may make it more difficult to shift.
.You may notice that it is harder to shift when the
vehicle is cold. After the vehicle warms up the
shifting will return to normal.
.While in Four-Wheel High or Four-Wheel-Drive
Low you may experience reduced fuel economy.
.Avoid driving in Four-Wheel Drive on clean, dry
pavement. It may cause your tires to wear faster,
make the transfer case harder to shift, and run
noisier.
.If the transfer case shifter is in the N (Neutral)
position and you have difficulty reaching the
selected transfer case mode, with the engine
running, shift the transmission momentarily to drive
and then back to N (Neutral). This will realign the
gear teeth in the transfer case and allow you to
complete the shift.
Shifting from Two-Wheel-Drive High to
Four-Wheel-Drive High
.Shifts between Two-Wheel-Drive High and
Four-Wheel-Drive High can be made at any vehicle
speed.
.Shift the transfer case lever in one continuous
motion into either the Four-Wheel-Drive High or
Two-Wheel-Drive High position.
.In extremely cold weather, it may be necessary to
slow or stop the vehicle to shift into
Four-Wheel-Drive High until the vehicle has
warmed up.
.While in Four-Wheel-Drive High, the vehicle can be
driven at any posted legal speed limit.
3-39
Page 258 of 626
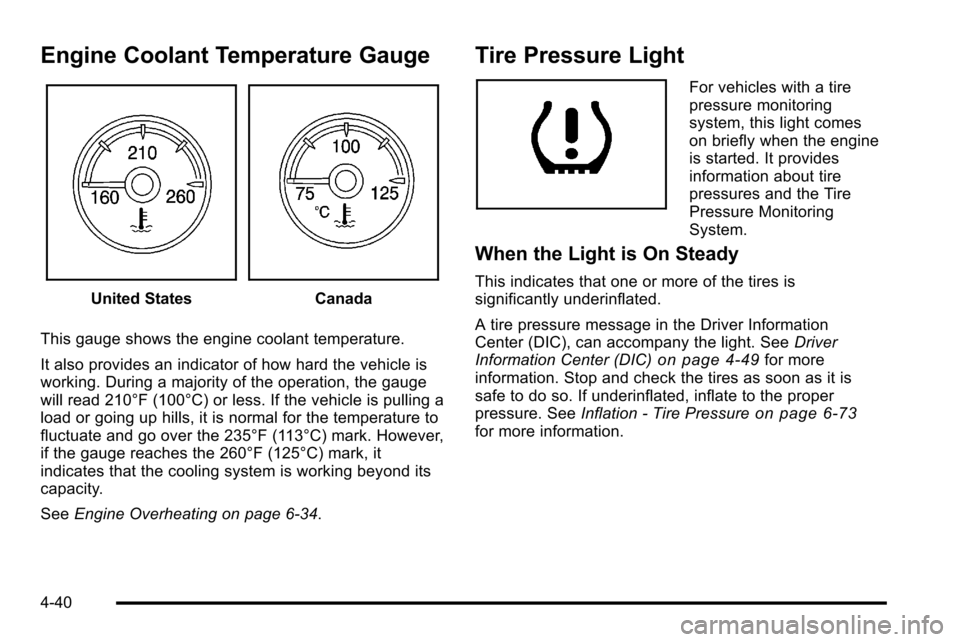
Engine Coolant Temperature Gauge
United StatesCanada
This gauge shows the engine coolant temperature.
It also provides an indicator of how hard the vehicle is
working. During a majority of the operation, the gauge
will read 210°F (100°C) or less. If the vehicle is pulling a
load or going up hills, it is normal for the temperature to
fluctuate and go over the 235°F (113°C) mark. However,
if the gauge reaches the 260°F (125°C) mark, it
indicates that the cooling system is working beyond its
capacity.
See Engine Overheating on page 6‑34.
Tire Pressure Light
For vehicles with a tire
pressure monitoring
system, this light comes
on briefly when the engine
is started. It provides
information about tire
pressures and the Tire
Pressure Monitoring
System.
When the Light is On Steady
This indicates that one or more of the tires is
significantly underinflated.
A tire pressure message in the Driver Information
Center (DIC), can accompany the light. See Driver
Information Center (DIC)
on page 4‑49for more
information. Stop and check the tires as soon as it is
safe to do so. If underinflated, inflate to the proper
pressure. See Inflation - Tire Pressure
on page 6‑73for more information.
4-40