2010 CHEVROLET IMPALA reset
[x] Cancel search: resetPage 21 of 432

Vehicle FeaturesRadio(s)O
:Press to turn the system on and off. Turn to
increase or decrease the volume.
BAND:Press to switch between FM1, FM2 and AM on
the Radio with CD. The selection displays. Press to
switch between FM, AM, and XM™ on the Radio with
CD (MP3).
f
:Select radio stations.
©¨
:Seek or scan stations.
4:Press to display additional text information related to
the current FM-RDS or XM station; or CD, MP3 or
WMA song. If information is available during XM, CD,
MP3 or WMA playback, the song title information
displays on the top line of the display and artist
information displays on the bottom line. When
information is not available, “No Info” displays.
For more information about these and other radio
features, seeAudio System(s) on page 4-57.Storing a Favorite StationDepending on which radio the vehicle has, radio
stations are stored as either favorites or presets.
For radios with a FAV button, a maximum of 36 stations
can be stored as favorites using the six softkeys located
below the radio station frequency tabs and by using the
radio FAV button. Press FAV to go through up to six
pages of favorites, each having six favorite stations
available per page. Each page of favorites can contain
any combination of AM, FM, or XM stations.
For radios without a FAV button, up to 18 stations
(six FM1, six FM2, and six AM), can be programmed
on the six numbered buttons.
SeeRadio(s) on page 4-59. Radio with CD (MP3)
1-15
Page 26 of 432

Tire Pressure MonitorThis vehicle may have a Tire Pressure Monitor
System (TPMS).
The Tire Pressure Monitor
alerts you when a
significant reduction in
pressure occurs in one or
more of the vehicle’s tires
by illuminating the low tire
pressure warning light on
the instrument cluster.
The warning light will remain on until the tire pressure
is corrected. The proper tire pressures for your
vehicle are listed on the Tire and Loading Information
label located on the driver side center pillar (B pillar).
SeeLoading the Vehicle on page 5-20.
You may notice during cooler conditions that the low tire
pressure warning light will appear when the vehicle is first
started and then turn off as you drive. This may be an
early indicator that your tire pressures are getting low
and the tires need to be inflated to the proper pressure.
Note:The Tire Pressure Monitor can alert you about low
tire pressure, but it does not replace normal monthly
tire maintenance. It is the driver’s responsibility to
maintain correct tire pressures.
SeeTire Pressure Monitor System on page 6-60and
Tire Pressure Monitor Operation on page 6-62.
Engine Oil Life SystemThe engine oil life system calculates engine oil life
based on vehicle use and displays a DIC message
when it is necessary to change the engine oil and filter.
The oil life system should be reset to 100% only
following an oil change.Resetting the Oil Life System1. Display the OIL LIFE REMAINING on the DIC.
2. Press and hold the SET/RESET button on the DIC
for more than five seconds. The oil life will change
to 100%.
SeeEngine Oil Life System on page 6-18.Fuel E85 (85% Ethanol)If the vehicle has the 3.5L V6 engine (VIN Code K)
or the 3.9L V6 engine (VIN Code M), you can use either
unleaded gasoline or ethanol fuel containing up to
85% ethanol (E85). SeeFuel on page 6-5. In all other
engines, use only the unleaded gasoline described
underGasoline Octane on page 6-6.
Vehicles that have the 3.5L V6 engine (VIN Code K) or
the 3.9L V6 engine (VIN Code M) have a yellow fuel
cap and can use 85% ethanol fuel (E85). SeeFuel E85
(85% Ethanol) on page 6-8.
1-20
Page 116 of 432

Power Door Locks
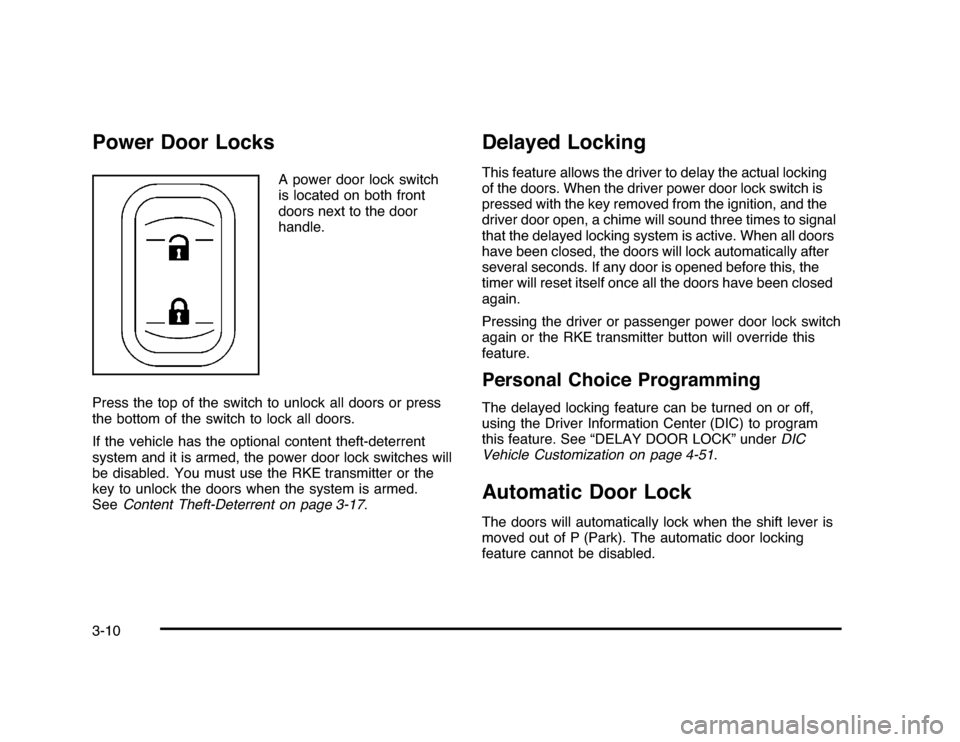
A power door lock switch
is located on both front
doors next to the door
handle.
Press the top of the switch to unlock all doors or press
the bottom of the switch to lock all doors.
If the vehicle has the optional content theft-deterrent
system and it is armed, the power door lock switches will
be disabled. You must use the RKE transmitter or the
key to unlock the doors when the system is armed.
SeeContent Theft-Deterrent on page 3-17.
Delayed LockingThis feature allows the driver to delay the actual locking
of the doors. When the driver power door lock switch is
pressed with the key removed from the ignition, and the
driver door open, a chime will sound three times to signal
that the delayed locking system is active. When all doors
have been closed, the doors will lock automatically after
several seconds. If any door is opened before this, the
timer will reset itself once all the doors have been closed
again.
Pressing the driver or passenger power door lock switch
again or the RKE transmitter button will override this
feature.Personal Choice ProgrammingThe delayed locking feature can be turned on or off,
using the Driver Information Center (DIC) to program
this feature. See “DELAY DOOR LOCK” underDIC
Vehicle Customization on page 4-51.Automatic Door LockThe doors will automatically lock when the shift lever is
moved out of P (Park). The automatic door locking
feature cannot be disabled.
3-10
Page 156 of 432

Windshield WasherAt the top of the multifunction lever, there is a paddle
with
L
on it. Push the paddle to spray washer fluid on
the windshield. The wipers run for several sweeps and
then either stop or return to the preset speed. The ignition
key must be in ACC/ACCESSORY or ON/RUN for this to
work. SeeWindshield Washer Fluid on page 6-33.
{
WARNING:
In freezing weather, do not use your washer until
the windshield is warmed. Otherwise the washer
fluid can form ice on the windshield, blocking your
vision.
When the vehicle is low on washer fluid, the WASHER
FLUID LOW ADD FLUID displays in the Driver
Information Center (DIC) for 60 seconds. When the
ignition is turned off, this message displays again for
three seconds to remind you that the fluid level is low.
Until the fluid reservoir is refilled, every time the vehicle
is started, the WASHER FLUID LOW ADD FLUID
message displays in the Driver Information Center (DIC)
for 60 seconds. SeeDIC Warnings and Messages on
page 4-44.
Cruise ControlWith cruise control, you can maintain a speed of about
40 km/h (25 mph) or more without keeping your foot
on the accelerator. Cruise control does not work
at speeds below about 40 km/h (25 mph).
{
WARNING:
Cruise control can be dangerous where you
cannot drive safely at a steady speed. So, do
not use the cruise control on winding roads or
in heavy traffic.
Cruise control can be dangerous on slippery roads.
On such roads, fast changes in tire traction can
cause excessive wheel slip, and you could lose
control. Do not use cruise control on slippery roads.
If your vehicle has the Traction Control System (TCS)
and the cruise control is on, TCS will begin to limit
wheel spin and the cruise control automatically turns off.
SeeTraction Control System (TCS) on page 5-7. When
road conditions allow you to safely use it again, the cruise
control can be turned back on.
4-6
Page 158 of 432

Resuming a Set SpeedIf cruise control is set at a desired speed and the
brakes are applied, this shuts off the cruise control.
However, it does not need to be reset.
Once your vehicle reaches a speed of about 40 km/h
(25 mph) or more, press the +RES button on the
steering wheel. The vehicle goes back to the previously
selected speed and stays there.Increasing Speed While Using Cruise
ControlTo increase the cruise speed while using cruise control:•
Press and hold the +RES button on the steering
wheel until the desired speed is reached, then
release it.
•
To increase vehicle speed in small increments,
press the +RES button. Each time this is done,
the vehicle goes about 1.6 km/h (1 mph) faster.
Reducing Speed While Using Cruise
ControlTo reduce your speed while using cruise control:•
Press and hold the SET– button on the steering
wheel until the desired lower speed is reached,
then release it.
•
To slow down in very small amounts, press the
SET– button on the steering wheel briefly. Each
time this is done, the vehicle goes about 1.6 km/h
(1 mph) slower.
Passing Another Vehicle While Using
Cruise ControlUse the accelerator pedal to increase vehicle speed.
When you take your foot off the pedal, the vehicle
will slow down to the cruise speed you set earlier.Using Cruise Control on HillsHow well the cruise control will work on hills depends
upon the vehicle speed, load and the steepness of the
hills. When going up steep hills, you might have to
step on the accelerator pedal to maintain your speed.
When going downhill, you might have to brake or shift
to a lower gear to keep your speed down. If the brakes
are applied the cruise control will turn off.
4-8
Page 178 of 432

Antilock Brake System (ABS)
Warning Light
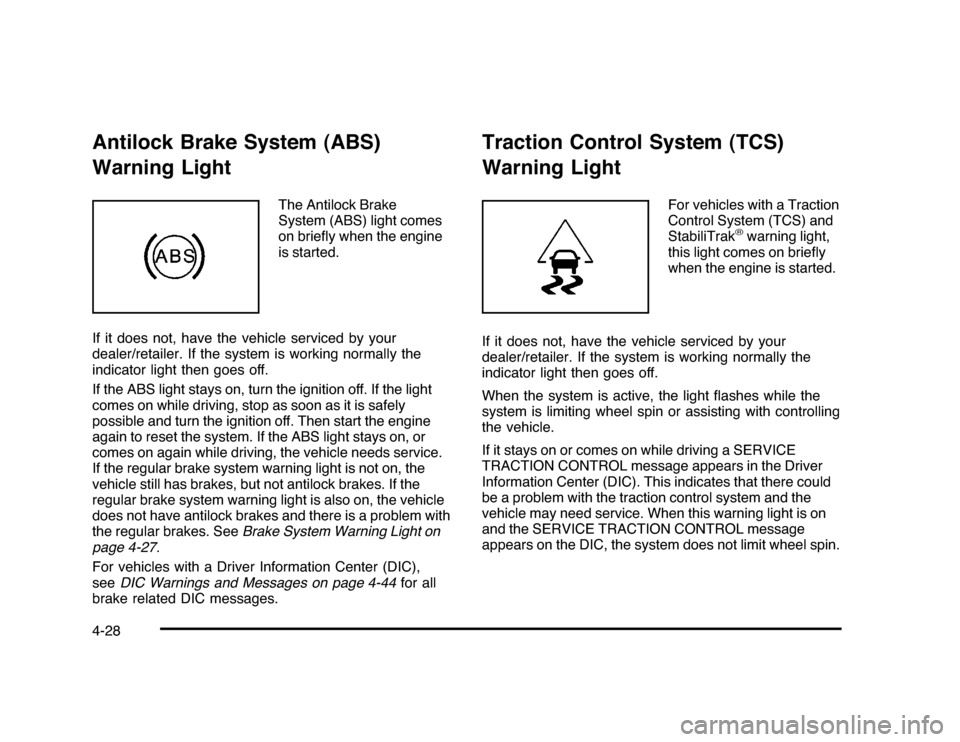
The Antilock Brake
System (ABS) light comes
on briefly when the engine
is started.
If it does not, have the vehicle serviced by your
dealer/retailer. If the system is working normally the
indicator light then goes off.
If the ABS light stays on, turn the ignition off. If the light
comes on while driving, stop as soon as it is safely
possible and turn the ignition off. Then start the engine
again to reset the system. If the ABS light stays on, or
comes on again while driving, the vehicle needs service.
If the regular brake system warning light is not on, the
vehicle still has brakes, but not antilock brakes. If the
regular brake system warning light is also on, the vehicle
does not have antilock brakes and there is a problem with
the regular brakes. SeeBrake System Warning Light on
page 4-27.
For vehicles with a Driver Information Center (DIC),
seeDIC Warnings and Messages on page 4-44for all
brake related DIC messages.
Traction Control System (TCS)
Warning Light
For vehicles with a Traction
Control System (TCS) and
StabiliTrak
®warning light,
this light comes on briefly
when the engine is started.
If it does not, have the vehicle serviced by your
dealer/retailer. If the system is working normally the
indicator light then goes off.
When the system is active, the light flashes while the
system is limiting wheel spin or assisting with controlling
the vehicle.
If it stays on or comes on while driving a SERVICE
TRACTION CONTROL message appears in the Driver
Information Center (DIC). This indicates that there could
be a problem with the traction control system and the
vehicle may need service. When this warning light is on
and the SERVICE TRACTION CONTROL message
appears on the DIC, the system does not limit wheel spin.
4-28
Page 187 of 432

Driver Information Center (DIC)Your vehicle has a Driver Information Center (DIC).
All messages will appear in the DIC display located
below the speedometer in the instrument panel cluster.
The DIC buttons are located on the instrument panel,
to the right of the instrument panel cluster.
The DIC comes on when the ignition is on. After a short
delay, the DIC will display the information that was
last displayed before the engine was turned off.
The DIC displays trip, fuel, and vehicle system
information, and warning messages if a system problem
is detected. The bottom line of the DIC shows the shift
lever position indicator. SeeAutomatic Transmission
Operation on page 3-24for more information.
If your vehicle has these features, the DIC also displays
the compass direction and the outside air temperature
when viewing the trip and fuel information. The compass
direction appears on the top right corner of the DIC
display. The outside air temperature automatically
appears in the bottom right corner of the DIC display.
If there is a problem with the system that controls the
temperature display, the numbers will be replaced with
dashes. If this occurs, have the vehicle serviced by your
dealer/retailer.
The DIC also allows some features to be customized.
SeeDIC Vehicle Customization on page 4-51for
more information.
DIC Operation and DisplaysThe DIC has different displays which can be accessed
by pressing the DIC buttons located on the instrument
panel, to the right of the instrument panel cluster.DIC Buttons
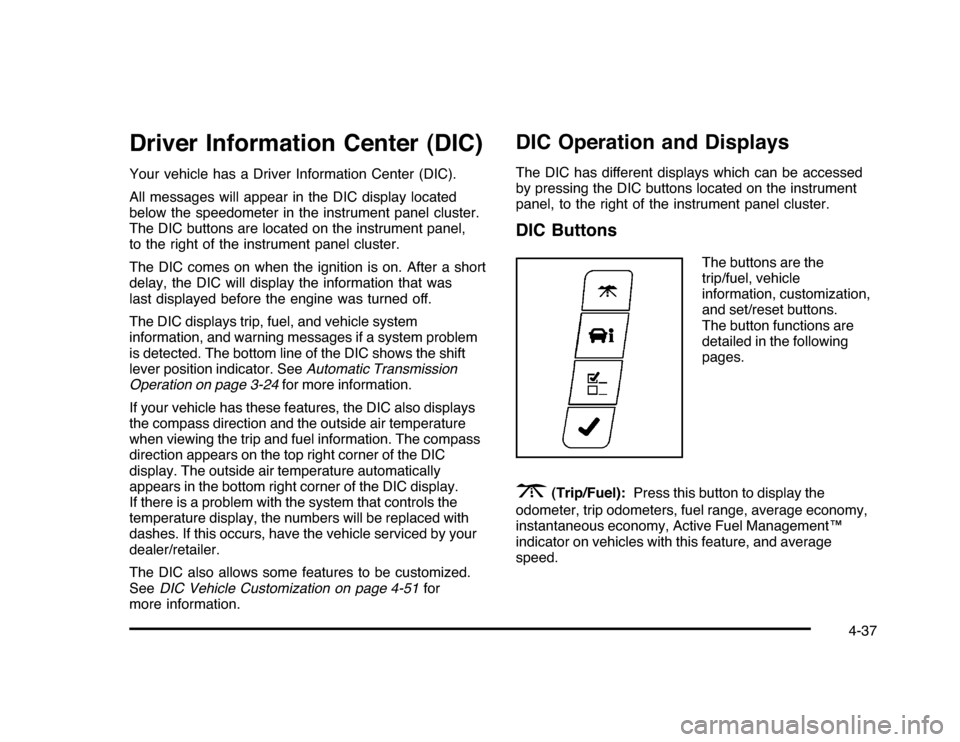
The buttons are the
trip/fuel, vehicle
information, customization,
and set/reset buttons.
The button functions are
detailed in the following
pages.
3
(Trip/Fuel):Press this button to display the
odometer, trip odometers, fuel range, average economy,
instantaneous economy, Active Fuel Management™
indicator on vehicles with this feature, and average
speed.
4-37
Page 188 of 432

T
(Vehicle Information):Press this button to display
the oil life, units, tire pressure readings, compass
zone and compass calibration on vehicles with this
feature, and Remote Keyless Entry (RKE) transmitter
programming.
U
(Customization):Press this button to customize
the feature settings on your vehicle. SeeDIC Vehicle
Customization on page 4-51for more information.
V
(Set/Reset):Press this button to set or reset certain
functions and to turn off or acknowledge messages
on the DIC.
Trip/Fuel Menu Items
3
(Trip/Fuel):Press this button to scroll through the
following menu items:
OdometerPress the trip/fuel button until ODOMETER displays.
This display shows the distance the vehicle has
been driven in either miles (mi) or kilometers (km).
Trip A and Trip BPress the trip/fuel button until TRIP A or TRIP B
displays. This display shows the current distance
traveled in either miles (mi) or kilometers (km) since the
last reset for each trip odometer. Both trip odometers
can be used at the same time.
Each trip odometer can be reset to zero separately
by pressing the set/reset button while the desired trip
odometer is displayed.
The trip odometer has a feature called the retro-active
reset. This can be used to set the trip odometer to the
number of miles (kilometers) driven since the ignition was
last turned on. This can be used if the trip odometer is not
reset at the beginning of the trip.
To use the retro-active reset feature, press and hold
the set/reset button for at least four seconds. The trip
odometer will display the number of miles (mi) or
kilometers (km) driven since the ignition was last turned
on and the vehicle was moving. Once the vehicle begins
moving, the trip odometer will accumulate mileage.
For example, if the vehicle was driven 5 miles (8 km)
before it is started again, and then the retro-active reset
feature is activated, the display will show 5 miles (8 km).
As the vehicle begins moving, the display will then
increase to 5.1 miles (8.2 km), 5.2 miles (8.4 km), etc.
4-38