2010 CHEVROLET CORVETTE jump start
[x] Cancel search: jump startPage 29 of 472
Z06, Z16, and ZR1 Features
Checking Engine Oil
ZO6, Z16 (Grand Sport), and ZR1 models have a high
performance dry sump lubrication system. This system
operates differently than a standard engine lubrication
system. See Engine Oil on page 6‑19.
You should check the oil level only after the engine has
been thoroughly warmed up and then shut off for at
least five minutes. This ensures that the oil level
reading obtained will be accurate.
Jump Starting the Battery
The battery of ZO6, Z16 (Grand Sport), and
ZR1 models is in the rear of the vehicle. You do not
need to access the battery for jump starting. There are
remote positive (+) and negative (−) terminals under the
hood for this purpose. See Battery
on page 6‑49and
Jump Starting on page 6‑50.
Brake Noise
Under certain weather or operating conditions,
occasional brake noise might be heard with the
vehicle's performance braking system. This brake
system is designed for superior fade resistance and
consistent operation using high performance brake
pads. Brake noise is normal and does not affect system
performance. See Braking on page 5‑4.
Car Wash Guidelines
Automatic car washes are not recommended for this
vehicle. Some car washes cause damage to the
vehicle, the wheels, and the convertible top, if the
vehicle is so equipped.
If you drive the vehicle through an automatic
car wash that does not have enough clearance for
the undercarriage and/or wide rear tires and wheels,
you could damage the vehicle. Verify with the manager
of the car wash that the vehicle will fit before entering
the car wash or use a touchless car wash. See
Washing Your Vehicle on page 6‑94.
1-23
Page 30 of 472
Engine Oil Life System
The engine oil life system calculates engine oil life
based on vehicle use and displays a DIC message
when it is necessary to change the engine oil and filter.
The oil life system should be reset to 100% only
following an oil change.
Resetting the Oil Life System
1. Press the TRIP button so the OIL LIFE percentageis displayed.
2. Press RESET and hold for two seconds. OIL LIFE REMAINING 100% will appear.
See Engine Oil Life System on page 6‑25.
Driving for Better Fuel Economy
Driving habits can affect fuel mileage. Here are some
driving tips to get the best fuel economy possible.
.Avoid fast starts and accelerate smoothly.
.Brake gradually and avoid abrupt stops.
.Avoid idling the engine for long periods of time.
.When road and weather conditions are
appropriate, use cruise control, if equipped.
.Always follow posted speed limits or drive more
slowly when conditions require.
.Keep vehicle tires properly inflated.
.Combine several trips into a single trip.
.Replace the vehicle's tires with the same
TPC Spec number molded into the tire's
sidewall near the size.
.Follow recommended scheduled maintenance.
Premium Fuel
This vehicle's engine was designed to use premium
unleaded gasoline. See Gasoline Octane on page 6‑7.
Battery
This vehicle has a maintenance free battery. See
Batteryon page 6‑49and Jump Starting on page 6‑50.
For ZO6, ZR1, and Grand Sport models the battery is
located in the rear hatch/trunk area. Access to the
battery is not necessary to jump start the vehicle.
There are positive (+) and negative (−) terminals in
the engine compartment.
1-24
Page 132 of 472
Torque Lock (Automatic Transmission)
If you are parking on a hill and you do not shift the
transmission into P (Park) properly, the weight of the
vehicle may put too much force on the parking pawl
in the transmission. You may find it difficult to pull the
shift lever out of P (Park). This is called “torque lock.”
To prevent torque lock, set the parking brake and then
shift into P (Park) properly before you leave the driver
seat. To find out how, see “Shifting Into P (Park)”listed
previously in this section.
When you are ready to drive, move the shift lever out
of P (Park) before you release the parking brake.
If torque lock does occur, you may need to have
another vehicle push yours a little uphill to take some
of the pressure from the transmission parking pawl, so
you can pull the shift lever out of P (Park).
Shifting Out of Park
Shift lock release prevents shifting out of P (Park)
unless the vehicle is running or in Accessory mode and
the brake pedal is applied.
The shift lock release is always functional except in the
case of an uncharged or low voltage (less than 9‐volt)
battery. See Jump Starting
on page 6‑50for more
information. To shift out of P (Park) use the following:
1. Apply the brake pedal.
2. Press the shift lever button.
3. Move the shift lever to the desired position.
If you still are unable to shift out of P (Park): 1. Fully release the shift lever button.
2. While holding down the brake pedal, press the shift lever button again.
3. Move the shift lever to the desired position.
If you still cannot move the shift lever from P (Park),
consult your dealer/retailer or a professional towing
service.
Parking the Vehicle
(Manual Transmission)
Before you get out of the vehicle, move the shift lever
into R (Reverse) and firmly apply the parking brake.
Once the shift lever has been placed into R (Reverse)
with the clutch pedal pressed in, you can turn the
ignition off and release the clutch.
3-36
Page 283 of 472
Antilock Brake System (ABS)
This vehicle has the Antilock Brake System (ABS), an
advanced electronic braking system that helps prevent
a braking skid.
When the engine is started and the vehicle begins to
drive away, ABS checks itself. A momentary motor or
clicking noise might be heard while this test is going on,
and it might even be noticed that the brake pedal
moves a little. This is normal.
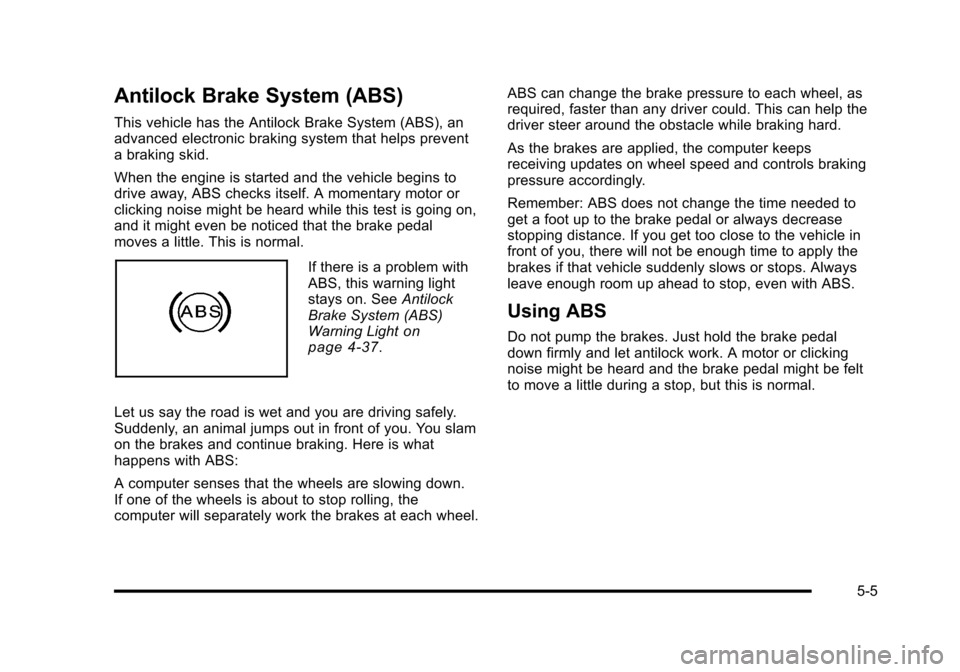
If there is a problem with
ABS, this warning light
stays on. See Antilock
Brake System (ABS)
Warning Light
on
page 4‑37.
Let us say the road is wet and you are driving safely.
Suddenly, an animal jumps out in front of you. You slam
on the brakes and continue braking. Here is what
happens with ABS:
A computer senses that the wheels are slowing down.
If one of the wheels is about to stop rolling, the
computer will separately work the brakes at each wheel. ABS can change the brake pressure to each wheel, as
required, faster than any driver could. This can help the
driver steer around the obstacle while braking hard.
As the brakes are applied, the computer keeps
receiving updates on wheel speed and controls braking
pressure accordingly.
Remember: ABS does not change the time needed to
get a foot up to the brake pedal or always decrease
stopping distance. If you get too close to the vehicle in
front of you, there will not be enough time to apply the
brakes if that vehicle suddenly slows or stops. Always
leave enough room up ahead to stop, even with ABS.
Using ABS
Do not pump the brakes. Just hold the brake pedal
down firmly and let antilock work. A motor or clicking
noise might be heard and the brake pedal might be felt
to move a little during a stop, but this is normal.
5-5
Page 313 of 472
Section 6 Service and Appearance Care
Service. . . . . . . . . . . . . . . . . . . . . . . . . . . . . . . . . . . . . . . . . . . . . 6-3
Accessories and Modifications . . . . . . . . . . . . . . . . . . 6-3
California Proposition 65 Warning . . . . . . . . . . . . . . . 6-4
California Perchlorate Materials Requirements . . . . . . . . . . . . . . . . . . . . . . . . . . . . . . . . . 6-4
Doing Your Own Service Work . . . . . . . . . . . . . . . . . . 6-5
Adding Equipment to the Outside of the Vehicle . . . . . . . . . . . . . . . . . . . . . . . . . . . . . . . . . . . . . . . . 6-5
Fuel . . . . . . . . . . . . . . . . . . . . . . . . . . . . . . . . . . . . . . . . . . . . . . . . . 6-6
Gasoline Octane . . . . . . . . . . . . . . . . . . . . . . . . . . . . . . . . 6-7
Gasoline Specifications . . . . . . . . . . . . . . . . . . . . . . . . . 6-7
California Fuel . . . . . . . . . . . . . . . . . . . . . . . . . . . . . . . . . . 6-7
Additives . . . . . . . . . . . . . . . . . . . . . . . . . . . . . . . . . . . . . . . . 6-8
Fuels in Foreign Countries . . . . . . . . . . . . . . . . . . . . . . 6-9
Filling the Tank . . . . . . . . . . . . . . . . . . . . . . . . . . . . . . . . . . 6-9
Filling a Portable Fuel Container . . . . . . . . . . . . . . . 6-12
Checking Things Under the Hood . . . . . . . . . . . . . . . 6-12
Hood Release . . . . . . . . . . . . . . . . . . . . . . . . . . . . . . . . . 6-13
Engine Compartment Overview . . . . . . . . . . . . . . . . 6-14
Engine Oil . . . . . . . . . . . . . . . . . . . . . . . . . . . . . . . . . . . . . 6-19
Engine Oil Life System . . . . . . . . . . . . . . . . . . . . . . . . 6-25
Engine Air Cleaner/Filter . . . . . . . . . . . . . . . . . . . . . . . 6-27
Automatic Transmission Fluid . . . . . . . . . . . . . . . . . . 6-31
Manual Transmission Fluid . . . . . . . . . . . . . . . . . . . . 6-31
Hydraulic Clutch . . . . . . . . . . . . . . . . . . . . . . . . . . . . . . . 6-31
Cooling System (Engine) . . . . . . . . . . . . . . . . . . . . . . 6-32 Cooling System (Intercooler) . . . . . . . . . . . . . . . . . . . 6-33
Engine Coolant . . . . . . . . . . . . . . . . . . . . . . . . . . . . . . . . 6-34
Engine Overheating . . . . . . . . . . . . . . . . . . . . . . . . . . . 6-38
Overheated Engine Protection
Operating Mode . . . . . . . . . . . . . . . . . . . . . . . . . . . . . 6-41
Power Steering Fluid . . . . . . . . . . . . . . . . . . . . . . . . . . 6-41
Windshield Washer Fluid . . . . . . . . . . . . . . . . . . . . . . 6-42
Brakes . . . . . . . . . . . . . . . . . . . . . . . . . . . . . . . . . . . . . . . . . 6-43
Battery . . . . . . . . . . . . . . . . . . . . . . . . . . . . . . . . . . . . . . . . . 6-49
Jump Starting . . . . . . . . . . . . . . . . . . . . . . . . . . . . . . . . . . 6-50
Rear Axle . . . . . . . . . . . . . . . . . . . . . . . . . . . . . . . . . . . . . . . . . 6-55
Headlamp Aiming . . . . . . . . . . . . . . . . . . . . . . . . . . . . . . . . 6-55
Bulb Replacement . . . . . . . . . . . . . . . . . . . . . . . . . . . . . . . . 6-56
High Intensity Discharge (HID) Lighting . . . . . . . . 6-56
Halogen Bulbs . . . . . . . . . . . . . . . . . . . . . . . . . . . . . . . . . 6-56
Headlamps, Front Turn Signal, and Parking Lamps . . . . . . . . . . . . . . . . . . . . . . . . . . . . . . . . . . . . . . . 6-56
Taillamps, Turn Signal, and Stoplamps . . . . . . . . 6-58
Replacement Bulbs . . . . . . . . . . . . . . . . . . . . . . . . . . . . 6-58
Windshield Replacement . . . . . . . . . . . . . . . . . . . . . . . . . 6-59
Windshield Wiper Blade Replacement . . . . . . . . . . . 6-59
Tires . . . . . . . . . . . . . . . . . . . . . . . . . . . . . . . . . . . . . . . . . . . . . . . 6-62
Winter Tires . . . . . . . . . . . . . . . . . . . . . . . . . . . . . . . . . . . . 6-63
Tire Sidewall Labeling . . . . . . . . . . . . . . . . . . . . . . . . . 6-64
Tire Terminology and Definitions . . . . . . . . . . . . . . . 6-66
6-1
Page 329 of 472
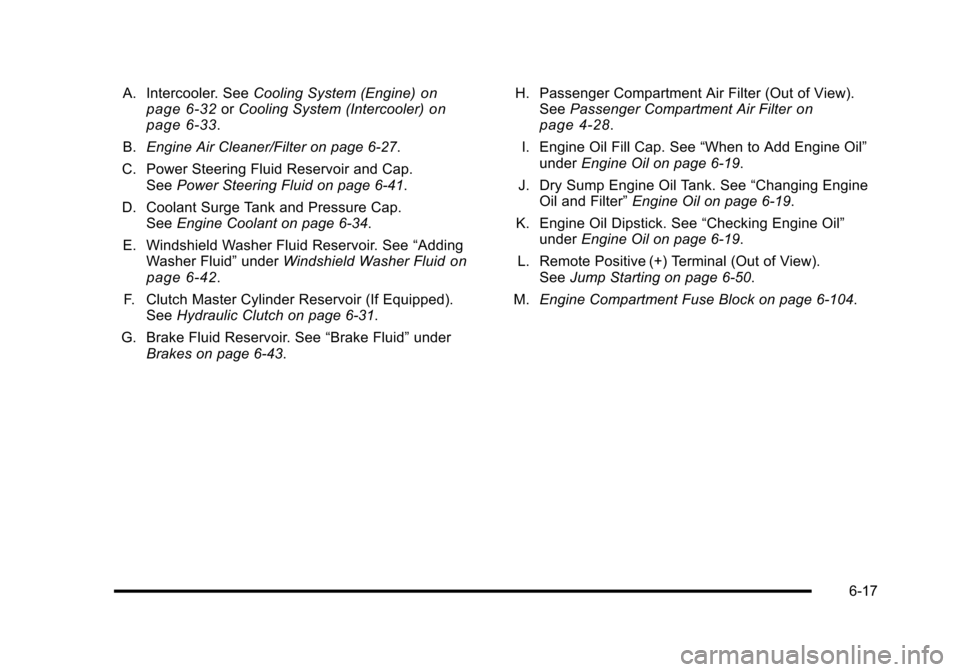
A. Intercooler. SeeCooling System (Engine)on
page 6‑32or Cooling System (Intercooler)on
page 6‑33.
B. Engine Air Cleaner/Filter on page 6‑27.
C. Power Steering Fluid Reservoir and Cap. See Power Steering Fluid on page 6‑41.
D. Coolant Surge Tank and Pressure Cap. See Engine Coolant on page 6‑34.
E. Windshield Washer Fluid Reservoir. See “Adding
Washer Fluid” underWindshield Washer Fluid
on
page 6‑42.
F. Clutch Master Cylinder Reservoir (If Equipped). See Hydraulic Clutch on page 6‑31.
G. Brake Fluid Reservoir. See “Brake Fluid”under
Brakes on page 6‑43. H. Passenger Compartment Air Filter (Out of View).
See Passenger Compartment Air Filter
on
page 4‑28.
I. Engine Oil Fill Cap. See “When to Add Engine Oil”
under Engine Oil on page 6‑19.
J. Dry Sump Engine Oil Tank. See “Changing Engine
Oil and Filter” Engine Oil on page 6‑19.
K. Engine Oil Dipstick. See “Checking Engine Oil”
under Engine Oil on page 6‑19.
L. Remote Positive (+) Terminal (Out of View). See Jump Starting on page 6‑50.
M. Engine Compartment Fuse Block on page 6‑104.
6-17
Page 331 of 472
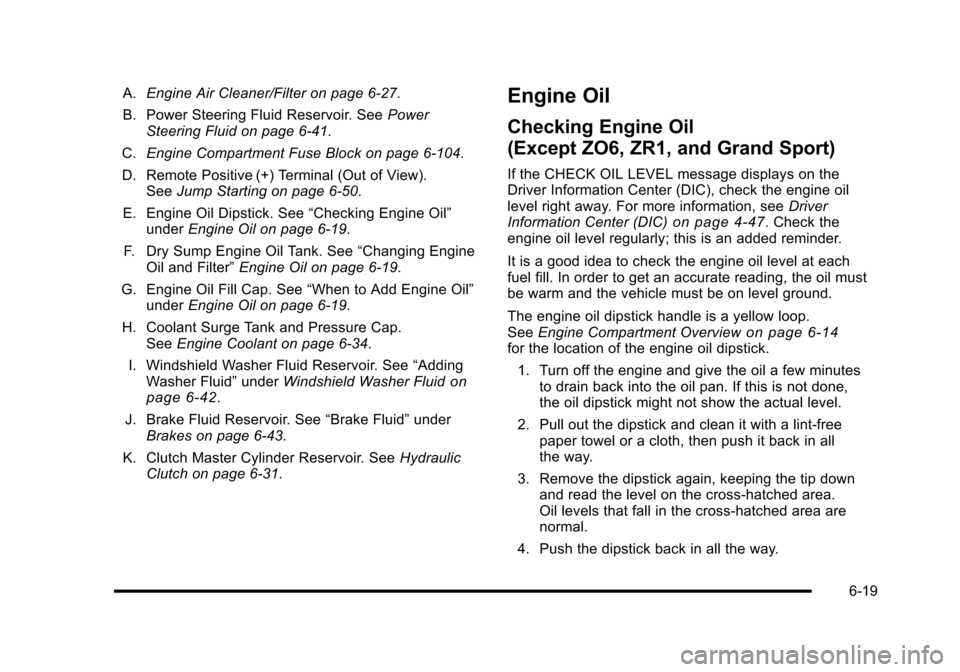
A.Engine Air Cleaner/Filter on page 6‑27.
B. Power Steering Fluid Reservoir. See Power
Steering Fluid on page 6‑41.
C. Engine Compartment Fuse Block on page 6‑104.
D. Remote Positive (+) Terminal (Out of View). See Jump Starting on page 6‑50.
E. Engine Oil Dipstick. See “Checking Engine Oil”
under Engine Oil on page 6‑19.
F. Dry Sump Engine Oil Tank. See “Changing Engine
Oil and Filter” Engine Oil on page 6‑19.
G. Engine Oil Fill Cap. See “When to Add Engine Oil”
under Engine Oil on page 6‑19.
H. Coolant Surge Tank and Pressure Cap. See Engine Coolant on page 6‑34.
I. Windshield Washer Fluid Reservoir. See “Adding
Washer Fluid” underWindshield Washer Fluid
on
page 6‑42.
J. Brake Fluid Reservoir. See “Brake Fluid”under
Brakes on page 6‑43.
K. Clutch Master Cylinder Reservoir. See Hydraulic
Clutch on page 6‑31.
Engine Oil
Checking Engine Oil
(Except ZO6, ZR1, and Grand Sport)
If the CHECK OIL LEVEL message displays on the
Driver Information Center (DIC), check the engine oil
level right away. For more information, see Driver
Information Center (DIC)
on page 4‑47. Check the
engine oil level regularly; this is an added reminder.
It is a good idea to check the engine oil level at each
fuel fill. In order to get an accurate reading, the oil must
be warm and the vehicle must be on level ground.
The engine oil dipstick handle is a yellow loop.
See Engine Compartment Overview
on page 6‑14for the location of the engine oil dipstick.
1. Turn off the engine and give the oil a few minutes to drain back into the oil pan. If this is not done,
the oil dipstick might not show the actual level.
2. Pull out the dipstick and clean it with a lint‐free paper towel or a cloth, then push it back in all
the way.
3. Remove the dipstick again, keeping the tip down and read the level on the cross‐hatched area.
Oil levels that fall in the cross‐hatched area are
normal.
4. Push the dipstick back in all the way.
6-19
Page 361 of 472
Battery
Refer to the replacement number on the original battery
label when a new battery is needed.
For battery replacement, see your dealer/retailer
or the service manual. To purchase a service manual,
see Service Publications Ordering Information
on
page 8‑16.
{DANGER:
Battery posts, terminals, and related accessories
contain lead and lead compounds, chemicals
known to the State of California to cause cancer
and reproductive harm. Wash hands after
handling.
Vehicle Storage
{WARNING:
Batteries have acid that can burn you and gas
that can explode. You can be badly hurt if you
are not careful. See Jump Starting
on page 6‑50
for tips on working around a battery without
getting hurt.
Infrequent Usage: Remove the black, negative (−) cable
from the battery to keep the battery from running down.
See “Power Window Initialization” inPower Windows
on
page 3‑17.
Extended Storage: Remove the black, negative (−)
cable from the battery or use a battery trickle charger.
6-49