2010 CADILLAC ESCALADE ESV key
[x] Cancel search: keyPage 258 of 620

Black plate (66,1)Cadillac Escalade/Escalade ESV Owner Manual - 2010
MEMORY SEAT RECALL This feature allows you to select your preference for the
remote memory seat recall feature. See Memory
Features
on page 2 ‑ 6 for more information.
Press the customization button until MEMORY SEAT
RECALL appears on the DIC display. Press the set/
reset button once to access the settings for this feature.
Then press the customization button to scroll through
the following settings:
OFF (default): No remote memory seat recall will
occur.
ON: The driver's seat, and on some vehicles, the
outside mirrors will automatically move to the stored
driving position when the unlock button on the Remote
Keyless Entry (RKE) transmitter is pressed. On some
vehicles with the adjustable throttle and brake pedal
feature, the pedals will also automatically move. See
“ Relearn Remote Key ” under DIC Operation and
Displays on page 4 ‑ 42 for more information on
matching transmitters to driver ID numbers.
NO CHANGE: No change will be made to this feature.
The current setting will remain.
To select a setting, press the set/reset button while the
desired setting is displayed on the DIC. REMOTE START If your vehicle has this feature, it allows you to turn the
remote start off or on. The remote start feature allows
you to start the engine from outside of the vehicle using
the Remote Keyless Entry (RKE) transmitter. See
Remote Vehicle Start on page 3 ‑ 7 for more
information.
Press the customization button until REMOTE START
appears on the DIC display. Press the set/reset button
once to access the settings for this feature. Then press
the customization button to scroll through the following
settings:
OFF: The remote start feature will be disabled.
ON (default): The remote start feature will be enabled.
NO CHANGE: No change will be made to this feature.
The current setting will remain.
To select a setting, press the set/reset button while the
desired setting is displayed on the DIC.
4-66
Page 260 of 620

Black plate (68,1)Cadillac Escalade/Escalade ESV Owner Manual - 2010
Audio System(s) Read the following pages to become familiar with the
audio system's features.
{ WARNING: Taking your eyes off the road for extended periods
could cause a crash resulting in injury or death to
you or others. Do not give extended attention to
entertainment tasks while driving.
This system provides access to many audio and non
audio listings.
To minimize taking your eyes off the road while driving,
do the following while the vehicle is parked: .
Become familiar with the operation and controls of
the audio system. .
Set up the tone, speaker adjustments, and preset
radio stations.
For more information, see Defensive Driving on
page 6 ‑ 2 .
This vehicle's audio system may be equipped with a
noise reduction system which can work improperly if the
audio amplifier, engine calibrations, exhaust system, microphones, radio, or speakers are modified or
replaced. This could result in more noticeable engine
noise at certain speeds.
Notice: Contact your dealer before adding any
equipment.
Adding audio or communication equipment could
interfere with the operation of the vehicle's engine,
radio, or other systems, and could damage them.
Follow federal rules covering mobile radio and
telephone equipment.
The vehicle has Retained Accessory Power (RAP). With
RAP, the audio system can be played even after the
ignition is turned off. See Retained Accessory Power
(RAP)
on page 3 ‑ 28 for more information.
Bluetooth ®
Vehicles with a Bluetooth system can use a
Bluetooth capable cell phone with a Hands Free
Profile to make and receive phone calls. The system
can be used while the key is in ON/RUN or ACC/
ACCESSORY position. The range of the Bluetooth
system can be up to 9.1 m (30 ft). Not all phones
support all functions, and not all phones are guaranteed
to work with the in-vehicle Bluetooth system.
See www.gm.com/bluetooth for more information
on compatible phones.
4-68
Page 269 of 620

Black plate (77,1)Cadillac Escalade/Escalade ESV Owner Manual - 2010
To Transfer Audio to the In-Vehicle
Bluetooth System The cellular phone must be paired and connected with
the Bluetooth system before a call can be transferred.
The connection process can take up to two minutes
after the key is turned to the ON/RUN or ACC/
ACCESSORY position.
During a call with the audio on the cell phone,
press
b g for more than two seconds. The audio
switches from the cell phone to the vehicle.
Voice Pass-Thru Voice Pass ‐ Thru allows access to the voice recognition
commands on the cell phone. See the cell phone
manufacturers user guide to see if the cell phone
supports this feature. This feature can be used to
verbally access contacts stored in the cell phone.
1. Press and hold
b g for two seconds. The system
responds with “ Ready ” followed by a tone.
2. Say “ Bluetooth ” . The system responds with
“ Bluetooth ready ” followed by a tone.
3. Say “ Voice ” . The system responds with
“ OK, accessing
The cell phone's normal prompt messages will
go through its cycle according to the phone's
operating instructions. Dual Tone Multi-Frequency (DTMF)
Tones The in ‐ vehicle Bluetooth system can send numbers and
numbers stored as name tags during a call. This is used
when calling a menu driven phone system. Account
numbers can be programmed into the phonebook for
retrieval during menu driven calls.
Sending a Number During a Call 1. Press
b g . The system responds with “ Ready ”
followed by a tone.
2. Say “ Dial ” . The system responds with “ Say a
number to send tones ” followed by a tone.
3. Say the number to send. .
If the system clearly recognizes the number it
responds with “ OK, Sending Number ” and the
dial tones are sent and the call continues. .
If the system is not sure it recognized the
number properly, it responds “ Dial Number,
Please say yes or no? ” followed by a tone.
If the number is correct, say “ Yes ” . The system
responds with “ OK, Sending Number ” and the
dial tones are sent and the call continues.
4-77
Page 277 of 620

Black plate (85,1)Cadillac Escalade/Escalade ESV Owner Manual - 2010
If the vehicle has a third row video screen, the AUX
button controls the source display on the second row
video screen, and the third row video screen as
described in the table below:
Aux Button
Press Second Row
Screen Third Row
Screen
Default State
(No Press) DVD Media DVD Media
First Press Aux Video
Source Aux Video
Source
Second Press DVD Media Aux Video
Source
Third Press Aux Video
Source DVD Media
Fourth Press Return to Default
State Return to Default
State
d (Camera): Press to change camera angles on DVDs
that have this feature when a DVD is playing. The
format and content of this function varies for each disc.
1 through 0 (Numeric Keypad): The numeric keypad
provides the capability of direct chapter or track number
selection. \ (Clear): Press within three seconds after entering a
numeric selection, to clear all numeric inputs.
} 10 (Double Digit Entries): Press to select chapter or
track numbers greater than 9. Press this button before
entering the number.
Battery Replacement To change the remote control batteries:
1. Slide the rear cover back on the remote control.
2. Replace the two batteries in the compartment.
Make sure that they are installed correctly, using
the diagram on the inside of the battery
compartment.
3. Replace the battery cover.
If the remote control is to be stored for a long period of
time, remove the batteries and keep them in a cool, dry
place.
4-85
Page 291 of 620

Black plate (99,1)Cadillac Escalade/Escalade ESV Owner Manual - 2010
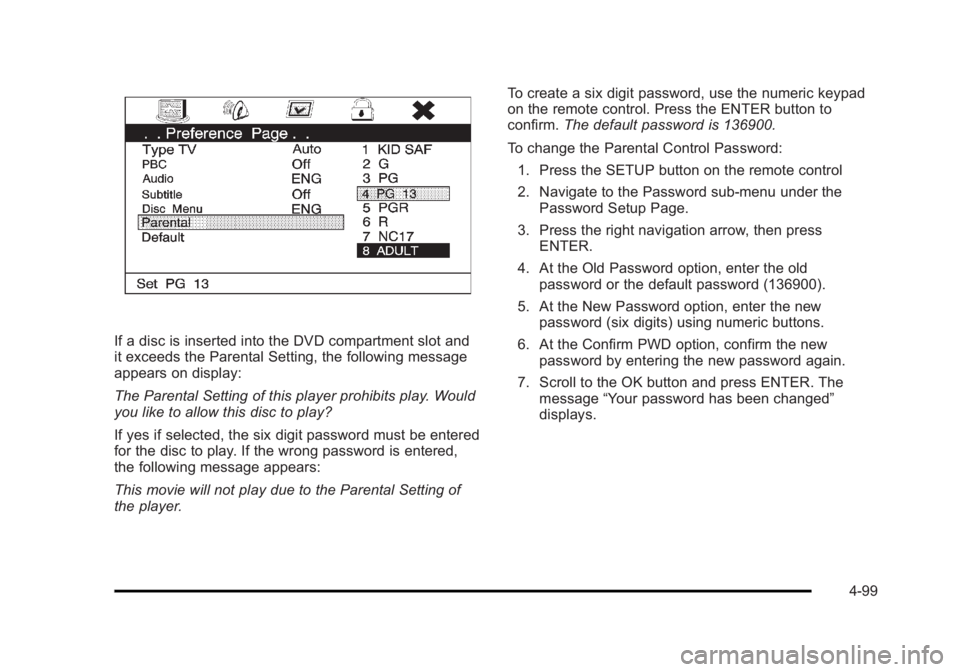
If a disc is inserted into the DVD compartment slot and
it exceeds the Parental Setting, the following message
appears on display:
The Parental Setting of this player prohibits play. Would
you like to allow this disc to play?
If yes if selected, the six digit password must be entered
for the disc to play. If the wrong password is entered,
the following message appears:
This movie will not play due to the Parental Setting of
the player. To create a six digit password, use the numeric keypad
on the remote control. Press the ENTER button to
confirm. The default password is 136900.
To change the Parental Control Password:
1. Press the SETUP button on the remote control
2. Navigate to the Password sub-menu under the
Password Setup Page.
3. Press the right navigation arrow, then press
ENTER.
4. At the Old Password option, enter the old
password or the default password (136900).
5. At the New Password option, enter the new
password (six digits) using numeric buttons.
6. At the Confirm PWD option, confirm the new
password by entering the new password again.
7. Scroll to the OK button and press ENTER. The
message “ Your password has been changed ”
displays.
4-99
Page 305 of 620

Black plate (3,1)Cadillac Escalade/Escalade ESV Owner Manual - 2010
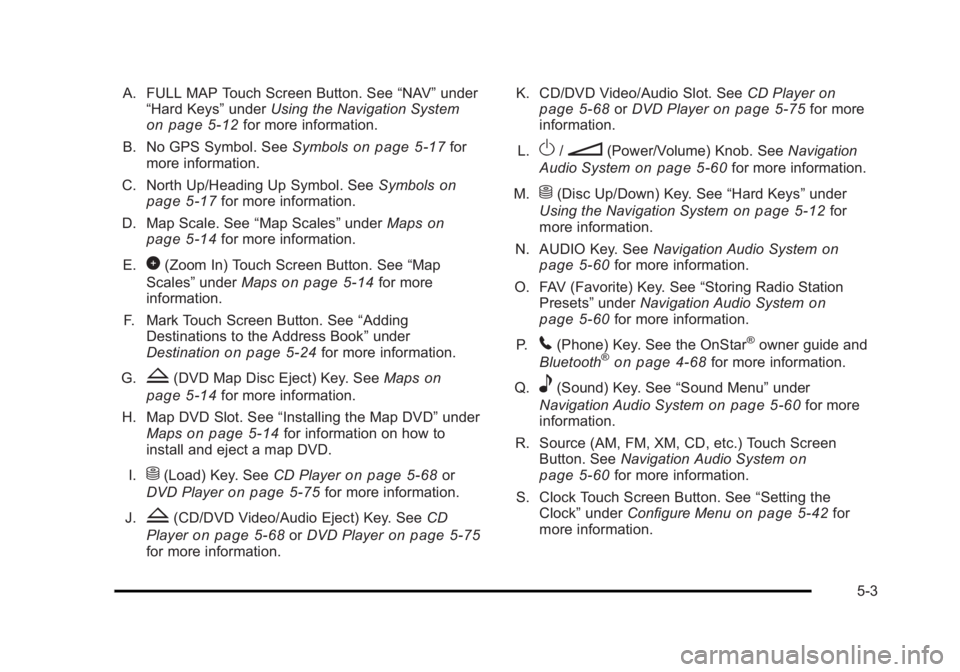
A. FULL MAP Touch Screen Button. See “ NAV ” under
“ Hard Keys ” under Using the Navigation System
on page 5 ‑ 12 for more information.
B. No GPS Symbol. See Symbols on page 5 ‑ 17 for
more information.
C. North Up/Heading Up Symbol. See Symbols
on
page 5 ‑ 17 for more information.
D. Map Scale. See “ Map Scales ” under Maps on
page 5 ‑ 14
for more information.
E.
0 (Zoom In) Touch Screen Button. See “ Map
Scales ” under Maps on page 5 ‑ 14 for more
information.
F. Mark Touch Screen Button. See “ Adding
Destinations to the Address Book ” under
Destination
on page 5 ‑ 24 for more information.
G.
Z (DVD Map Disc Eject) Key. See Maps on
page 5 ‑ 14 for more information.
H. Map DVD Slot. See “ Installing the Map DVD ” under
Maps
on page 5 ‑ 14 for information on how to
install and eject a map DVD.
I.
M (Load) Key. See CD Player on page 5 ‑ 68 or
DVD Player on page 5 ‑ 75 for more information.
J.
Z (CD/DVD Video/Audio Eject) Key. See CD
Player
on page 5 ‑ 68 or DVD Player on page 5 ‑ 75
for more information. K. CD/DVD Video/Audio Slot. See CD Player on
page 5 ‑ 68
or DVD Player on page 5 ‑ 75 for more
information.
L.
O /
n (Power/Volume) Knob. See Navigation
Audio System on page 5 ‑ 60 for more information.
M.
M (Disc Up/Down) Key. See “ Hard Keys ” under
Using the Navigation System on page 5 ‑ 12 for
more information.
N. AUDIO Key. See Navigation Audio System on
page 5 ‑ 60 for more information.
O. FAV (Favorite) Key. See “ Storing Radio Station
Presets ” under Navigation Audio System
on
page 5 ‑ 60 for more information.
P.
5 (Phone) Key. See the OnStar ®
owner guide and
Bluetooth ®
on page 4 ‑ 68 for more information.
Q.
e (Sound) Key. See “ Sound Menu ” under
Navigation Audio System
on page 5 ‑ 60 for more
information.
R. Source (AM, FM, XM, CD, etc.) Touch Screen
Button. See Navigation Audio System
on
page 5 ‑ 60 for more information.
S. Clock Touch Screen Button. See “ Setting the
Clock ” under Configure Menu on page 5 ‑ 42 for
more information.
5-3
Page 306 of 620

Black plate (4,1)Cadillac Escalade/Escalade ESV Owner Manual - 2010
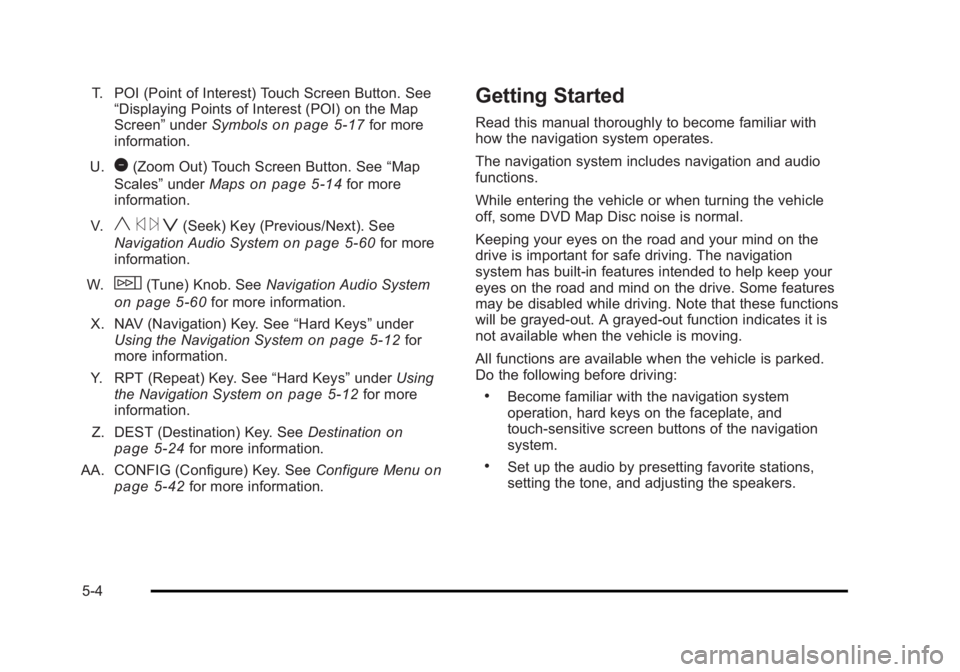
T. POI (Point of Interest) Touch Screen Button. See
“ Displaying Points of Interest (POI) on the Map
Screen ” under Symbols
on page 5 ‑ 17 for more
information.
U.
1 (Zoom Out) Touch Screen Button. See “ Map
Scales ” under Maps
on page 5 ‑ 14 for more
information.
V.
y © ¨ z (Seek) Key (Previous/Next). See
Navigation Audio System on page 5 ‑ 60 for more
information.
W.
w (Tune) Knob. See Navigation Audio System
on page 5 ‑ 60 for more information.
X. NAV (Navigation) Key. See “ Hard Keys ” under
Using the Navigation System
on page 5 ‑ 12 for
more information.
Y. RPT (Repeat) Key. See “ Hard Keys ” under Using
the Navigation System
on page 5 ‑ 12 for more
information.
Z. DEST (Destination) Key. See Destination on
page 5 ‑ 24 for more information.
AA. CONFIG (Configure) Key. See Configure Menu
on
page 5 ‑ 42 for more information. Getting Started Read this manual thoroughly to become familiar with
how the navigation system operates.
The navigation system includes navigation and audio
functions.
While entering the vehicle or when turning the vehicle
off, some DVD Map Disc noise is normal.
Keeping your eyes on the road and your mind on the
drive is important for safe driving. The navigation
system has built-in features intended to help keep your
eyes on the road and mind on the drive. Some features
may be disabled while driving. Note that these functions
will be grayed-out. A grayed-out function indicates it is
not available when the vehicle is moving.
All functions are available when the vehicle is parked.
Do the following before driving: .
Become familiar with the navigation system
operation, hard keys on the faceplate, and
touch-sensitive screen buttons of the navigation
system. .
Set up the audio by presetting favorite stations,
setting the tone, and adjusting the speakers.
5-4
Page 308 of 620

Black plate (6,1)Cadillac Escalade/Escalade ESV Owner Manual - 2010
When the navigation system is turned on, a screen may
appear with the information below, and you must read
and acknowledge the information it contains.
{ WARNING: Taking your eyes off the road for extended periods
could cause a crash resulting in injury or death to
you or others.
To help avoid a crash in which you or others could be
killed: .
Always concentrate on your driving first by keeping
your eyes and mind on the road, and your hands
on the wheel. .
Follow system directions only if permitted by traffic
laws, controls, and conditions. .
Before using this system, read the owner manual
and learn how it operates. .
Some system controls cannot be used the when
vehicle is moving.
After you acknowledge the start up information you will
be able to access the NAV (navigation) and DEST
(destination) functions. Once accessed, you can enter
or delete information in the navigation system or access
other functions. See instructions later in this section. Every fifty times the vehicle is started and the
navigation system is turned on, the Caution screen
appears. After reading the caution, select OK to load
the map DVD information. If OK is not selected, all
hard keys except for NAV (Navigation) and DEST
(Destination) can be accessed. You can also press the
NAV hard key to have this Caution screen appear.
When getting started, set the navigation system to your
preference or delete information you may have entered
using various options.
5-6