Page 2 of 16
2
Exterior Lamps
ControlTurn Signal Lever/
Driver Information
Center ControlsInstrument
Cluster
Tilt/Telescopic
Steering Wheel
Lever Cruise
Control
ButtonsWindshield
Wipers Lever
Hood Release
Lever Storage/Fuse
Panel Access
Instrument Panel
Safety Belt
Reminder
Check Engine
Low Tire Pressure
Brake System
Warning
Antilock Brake
System WarningCharging System
Oil Pressure
Airbag Readiness
Security
Fog Lamps
Cruise Control On/Set
Traction Control OffStabiliTrak/Traction
Control Off
StabiliTrak/Traction
Control Warning
Lights On
Audio Steering
Wheel Controls
Symbols
Page 3 of 16
3
Note: Refer to your Owner Manual to learn about the information being relayed by the lights and
gauges of the instrument cluster, as well as what to do to ensure safety and prevent damage to
your vehicle.
See Instruments and Controls in your Owner Manual.
Audio System/
Navigation SystemFClimate Controls/
Heated Steering
Wheel ButtonF
Power Door Locks
Button/Hazard
Warning Flashers
Button Electric Parking
BrakeStabiliTrak Button/Rear
Parking Assist ButtonF/
Rear Sunshade ButtonF Heated/Cooled
Seat ButtonsF
Page 9 of 16

9
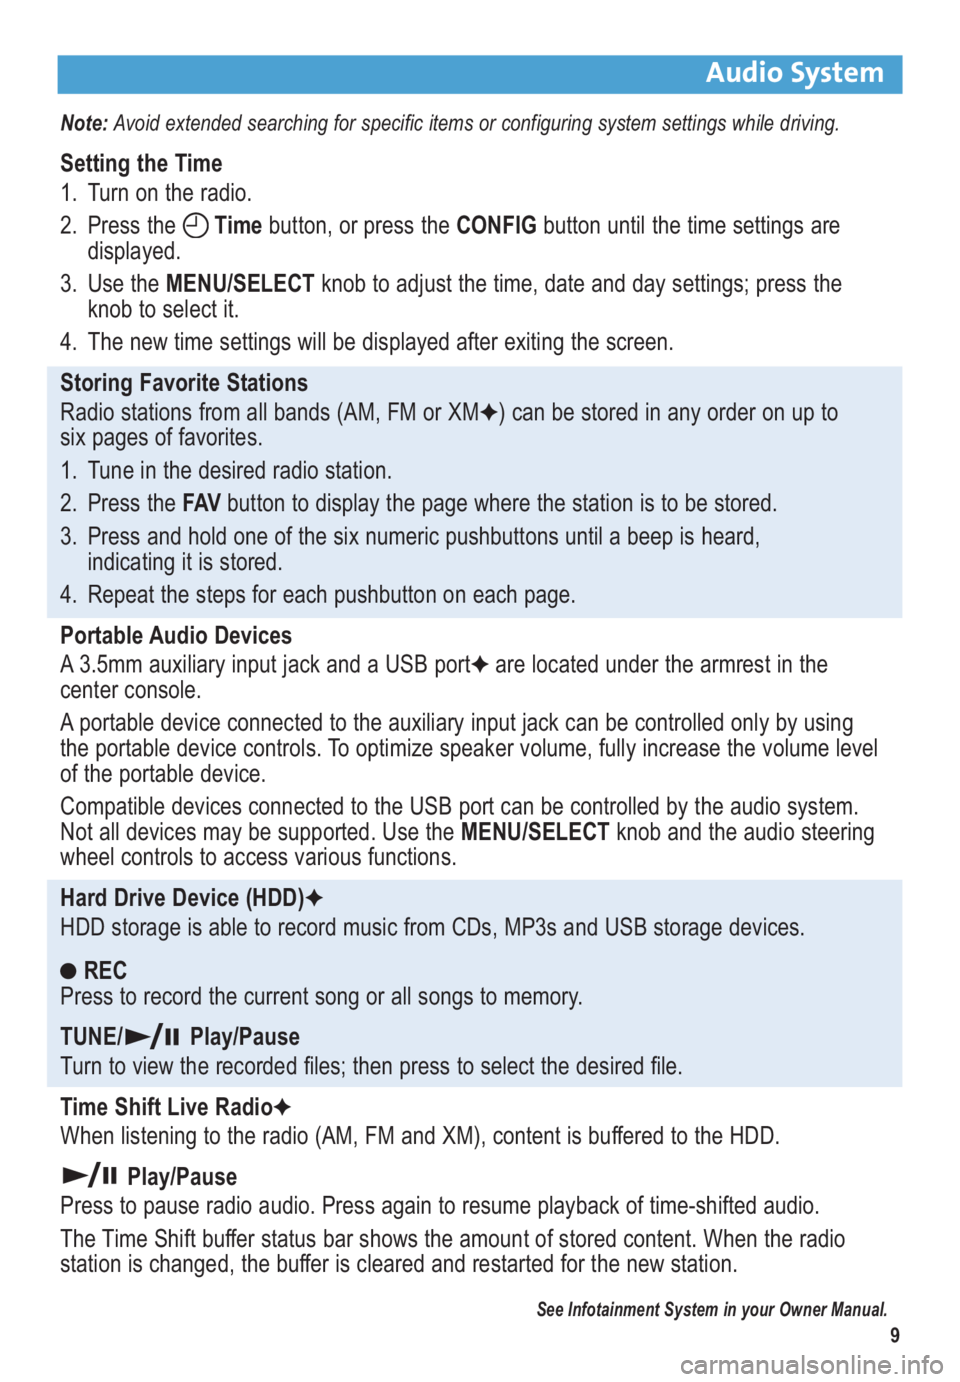
Audio System
Note: Avoid extended searching for specific items or configuring system settings while driving.
Setting the Time
1. Turn on the radio.
2. Press the Timebutton, or press the CONFIGbutton until the time settings are
displayed.
3. Use the MENU/SELECTknob to adjust the time, date and day settings; press the
knob to select it.
4. The new time settings will be displayed after exiting the screen.
Storing Favorite Stations
Radio stations from all bands (AM, FM or XM
F) can be stored in any order on up to
six pages of favorites.
1. Tune in the desired radio station.
2. Press the FAVbutton to display the page where the station is to be stored.
3. Press and hold one of the six numeric pushbuttons until a beep is heard,
indicating it is stored.
4. Repeat the steps for each pushbutton on each page.
Portable Audio Devices
A 3.5mm auxiliary input jack and a USB port
Fare located under the armrest in the
center console.
A portable device connected to the auxiliary input jack can be controlled only by using
the portable device controls. To optimize speaker volume, fully increase the volume level
of the portable device.
Compatible devices connected to the USB port can be controlled by the audio system.
Not all devices may be supported. Use the MENU/SELECTknob and the audio steering
wheel controls to access various functions.
Hard Drive Device (HDD)
F
HDD storage is able to record music from CDs, MP3s and USB storage devices.
REC
Press to record the current song or all songs to memory.
TUNE/ Play/Pause
Turn to view the recorded files; then press to select the desired file.
Time Shift Live Radio
F
When listening to the radio (AM, FM and XM), content is buffered to the HDD.
Play/Pause
Press to pause radio audio. Press again to resume playback of time-shifted audio.
The Time Shift buffer status bar shows the amount of stored content. When the radio
station is changed, the buffer is cleared and restarted for the new station.
See Infotainment System in your Owner Manual.
Page 10 of 16

10
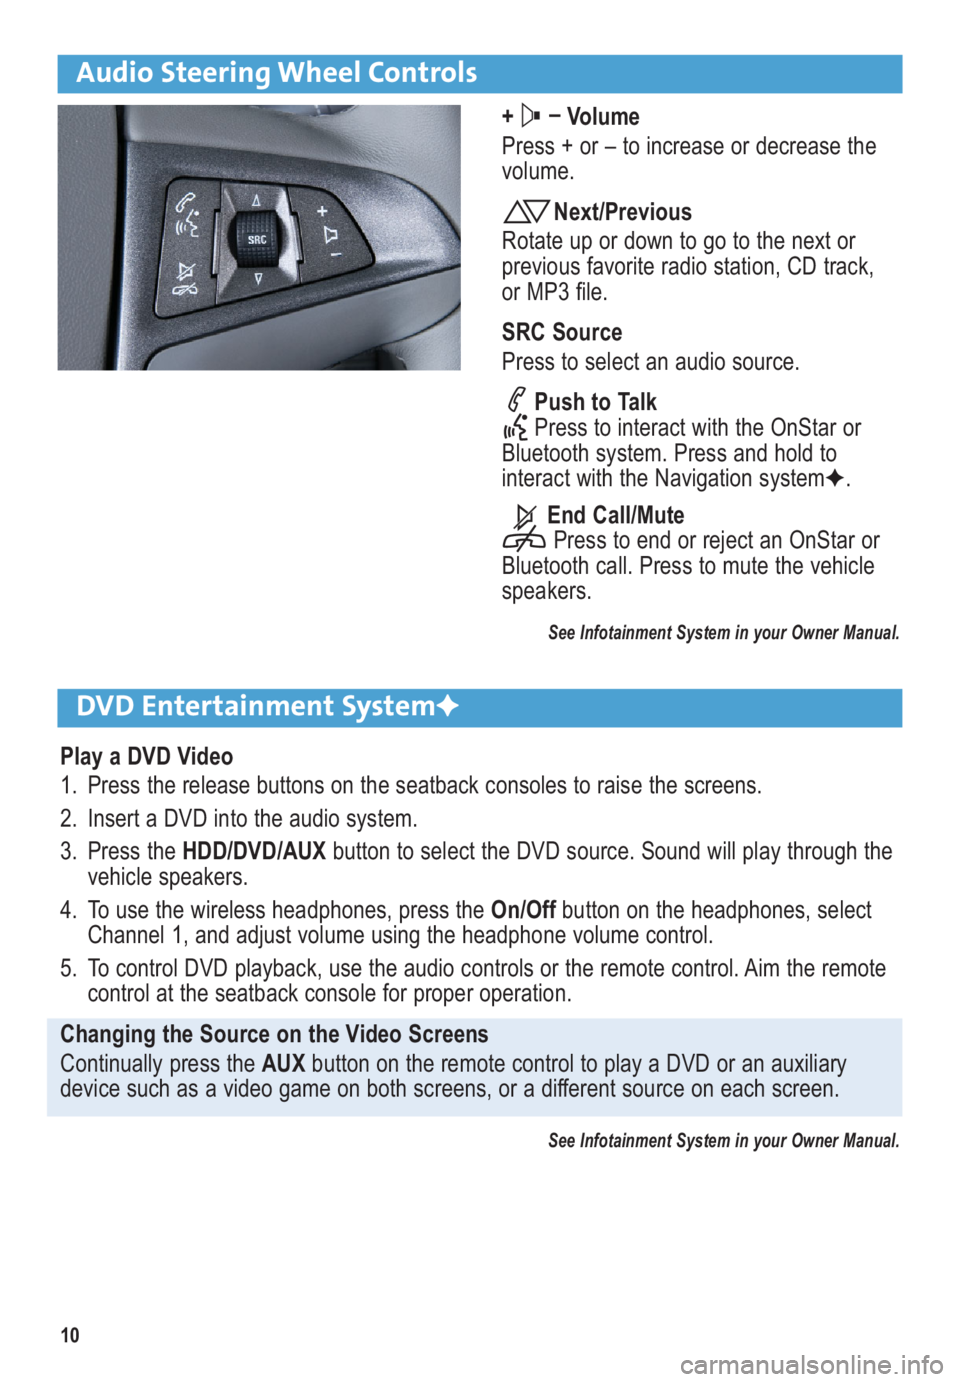
Audio Steering Wheel Controls
+ –
Volume
Press + or – to increase or decrease the
volume.
Next/Previous
Rotate up or down to go to the next or
previous favorite radio station, CD track,
or MP3 file.
SRC Source
Press to select an audio source.
Push to Talk
Press to interact with the OnStar or
Bluetooth system. Press and hold to
interact with the Navigation systemF.
End Call/Mute
Press to end or reject an OnStar or
Bluetooth call. Press to mute the vehicle
speakers.
See Infotainment System in your Owner Manual.
DVD Entertainment SystemF
Play a DVD Video
1. Press the release buttons on the seatback consoles to raise the screens.
2. Insert a DVD into the audio system.
3. Press the HDD/DVD/AUXbutton to select the DVD source. Sound will play through the
vehicle speakers.
4. To use the wireless headphones, press the On/Offbutton on the headphones, select
Channel 1, and adjust volume using the headphone volume control.
5. To control DVD playback, use the audio controls or the remote control. Aim the remote
control at the seatback console for proper operation.
Changing the Source on the Video Screens
Continually press the AUX button on the remote control to play a DVD or an auxiliary
device such as a video game on both screens, or a different source on each screen.
See Infotainment System in your Owner Manual.
Page 11 of 16

11
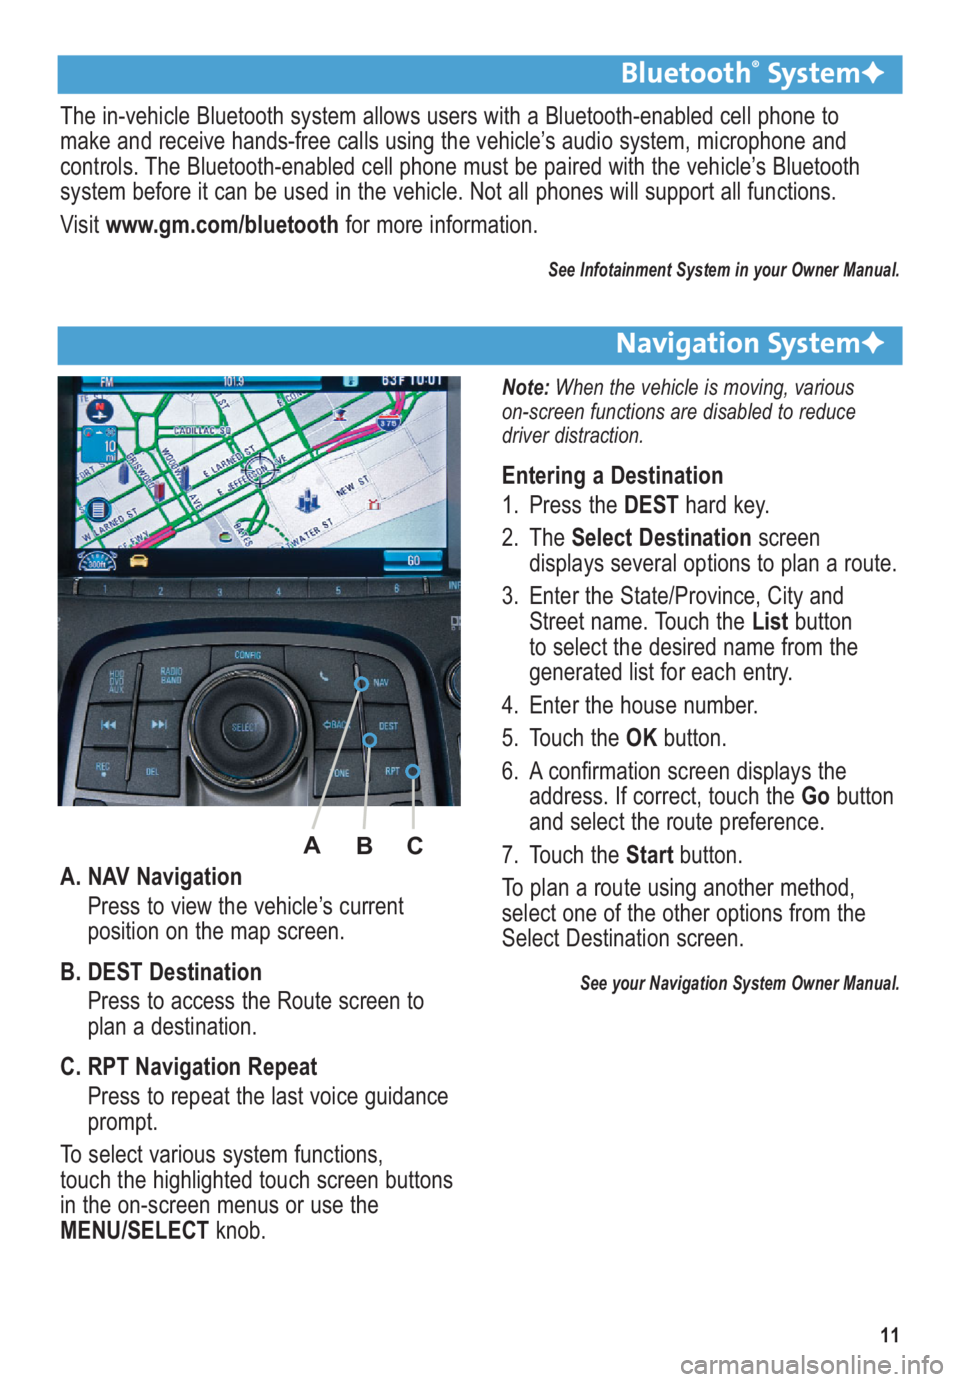
A. NAV Navigation
Press to view the vehicle’s current
position on the map screen.
B. DEST Destination
Press to access the Route screen to
plan a destination.
C. RPT Navigation Repeat
Press to repeat the last voice guidance
prompt.
To select various system functions,
touch the highlighted touch screen buttons
in the on-screen menus or use the
MENU/SELECTknob.
Bluetooth®SystemF
The in-vehicle Bluetooth system allows users with a Bluetooth-enabled cell phone to
make and receive hands-free calls using the vehicle’s audio system, microphone and
controls. The Bluetooth-enabled cell phone must be paired with the vehicle’s Bluetooth
system before it can be used in the vehicle. Not all phones will support all functions.
Visit www.gm.com/bluetoothfor more information.
See Infotainment System in your Owner Manual.
Navigation SystemF
Note: When the vehicle is moving, various
on-screen functions are disabled to reduce
driver distraction.
Entering a Destination
1. Press the DESThard key.
2. The Select Destinationscreen
displays several options to plan a route.
3. Enter the State/Province, City and
Street name. Touch the Listbutton
to select the desired name from the
generated list for each entry.
4. Enter the house number.
5. Touch the OKbutton.
6. A confirmation screen displays the
address. If correct, touch the Gobutton
and select the route preference.
7. Touch the Start button.
To plan a route using another method,
select one of the other options from the
Select Destination screen.
See your Navigation System Owner Manual.
A
B
C