2010 BMW Z4 SDRIVE30I remote control
[x] Cancel search: remote controlPage 105 of 254

Controls
103Reference
At a glance
Driving tips
Communications
Navigation
Entertainment
Mobility
Calibrating the digital compass
The digital compass must be calibrated in the
following situations:
>An incorrect compass direction is shown.
>The compass direction shown does not
change although the direction of
travel does.
>Not all compass directions are shown.
Procedure
1.Make sure that no large metal objects or
overhead power lines are in the vicinity of
your vehicle and that you have enough
space to drive in a circle.
2.Set the currently valid compass zone.
3.Ensure that the retractable hardtop is fully
closed.
4.Press the adjustment button for approx.
6-7 seconds to call up C. Drive at least one
full circle at a maximum speed of 7 km/h.
After the system is calibrated correctly, dis-
play C is replaced by the compass direc-
tions.
5.Open the retractable hardtop fully and
repeat step 4.
Setting right-hand/left-hand steering
Your digital compass is factory-set to right-
hand or left-hand steering, in accordance with
your vehicle.
Setting the language
You can set the language of the display:
Press the adjustment button for approx.
12-13 seconds. Briefly press the adjustment
button again to switch between English, "E",
and German, "O".
The setting is automatically saved after approx.
10 seconds.
Glove compartment
Opening
Pull the handle, arrow2.
The light in the glove compartment comes on.
To prevent injury in the event of an acci-
dent while the vehicle is being driven,
close the glove compartment immediately
after use.<
Closing
Fold cover up.
Locking
Lock with a key, arrow1.
If you hand out the remote control without
the integrated key, such as at a hotel,
refer to page28, the glove compartment cannot
be unlocked.
USB interface for data transmission
Port for importing and exporting data on a USB
device, e.g., music collections, refer to
page158.
Page 117 of 254
Driving tips
115Reference
At a glance
Controls
Communications
Navigation
Entertainment
Mobility
Before driving into a car wash
General information on caring for your BMW
can be found on page208.
With Comfort Access and automatic
transmission
Insert the remote control into the ignition
switch.
The engine can be switched off when the selec-
tor lever is in position N. Refer also to page208.
With Comfort Access and 7-gear sport
automatic transmission with dual
clutch
Insert the remote control into the ignition
switch.
The engine can be switched off when the trans-
mission is in position N. Refer also to page209.
Cargo loading
To avoid loading the tires beyond their
approved carrying capacity, never over-
load the vehicle. Overloading can lead to over-
heating and increases the rate at which damage
develops inside the tires. This can ultimately
result in a sudden blowout.<
Make sure that no liquids are spilled or
leak from their containers in the cargo
area, as this could result in damage to the
vehicle.<
Always position and secure the cargo as
described so that it cannot endanger the
car's occupants, for example if sudden braking
or swerving is necessary.
Never exceed either the approved gross vehicle
weight or either of the approved axle loads, refer
to page228, as excessive loads can pose a
safety hazard, and may also place you in viola-
tion of traffic safety laws.
Heavy or hard objects should not be carried
loose inside the car, since they could be thrown
around, for example as a result of heavy braking,
sudden swerves, etc., and endanger the occu-
pants.<
Determining loading limit
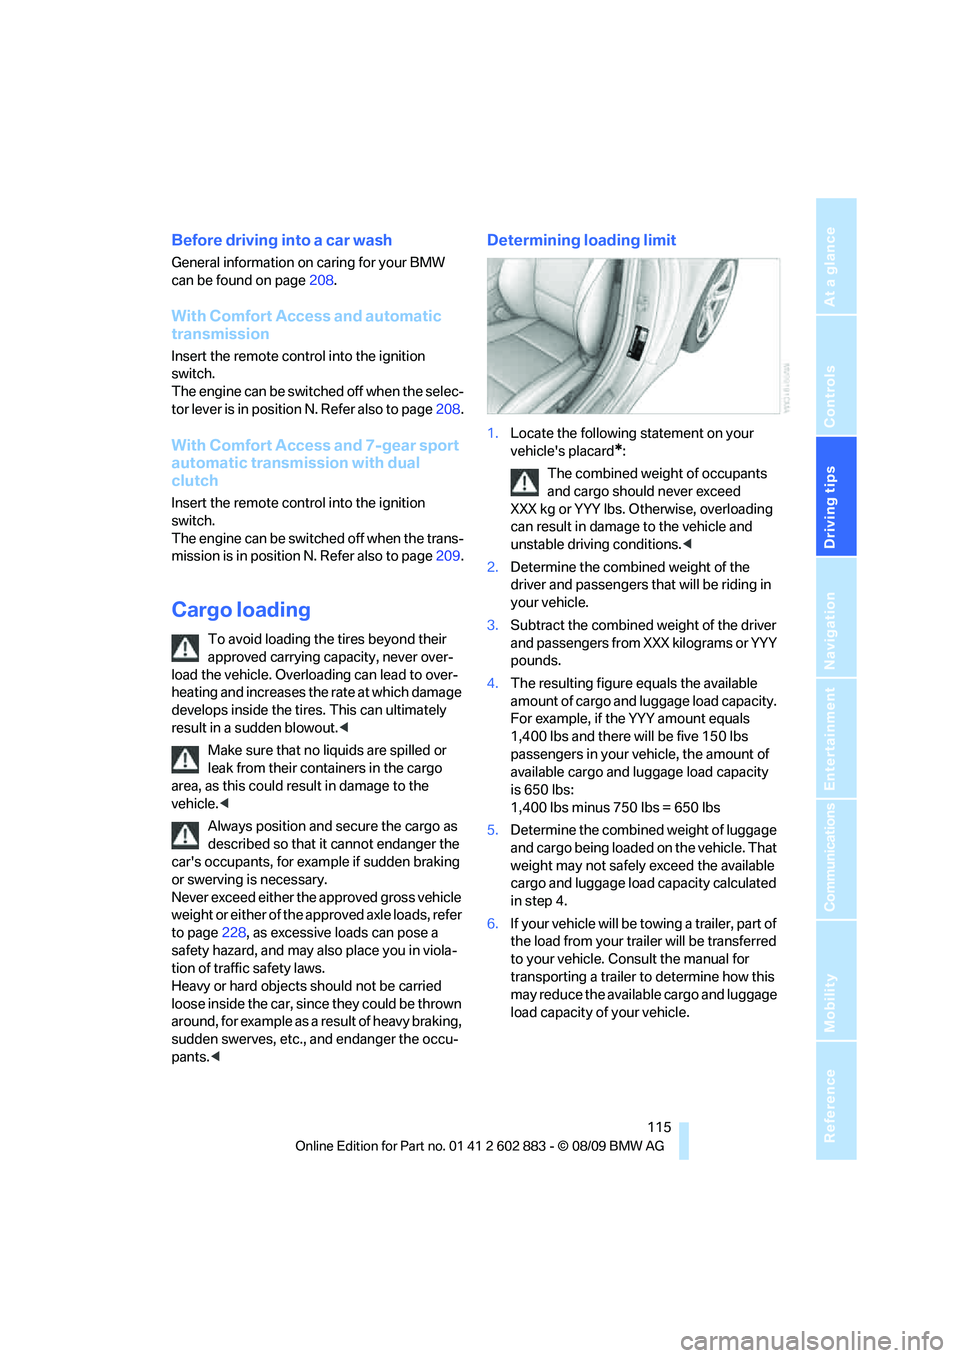
1.Locate the following statement on your
vehicle's placard
*:
The combined weight of occupants
and cargo should never exceed
XXX kg or YYY lbs. Otherwise, overloading
can result in damage to the vehicle and
unstable driving conditions.<
2.Determine the combined weight of the
driver and passengers that will be riding in
your vehicle.
3.Subtract the combined weight of the driver
and passengers from XXX kilograms or YYY
pounds.
4.The resulting figure equals the available
amount of cargo and luggage load capacity.
For example, if the YYY amount equals
1,400 lbs and there will be five 150 lbs
passengers in your vehicle, the amount of
available cargo and luggage load capacity
is 650 lbs:
1,400 lbs minus 750 lbs = 650 lbs
5.Determine the combined weight of luggage
and cargo being loaded on the vehicle. That
weight may not safely exceed the available
cargo and luggage load capacity calculated
in step 4.
6.If your vehicle will be towing a trailer, part of
the load from your trailer will be transferred
to your vehicle. Consult the manual for
transporting a trailer to determine how this
may reduce the available cargo and luggage
load capacity of your vehicle.
Page 132 of 254

Destination guidance
130
Destination guidance
Starting destination
guidance
1."Navigation"
2."Enter address"
3.Select the destination.
4."Accept destination"
5."Start guidance"
The route is displayed on the Control Display
after it is calculated.
Terminating destination
guidance
1."Navigation"
2."Map"
3.Select the symbol.
4."Stop guidance"
Continuing destination
guidance
If the destination was not reached during the
last trip, destination guidance can be resumed.
"Resume guidance"
Route criteria
General information
You can influence the calculated route by
choosing certain route criteria. You can change
the route criteria as often as you like during des-
tination entry or during destination guidance.
The route is planned according to fixed rules.
The type of road is taken into account, e.g.,
whether it is a highway or a winding road. As a
result, the routes recommended by the naviga-
tion system may not always be the same ones
that you would choose based on personal expe-
rience.The settings are stored for the remote control
currently in use.
Changing route criteria
1."Navigation"
2."Map"
3."Route preference"
4.Selecting a criterion:
>"Fast route": time-optimized route,
which is a combination of the shortest
possible route and the fastest roads
>"Efficient route": optimized combination
of the fastest and shortest roads
>"Short route": short distance, irrespec-
tive of how fast or slow progress will be
>"Alternative routes": other suggested
alternative routes while destination
guidance is active
5.Select additional route criteria, if desired.
Where possible, the selected criteria will be
avoided on the route.
>Avoid highways where possible:
"Avoid highways"
>Avoid toll roads where possible:
"Avoid toll roads"
>Avoid ferries where possible:
"Avoid ferries"
The setting applies to the current route and to
the planning of future routes.
Page 134 of 254
Destination guidance
132
Destination guidance
through voice instructions
Switching voice instructions on/off
Voice instructions can be switched on or off
during destination guidance.
1."Navigation"
2."Map"
3. Select the symbol.
For rapid access, the feature can be stored on a
programmable memory key, refer to page21.
Repeating a voice instruction
1."Navigation"
2."Map"
3. Highlight the symbol.
4.Press the controller twice.
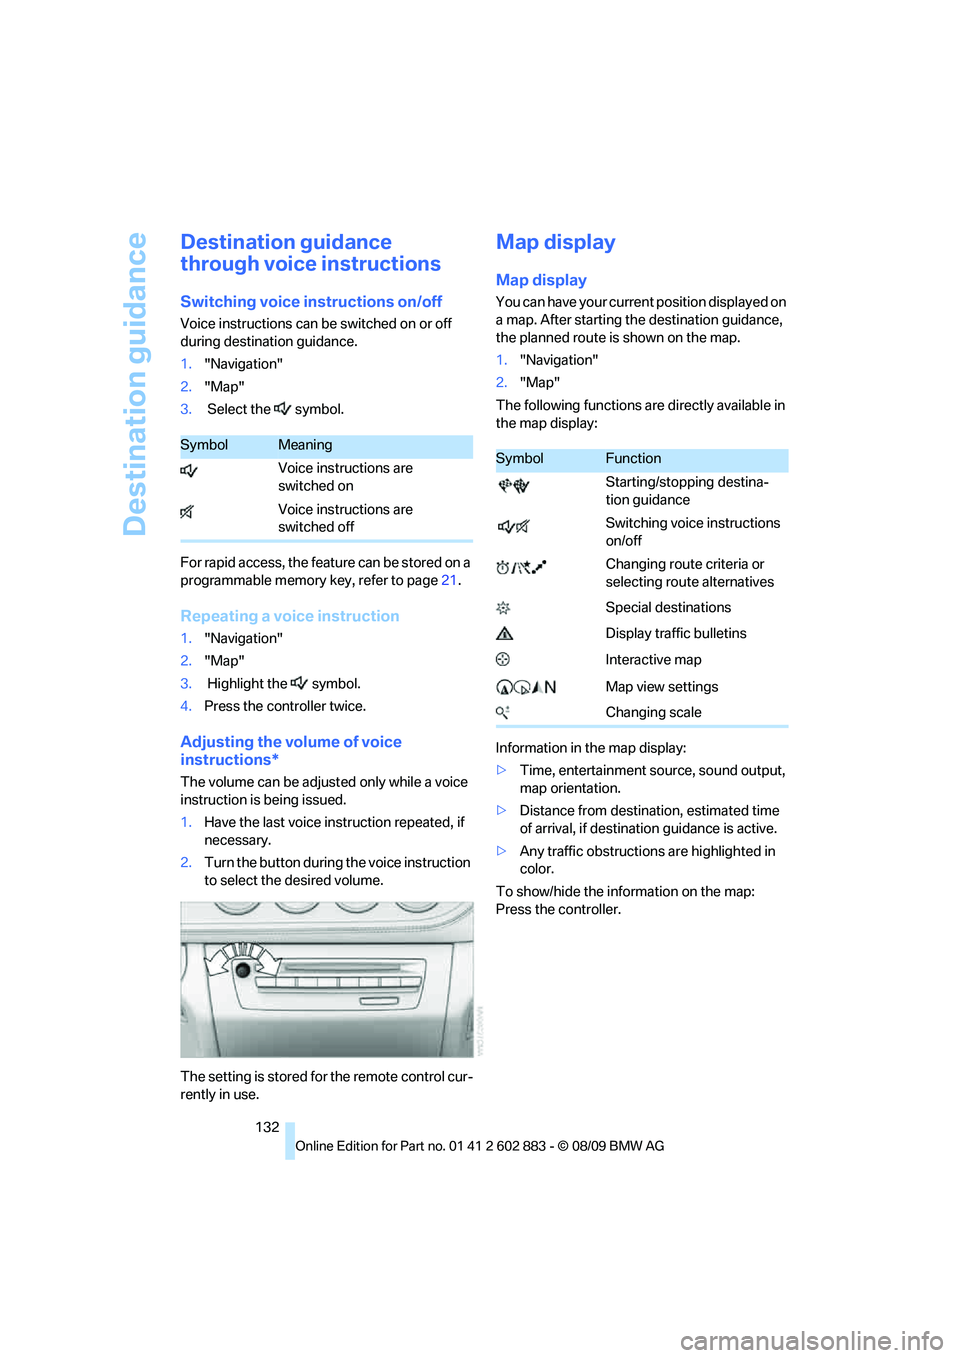
Adjusting the volume of voice
instructions*
The volume can be adjusted only while a voice
instruction is being issued.
1.Have the last voice instruction repeated, if
necessary.
2.Turn the button during the voice instruction
to select the desired volume.
The setting is stored for the remote control cur-
rently in use.
Map display
Map display
You can have your current position displayed on
a map. After starting the destination guidance,
the planned route is shown on the map.
1."Navigation"
2."Map"
The following functions are directly available in
the map display:
Information in the map display:
>Time, entertainment source, sound output,
map orientation.
>Distance from destination, estimated time
of arrival, if destination guidance is active.
>Any traffic obstructions are highlighted in
color.
To show/hide the information on the map:
Press the controller.
SymbolMeaning
Voice instructions are
switched on
Voice instructions are
switched offSymbolFunction
Starting/stopping destina-
tion guidance
Switching voice instructions
on/off
Changing route criteria or
selecting route alternatives
Special destinations
Display traffic bulletins
Interactive map
Map view settings
Changing scale
Page 142 of 254
On/off and tone
140
On/off and tone
The following audio and video sources share
the same control elements and adjustments:
>Radio
>CD/DVD player
>CD/DVD changer
*
>Video*
>External devices, e.g., MP3 player
Controls
The audio and video sources can be controlled
using the:
>Buttons near the CD/DVD player
>iDrive
>Buttons on the steering wheel, refer
to page10
>Programmable memory keys, refer
to page21
>Voice activation system
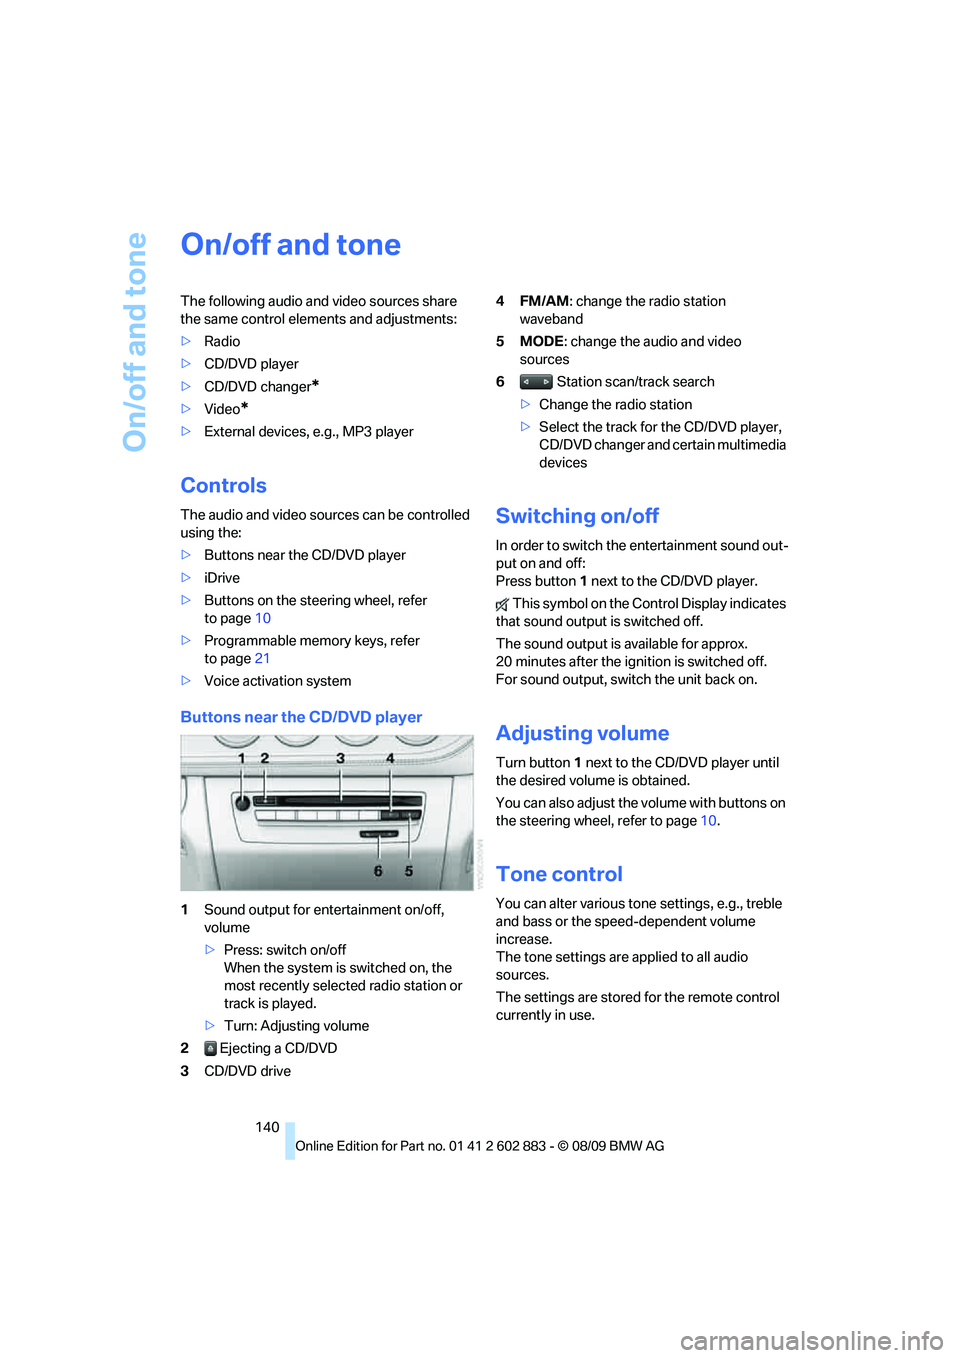
Buttons near the CD/DVD player
1Sound output for entertainment on/off,
volume
>Press: switch on/off
When the system is switched on, the
most recently selected radio station or
track is played.
>Turn: Adjusting volume
2 Ejecting a CD/DVD
3CD/DVD drive4FM/AM: change the radio station
waveband
5MODE: change the audio and video
sources
6 Station scan/track search
>Change the radio station
>Select the track for the CD/DVD player,
CD/DVD changer and certain multimedia
devices
Switching on/off
In order to switch the entertainment sound out-
put on and off:
Press button1 next to the CD/DVD player.
This symbol on the Control Display indicates
that sound output is switched off.
The sound output is available for approx.
20 minutes after the ignition is switched off.
For sound output, switch the unit back on.
Adjusting volume
Turn button1 next to the CD/DVD player until
the desired volume is obtained.
You can also adjust the volume with buttons on
the steering wheel, refer to page10.
Tone control
You can alter various tone settings, e.g., treble
and bass or the speed-dependent volume
increase.
The tone settings are applied to all audio
sources.
The settings are stored for the remote control
currently in use.
Page 145 of 254
Navigation
Entertainment
Driving tips
143Reference
At a glance
Controls
Communications
Mobility
Radio
Your radio is designed for reception of the fol-
lowing stations:
>FM and AM
>HD Radio
*
>Satellite radio*
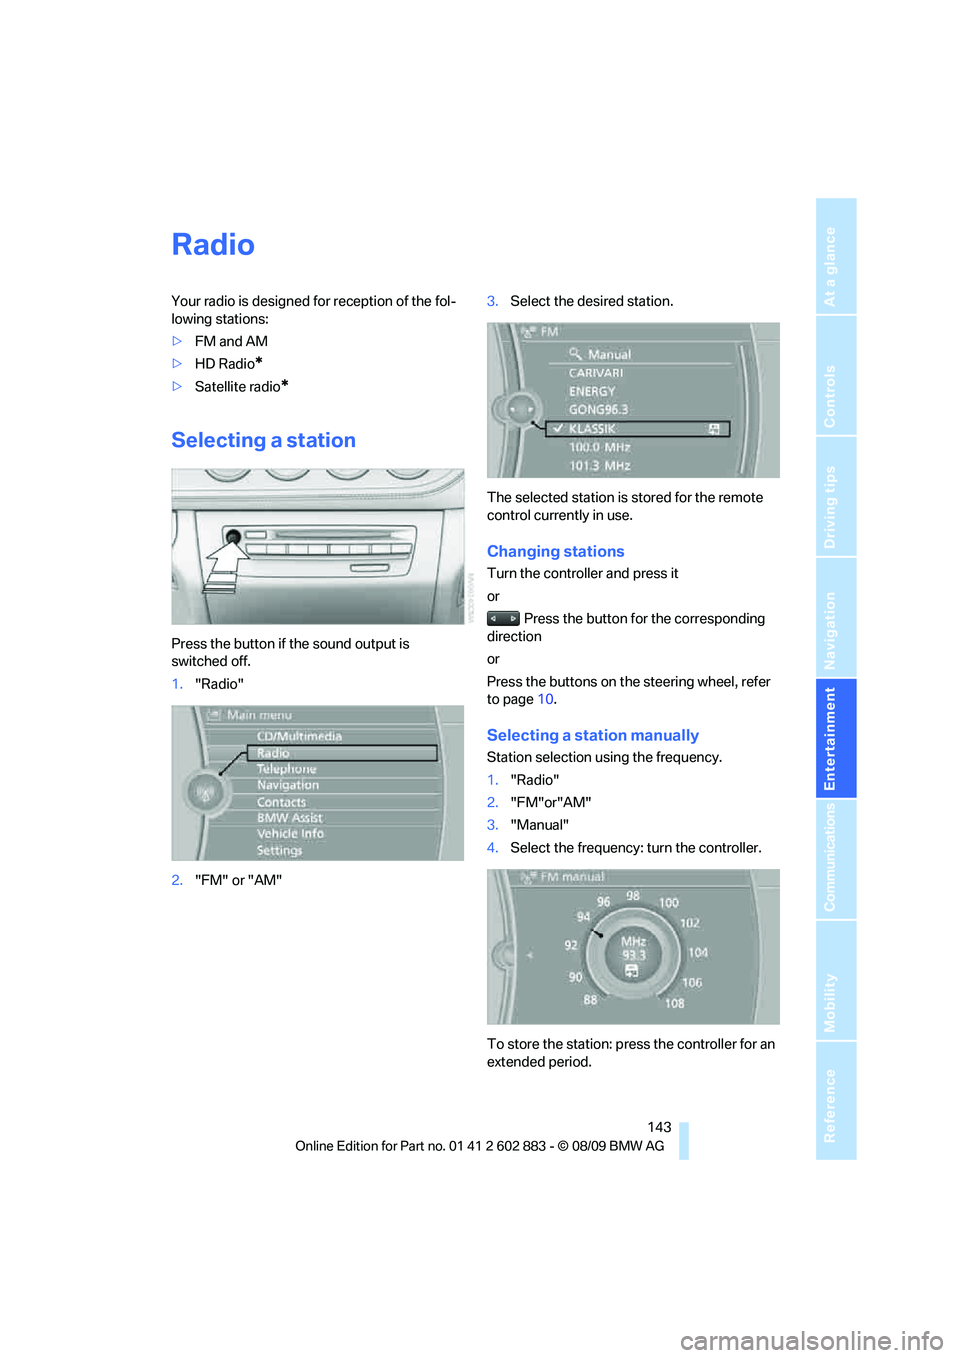
Selecting a station
Press the button if the sound output is
switched off.
1."Radio"
2."FM" or "AM"3.Select the desired station.
The selected station is stored for the remote
control currently in use.
Changing stations
Turn the controller and press it
or
Press the button for the corresponding
direction
or
Press the buttons on the steering wheel, refer
to page10.
Selecting a station manually
Station selection using the frequency.
1."Radio"
2."FM"or"AM"
3."Manual"
4.Select the frequency: turn the controller.
To store the station: press the controller for an
extended period.
Page 146 of 254
Radio
144
Storing a station
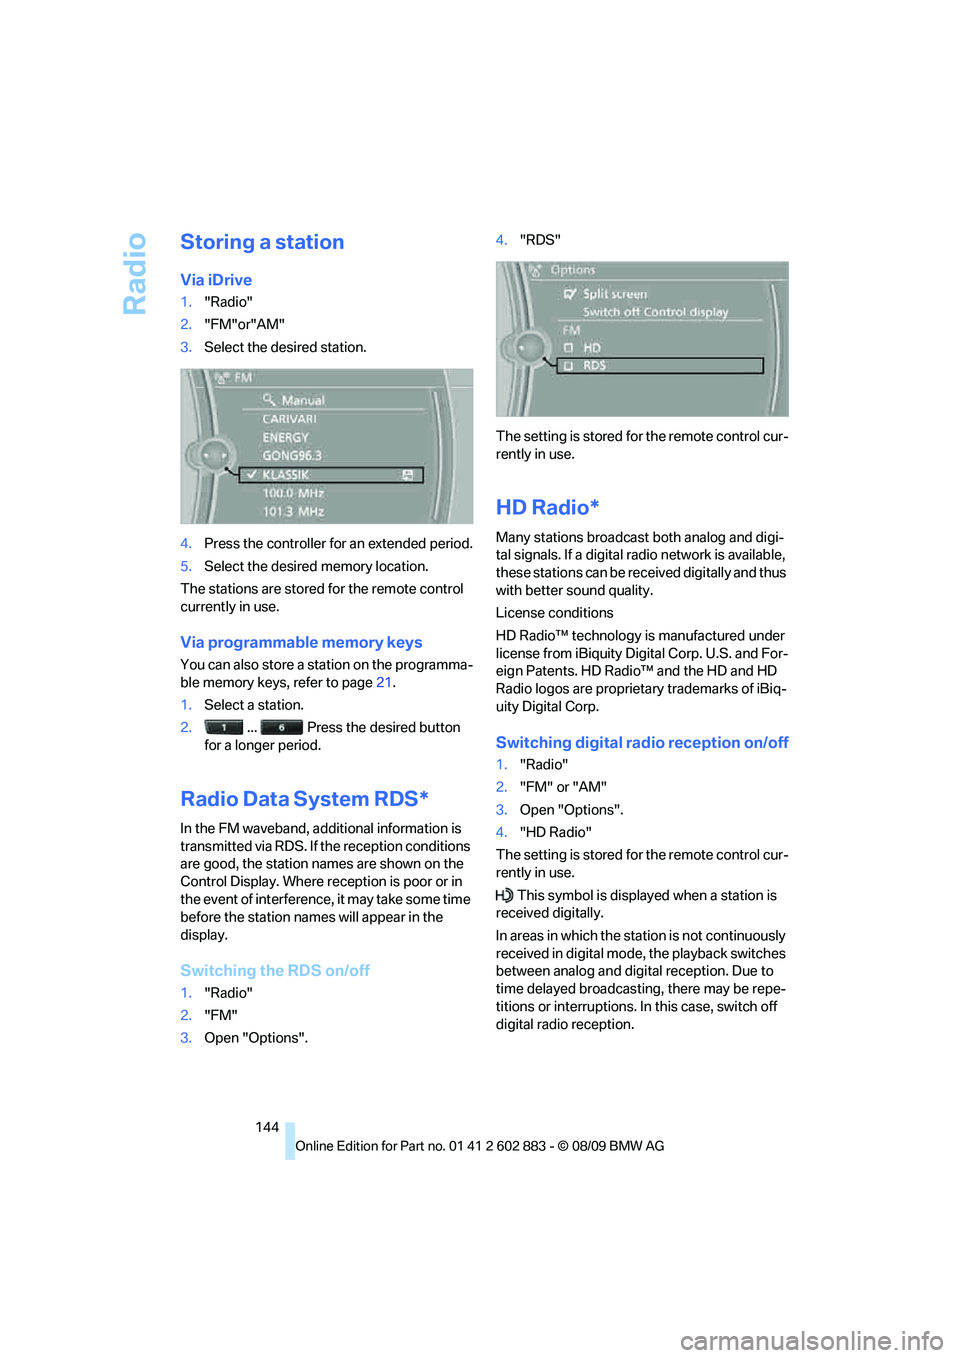
Via iDrive
1."Radio"
2."FM"or"AM"
3.Select the desired station.
4.Press the controller for an extended period.
5.Select the desired memory location.
The stations are stored for the remote control
currently in use.
Via programmable memory keys
You can also store a station on the programma-
ble memory keys, refer to page21.
1.Select a station.
2. ... Press the desired button
for a longer period.
Radio Data System RDS*
In the FM waveband, additional information is
transmitted via RDS. If the reception conditions
are good, the station names are shown on the
Control Display. Where reception is poor or in
the event of interference, it may take some time
before the station names will appear in the
display.
Switching the RDS on/off
1."Radio"
2."FM"
3.Open "Options".4."RDS"
The setting is stored for the remote control cur-
rently in use.
HD Radio*
Many stations broadcast both analog and digi-
tal signals. If a digital radio network is available,
these stations can be received digitally and thus
with better sound quality.
License conditions
HD Radio™ technology is manufactured under
license from iBiquity Digital Corp. U.S. and For-
eign Patents. HD Radio™ and the HD and HD
Radio logos are proprietary trademarks of iBiq-
uity Digital Corp.
Switching digital radio reception on/off
1."Radio"
2."FM" or "AM"
3.Open "Options".
4."HD Radio"
The setting is stored for the remote control cur-
rently in use.
This symbol is displayed when a station is
received digitally.
In areas in which the station is not continuously
received in digital mode, the playback switches
between analog and digital reception. Due to
time delayed broadcasting, there may be repe-
titions or interruptions. In this case, switch off
digital radio reception.
Page 147 of 254
Navigation
Entertainment
Driving tips
145Reference
At a glance
Controls
Communications
Mobility
Displaying additional information
Some stations broadcast additional information
on the current track, such as the name of the
artist.
1.Select the desired station.
2.Open "Options".
3."Station info"
Selecting a substation
1.Select the desired station.
2.Press the controller.
3.Select the substation.
Presets
It is possible to store up to 40 stations.
Calling up a station
1."Radio"
2."Presets"
3.Select the desired station.
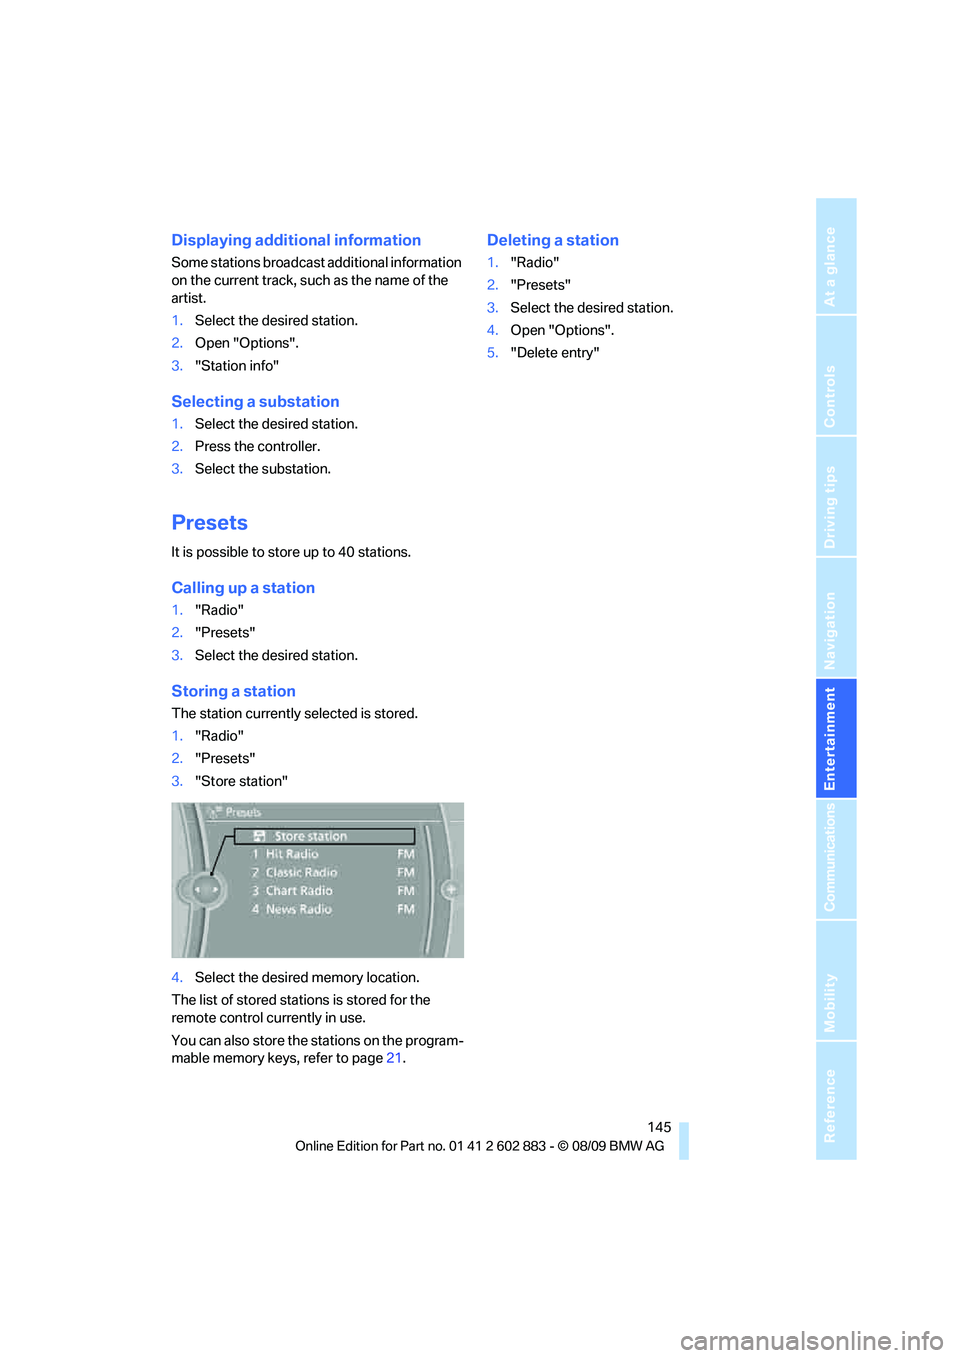
Storing a station
The station currently selected is stored.
1."Radio"
2."Presets"
3."Store station"
4.Select the desired memory location.
The list of stored stations is stored for the
remote control currently in use.
You can also store the stations on the program-
mable memory keys, refer to page21.
Deleting a station
1."Radio"
2."Presets"
3.Select the desired station.
4.Open "Options".
5."Delete entry"