2010 BMW 328I CONVERTIBLE I drive
[x] Cancel search: I drivePage 136 of 266

Destination entry
134 If necessary, select this entry with {Yes}. Then
select the desired town/city from that list.<
The town/city can also be selected from the list
via iDrive: turn the controller until the town/city
is selected and press the controller.
Entering a street or intersection
The street or intersection is entered in the same
manner as the town/city.
Entering a house number
You can enter house numbers up to 999:
Starting destination guidance
Destination guidance starts immediately.
Adding further intermediate
destinations
Further intermediate destinations can be
added.
Storing destinations
The destination is automatically added to the
list of last destinations.
Planning a trip
New trip
Various intermediate destinations can be
entered for a trip.
1."Navigation"
2."Map"
3.Move the controller to the left, if necessary.
4.Select the symbol.
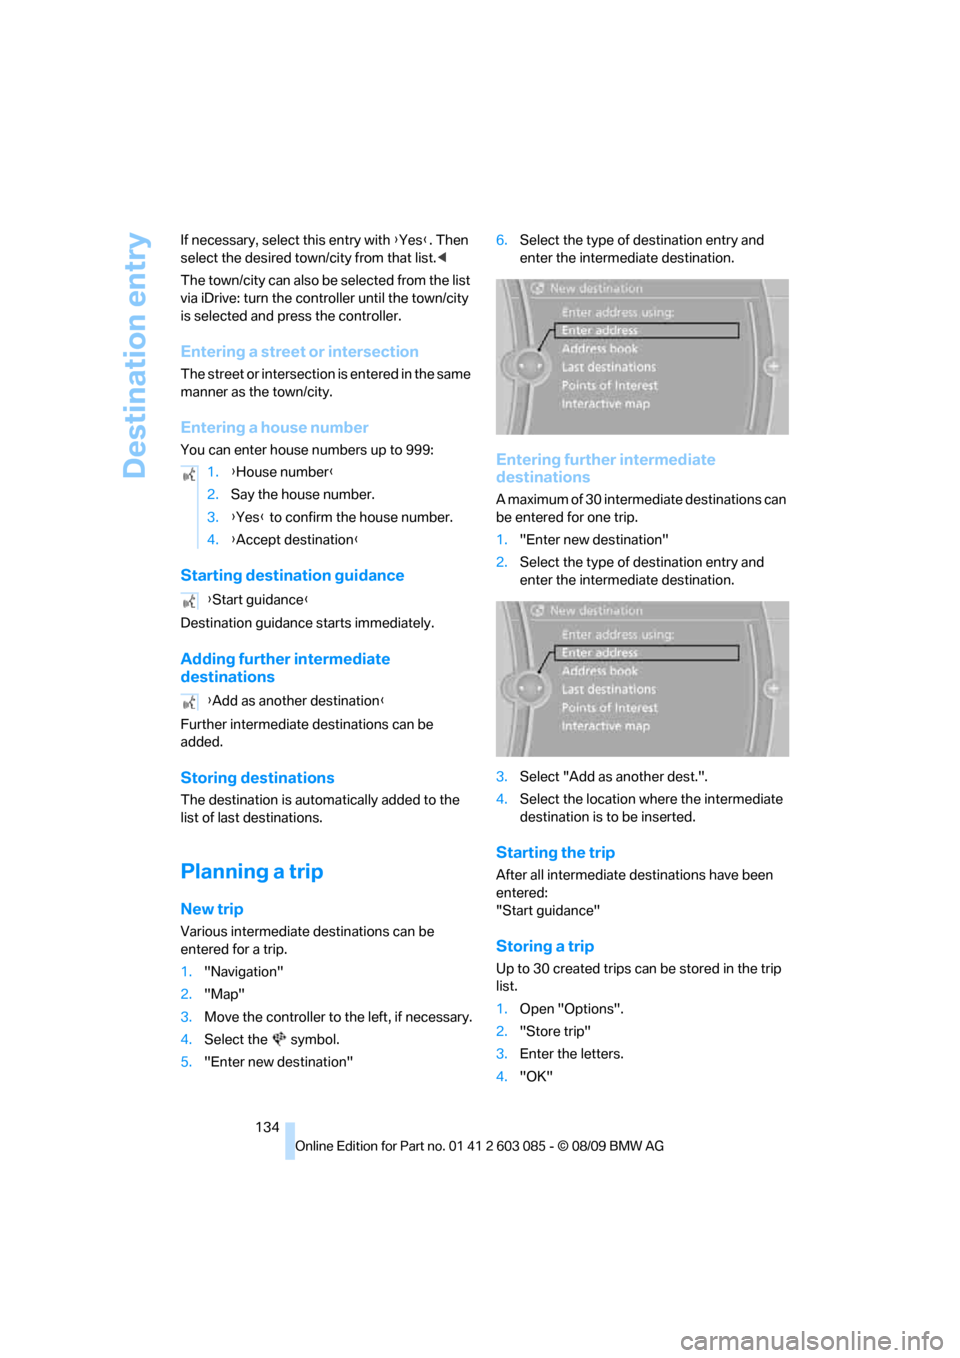
5."Enter new destination"6.Select the type of destination entry and
enter the intermediate destination.
Entering further intermediate
destinations
A maximum of 30 intermediate destinations can
be entered for one trip.
1."Enter new destination"
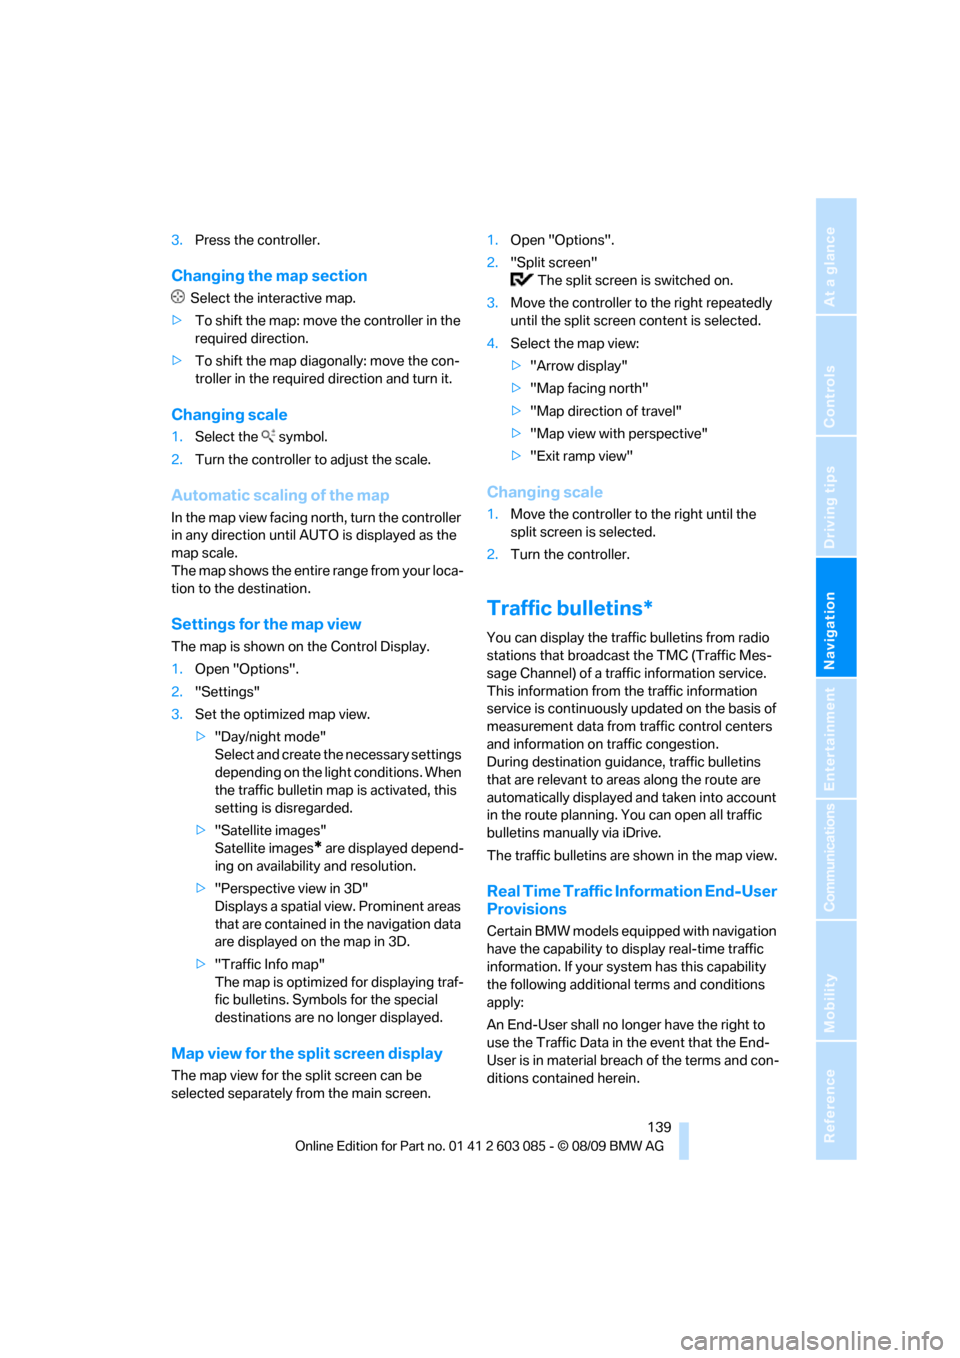
2.Select the type of destination entry and
enter the intermediate destination.
3.Select "Add as another dest.".
4.Select the location where the intermediate
destination is to be inserted.
Starting the trip
After all intermediate destinations have been
entered:
"Start guidance"
Storing a trip
Up to 30 created trips can be stored in the trip
list.
1.Open "Options".
2."Store trip"
3.Enter the letters.
4."OK" 1.{House number}
2.Say the house number.
3.{Yes} to confirm the house number.
4.{Accept destination}
{Start guidance}
{Add as another destination}
Page 141 of 266

Navigation
Driving tips
139Reference
At a glance
Controls
Communications
Entertainment
Mobility
3.Press the controller.
Changing the map section
Select the interactive map.
>To shift the map: move the controller in the
required direction.
>To shift the map diagonally: move the con-
troller in the required direction and turn it.
Changing scale
1.Select the symbol.
2.Turn the controller to adjust the scale.
Automatic scaling of the map
In the map view facing north, turn the controller
in any direction until AUTO is displayed as the
map scale.
The map shows the entire range from your loca-
tion to the destination.
Settings for the map view
The map is shown on the Control Display.
1.Open "Options".
2."Settings"
3.Set the optimized map view.
>"Day/night mode"
Select and create the necessary settings
depending on the light conditions. When
the traffic bulletin map is activated, this
setting is disregarded.
>"Satellite images"
Satellite images
* are displayed depend-
ing on availability and resolution.
>"Perspective view in 3D"
Displays a spatial view. Prominent areas
that are contained in the navigation data
are displayed on the map in 3D.
>"Traffic Info map"
The map is optimized for displaying traf-
fic bulletins. Symbols for the special
destinations are no longer displayed.
Map view for the split screen display
The map view for the split screen can be
selected separately from the main screen.1.Open "Options".
2."Split screen"
The split screen is switched on.
3.Move the controller to the right repeatedly
until the split screen content is selected.
4.Select the map view:
>"Arrow display"
>"Map facing north"
>"Map direction of travel"
>"Map view with perspective"
>"Exit ramp view"
Changing scale
1.Move the controller to the right until the
split screen is selected.
2.Turn the controller.
Traffic bulletins*
You can display the traffic bulletins from radio
stations that broadcast the TMC (Traffic Mes-
sage Channel) of a traffic information service.
This information from the traffic information
service is continuously updated on the basis of
measurement data from traffic control centers
and information on traffic congestion.
During destination guidance, traffic bulletins
that are relevant to areas along the route are
automatically displayed and taken into account
in the route planning. You can open all traffic
bulletins manually via iDrive.
The traffic bulletins are shown in the map view.
Real Time Traffic Information End-User
Provisions
Certain BMW models equipped with navigation
have the capability to display real-time traffic
information. If your system has this capability
the following additional terms and conditions
apply:
An End-User shall no longer have the right to
use the Traffic Data in the event that the End-
User is in material breach of the terms and con-
ditions contained herein.
Page 143 of 266

Navigation
Driving tips
141Reference
At a glance
Controls
Communications
Entertainment
Mobility
Traffic bulletins in the map
When the traffic bulletin map is activated, the
Control Display changes to a grayscale display.
This enables a better view of the traffic bulle-
tins. The day/night mode is disregarded in this
setting. The symbols for the special destina-
tions are no longer displayed.
1."Navigation"
2."Map"
3.Open "Options".
4."Settings"
5."Traffic Info map"
Symbols in the map view
Depending on the scale of the map and the
location of the traffic obstruction along the
route, the symbols for the traffic obstructions
are displayed.
Additional information in the map view
Depending on the map scale, a traffic obstruc-
tion's length, direction and impact are displayed
on the map using triangles or gray bars along
the calculated route.
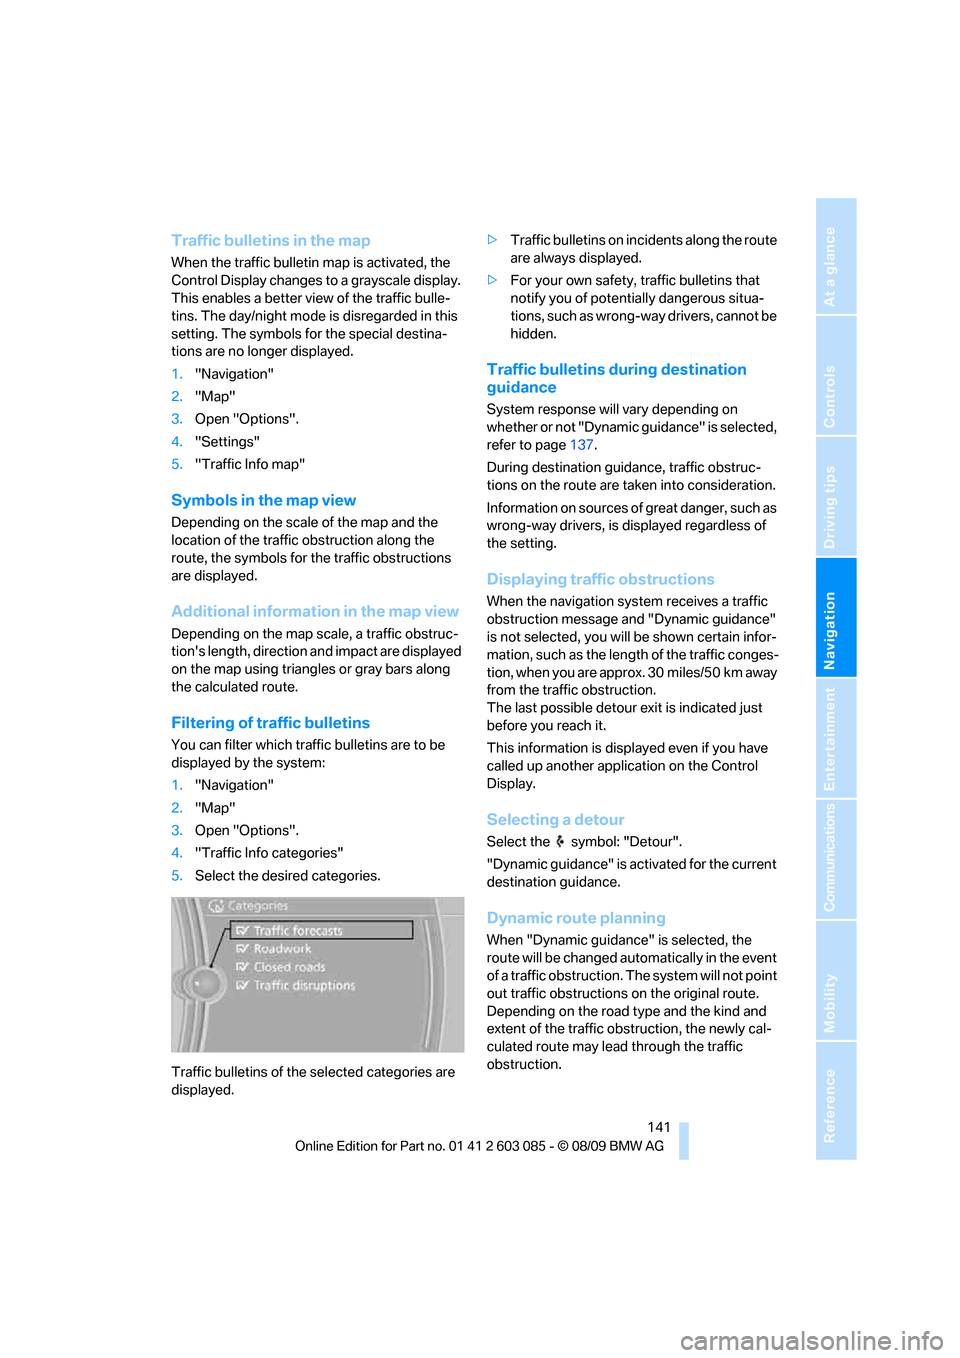
Filtering of traffic bulletins
You can filter which traffic bulletins are to be
displayed by the system:
1."Navigation"
2."Map"
3.Open "Options".
4."Traffic Info categories"
5.Select the desired categories.
Traffic bulletins of the selected categories are
displayed.>Traffic bulletins on incidents along the route
are always displayed.
>For your own safety, traffic bulletins that
notify you of potentially dangerous situa-
tions, such as wrong-way drivers, cannot be
hidden.
Traffic bulletins during destination
guidance
System response will vary depending on
whether or not "Dynamic guidance" is selected,
refer to page137.
During destination guidance, traffic obstruc-
tions on the route are taken into consideration.
Information on sources of great danger, such as
wrong-way drivers, is displayed regardless of
the setting.
Displaying traffic obstructions
When the navigation system receives a traffic
obstruction message and "Dynamic guidance"
is not selected, you will be shown certain infor-
mation, such as the length of the traffic conges-
tion, when you are approx. 30 miles/50 km away
from the traffic obstruction.
The last possible detour exit is indicated just
before you reach it.
This information is displayed even if you have
called up another application on the Control
Display.
Selecting a detour
Select the symbol: "Detour".
"Dynamic guidance" is activated for the current
destination guidance.
Dynamic route planning
When "Dynamic guidance" is selected, the
route will be changed automatically in the event
of a traffic obstruction. The system will not point
out traffic obstructions on the original route.
Depending on the road type and the kind and
extent of the traffic obstruction, the newly cal-
culated route may lead through the traffic
obstruction.
Page 148 of 266

On/off and tone
146
On/off and tone
The following audio and video sources share
the same control elements and adjustments:
>Radio
>CD/DVD player
>CD changer
*
>Video*
>External devices, e.g. MP3 player
Controls
The audio and video sources can be controlled
using the:
>Buttons near the CD/DVD player
>iDrive
>Buttons on the steering wheel, refer to
page10
>Programmable memory keys, refer to
page20
>Voice activation system
Buttons in the area of the CD/DVD
player
1Sound output for entertainment on/off, vol-
ume
>Press: switch on/off
When you switch on the unit, the last set
radio station or track is played.
>Turn: adjusting the volume
2 Eject the CD/DVD
3CD/DVD drive
*
4FM/AM: change the radio station wave-
band
5MODE: change the audio and video
sources
6 Station scan/track search
>Change the radio station
>Select the track for the CD/DVD player,
CD changer and certain multimedia
devices
Switching on/off
To switch the entertainment audio output on or
off:
Press button1 next to the CD/DVD player.
This symbol on the Control Display indicates
that sound output is switched off.
The sound output is available for approx.
20 minutes after the ignition was switched off.
For sound output, switch the unit back on.
Adjusting volume
Turn button1 next to the CD/DVD player until
the desired volume is obtained.
You can also adjust the volume with buttons on
the steering wheel, refer to page10.
Tone control
You can alter various tone settings, e.g. treble
and bass or the speed-dependent volume
increase.
The tone settings are applied to all audio
sources.
The settings are stored for the remote control
currently in use.
Treble, bass, balance, fader
>"Balance": left/right volume distribution
Page 151 of 266

Navigation
Entertainment
Driving tips
149Reference
At a glance
Controls
Communications
Mobility
Radio
Your radio is designed for reception of the fol-
lowing stations:
>FM and AM
>HD Radio
*
>Satellite radio*
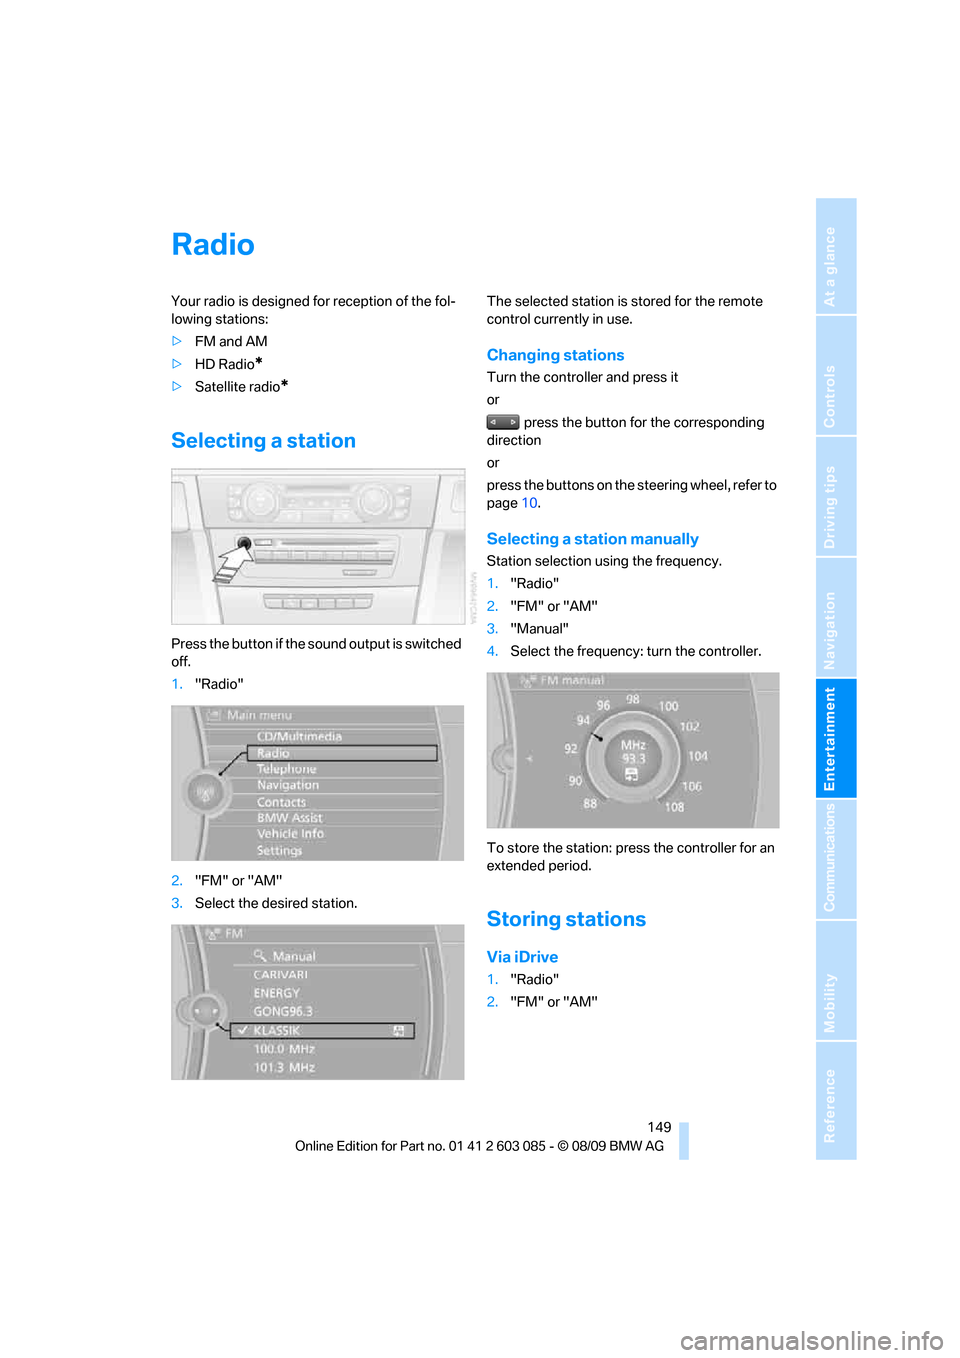
Selecting a station
Press the button if the sound output is switched
off.
1."Radio"
2."FM" or "AM"
3.Select the desired station.The selected station is stored for the remote
control currently in use.
Changing stations
Turn the controller and press it
or
press the button for the corresponding
direction
or
press the buttons on the steering wheel, refer to
page10.
Selecting a station manually
Station selection using the frequency.
1."Radio"
2."FM" or "AM"
3."Manual"
4.Select the frequency: turn the controller.
To store the station: press the controller for an
extended period.
Storing stations
Via iDrive
1."Radio"
2."FM" or "AM"
Page 155 of 266

Navigation
Entertainment
Driving tips
153Reference
At a glance
Controls
Communications
Mobility
4."Manage subscription"
The phone number and an electronic serial
number, ESN, are displayed.
5.Call Sirius to unsubscribe from the chan-
nels.
Selecting a channel
You can only listen to enabled channels.
The selected channel is stored for the remote
control currently in use.
Via iDrive
1."Radio"
2."Satellite radio"
3.Select "All Channels" or the desired cate-
gory.
4.Select the desired channel.
Via the button in the area of the CD/
DVD player
Press the button for the corresponding
direction.
The next channel is selected.
Via direct channel entry
1."Radio"
2."Satellite radio"
3."Select channel"
4.Turn the controller until the desired channel
is reached and press the controller.
Storing a channel
1."Radio"
2."Satellite radio"
3.If necessary, open "All Channels" or the
desired category.
4.Select the desired channel.
5.Press the controller again.
6.Press the controller again to confirm the
highlighted channel.
7.Select the desired memory location.
The channels are stored for the remote control
currently in use.
You can also store the channels on the pro-
grammable memory keys, refer to page20.
Changing the list view
The list view changes every time the first sym-
bol on the navigation bar is pressed.
Information on the channel is displayed.
SymbolFunction
Channel name
Artist
Track
Page 159 of 266

Navigation
Entertainment
Driving tips
157Reference
At a glance
Controls
Communications
Mobility
CD/DVD player and CD changer
CD/DVD playback
Inserting a CD/DVD
Insert the CD/DVD into the drive with the
labeled side facing up. The CD/DVD is drawn in
automatically.
Playback starts automatically if the sound out-
put is on. For CDs/DVDs with compressed
audio files, it can take several minutes to read in
the data, depending on the directory structure.
Playable formats
CD/DVD player
>DVD: DVD-ROM, DVD-R, DVD+R, DVD-
RW, DVD+RW, DVD-R DL, DVD+R DL, DVD
audio (video part only), DVD video
>CD: CD-ROM, CD-R, CD-RW, CD-DA,
VCD, SVCD
>Compressed audio files: MP3, WMA, AAC
CD changer
*
>CD: CD-ROM, CD-R, CD-RW, CD-DA
Starting playback
Via iDrive
Fill the CD/DVD magazine and insert it, refer to
page161.To start playback if a CD is already located in
the player or changer:
1."CD/Multimedia"
2."CD/DVD"
3.Select the desired CD or DVD:
Ejecting a CD/DVD
Press the button next to the CD/DVD player.
The CD/DVD emerges slightly from the drive.
Audio playback
Selecting a track using the button
Press the button for the appropriate
direction as often as necessary until the desired
track is reached.
*
SymbolFunction
CD/DVD player
CD changer
Page 160 of 266

CD/DVD player and CD changer
158
Selecting a track using iDrive
Audio CDs
1."CD/Multimedia"
2."CD/DVD"
3.Select the desired CD or DVD.
4.Select the desired track to begin playback.
CDs / DVDs with compressed audio
files*
Depending on the data, some letters and num-
bers of the CD/DVD may not be displayed cor-
rectly.
1."CD/Multimedia"
2."CD/DVD"
3.Select the desired CD or DVD.
4.Select the directory, if necessary.
To change to a higher level directory: move
the controller to the left.5.Select a track and press the controller.
Displaying information about the
track*
If information about a track has been stored, it is
displayed automatically:
>Artist
>Album title
>Number of tracks on the CD/DVD
>Track file name
Random play sequence
The tracks on the current CD/DVD are played
once in random sequence.
1."CD/Multimedia"
2."CD/DVD"
3.Select the desired CD or DVD.
4.Open "Options".