Page 253 of 551

�Î
�ÎThe current f ile number and total of
the selected playable f iles are
displayed in the upper display.
Pressing the AUDIO button displays
the artist, album and track (f ile)
names on the navigation screen.
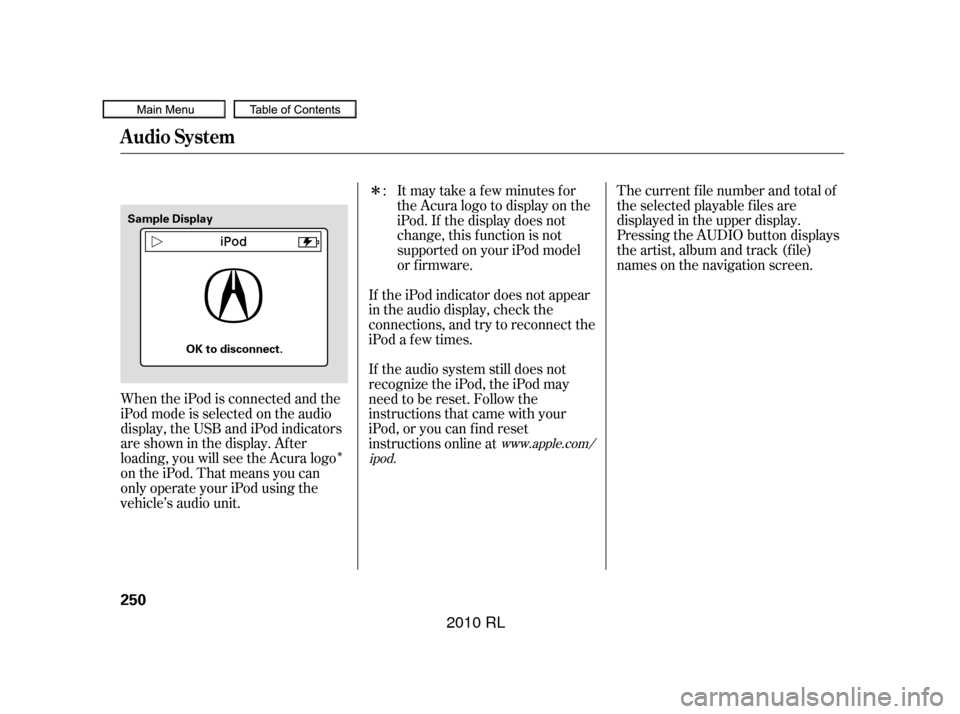
When the iPod is connected and the
iPod mode is selected on the audio
display, the USB and iPod indicators
areshowninthedisplay.After
loading, you will see the Acura logo
on the iPod. That means you can
only operate your iPod using the
vehicle’s audio unit. Itmaytakeafewminutesfor
the Acura logo to display on the
iPod. If the display does not
change, this f unction is not
supported on your iPod model
or f irmware.
If the audio system still does not
recognize the iPod, the iPod may
need to be reset. Follow the
instructions that came with your
iPod, or you can f ind reset
instructions online at If the iPod indicator does not appear
in the audio display, check the
connections, and try to reconnect the
iPod a f ew times. :
www.apple.com/
ipod.
Audio System
250
Sample Display
OK to disconnect.
�����—�����—�����y�
�������������y���
�(�����������y���������y
2010 RL
Page 270 of 551

CONT INUED
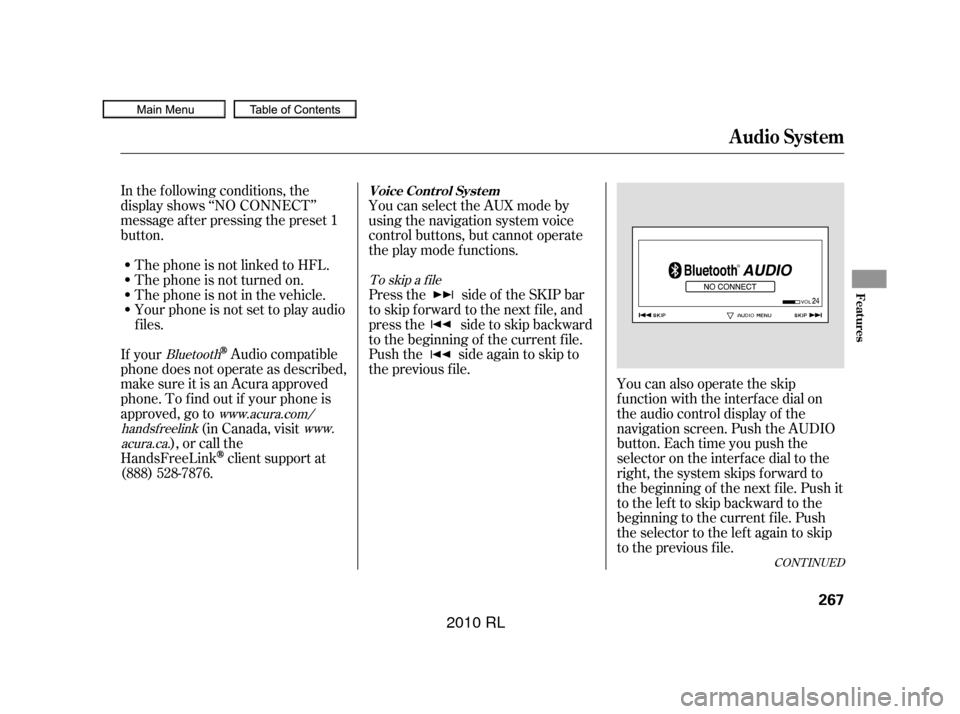
In the following conditions, the
display shows ‘‘NO CONNECT’’
message af ter pressing the preset 1
button.You can also operate the skip
f unction with the interf ace dial on
the audio control display of the
navigation screen. Push the AUDIO
button. Each time you push the
selector on the interface dial to the
right, the system skips forward to
the beginning of the next f ile. Push it
tothelefttoskipbackwardtothe
beginning to the current f ile. Push
the selector to the lef t again to skip
to the previous file.
The phone is not linked to HFL.
You can select the AUX mode by
using the navigation system voice
control buttons, but cannot operate
theplaymodefunctions.
Press the side of the SKIP bar
to skip f orward to the next f ile, and
press the side to skip backward
to the beginning of the current f ile.
Push the side again to skip to
the previous f ile.
The phone is not turned on.
The phone is not in the vehicle.
Your phone is not set to play audio
f iles.
If your
Audio compatible
phone does not operate as described,
make sure it is an Acura approved
phone. To f ind out if your phone is
approved, go to (in Canada, visit
), or call the
HandsFreeLink
client support at
(888) 528-7876.
To skip a f ile
Bluetooth www.acura.com/
handsf reelink www.
acura.ca.
Audio System
Voice Cont rol Syst em
Features
267
�����—�����—�����y�
����
��������y���
�(�����������y���������y
2010 RL
Page 281 of 551

�Û�Ý�´
�µ
�´�µ
�´
�µ �´�µ
Three controls f or the audio system
are mounted in the steering wheel
hub. These let you control basic
f unctions without removing your
hand f rom the wheel.
The VOL button adjusts the volume
up ( ) or down ( ). Press the top
or bottom of the button, hold it until
the desired volume is reached, then
release it. If you are playing a disc, the system
skips to the beginning of the next
track/file (in MP3/WMA mode)
each time you press the top ( ) of
the CH button. Press the bottom
( ) to return to the beginning of the
current track/file. Press it again to
return to the previous track/f ile.
To select a dif f erent disc (f older in
MP3/WMA mode), press and hold
the top ( ) or bottom ( ) of the
CH button until you hear a beep.
The MODE button changes the
mode. Pressing the button
repeatedly selects FM1, FM2, AM,
or disc (if a disc(s) is loaded). On
models with XM Radio, you can also
select XM1 and XM2. If an iPod or a
USB f lash memory device is plugged
into the system, you can also select
AUX.
If you are listening to the radio, use
the CH button to change stations.
Each time you press the top ( ) of
the button, the system goes to the
next preset station on the band you
are listening to. Press the bottom
( ) to go back to the previous
station.
To activate the seek function, press
and hold the top ( ) or bottom ( )
of the CH button until you hear a
beep. The system searches up or
down f rom the current f requency to
find a station with a strong signal.
Remote Audio Controls
278
MODE
BUTTON
CH
BUTTON
VOL
BUTTON
�����—�����—�����y�
����
��������y���
�(�����������y���������y
2010 RL
Page 282 of 551
�´
�µ
�´�µ
If you are listening to XM Radio, use
the CH button to change channels.
Each time you press the top ( ) of
the button, the system goes to the
next preset channel. Press the
bottom( )togobacktothe
previous preset channel.
To select a dif f erent channel of the
category you are listening to, press
and hold the top ( ) or bottom ( )
of the CH button until you hear a
beep.
On all models except Hawaiian
Remote Audio Controls
Features
279
�����—�����—�����y�
����
������
�y���
�(�����������y���������y
2010 RL
Page 283 of 551

Your vehicle’s audio system may
disable itself if it is disconnected
f rom electrical power f or any reason.
To make it work again, you must
enter a specif ic f ive-digit code with
the preset buttons. Because there
are hundreds of number
combinations possible f rom the f ive
digits, making the system work
without knowing the exact code is
nearly impossible.
If you lose the card, you must obtain
the code number f rom your dealer.
To do this, you will need the audio
system’s serial number.If your vehicle’s battery is discon-
nected or goes dead, or the radio
f use is removed, the audio system
will disable itself . If this happens,
youwillsee‘‘ ’’intheupper
display the next time you turn on the
system. Use the preset buttons to
enter the code. The code is located
on the radio code card included in
your owner’s manual kit. When it is
entered correctly, the radio will start
playing.
If you make a mistake entering the
code, do not start over; complete the
f ive-digit sequence, then enter the
correct code. You have 10 tries to
enter the correct code.
If thecodecardislost,yourdealer
can access your code with your
radio’s serial number. To access the
serial number, turn the radio on. It
must display ‘‘ ’’, then turn
the radio off. Push and hold the
preset 1 and preset 6 buttons, thenpush the power/volume knob. The
serial number will appear in two sets
of f our digits.
The system will retain your AM and
FM presets even if power is
disconnected.
You should have received a radio
code card that lists your audio
system’s code and serial numbers. It
is best to store this card in a saf e
place at home. In addition, you
should write the audio system’s
serial number in this owner’s manual.
Radio T hef t Protection
280
�����—�����—�����y�
����
��������y���
�(�����������y���������y
2010 RL
Page 292 of 551

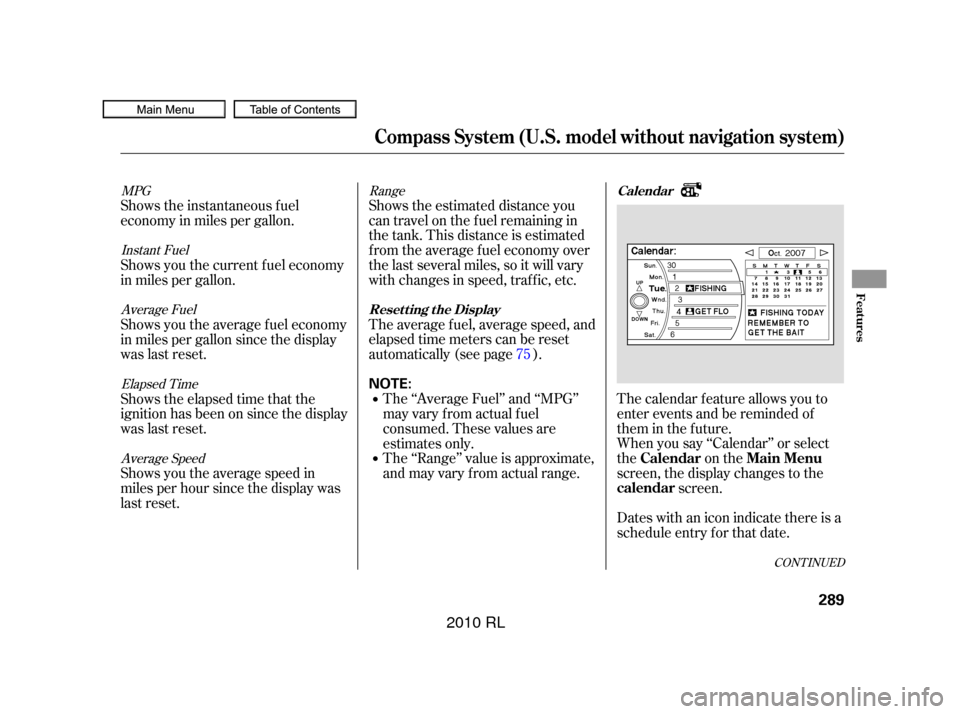
The calendar f eature allows you to
enter events and be reminded of
them in the future.
When you say ‘‘Calendar’’ or select
the on the
screen, the display changes to thescreen.
Dates with an icon indicate there is a
schedule entry f or that date.
Shows the estimated distance you
cantravelonthefuelremainingin
the tank. This distance is estimated
f rom the average f uel economy over
the last several miles, so it will vary
withchangesinspeed,traffic,etc.
The average fuel, average speed, and
elapsed time meters can be reset
automatically (see page ).
The ‘‘Range’’ value is approximate,
and may vary from actual range. The ‘‘Average Fuel’’ and ‘‘MPG’’
may vary f rom actual f uel
consumed. These values are
estimates only.
Shows the instantaneous f uel
economy in miles per gallon.
Shows you the current f uel economy
in miles per gallon.
Shows you the average f uel economy
in miles per gallon since the display
was last reset.
Shows the elapsed time that the
ignition has been on since the display
was last reset.
Shows you the average speed in
miles per hour since the display was
last reset.
75
Range
MPG
Instant FuelAverage Fuel
Elapsed TimeAverage Speed
CONT INUED
Calendar
Resetting the Display
Calendar Main Menu
calendar
Compass System (U.S. model without navigation system)
Features
289
NOTE:
�����—�����—�����y�
����
��������y���
�(�����������y���������y
2010 RL
Page 298 of 551

Interf ace Dial Feedback
On
Auto
(def ault)
NoThe system always
reads what you select.
The system reads your
selection only while
the vehicle is moving.
The system does not
read your selection.
Clock Adjustment
Changing this setting allows you to
controlwhen(andif)thesystemwill
read the current selection you
choose with the interf ace dial. This
feature can minimize the need to
look at the screen while operating
the dial. The three settings are
explained in the f ollowing table. The
f actory def ault setting is . You can adjust the clock of your
system. When the battery is
disconnected or the f use f or the
compass system is removed, you
need to reset the time. See page
f or more inf ormation on setting
the clock.
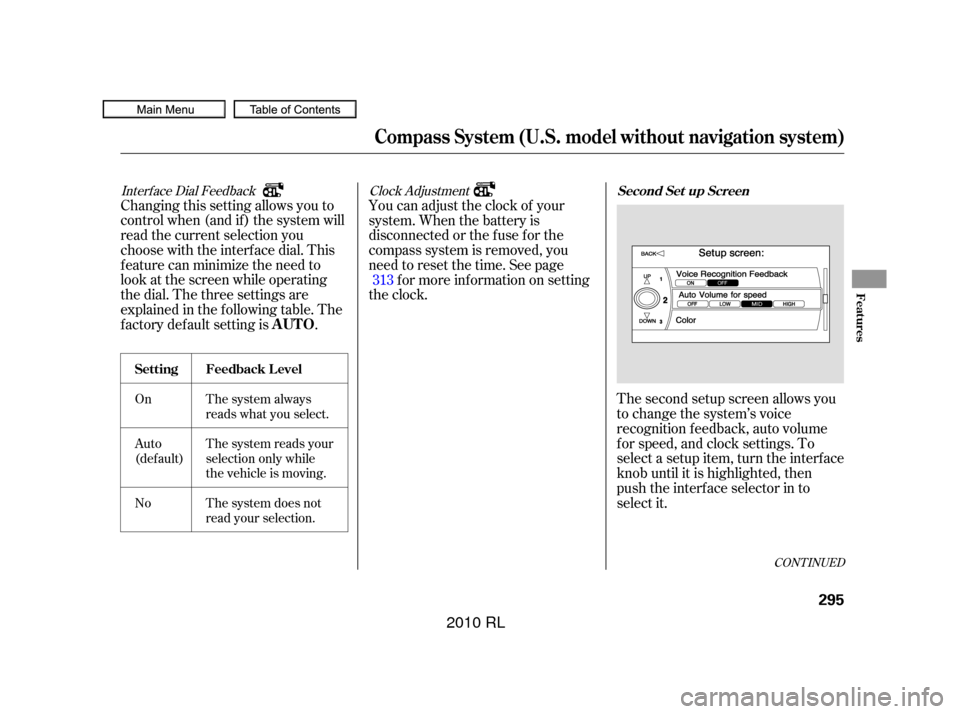
The second setup screen allows you
to change the system’s voice
recognition f eedback, auto volume
f or speed, and clock settings. To
select a setup item, turn the interf ace
knob until it is highlighted, then
push the interf ace selector in to
select it.
313
CONT INUED
AUTO
Set t ing Feedback L evel
Second Set up Screen
Compass System (U.S. model without navigation system)
Features
295
�����—�����—�����y�
����
������
�y���
�(�����������y���������y
2010 RL
Page 312 of 551

�Î�Î �Î
�Î
�Ì �Ì �Ì
�Ì�Ì�Ì
�Ì�Ì
�Ì �Ì�µ
�Ì�µ�Ì�µ
�Ì�µ
�Ì�µ
�Î
�Î
The system accepts these audio
system commands on most screens.
The commands f or vent
temperature settings are available on
theclimatecontrolscreen. Repeating these commands
switches (toggles) the f unction
between On and Of f .
There are no voice commands f or
XM radio.
(or )( : f requency.
Example ( : f requency.
Example
(same as Radio )
(:16)(:16)(:16)
(:16)
(:16)
To control the radio system, say one
of the f ollowing commands: Repeating these commands
switches (toggles) the f unction
between On and Of f .
:
:
CONT INUED
Audio on
Audio of fAudioRadio on Radio playRadio of fRadioRadio select FM1Radio select FM2Radio select AMRadio FM Radio 95.5 FM)
Radio AM Radio 1020 AM)
Radio seek up Radio seek downRadio next station seek
Radio presetRadio FM presetRadio FM1 presetRadio FM2 presetRadio AM presetRadio auto selectRadio scan
Radio Commands
Compass System (U.S. model without navigation system)
A udio Syst em Commands
Features
309
NOTE:
�����—�����—�����y�
����
��������y���
�(�����������y�����
���y
2010 RL