Page 121 of 184

Navigation System121
System Setup
Wallpaper
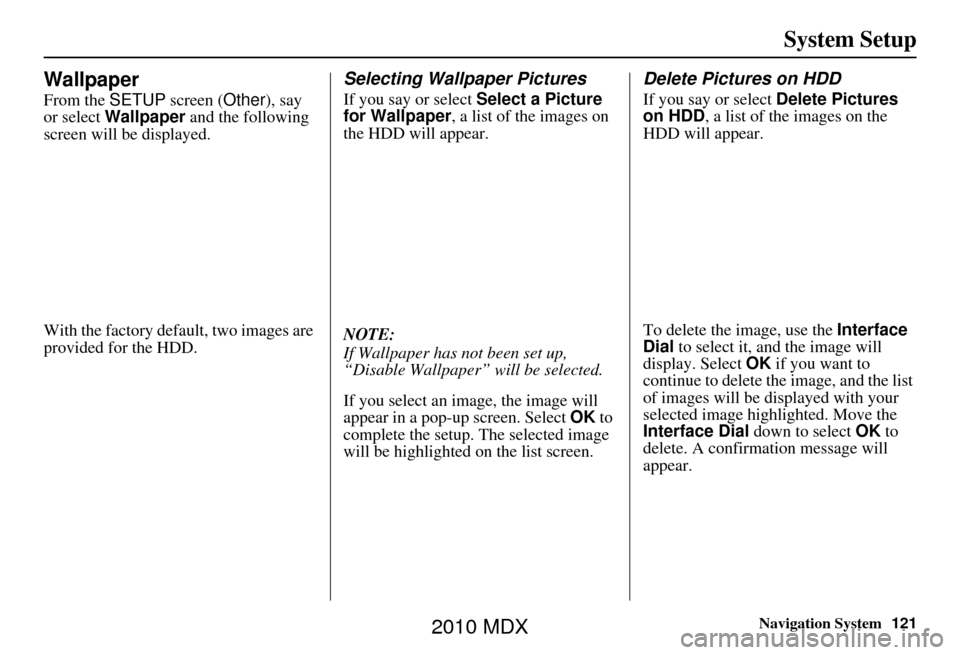
From the SETUP screen ( Other), say
or select Wallpaper and the following
screen will be displayed.
With the factory default, two images are
provided for the HDD.
Selecting Wallpaper Pictures
If you say or select Select a Picture
for Wallpaper , a list of the images on
the HDD will appear.
NOTE:
If Wallpaper has not been set up,
“Disable Wallpaper” will be selected.
If you select an image, the image will
appear in a pop-up screen. Select OK to
complete the setup. The selected image
will be highlighted on the list screen.
Delete Pictures on HDD
If you say or select Delete Pictures
on HDD , a list of the images on the
HDD will appear.
To delete the image, use the Interface
Dial to select it, and the image will
display. Select OK if you want to
continue to delete th e image, and the list
of images will be displayed with your
selected image highlighted. Move the
Interface Dial down to select OK to
delete. A confirmation message will
appear.
2010 MDX
Page 122 of 184

122Navigation System
System Setup
NOTE:
If there are no images on the HDD, “No Entries Exist” will appear.
You cannot delete images while driving.
Images that have not yet completed
uploading from a USB thumb drive
cannot be deleted.Importing Pictures from USB
To use a wallpaper image other than the
factory defaults, you can import pictures
from a USB thumb drive or similar
device.
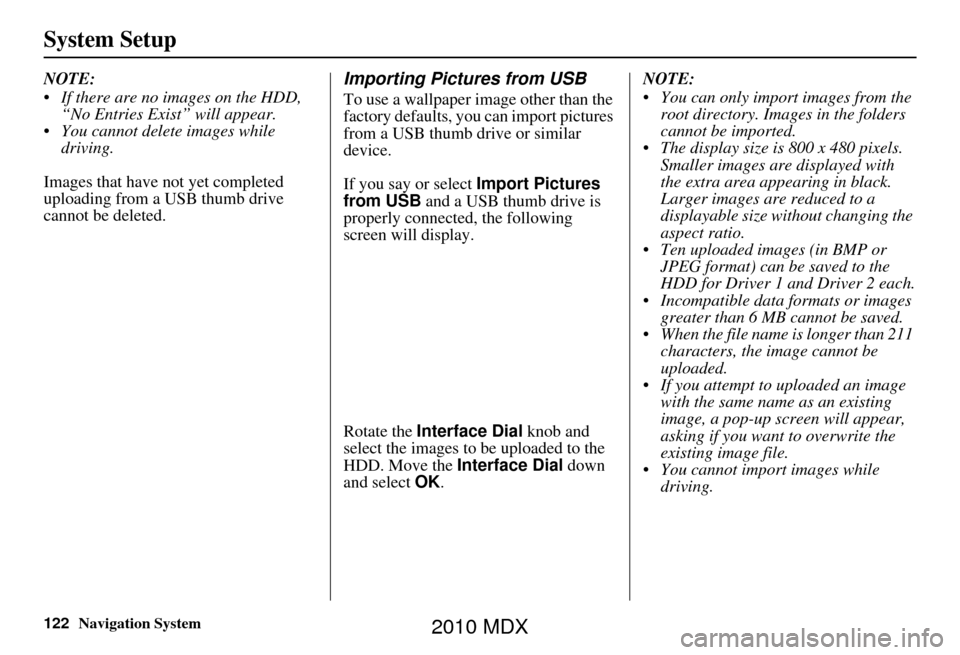
If you say or select Import Pictures
from USB and a USB thumb drive is
properly connected , the following
screen will display.
Rotate the Interface Dial knob and
select the images to be uploaded to the
HDD. Move the Interface Dial down
and select OK. NOTE:
You can only import images from the
root directory. Imag es in the folders
cannot be imported.
The display size is 800 x 480 pixels. Smaller images are displayed with
the extra area appearing in black.
Larger images are reduced to a
displayable size without changing the
aspect ratio.
Ten uploaded images (in BMP or JPEG format) can be saved to the
HDD for Driver 1 and Driver 2 each.
Incompatible data formats or images greater than 6 MB cannot be saved.
When the file name is longer than 211 characters, the image cannot be
uploaded.
If you attempt to uploaded an image with the same name as an existing
image, a pop-up screen will appear,
asking if you want to overwrite the
existing image file.
You cannot import images while driving.
2010 MDX
Page 123 of 184

Navigation System123
System Setup
Reset Factory Default
Settings
The Setup settings and Multi-view rear
camera brightness value settings can be
returned to the fact ory default settings.
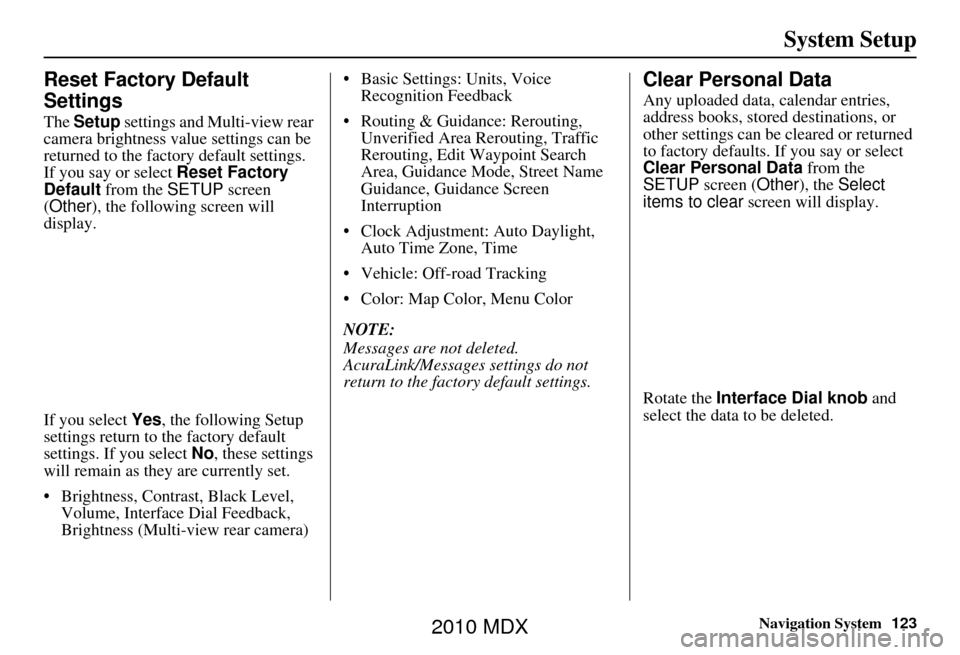
If you say or select Reset Factory
Default from the SETUP screen
(Other ), the following screen will
display.
If you select Yes, the following Setup
settings return to the factory default
settings. If you select No, these settings
will remain as they are currently set.
• Brightness, Contrast, Black Level, Volume, Interface Dial Feedback,
Brightness (Multi-view rear camera) • Basic Settings: Units, Voice
Recognition Feedback
• Routing & Guidance: Rerouting, Unverified Area Rerouting, Traffic
Rerouting, Edit Waypoint Search
Area, Guidance Mode, Street Name
Guidance, Guidance Screen
Interruption
•Clock Adjustmen t: Auto Daylight,
Auto Time Zone, Time
• Vehicle: Off-road Tracking
• Color: Map Color, Menu Color
NOTE:
Messages are not deleted.
AcuraLink/Messages settings do not
return to the factory default settings.
Clear Personal Data
Any uploaded data, calendar entries,
address books, stored destinations, or
other settings can be cleared or returned
to factory defaults. If you say or select
Clear Personal Data from the
SETUP screen ( Other), the Select
items to clear screen will display.
Rotate the Interface Dial knob and
select the data to be deleted.
2010 MDX
Page 124 of 184

124Navigation System
System Setup
If a PIN number is set, the screen for
entering the PIN code will be displayed.
A pop-up screen verifying whether
deletion is to be continued or not will be
displayed, and then another deletion
verification message will appear. Select
Yes to commence the deletion; select
No to suspend it.
NOTE:
Address Book is deleted,
all contents (excep t the Categories)
will be deleted.
Cellular Phone
Information is selected, the
imported phonebooks, speed dials,
and voicetags will be deleted. For
information on deleting the paired
phones, see your Owner’s Manual.Traffic & Weather Status
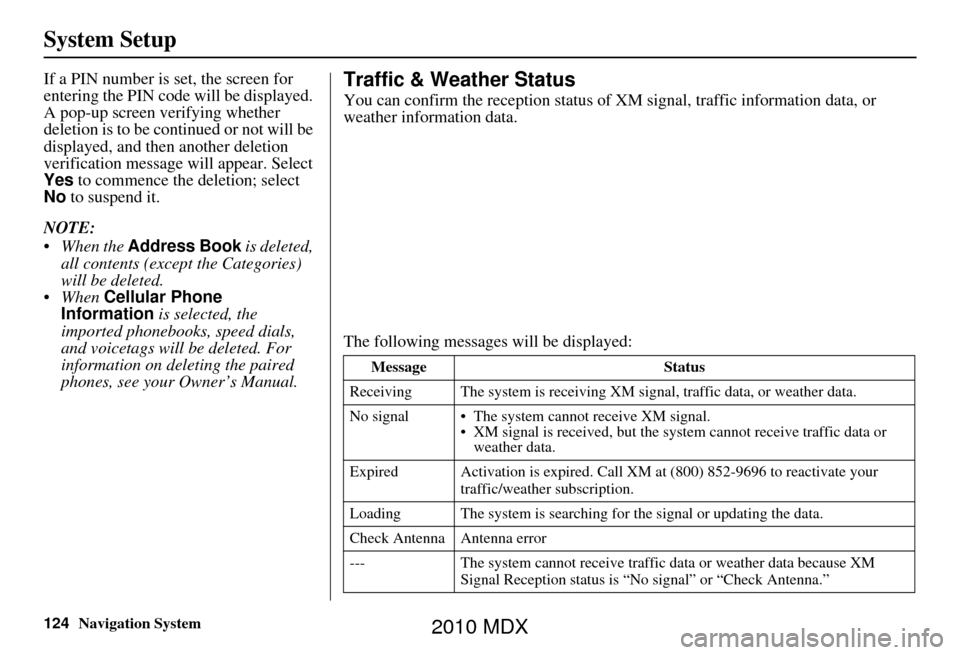
You can confirm the reception status of XM signal, traffic information data, or
weather information data.
The following messages will be displayed:
Message Status
Receiving The system is receiving XM signal, traffic data, or weather data.
No signal • The system cannot receive XM signal. • XM signal is received, but the syst em cannot receive traffic data or
weather data.
Expired Activation is expi red. Call XM at (800) 852-9696 to reactivate your
traffic/weathe r subscription.
Loading The system is searching for the signal or updating the data.
Check Antenna Antenna error
--- The system cannot receive traffic data or weather data because XM
Signal Reception stat us is “No signal” or “Check Antenna.”
2010 MDX
Page 125 of 184

Navigation System125
System Setup
Multi-view Rear Camera
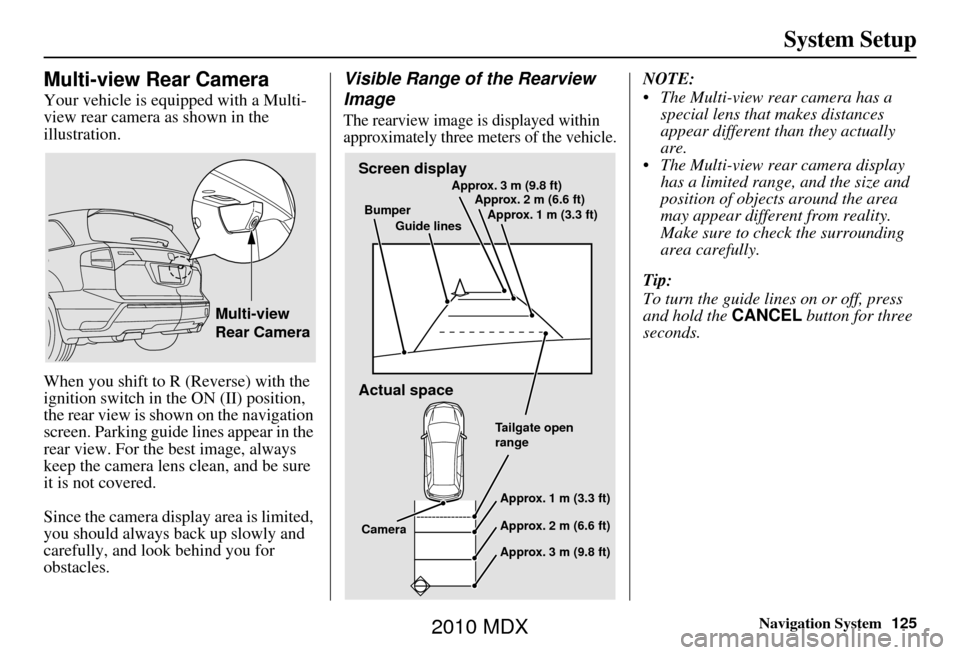
Your vehicle is equipped with a Multi-
view rear camera as shown in the
illustration.
When you shift to R (Reverse) with the
ignition switch in the ON (II) position,
the rear view is shown on the navigation
screen. Parking guide lines appear in the
rear view. For the best image, always
keep the camera lens clean, and be sure
it is not covered.
Since the camera display area is limited,
you should always back up slowly and
carefully, and look behind you for
obstacles.
Visible Range of the Rearview
Image
The rearview image is displayed within
approximately three meters of the vehicle.
NOTE:
The Multi-view rear camera has a
special lens that makes distances
appear different th an they actually
are.
The Multi-view rear camera display has a limited range, and the size and
position of objects around the area
may appear different from reality.
Make sure to check the surrounding
area carefully.
Tip:
To turn the guide lines on or off, press
and hold the CANCEL button for three
seconds.
Multi-view
Rear Camera
Screen display
Actual space
Bumper
Guide lines Approx. 3 m (9.8 ft)
Approx. 2 m (6.6 ft)
Approx. 1 m (3.3 ft)
Tailgate open
rangeApprox. 1 m (3.3 ft)
Approx. 2 m (6.6 ft)
Approx. 3 m (9.8 ft)
Camera
2010 MDX
Page 126 of 184

126Navigation System
System Setup
Three-way Rearview Modes
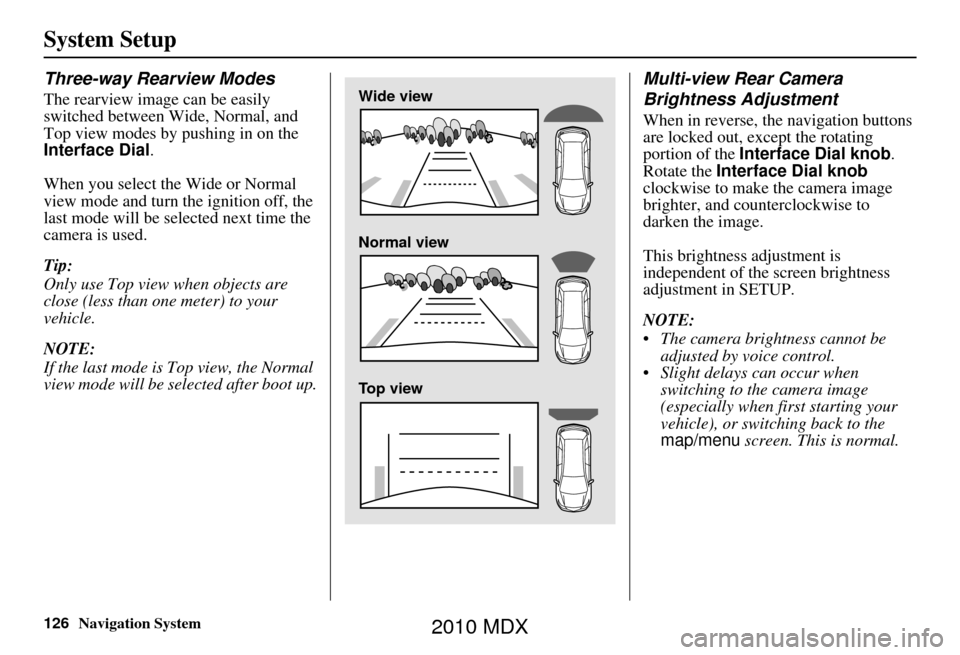
The rearview image can be easily
switched between Wide, Normal, and
Top view modes by pushing in on the
Interface Dial.
When you select the Wide or Normal
view mode and turn the ignition off, the
last mode will be selected next time the
camera is used.
Tip:
Only use Top view when objects are
close (less than one meter) to your
vehicle.
NOTE:
If the last mode is Top view, the Normal
view mode will be selected after boot up.
Multi-view Rear Camera
Brightness Adjustment
When in reverse, the navigation buttons
are locked out, except the rotating
portion of the Interface Dial knob .
Rotate the Interface Dial knob
clockwise to make the camera image
brighter, and counterclockwise to
darken the image.
This brightness adjustment is
independent of the screen brightness
adjustment in SETUP.
NOTE:
The camera brightness cannot be adjusted by voice control.
Slight delays can occur when switching to the camera image
(especially when first starting your
vehicle), or switching back to the
map/menu screen. This is normal.
Wide view
Normal view
Top view
2010 MDX
Page 127 of 184

Navigation System127
System Initialization
If for any reason you lose power to the
navigation system (e.g., the battery was
disconnected), the navigation system
will require initialization. Once
completed, your system will be ready to
use.
This initialization requires the
following:
• Entry of the 5-digit anti-theft security code to “unlock” the audio and
navigation system.
• GPS initialization (may not be needed depending on the length of time the
system was without power). (See
GPS Initialization on page127.)
• Map matching to align the GPS coordinates to a place on the map
(displays current street at the bottom
of the map). (See Map Matching on
page 128.)
Entering the Security Code
If the battery goes dead or is
disconnected for any reason, you will
have to enter a security code for the
audio and navigation system before you
can use it again.
When you purchased the vehicle, you
should have received one card
containing the navigation system’s
security code and serial number. Keep
this card in a safe place in case you need
the code. If you lose the card, you must
obtain the security code from your
dealer.
Enter the 5-digit security code in
accordance with the owner’s manual for
your vehicle. If you do not enter the
security code, the navigation and audio
voice will not function.
NOTE:
The anti-theft security code is unrelated
to your optional navigation system PIN
(for Address Book or Home Address).
GPS Initialization
Depending on the le ngth of time the
battery was disconnected, your system
may require GPS initialization. If it
does, the following screen appears:
If this procedure is not necessary, the
system proceeds directly to the
Disclaimer screen (see page 18).
During initialization, the system
searches for all available GPS satellites
and obtains their orbital information.
During this procedure, the vehicle
should be out in the open with a clear
view of the sky.
2010 MDX
Page 128 of 184

128Navigation System
System Initialization
If the navigation system finds the
satellites properly, this box clears and
the Disclaimer screen is shown. If
within 10 minutes the system fails to
locate a sufficient number of satellites to
locate your position, the following
screen appears:
If the system is still unable to acquire a
signal, follow the in structions on the
screen, or contact yo ur local dealer for
assistance.
NOTE:
The average acquiring time is less than
10 minutes.Map Matching
This part of the initialization matches
the GPS coordinates found above with a
road on the map screen. To perform this
part of the procedur e, ensure that the
navigation system is displaying a map,
and drive the vehicle on a mapped road
(a road shown on the map screen). Do
not enter a destination at this time.
When the name of th e current road you
are driving on appears at the bottom of
the screen, the entire procedure is
complete. Your system is now ready to
use. Although your navigation system is one
of the most highly
sophisticated pieces
of equipment you will find in a modern
automobile, you may find during its use
that it has certain limitations.
The system uses GPS signals to aid in
determining its current location.
The GPS is operated by the U.S.
Department of Defense. For security
reasons, there are certain inaccuracies
built into the GPS that the navigation
system must constantly compensate for.
This can cause occasional positioning
errors of up to several hundred feet.
For example, in urban areas where
streets are close together, this could
cause the system to show that you are
traveling on a street that parallels the
street you are actually on. The system
will, under most circumstances, correct
itself while you drive.
2010 MDX