Page 47 of 116
6-6
1
2
3
4
56
7
8
9
10
11
EBU20800
Parking on a slope
WARNING
EWB00880
Avoid parking on hills or other inclines. Park-
ing on a hill or other incline could cause the
ATV to roll out of control, increasing the
chance of an accident. If you must park on an
incline, place the ATV transversely across the
incline, shift the shift lever to the drive posi-
tion, stop the engine, apply the parking brake,
and then block the front and rear wheels with
rocks or other objects.
Do not park the ATV at all on hills that are so
steep you could not walk up them easily.
1. Bring the ATV to a stop by applying the brakes
in the drive position.
2. Stop the engine.
3. With the rear brake lever applied, apply the
parking brake and slowly release the brake le-
ver.
1. Parking brake lock plate
1. Locked position
1
1
Page 61 of 116

7-12
1
2
3
4
5
67
8
9
10
11
Select a large, flat, unpaved area to become famil-
iar with your ATV. Make sure that this area is free
of obstacles and other riders. You should practice
control of the throttle, brakes, and turning tech-
niques in this area before trying more difficult ter-
rain. Always avoid riding on paved surfaces: the
ATV is designed for use on unpaved surfaces only,
and handling maneuvers are more difficult to per-
form on pavement.
Set the parking brake and follow the instruction on
page 6-1 to start the engine. Once it has warmed
up you are ready to begin riding your ATV. Re-
member that the engine and exhaust pipe will be
hot when riding and afterwards; do not allow skin
or clothing to come in contact with these compo-
nents.With the engine idling, shift the transmission into
the drive position and then release the parking
brake. Apply the throttle slowly and smoothly. The
centrifugal clutch will engage and you will start to
accelerate. If the throttle is applied too abruptly, the
front wheels may lift off the ground, resulting in a
loss of directional control. Avoid higher speeds un-
til you are thoroughly familiar with the operation of
your ATV.
When slowing down or stopping, release the throt-
tle and apply the brakes smoothly and evenly. Im-
proper use of the brakes can cause the tires to lose
traction, reducing control and increasing the possi-
bility of an accident.
TURNING YOUR ATV
To achieve maximum traction on unpaved surfac-
es, the two rear wheels are mounted solidly on one
axle and turn together at the same speed. There-
fore, unless the wheel on the inside of the turn is al-
lowed to slip or lose some traction, the ATV will
resist turning. A special turning technique must be
used to allow the ATV to make turns quickly and
easily. It is essential that this skill be learned first at
low speed.
Page 65 of 116

7-16
1
2
3
4
5
67
8
9
10
11
to continue up the hill, dismount the ATV on the up-
hill side. Physically turn the ATV around and then
descend the hill.
If you start to roll backwards, DO NOT apply the
rear brake to stop or try to put the ATV in gear. The
ATV could easily tip over backwards. Instead, ap-
ply the front brake gradually, or dismount the ATV
immediately on the uphill side.
WARNING
EWB01761
Maintain a steady speed when climbing a hill.
If you lose all forward speed:
�
Keep weight uphill.
�
Apply the brakes.
�
Lock the parking brake after you are
stopped.
If you begin rolling backwards:
�
Keep weight uphill.
�
Never apply the rear brake while rolling
backwards. Apply the front brake.
�
When fully stopped, apply the rear brake as
well, and then lock the parking brake.
Dismount on uphill side or to a side if pointed
straight uphill. Turn the ATV around and re-
mount, following the procedure described in
the Owner’s Manual.RIDING DOWNHILL
When riding your ATV downhill, shift your weight
as far to the rear and uphill side of the ATV as pos-
sible. Move back on the seat and sit with your arms
straight. Allow the engine compression to do most
of the braking for you. Improper braking may cause
a loss of traction.
Use caution while descending a hill with loose or
slippery surfaces. Braking ability and traction may
be adversely affected by these surfaces. Improper
braking may also cause a loss of traction.
Whenever possible, ride your ATV straight down-
Page 115 of 116

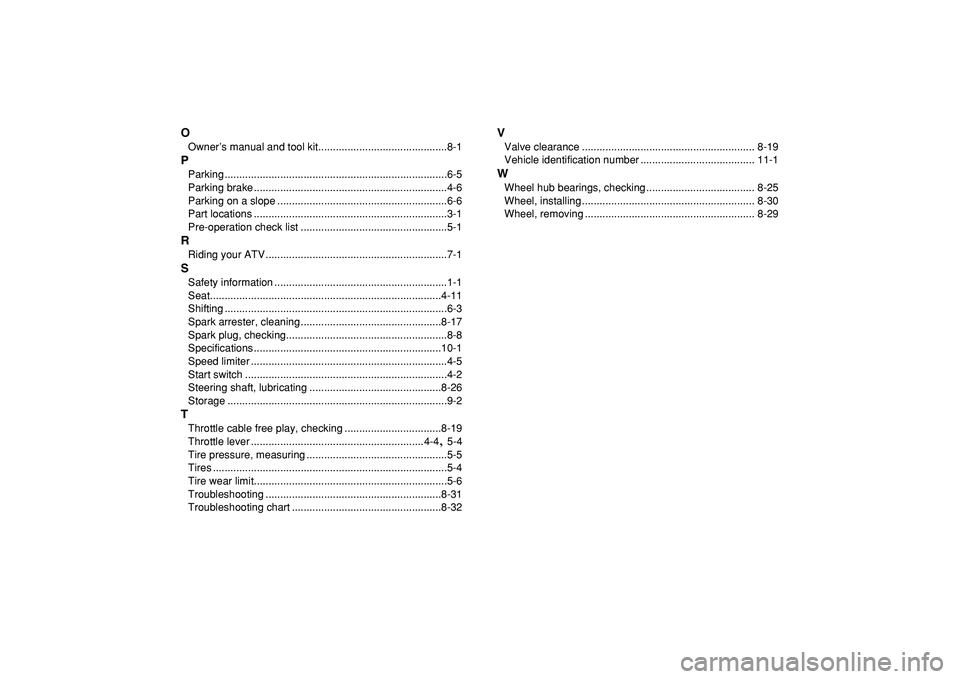
O
Owner’s manual and tool kit............................................8-1
P
Parking ............................................................................6-5
Parking brake ..................................................................4-6
Parking on a slope ..........................................................6-6
Part locations ..................................................................3-1
Pre-operation check list ..................................................5-1
R
Riding your ATV ..............................................................7-1
S
Safety information ...........................................................1-1
Seat...............................................................................4-11
Shifting ............................................................................6-3
Spark arrester, cleaning ................................................8-17
Spark plug, checking.......................................................8-8
Specifications ................................................................10-1
Speed limiter ...................................................................4-5
Start switch .....................................................................4-2
Steering shaft, lubricating .............................................8-26
Storage ...........................................................................9-2
T
Throttle cable free play, checking .................................8-19
Throttle lever ...........................................................4-4
,
5-4
Tire pressure, measuring ................................................5-5
Tires ................................................................................5-4
Tire wear limit..................................................................5-6
Troubleshooting ............................................................8-31
Troubleshooting chart ...................................................8-32
V
Valve clearance ........................................................... 8-19
Vehicle identification number ....................................... 11-1
W
Wheel hub bearings, checking ..................................... 8-25
Wheel, installing ........................................................... 8-30
Wheel, removing .......................................................... 8-29