2009 VOLKSWAGEN GOLF battery
[x] Cancel search: batteryPage 138 of 516
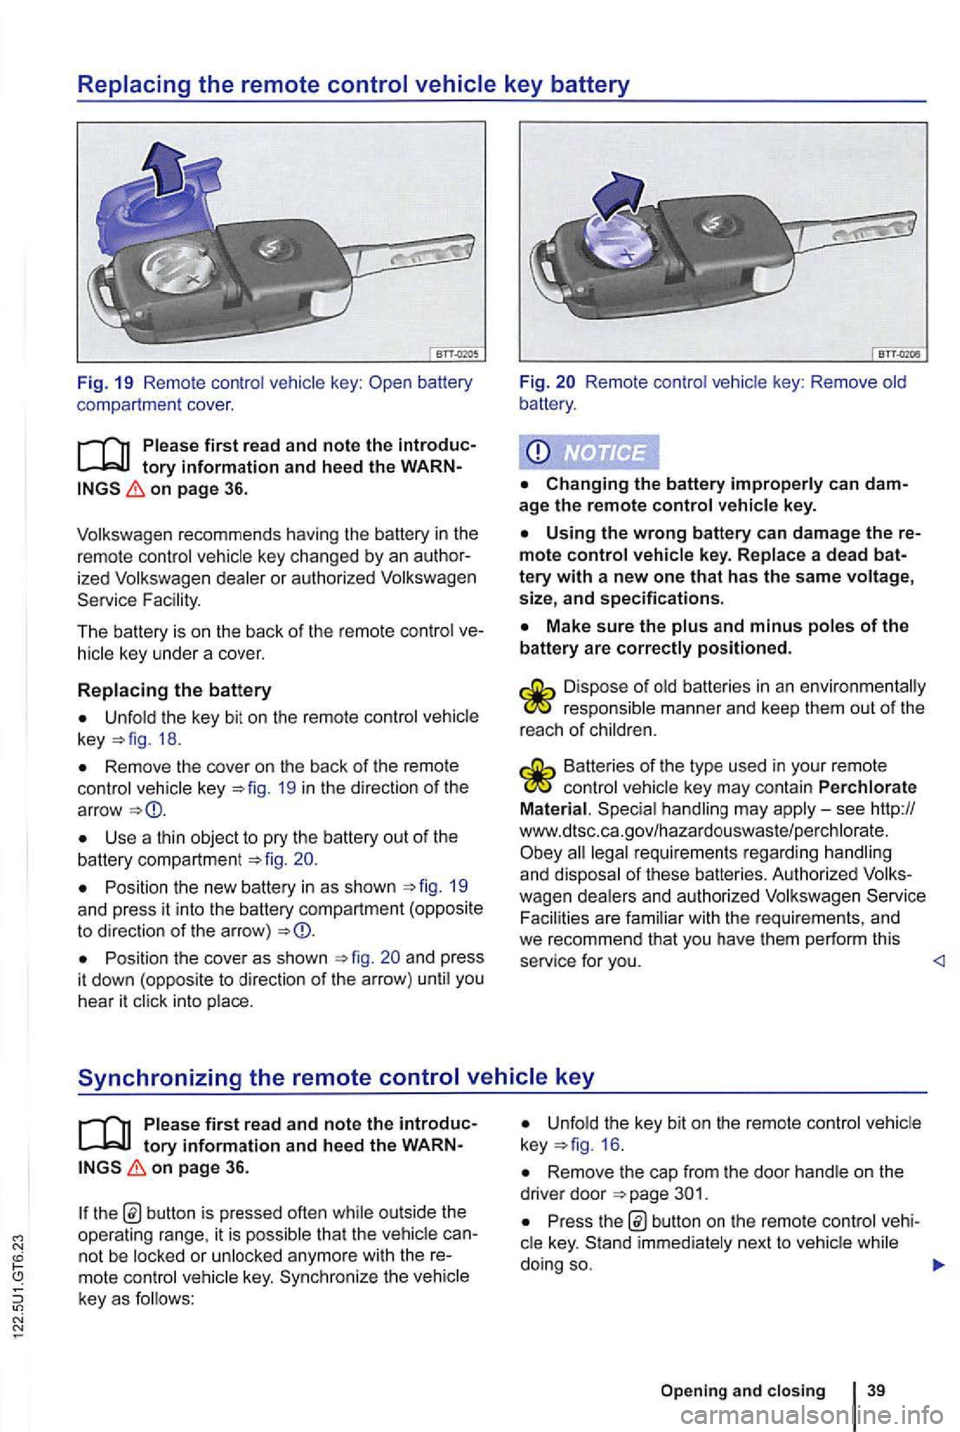
Replacing the remote control vehicle key battery
Fig. 19 Remo te contr ol key :
on page 36.
ized dealer or authori zed Service Fac ility.
The battery is on the back of the remo te control
Unfold the key bit on th e re mote control key 18.
Remove the cover on th e back of the remote control vehicle key 19 in th e d irection of th e
ar row
Use a thin object to pry the battery out of the battery compartment 20.
Position the new battery in as shown 19 and press it into the battery compartm ent (opposite to direction of the arro w)
Position the cove r as shown and press
i t dow n (oppos ite to direction of the arrow ) unti l you
hear it click into place.
Fig. Remote control vehic le key : Remove old
battery .
age the remote control vehicle key.
Using the wrong battery can damage the mote control vehicle key. Replace a dead
Make sure the plus and minus poles of the battery are correctly positioned .
responsible manner and keep them out of the
r eac h of ch ild ren.
Batteries of the type used in your re mote control veh icle key may contain Perchlorate
Material . Special handling may apply-see http://
www.dtsc .c a.go v/hazar douswaste/pe rchlo rate. all legal requirement s regardin g han dling and dispo sal of these batteries. Authorized Serv ice
Facili ties are fami lia r with the re quirements , and we recommend that you have them perform this
service for you.
tory information and hee d the on page 36.
th e b utton is pressed often while out side the
operating range, it is p ossib le tha t the vehicl e
key. Sy nchr oniz e the veh icle
key as f o llows:
Unfold the key bit on the remote control 16 .
Remove the cap from the door hand le on the
drive r door
Pr ess button on the remote cont rol
Opening and closing 39
Page 141 of 516
Automatic locking (Auto Lock)
The vehicle locks au tomatically when it reaches a
speed of about 10 mph (15 km/h) . When the vehi
cle is locked , the indicator light comes on in the
power lock ing button
a door once.
-
a door once.
- Lock the vehicle with the remote control vehicle key.
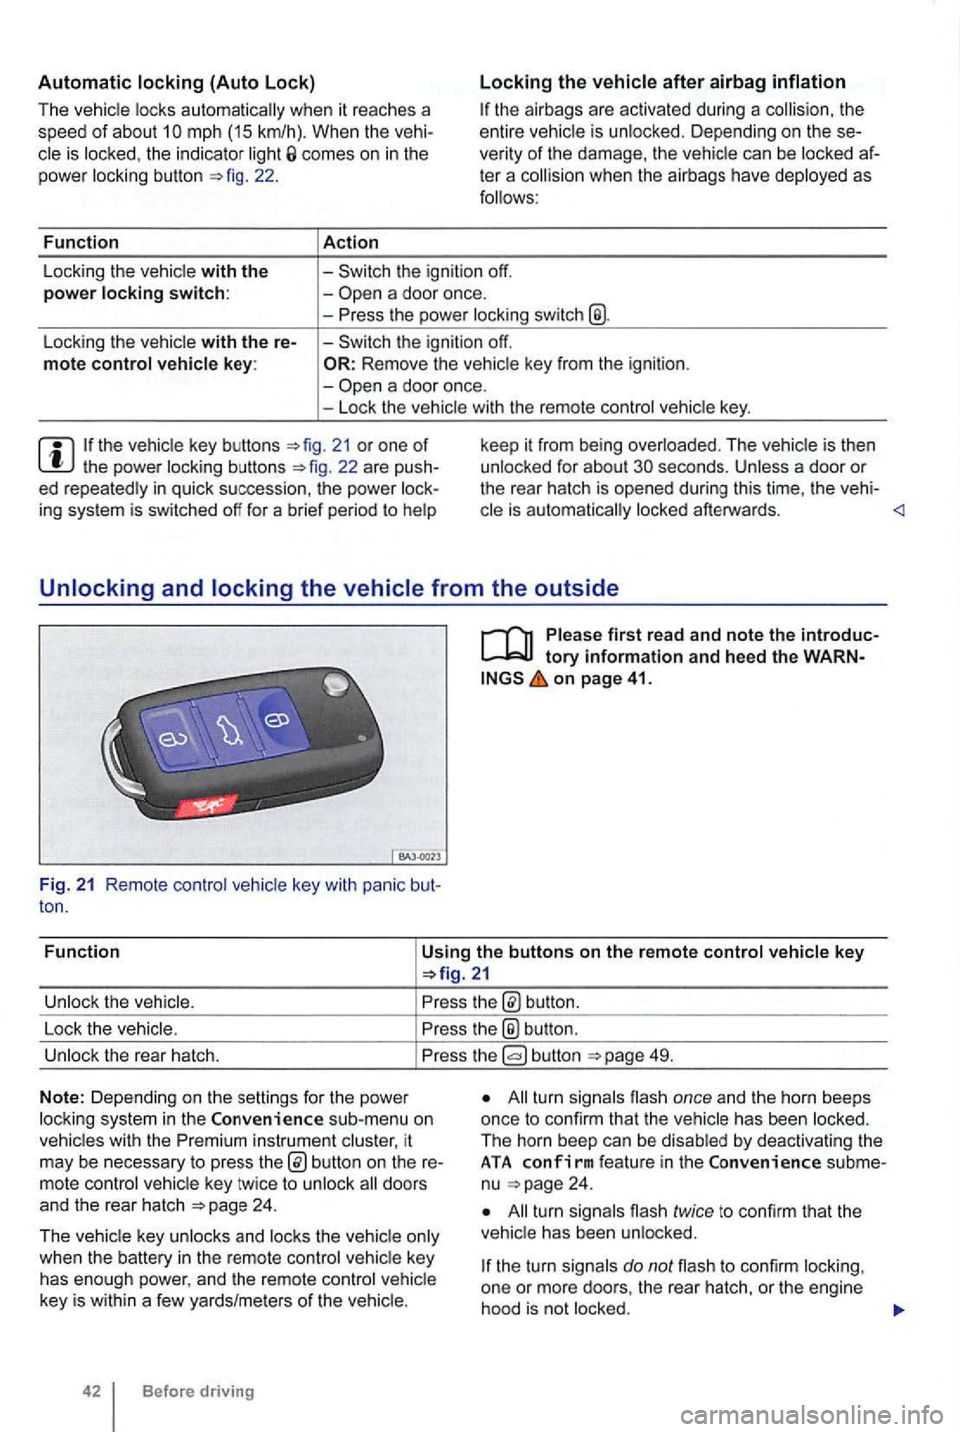
21 or one of th e power locking buttons
on page 41.
Fun c
tion
Using the buttons on the remote control vehicle key
button.
Lock the vehic le.
the® button .
Unlock the rear hatch. button 49.
N o
te: Depending on the settin gs for the power
l ock ing system in the sub-menu on
vehicles with the instrument cluster, it
may be necessary to press
24 .
T he vehicle key unlocks and locks the vehicle only
when the battery
in the remote control vehicle key
has enough power, and the remote control vehicle
key is wi
thin a few yards/me ters of the vehicle.
42 Before driving
All turn signals flash once and the horn beeps
once to confirm that the vehic le has been locked.
The horn beep can be disabled
by deactivating the ATA co nfirm feat ure in the subme
nu 24 .
All turn signals flash twice to confirm that the
vehicle has been unlocked.
the turn signals do not flash to confirm lock ing,
one or mor e doors , the rear hatch, or the engine
hood is not
locked.
Page 144 of 516
N
if a seco nd valid
by press ing a button on the deactivated key.
by pressing a door handle sensor when the de
activated key is outside of the vehicle , but with in
range .
by starting the engine with the starter butto n.
Automatic deactivation of sensors
deactivated .
is activated too often, for instance by a bush or hedge that rubs against the the sensors in the door handle on that side of the vehicle are
switched off for a short time.
T he door handle sensors become active again if
one of the even ts occurs:
A short time has passed.
The rear hatch is opened .
The key .
Anti-theft
tory information and hee d the WARN on page 41.
T he anti-theft alarm system makes it more difficult
for someon e to break into or steal the veh icle .
The anti-theft alarm system is
key i s within range of the vehicle.
T he door may not open if the outside and in side door handles are used at the same time.
the vehicle battery or the battery in the remote control vehicle key is weak or dead , it
might not be possible to unlock and using Keyless Access. The vehicle can locked or unlocked with the key bit
The driver message Key not in ra nge ap pears in the instrument cluster display if there
is no remote control vehicle key inside the vehicle
or if the system does not recognize the
key. The key may not be recognized , for example, if it is
covered by something that interferes with the sig
(such as a briefcase) , or if the remote control
vehicle key battery is weak. Electronic devices
such
as phones can interfere with the sig
Dirt on the door handles that conta ins a of in winter) can affect the way
the door handle sensors work.
with this problem .
Automatic transmissio n vehic les can
Opening a door that has been un
locked and not switching on the igni tion with in
about 15 seconds.
Forcibly opening a door.
Forcibly opening the engine hood.
Forcib ly opening the rea r hat ch.
and closi ng 45
Page 161 of 516
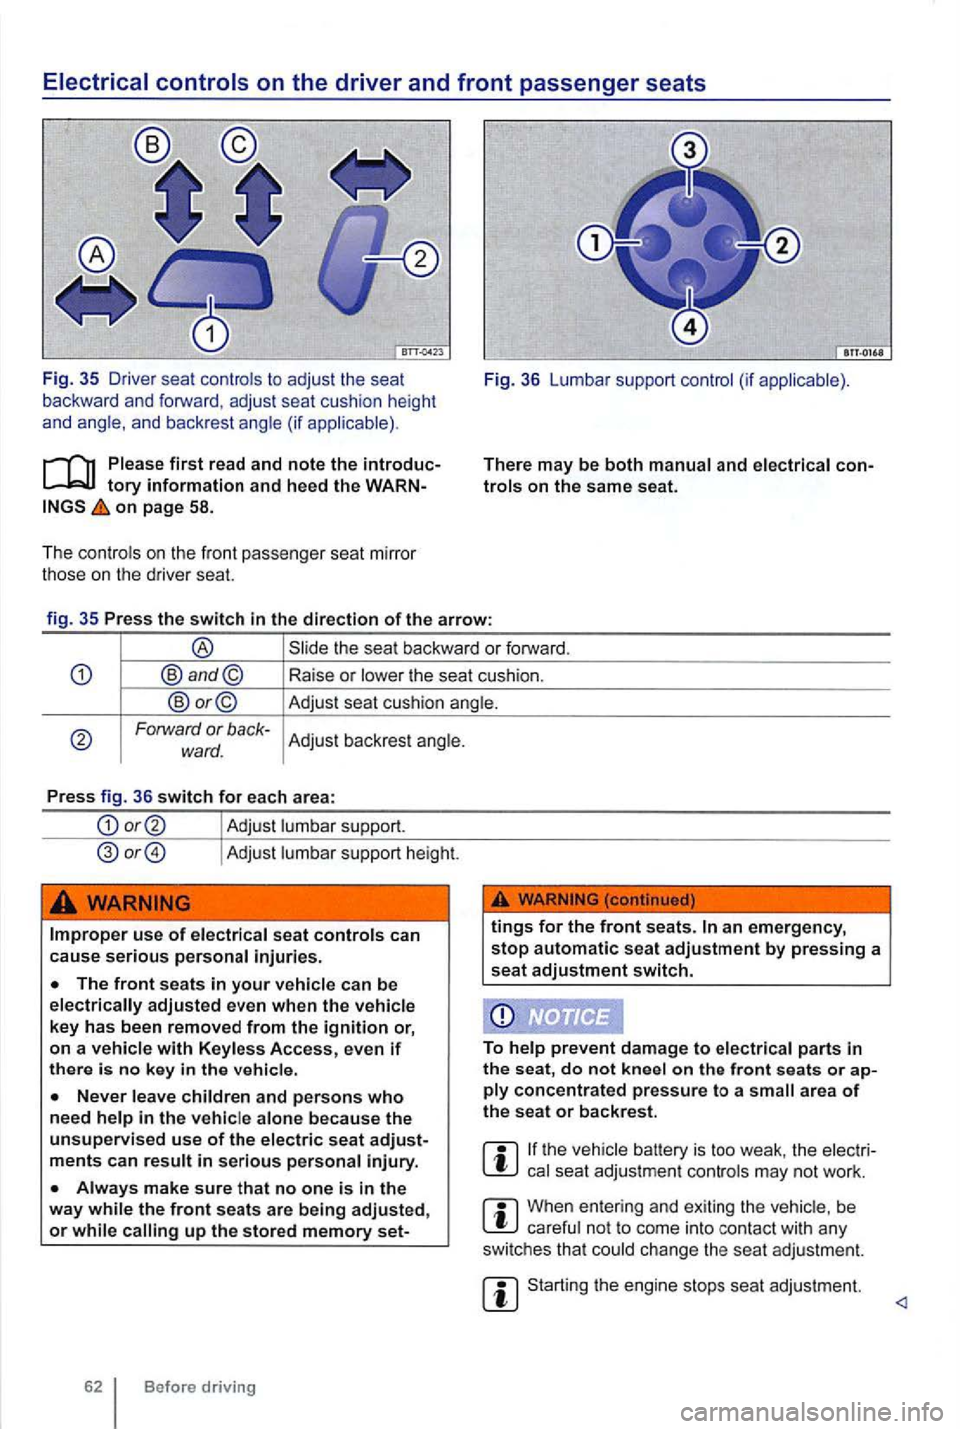
on page 58.
The cont rols on the front passenger seat mirro r
those on the driver seat. Fig
. 36 Lumbar support control (if app licable) .
There
may be both manual and elect rical
Forward or back-Adjust backrest angle. ward.
Press fig. 36 switch for each area:
Adjust lumbar support.
Adjust lumbar support height.
Improper use of electrical seat controls can cause serious personal injuries.
up the stored memory set-
tings for the front seats.
on ply concentrated pressure to a area of the seat or backrest.
the vehicle battery is too weak , the elect rical seat adjustment controls may not work .
When entering and exiting the vehicle , be careful not to come into contact with any
switches that could change the seat adjustment.
Starting the engine stops seat adjustment.
Page 226 of 516
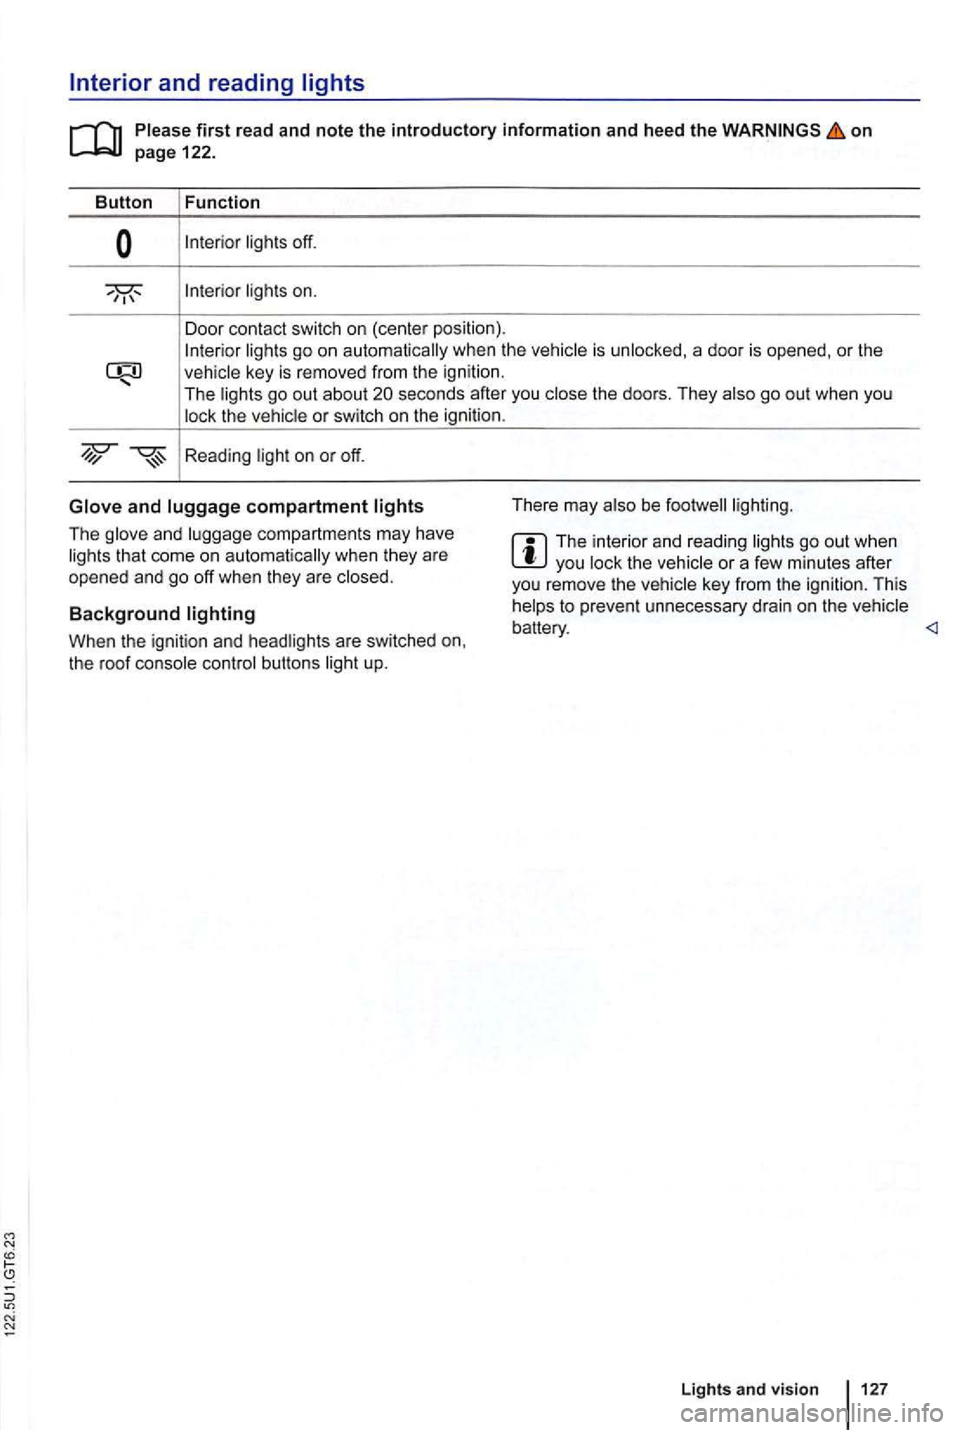
first read and note the introductory information and heed the on
is
the doors . They
compartment
The compartments may have that come on automatically when they are
opened and go off when they are
Background
When the ignition and are switched on,
the roof buttons up. There
may
be
go out when you the or a few minutes after
you remove the to prevent unnecessary drain on the battery .
Page 250 of 516
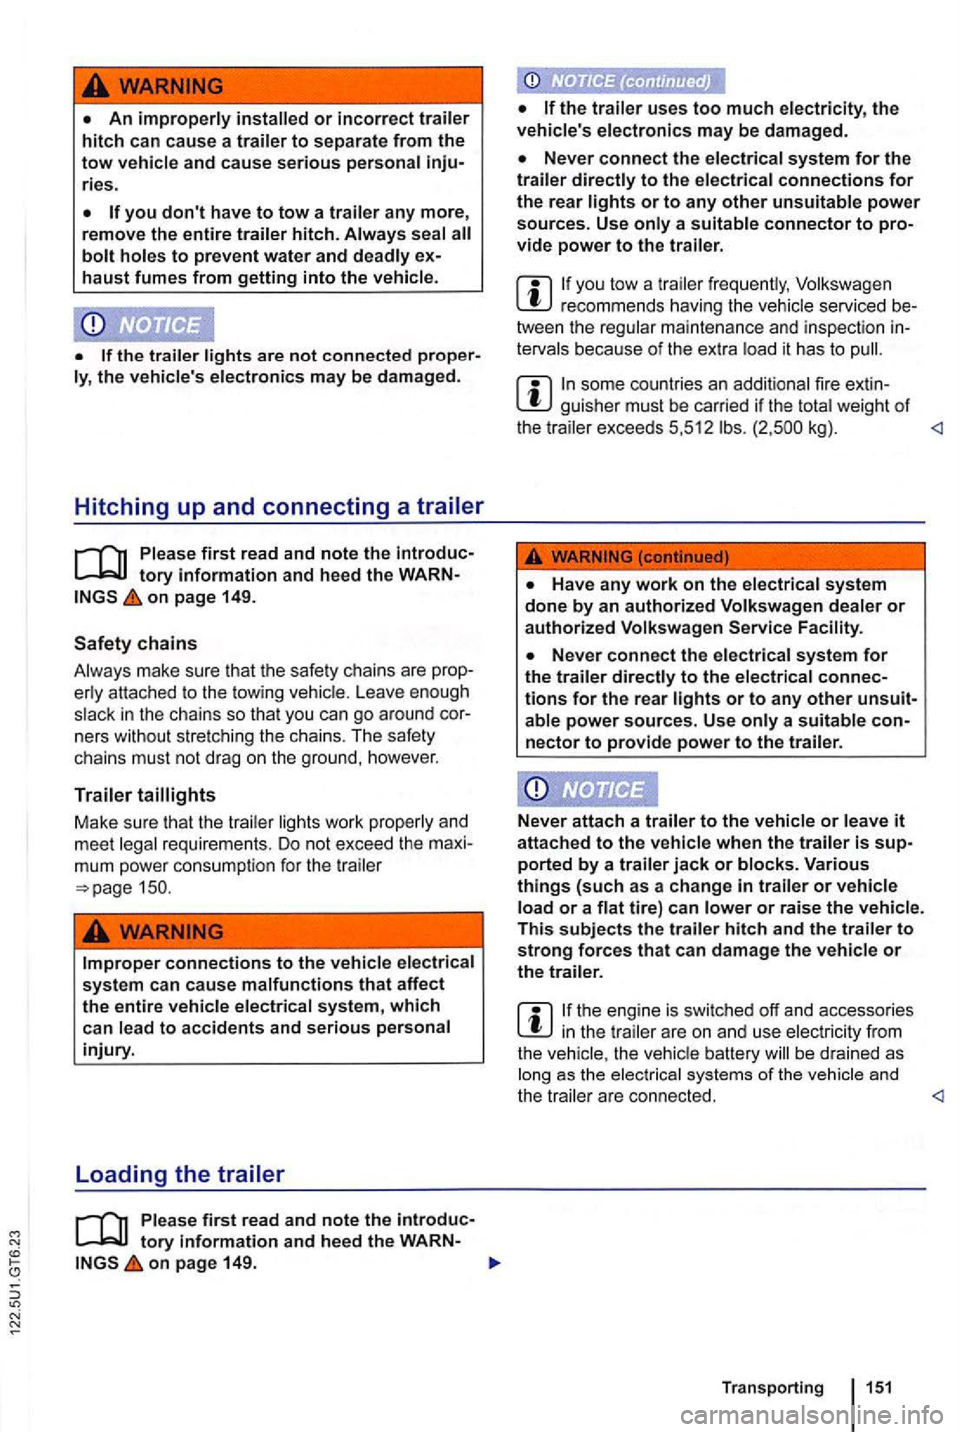
An improperly or incorrect trailer hitch can cause a trailer to separate from the tow vehicle and cause serious personal ries.
you don't have to tow a trailer any more, remove the entire trailer hitch. Always seal bolt holes to prevent water and deadly haust fum es from getting into the vehicle .
the trailer lights are not connected ly, the ve hicle 's ele ctronics may be damaged .
Hitching up and connecting a trailer
on page 149.
Safety chains
Always make sure t hat the safe ty c hai ns a re er ly attac hed to the tow ing ve hic le. Leave enough
s lack in the chain s so th a t yo u ca n go aroun d ners witho ut stre tc hin g the c hai ns. Th e safe ty
c h ai ns must not drag on the groun d, h owever .
Trailer
mum power consumptio n for th e traile r
connections to the vehicle electrical system can cause malfunctions that affect the entire vehicle electrical system, which can lead to accide nts and se rious personal injury.
Loading the trailer
tory information and heed the WARN -on page 149.
the trail er uses too much electricity, the vehicle's electronics may be damaged.
Never connect the electrical system for the trailer directly to the electrical connections for the rear lights or to any other unsuitable power sources. Us e only a suitable connector to vide power to the trailer.
if you tow a trailer freq uently, recom mends havi ng t he vehicle serviced
tervals because of the extr a load it has to pu ll.
some countries an addit ional fire guisher must be carried if the tota l weig ht of
the traile r excee ds 5 ,5 12 lbs. kg ).
Never attach a
trailer to the vehicle or leave it attached to the vehicle when the trailer is
things (such as a change in trailer or vehicle
load or a fla t tire ) can lower or raise the vehicle. This subjects the trailer hitch and the trailer to strong forces that can damage the ve h icle or the trailer.
the engin e is swi tc h ed off and accessories in the tr ailer are o n and use elec tricity from
the vehicl e, th e ve hicl e battery be drained as
l o ng as t he e lec trical sys te m s o f th e an d
the t railer are c onn ecte d .
Page 262 of 516
N
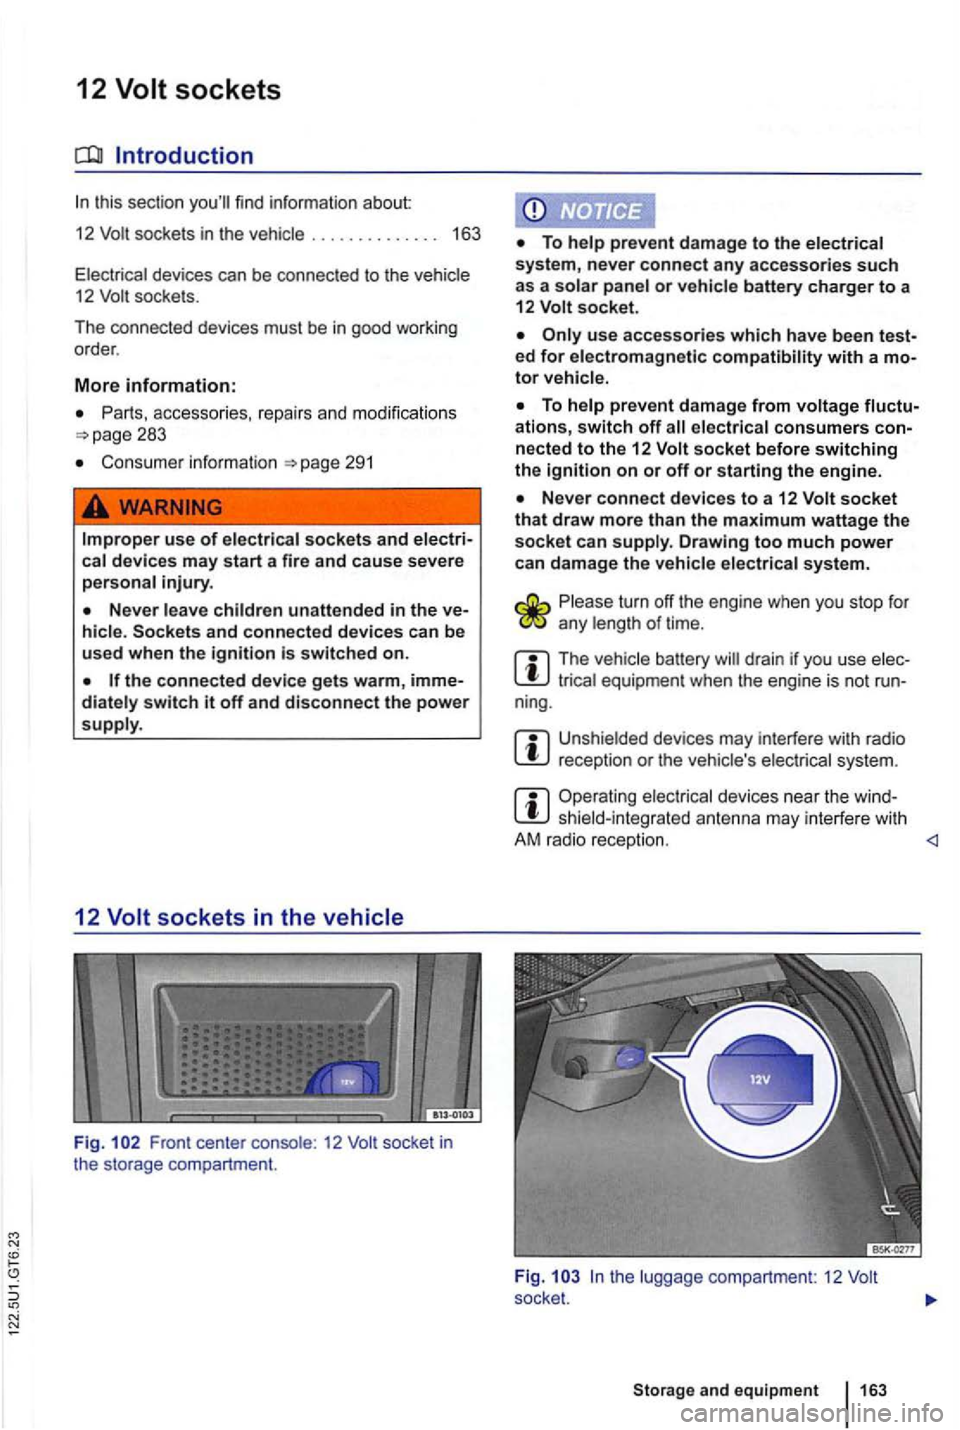
12 Volt sockets
Introduction
sockets in the . . . . . . . . . . . . . . 163
devices can be connecte d to the 12 socke ts .
Th e co nn ected devices
must be in good worki ng
order .
More information:
Parts . accessories. repairs a nd modifications 283
Consume r informa tion
use of
unattended in the and connected devices can be
used when the ignition is switched on.
switch it off and disconnect the power
12
Fig . Front center 12
or battery charger to a
12 socket.
ed for electromagnetic with a
ations, switch off nected to the 12 socket before switching the ignition on or off or starting the engine.
socket that draw more than the maximum wattage the socket can Drawing too much power
can damage the
turn off the engine when you stop for any of time.
m The battery drain if you use equipmen t when the engine is not run-
ning.
m reception or the system.
m Operating shiel d-integrat ed ant enna may interfere with
A M r adio recept ion.
and equipment
Page 263 of 516
Please first read and note the tory information and h eed the on page 163 .
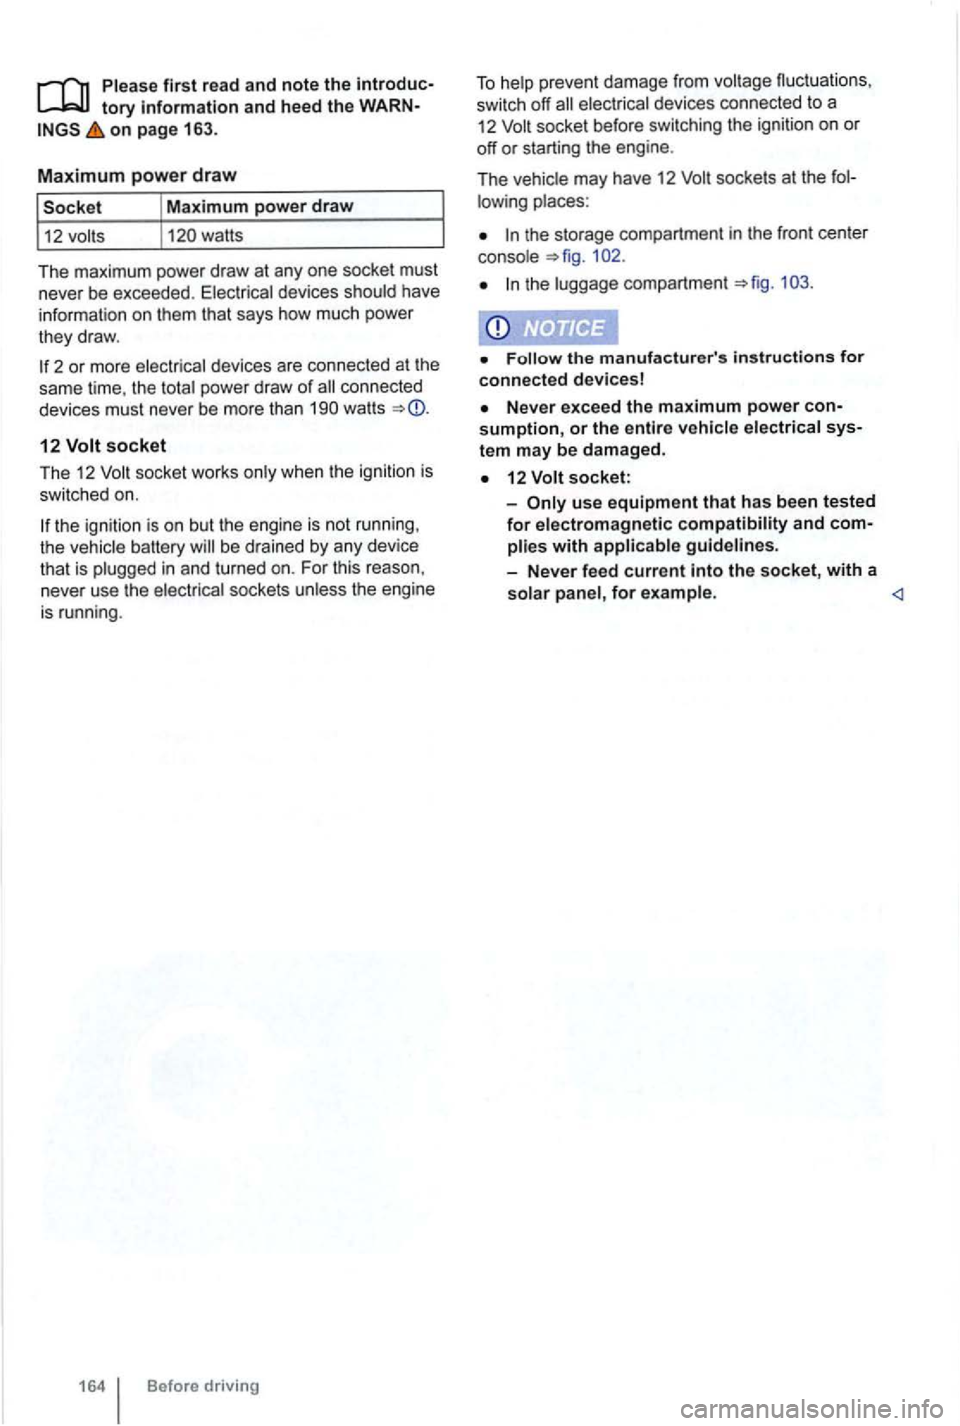
Maximum power draw
Maximum power draw
watts
T he maximum power draw at any one socket must
ne v
er be exceeded . Electrical devices should have
info rmation on them that says how much power
they draw .
2 or more devices are connected at the
same lime. the total power draw of
12
soc ke t works when the ignition is
sw itched on.
the ignition is on but the engine is not running ,
the vehic le battery be drained by any dev ice
tha t is plugged in and turn ed on. For th is reason,
never use the electrica l sockets unless the engine
is runn ing.
Before driving T
o
preve nt damage from voltage fluctuations ,
switch off electrical devices connected to a 12
lowing places:
the storage compartment in the front center
console
t h e luggage compartment
Follow the manufacturer's instructions for conne cted devices !
Never exceed the maximum power sumption, or the entire vehicle electrical tem may be damaged .
12
and
for example.