Page 179 of 468
179
2-5. Driving information
2
When driving
Dinghy towing (manual transmission)
Towing your vehicle with 4 wheels on the groundTo prevent damage to your vehicle, perform the following procedures
before towing.
Shift the shift lever to N.
Switch to the “ACC” position. ( P. 126)
Ensure that the audio system and other powered devices have been
turned off.
Release the parking brake.
After towing, leave the engine in idle for at least 3 minutes before
driving the vehicle.
■Necessary equipment and accessories
Specialized equipment and accessories are required for dinghy towing. Con-
tact the service branch of the motor home manufacturer regarding recom-
mended equipment.
Your vehicle can be dinghy towed in a forward direction (with 4
wheels on the ground) behind a motor home.
STEP1
STEP2
STEP3
Page 182 of 468
182
3-1. Using the air conditioning system
and defogger ................ 184
Automatic air conditioning system ....... 184
Manual air conditioning system ....... 190
Rear window and outside rear view mirror
defoggers ....................... 197
3-2. Using the audio system .......................... 198
Audio system types .......... 198
Using the radio ................. 201
Using the CD player ......... 207
Playing MP3 and WMA discs ..................... 214
Optimal use of the audio system ........................... 222
Using the AUX adapter .... 224
Using the steering wheel audio switches ............... 225
Page 199 of 468

199
3-2. Using the audio system
3
Interior features
■
Using cellular phones
Interference may be heard through the audio system's speakers if a cellular
phone is being used inside or close to the vehicle while the audio syste\
m is
operating.
CAUTION
■For vehicles sold in U.S.A. and Canada
●Part 15 of the FCC Rules
FCC Warning:
Any unauthorized changes or modifications to this equipment will void the
user’s authority to operate this device.
● Laser products
• Do not take this unit apart or attempt to make any changes yourself.
This is an intricate unit that uses a laser pickup to retrieve information
from the surface of compact discs. The laser is carefully shielded so
that its rays remain inside the cabinet. Therefore, never try to disas-
semble the player or alter any of its parts since you may be exposed to
laser rays and dangerous voltages.
• This product utilizes a laser. Use of controls or adjustments or performance of procedures other
than those specified herein may result in hazardous radiation expo-
sure.
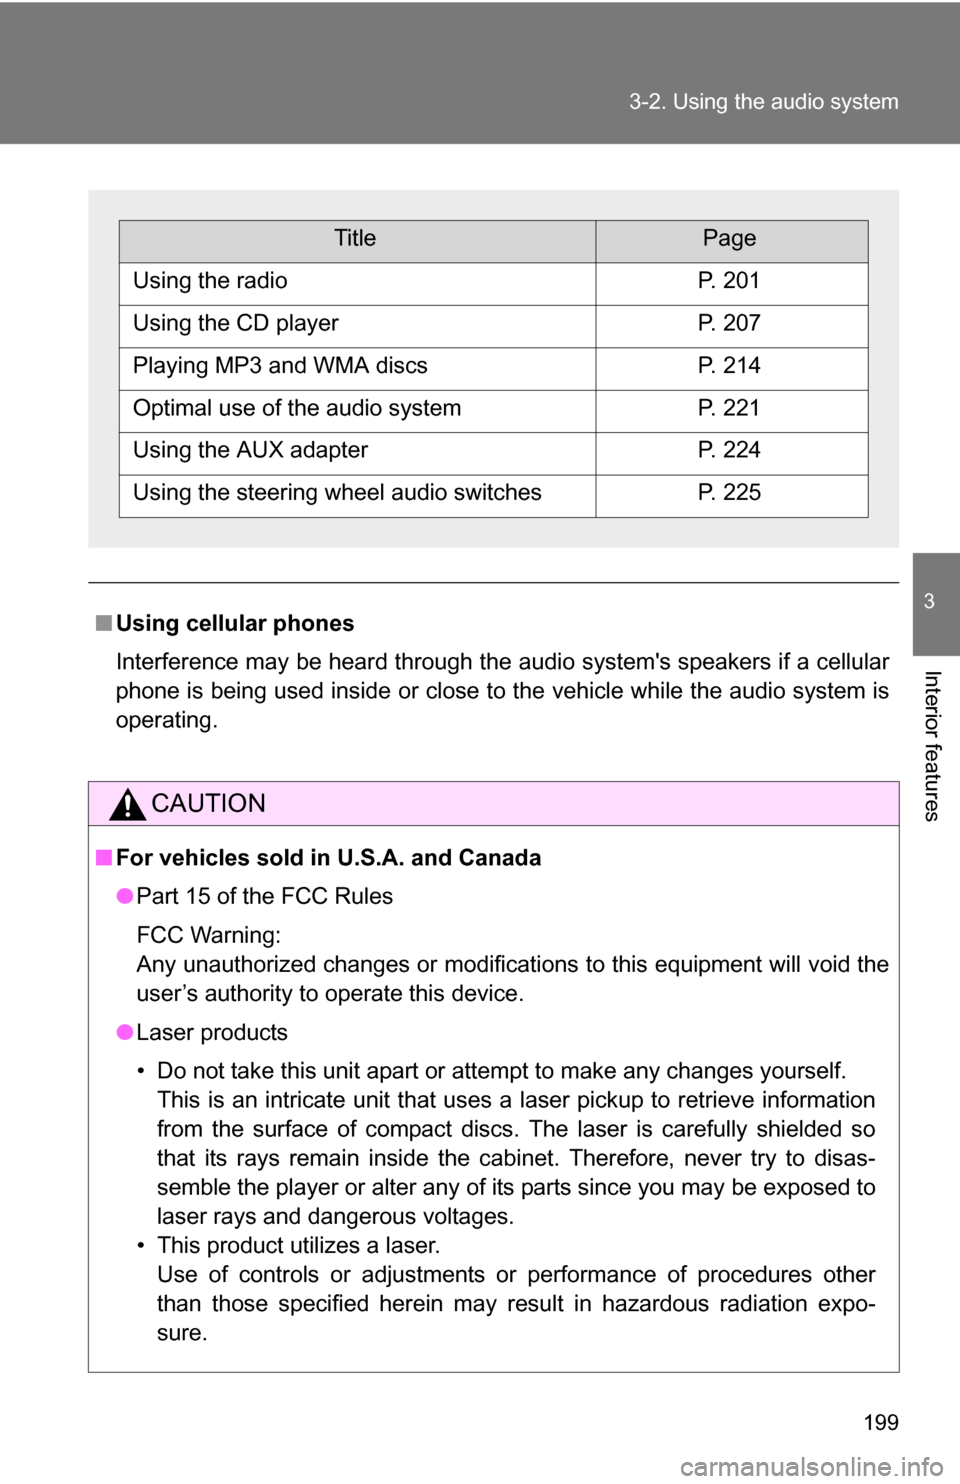
TitlePage
Using the radioP. 201
Using the CD playerP. 207
Playing MP3 and WMA discsP. 214
Optimal use of the audio systemP. 221
Using the AUX adapterP. 224
Using the steering wheel audio switchesP. 225
Page 225 of 468
225
3-2. Using the audio system
3
Interior features
Using the steering wheel audio switches (if equipped)
Turning on the powerPress when the audio system is turned off.
The audio system can be turned off by holding down until you
hear a beep.
Some audio features can be cont rolled using the switches on the
steering wheel.
Vo l u m e
Radio: Select radio stations
CD: Select tracks, files
(MP3 and WMA) and discs
Power on/off, select audio
source
Page 227 of 468
227
3-2. Using the audio system
3
Interior features
Selecting a track/file
Press to select the CD mode.
Press to select the desired track/file.
Selecting a folder (type A)Press to select the CD mode.
Press and hold until you hear a beep.
Selecting a disc (type A with a CD changer and type B)
Press to select the CD mode.
Press and hold until you hear a beep.
CAUTION
■ To reduce the risk of an accident
Exercise care when operating the audio switches on the steering wheel.
STEP1
STEP2
STEP1
STEP2
STEP1
STEP2
Page 232 of 468
232 3-3. Using the hands-free phone system (for cellular phone)
■Steering wheel
Vo l u m e
The voice guidance volume
cannot be adjusted by using
this button.
Hands-free phone system
on/starts a call (off-hook
switch)
Hands-free phone system
off/ends a call/refuses a call
(on-hook switch)
Press: Voice command sys-
tem on
Press and hold: Voice com-
mand system off (talk
switch)
Page 289 of 468
Maintenance and care4
289
4-1. Maintenance and care ... 290Cleaning and protecting the vehicle exterior......... 290
Cleaning and protecting the vehicle interior.......... 292
4-2. Maintenance ................... 295 Maintenance requirements .................. 295
General maintenance....... 297
Emission inspection and maintenance (I/M)
programs........................ 300 4-3. Do-it-yourself
maintenance ................. 301
Do-it-yourself service precautions .................... 301
Hood ................................ 305
Positioning a floor jack ..... 307
Engine compartment ........ 310
Tires ................................. 326
Tire inflation pressure ...... 335
Wheels ............................. 339
Air conditioning filter......... 341
Key battery ....................... 343
Checking and replacing fuses .............................. 347
Light bulbs........................ 357
Page 290 of 468

290
4-1. Maintenance and care
Cleaning and protecting the vehicle exterior
■Automatic car washes
●Fold the mirrors back before washing the vehicle.
● Brushes used in automatic car washes may scratch the vehicle surface
and harm your vehicle’s paint.
■ High pressure car washes
●Do not allow the nozzles of the car wash to come within close proximity
of the windows.
● Before car wash, check that the fuel filler door on your vehicle is closed
properly.
■ Aluminum wheels
Remove any dirt immediately by using a neutral detergent. Do not use har\
d
brushes or abrasive cleaners. Do not use strong or harsh chemical cleaners.
Use the same mild detergent and wax as used on the paint.
■ Bumpers
Do not scrub with abrasive cleaners.
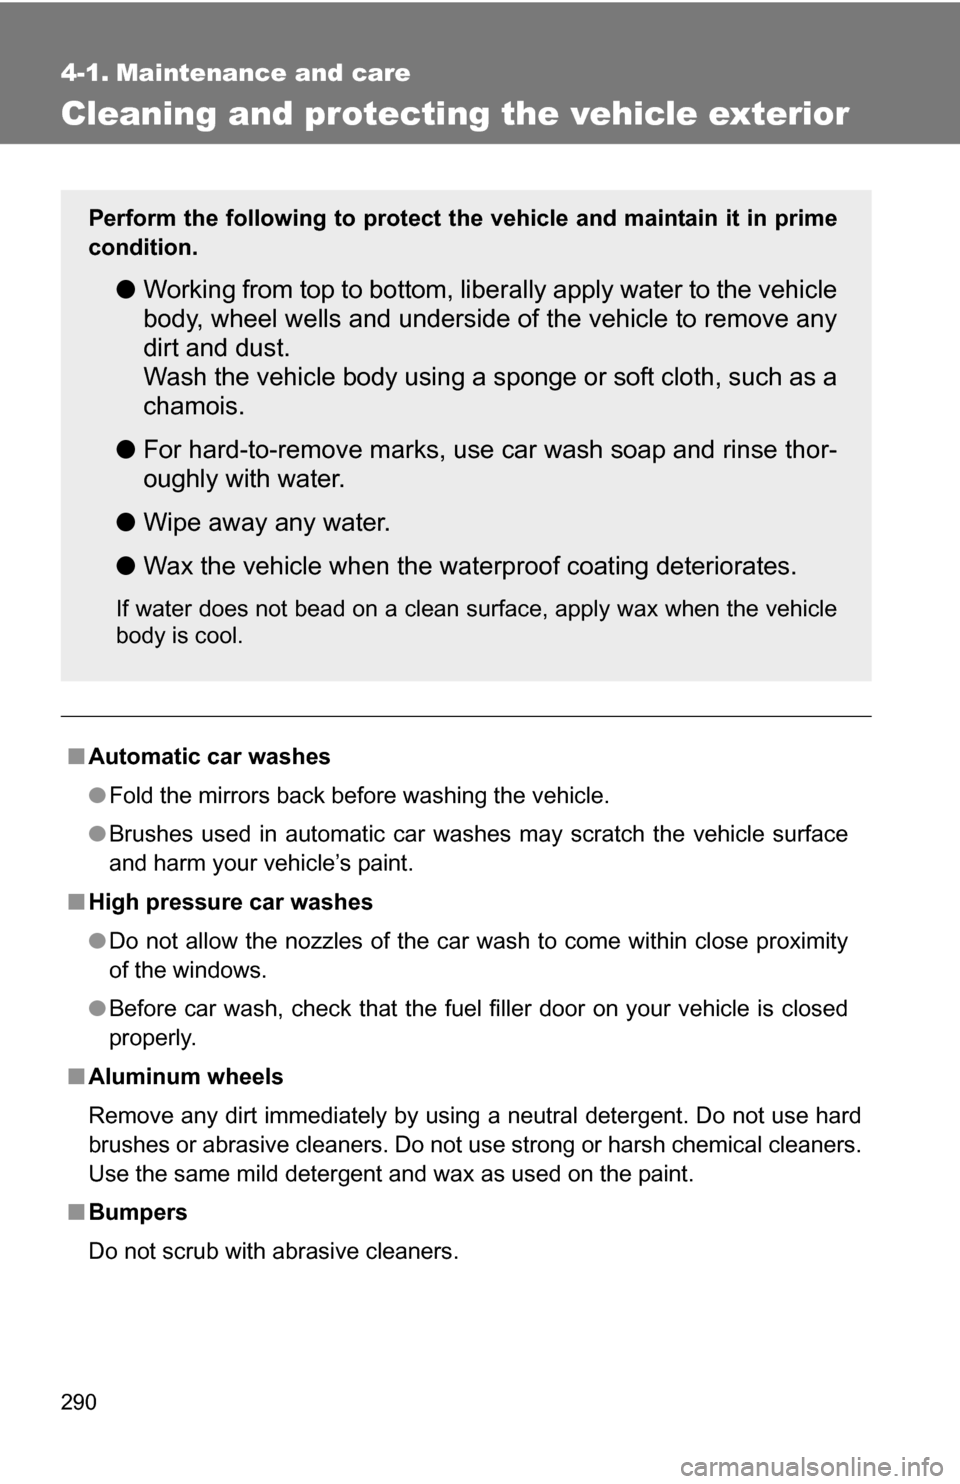
Perform the following to protect the vehicle and maintain it in prime
condition.
● Working from top to bottom, liber ally apply water to the vehicle
body, wheel wells and underside of the vehicle to remove any
dirt and dust.
Wash the vehicle body using a sponge or soft cloth, such as a
chamois.
● For hard-to-remove marks, use car wash soap and rinse thor-
oughly with water.
● Wipe away any water.
● Wax the vehicle when the waterproof coating deteriorates.
If water does not bead on a clean surface, apply wax when the vehicle
body is cool.