2009 SUBARU OUTBACK warning light
[x] Cancel search: warning lightPage 168 of 447
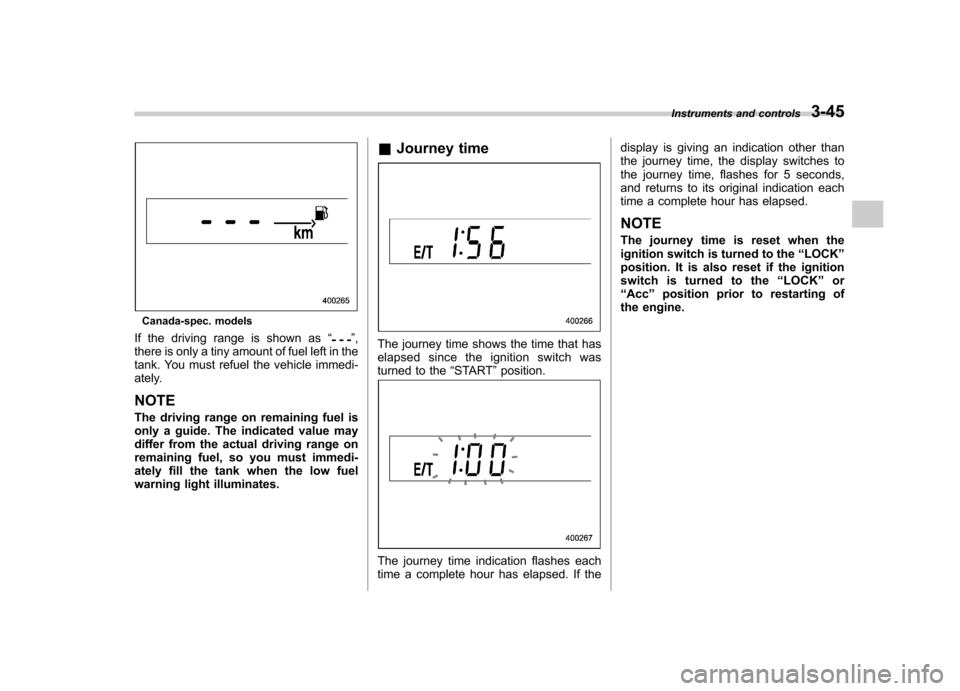
Canada-spec. models
If the driving range is shown as “
”,
there is only a tiny amount of fuel left in the
tank. You must refuel the vehicle immedi-
ately. NOTE
The driving range on remaining fuel is
only a guide. The indicated value may
differ from the actual driving range on
remaining fuel, so you must immedi-
ately fill the tank when the low fuel
warning light illuminates. &
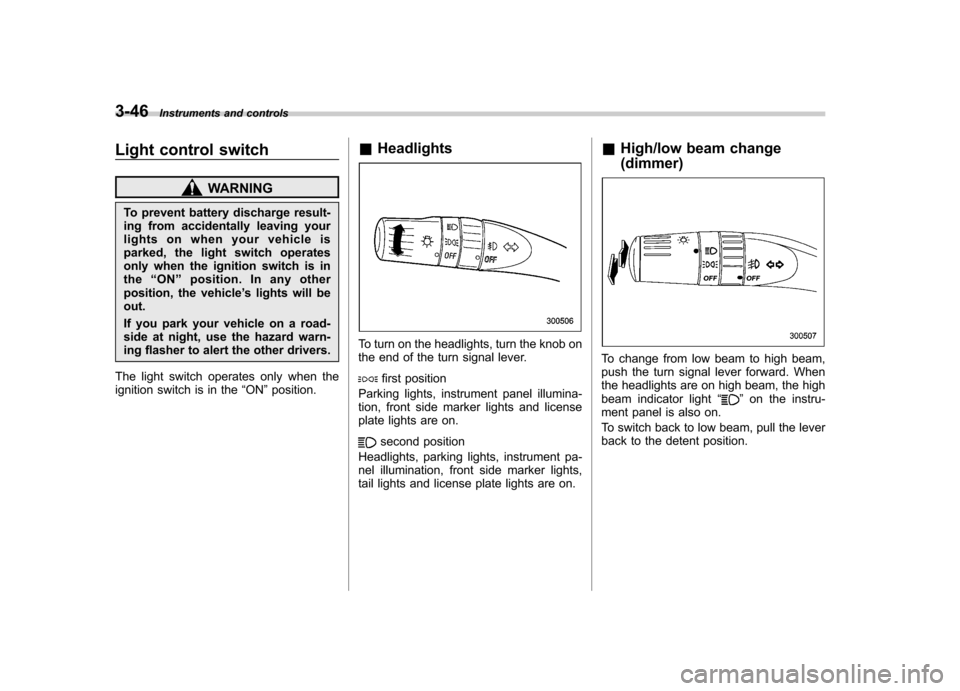
Journey timeThe journey time shows the time that has
elapsed since the ignition switch was
turned to the “START ”position.
The journey time indication flashes each
time a complete hour has elapsed. If the display is giving an indication other than
the journey time, the display switches to
the journey time, flashes for 5 seconds,
and returns to its original indication each
time a complete hour has elapsed. NOTE
The journey time is reset when the
ignition switch is turned to the
“LOCK ”
position. It is also reset if the ignition
switch is turned to the “LOCK ”or
“ Acc ”position prior to restarting of
the engine. Instruments and controls
3-45
Page 169 of 447
3-46Instruments and controls
Light control switch
WARNING
To prevent battery discharge result-
ing from accidentally leaving your
lights on when your vehicle is
parked, the light switch operates
only when the ignition switch is inthe “ON ”position. In any other
position, the vehicle ’s lights will be
out.
If you park your vehicle on a road-
side at night, use the hazard warn-
ing flasher to alert the other drivers.
The light switch operates only when the
ignition switch is in the “ON ”position. &
Headlights
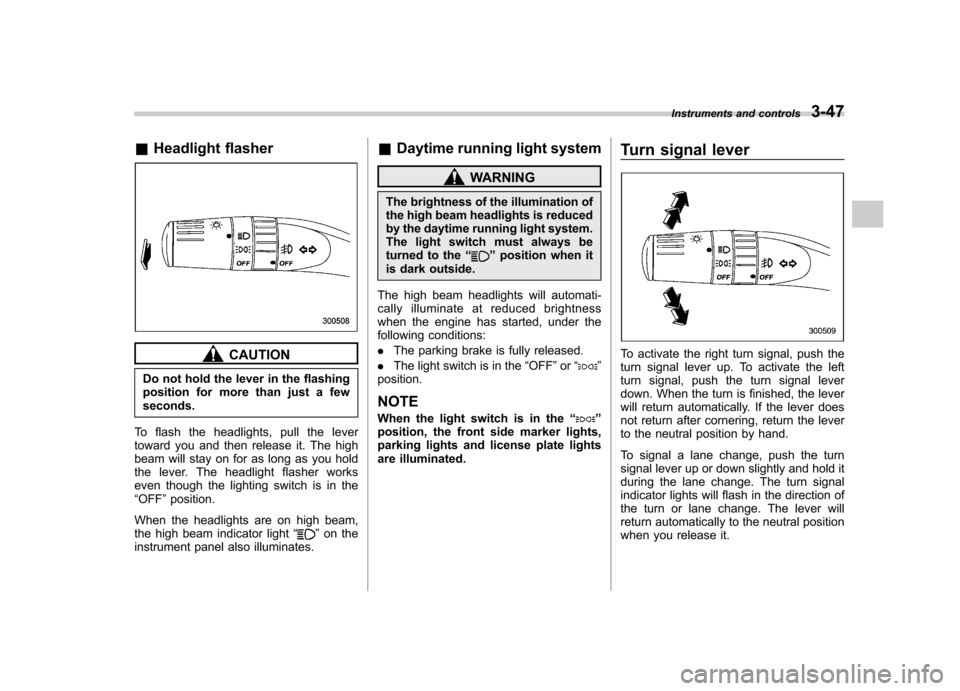
To turn on the headlights, turn the knob on
the end of the turn signal lever.
first position
Parking lights, instrument panel illumina-
tion, front side marker lights and license
plate lights are on.
second position
Headlights, parking lights, instrument pa-
nel illumination, front side marker lights,
tail lights and license plate lights are on. &
High/low beam change (dimmer)
To change from low beam to high beam,
push the turn signal lever forward. When
the headlights are on high beam, the high
beam indicator light “
”on the instru-
ment panel is also on.
To switch back to low beam, pull the lever
back to the detent position.
Page 170 of 447
&Headlight flasher
CAUTION
Do not hold the lever in the flashing
position for more than just a fewseconds.
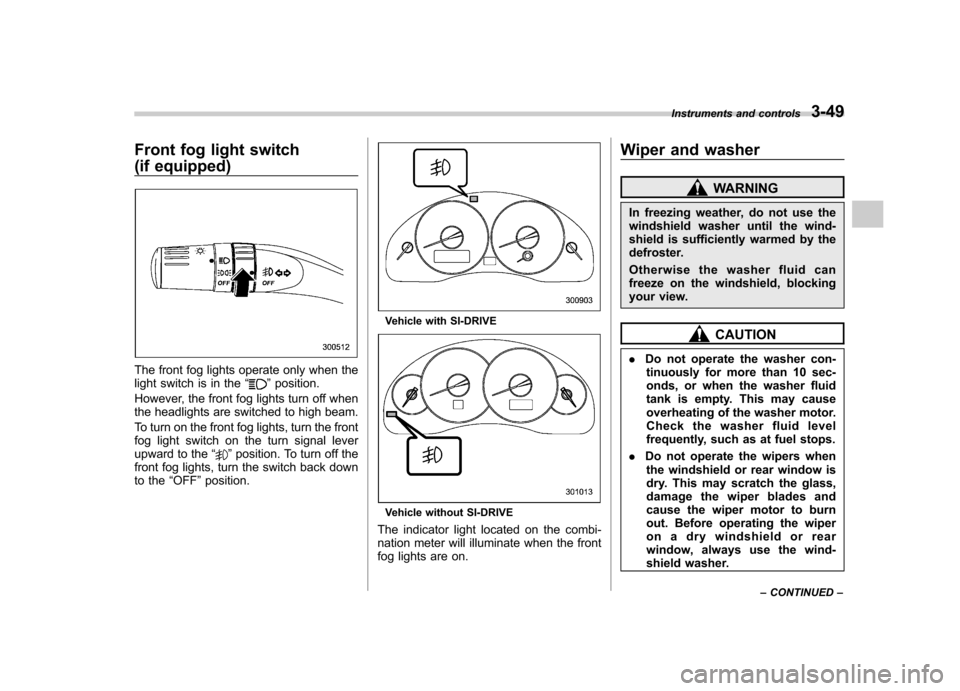
To flash the headlights, pull the lever
toward you and then release it. The high
beam will stay on for as long as you hold
the lever. The headlight flasher works
even though the lighting switch is in the“ OFF ”position.
When the headlights are on high beam,
the high beam indicator light “
”on the
instrument panel also illuminates. &
Daytime running light system
WARNING
The brightness of the illumination of
the high beam headlights is reduced
by the daytime running light system.
The light switch must always be
turned to the “
”position when it
is dark outside.
The high beam headlights will automati-
cally illuminate at reduced brightness
when the engine has started, under the
following conditions: . The parking brake is fully released.
. The light switch is in the “OFF ”or “
”
position. NOTE
When the light switch is in the “
”
position, the front side marker lights,
parking lights and license plate lights
are illuminated. Turn signal lever
To activate the right turn signal, push the
turn signal lever up. To activate the left
turn signal, push the turn signal lever
down. When the turn is finished, the lever
will return automatically. If the lever does
not return after cornering, return the lever
to the neutral position by hand.
To signal a lane change, push the turn
signal lever up or down slightly and hold it
during the lane change. The turn signal
indicator lights will flash in the direction of
the turn or lane change. The lever will
return automatically to the neutral position
when you release it.Instruments and controls
3-47
Page 172 of 447
Front fog light switch
(if equipped)
The front fog lights operate only when the
light switch is in the“”position.
However, the front fog lights turn off when
the headlights are switched to high beam.
To turn on the front fog lights, turn the front
fog light switch on the turn signal lever
upward to the “
”position. To turn off the
front fog lights, turn the switch back down
to the “OFF ”position.
Vehicle with SI-DRIVE
Vehicle without SI-DRIVE
The indicator light located on the combi-
nation meter will illuminate when the front
fog lights are on. Wiper and washer
WARNING
In freezing weather, do not use the
windshield washer until the wind-
shield is sufficiently warmed by the
defroster.
Otherwise the washer fluid can
freeze on the windshield, blocking
your view.
CAUTION
. Do not operate the washer con-
tinuously for more than 10 sec-
onds, or when the washer fluid
tank is empty. This may cause
overheating of the washer motor.
Check the washer fluid level
frequently, such as at fuel stops.
. Do not operate the wipers when
the windshield or rear window is
dry. This may scratch the glass,
damage the wiper blades and
cause the wiper motor to burn
out. Before operating the wiper
on a dry windshield or rear
window, always use the wind-
shield washer. Instruments and controls
3-49
– CONTINUED –
Page 180 of 447
other similar items. Periodically wipe the
sensors clean using a piece of dry soft
cotton cloth or an applicator. !Compass calibration
1. For optimum calibration, switch off all
nonessential electrical accessories (rear
window defogger, heater/air conditioning
system, spotlight, etc.) and ensure all
doors are shut.
2. Drive to an open, level area away from
large metallic objects or structures and
make certain the ignition switch is in the“ ON ”position.
3. Press and hold the left button for 3
seconds then release, and the compass
will enter the calibration mode. “CAL ”and
direction will be displayed.
4. Drive slowly in a circle until “CAL ”
disappears from the display (approxi-
mately two or three circles). The compass
is now calibrated.
5. Further calibration may be necessary
should outside influences cause the mirror
to read inaccurately. You will know that
this has occurred if your compass begins
to read in only limited directions. Should
you encounter this situation, return to step
one of the above procedure and recali-
brate the mirror. !
Compass zone adjustment
1. The zone setting is factory preset to
Zone 8. Refer to the “Compass calibration
zone ”map attached to the end of this
manual to verify that the compass zone
setting is correct for your geographical location.
2. Press and hold the right button for 3
seconds then release, and the word“ ZONE ”will briefly appear and then the
zone number will be displayed.
3. Press the right-hand button repeatedly
to cycle the display through all possible
zone settings. Stop cycling when the
correct zone setting for your location isdisplayed.
4. Releasing the button for 3 seconds will
exit the zone setting mode.
& Outside mirrors
! Convex mirror (passenger side)
WARNING
Objects look smaller in a convex
mirror and farther away than when
viewed in a flat mirror. Do not use
the convex mirror to judge the
distance of vehicles behind you
when changing lanes. Use the inside
mirror (or glance backwards) to determine the actual size and dis-
tance of objects that you view in
convex mirror.
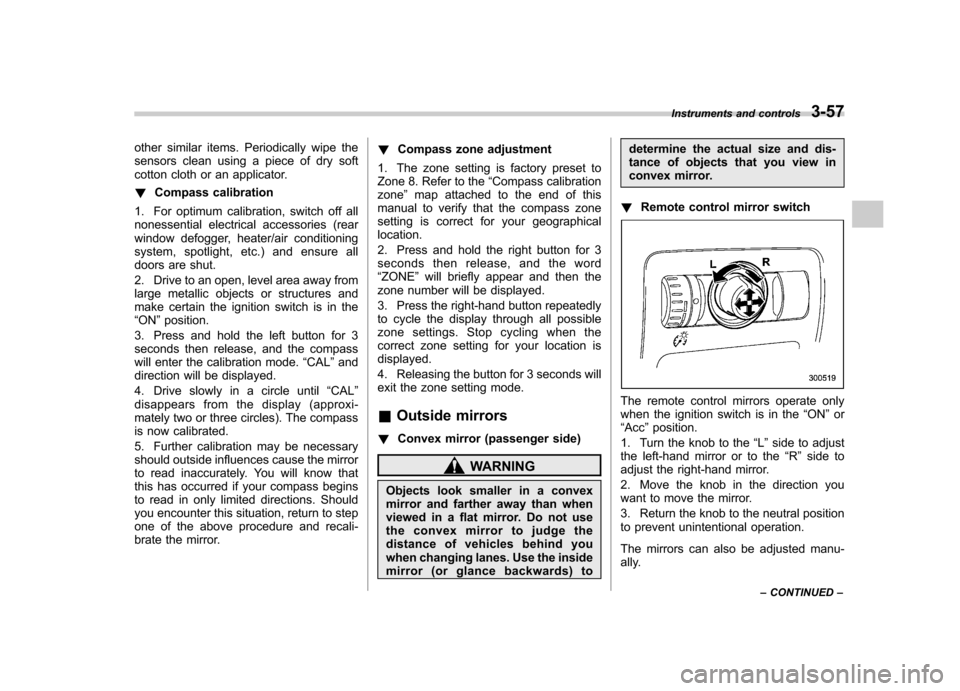
! Remote control mirror switch
The remote control mirrors operate only
when the ignition switch is in the “ON ”or
“ Acc ”position.
1. Turn the knob to the “L ” side to adjust
the left-hand mirror or to the “R ” side to
adjust the right-hand mirror.
2. Move the knob in the direction you
want to move the mirror.
3. Return the knob to the neutral position
to prevent unintentional operation.
The mirrors can also be adjusted manu-
ally. Instruments and controls
3-57
– CONTINUED –
Page 187 of 447
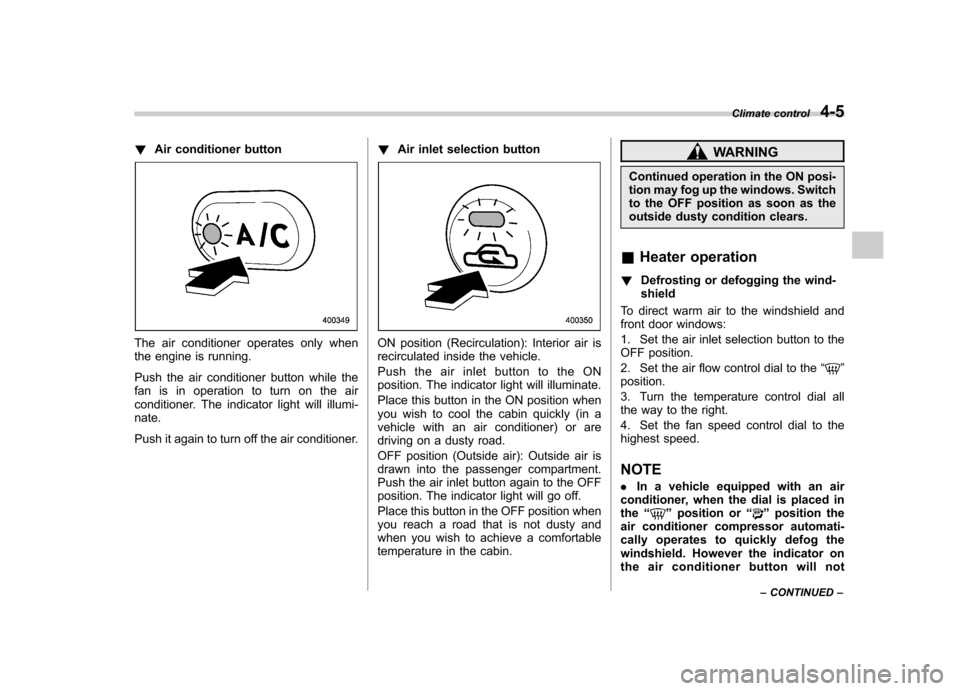
!Air conditioner button
The air conditioner operates only when
the engine is running.
Push the air conditioner button while the
fan is in operation to turn on the air
conditioner. The indicator light will illumi-nate.
Push it again to turn off the air conditioner. !
Air inlet selection buttonON position (Recirculation): Interior air is
recirculated inside the vehicle.
Push the air inlet button to the ON
position. The indicator light will illuminate.
Place this button in the ON position when
you wish to cool the cabin quickly (in a
vehicle with an air conditioner) or are
driving on a dusty road.
OFF position (Outside air): Outside air is
drawn into the passenger compartment.
Push the air inlet button again to the OFF
position. The indicator light will go off.
Place this button in the OFF position when
you reach a road that is not dusty and
when you wish to achieve a comfortable
temperature in the cabin.
WARNING
Continued operation in the ON posi-
tion may fog up the windows. Switch
to the OFF position as soon as the
outside dusty condition clears.
& Heater operation
! Defrosting or defogging the wind-shield
To direct warm air to the windshield and
front door windows:
1. Set the air inlet selection button to the
OFF position.
2. Set the air flow control dial to the “
”
position.
3. Turn the temperature control dial all
the way to the right.
4. Set the fan speed control dial to the
highest speed.
NOTE . In a vehicle equipped with an air
conditioner, when the dial is placed in the “
”position or “”position the
air conditioner compressor automati-
cally operates to quickly defog the
windshield. However the indicator on
the air conditioner button will not Climate control
4-5
– CONTINUED –
Page 189 of 447
2. Set the air flow control dial to the“”
position.
3. Set the temperature control dial all the
way left.
4. Set the fan speed control dial to the
desired speed.
When driving on a dusty road, set the air
inlet control button to the ON position.
WARNING
Continued operation in the ON posi-
tion may fog up the windows. Switch
to the OFF position as soon as the
outside dusty condition clears.
& Air conditioner operation
! Cooling or dehumidifying
For cooling and dehumidification of the
passenger compartment, air flows through
the instrument panel outlets:
1. Set the air inlet selection button to the
OFF position.
2. Set the air flow control dial to the “
”
position.
3. Set the air conditioner button to the “ ON ”position.
4. Set the temperature control dial to the
blue side.
5. Set the fan speed control dial at the desired speed. !
Defrosting or defogging
To direct warm air to the windshield and
front door windows:
1. Set the air outlet control dial to the “
” position.
2. Set the temperature control dial to the
red side.
3. Set the fan speed control dial at the
highest speed. NOTE
In a vehicle equipped with an air
conditioner, when the dial is placed inthe “
”position or “”position the
air conditioner compressor automati-
cally operates to quickly defog the
windshield. However the indicator on
the air conditioner button will not
illuminate. At the same time, the air
inlet selection is automatically set to“ outside air ”mode.
In this state, you cannot select “recir-
culation ”mode by manually pressing
the air inlet selection button.
Also, you cannot stop the air condi-
tioner compressor by pressing the air
conditioner button. Automatic climate control
system (if equipped) NOTE .
Operate the automatic climate con-
trol system when the engine is running. . The blower fan rotates at a low
speed when the engine coolant tem-
perature is low.
For efficient defogging or dehumidify-
ing in cold weather, press the “A/C ”
button.. Even when cooling is not necessary,
setting the temperature much lower
than the current outlet air temperature
turns on the air conditioner compres-
sor automatically and the “A/C ”indi-
cator light on the control panel illumi-nates.
The automatic climate control system
automatically controls outlet air tempera-
ture, fan speed, air flow distribution air-
inlet control, and air conditioner compres-
sor operation. It activates when the“ AUTO ”button is pressed, and is used to
maintain a constant, comfortable climate
within the passenger compartment.
The temperature can be set within a range
of 65 to 85 8F (18 to 32 8C).
Climate control
4-7
– CONTINUED –
Page 193 of 447
When the temperature control dial is
turned fully counterclockwise, the recircu-
lation mode is automatically selected.)
When the outside air mode is selected, a“
”indicator light appears on the dis-
play.
WARNING
Continued operation in the “
”
position may fog up the windows.
Switch to the “
”position as soon
as the outside dusty condition clears.
NOTE
When driving on a dusty road or behind
a vehicle that emits unpleasant exhaust
gases, set the air inlet selection button
to the “
”position.
From time to time, return the air inlet
selection button to the “
”position
to draw outside air into the passenger compartment. &
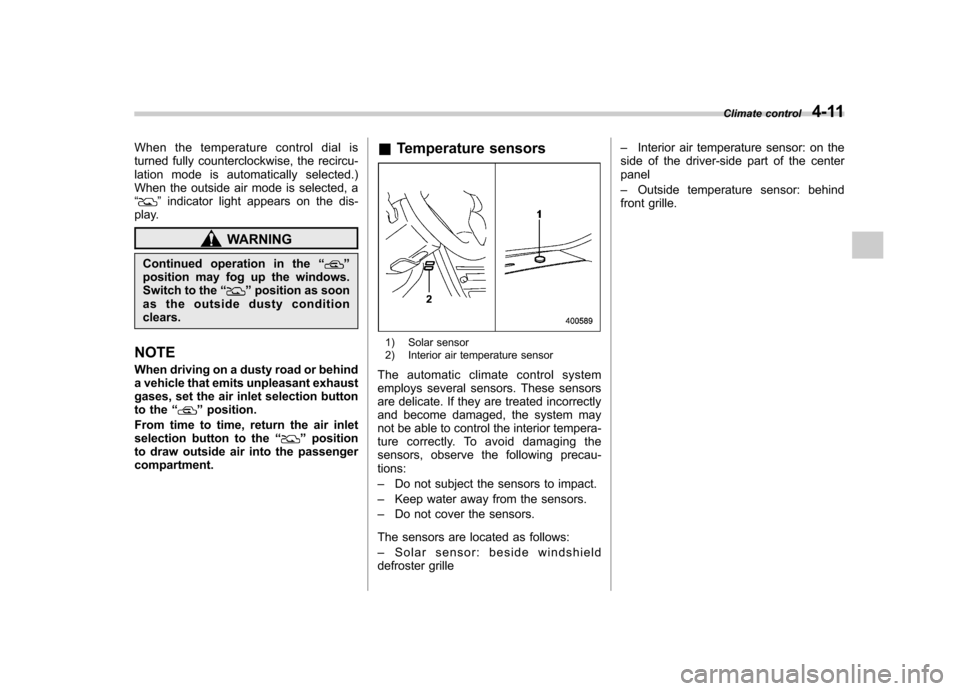
Temperature sensors
1) Solar sensor
2) Interior air temperature sensor
The automatic climate control system
employs several sensors. These sensors
are delicate. If they are treated incorrectly
and become damaged, the system may
not be able to control the interior tempera-
ture correctly. To avoid damaging the
sensors, observe the following precau-tions: – Do not subject the sensors to impact.
– Keep water away from the sensors.
– Do not cover the sensors.
The sensors are located as follows:– Solar sensor: beside windshield
defroster grille –
Interior air temperature sensor: on the
side of the driver-side part of the center panel – Outside temperature sensor: behind
front grille. Climate control
4-11