2009 SUBARU OUTBACK audio
[x] Cancel search: audioPage 3 of 447
Warranties &Warranties for U.S.A.
All SUBARU vehicles distributed by
Subaru of America, Inc. and sold at retail
by an authorized SUBARU dealer in the
United States come with the followingwarranties: . SUBARU Limited Warranty
. Emission Control Systems Warranty
. Emissions Performance Warranty
All warranty information, including details
of coverage and exclusions, is in the“ Warranty and Maintenance Booklet ”.
Please read these warranties carefully.
& Warranties for Canada
All SUBARU vehicles distributed by
Subaru Canada, Inc. and sold at retail by
an authorized SUBARU dealer in Canada
come with the following warranties: . SUBARU Limited Warranty
. Anti-Corrosion Warranty
. Emission Control Warranty
All warranty information, including details
of coverage and exclusions, is in the“ Warranty and Service Booklet ”. Please
read these warranties carefully. How to use this Owner
’s
Manual & Using your Owner ’s Manual
Before you operate your vehicle, carefully
read this manual. To protect yourself and
extend the service life of your vehicle,
follow the instructions in this manual.
Failure to observe these instructions may
result in serious injury and damage to yourvehicle.
This manual is composed of fourteen
chapters. Each chapter begins with a brief
table of contents, so you can usually tell at
a glance if that chapter contains the
information you want.
Chapter 1: Seat, seatbelt and SRS airbags
This chapter informs you how to use the
seat and seatbelt and contains precau-
tions for the SRS airbags.
Chapter 2: Keys and doors
This chapter informs you how to operate
the keys, locks and windows.
Chapter 3: Instruments and controls
This chapter informs you about the opera-
tion of instrument panel indicators and
how to use the instruments and otherswitches. Chapter 4: Climate control
This chapter informs you how to operate
the climate control.
Chapter 5: Audio
This chapter informs you how to operate
your audio system.
Chapter 6: Interior equipment
This chapter informs you how to operate
interior equipment.
Chapter 7: Starting and operating
This chapter informs you how to start and
operate your SUBARU.
Chapter 8: Driving tips
This chapter informs you how to drive your
SUBARU in various conditions and ex-
plains some safety tips on driving.
Chapter 9: In case of emergency
This chapter informs you what to do if you
have a problem while driving, such as a
flat tire or engine overheating.
Chapter 10: Appearance care
This chapter informs you how to keep your
SUBARU looking good.
Chapter 11: Maintenance and service
This chapter informs you when you need
to take your SUBARU to the dealer for
scheduled maintenance and informs you
how to keep your SUBARU running
properly.1
– CONTINUED –
Page 11 of 447
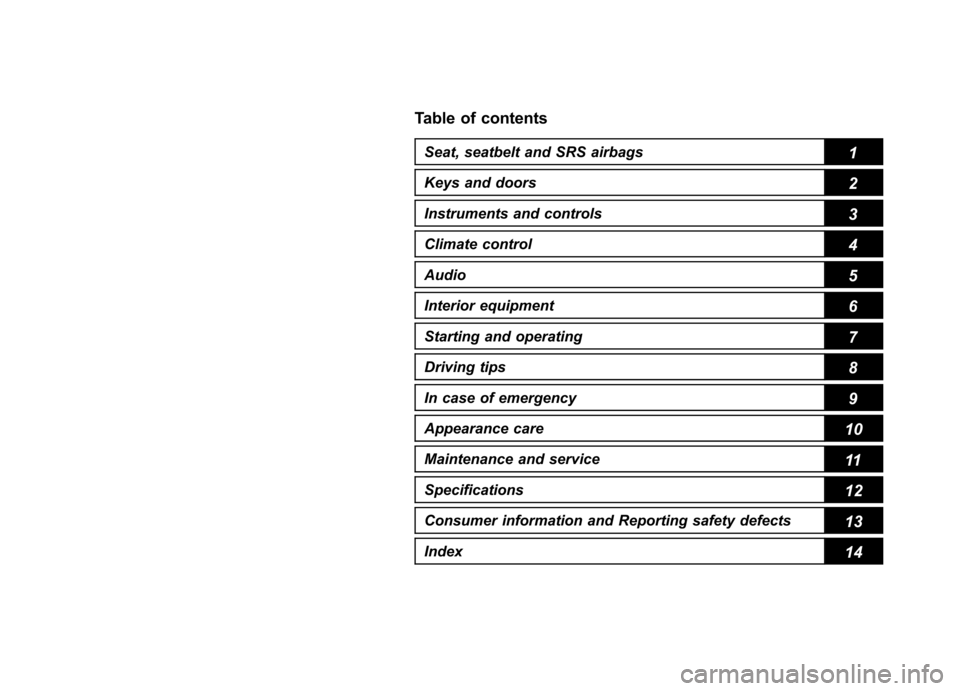
Table of contents
Seat, seatbelt and SRS airbags1
Keys and doors2
Instruments and controls
Climate control4
Audio5
Interior equipment6
Starting and operating7
Driving tips8
In case of emergency9
Appearance care10
Maintenance and service11
Specifications12
Consumer information and Reporting safety defects13
Index14
3
Page 16 of 447

14
1) Parking brake lever (page 7-44)
2) Gear shift lever (MT) (page 7-15/page 7-17)
3) Selector lever (AT) (page 7-19/ page 7-25)
4) Information display (page 3-41)
5) Clock (page 3-41)
6) Dashboard storage compartment (page 6-5)
7) Navigation system (Refer to the Owner ’s
Manual supplement for the navigation system.)
8) Glove box (page 6-5)
9) Hazard warning flasher switch (page 3-5)
10) Audio (page 5-1)
11) Climate control (page 4-1)
12) Pocket (page 6-8)
13) Accessory power outlet (page 6-9)
14) Tilt/telescopic steering wheel (page 3-59)
15) SI-DRIVE selector (page 7-32)
16) Cup holder (page 6-8)
Page 17 of 447
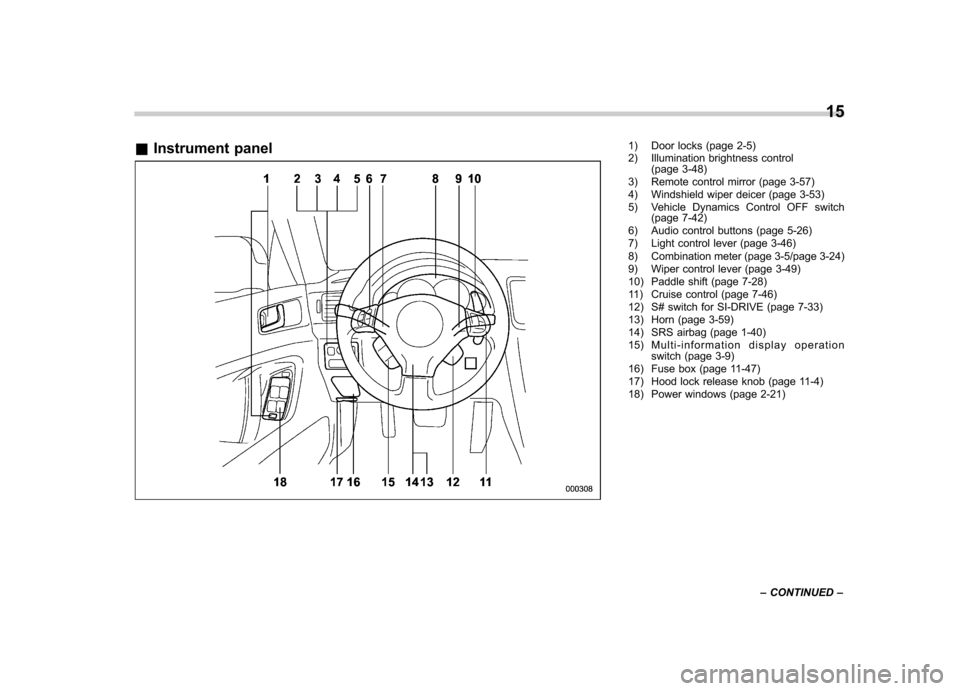
&Instrument panel1) Door locks (page 2-5)
2) Illumination brightness control
(page 3-48)
3) Remote control mirror (page 3-57)
4) Windshield wiper deicer (page 3-53)
5) Vehicle Dynamics Control OFF switch (page 7-42)
6) Audio control buttons (page 5-26)
7) Light control lever (page 3-46)
8) Combination meter (page 3-5/page 3-24)
9) Wiper control lever (page 3-49)
10) Paddle shift (page 7-28)
11) Cruise control (page 7-46)
12) S# switch for SI-DRIVE (page 7-33)
13) Horn (page 3-59)
14) SRS airbag (page 1-40)
15) Multi-information display operation switch (page 3-9)
16) Fuse box (page 11-47)
17) Hood lock release knob (page 11-4)
18) Power windows (page 2-21) 15
– CONTINUED –
Page 73 of 447
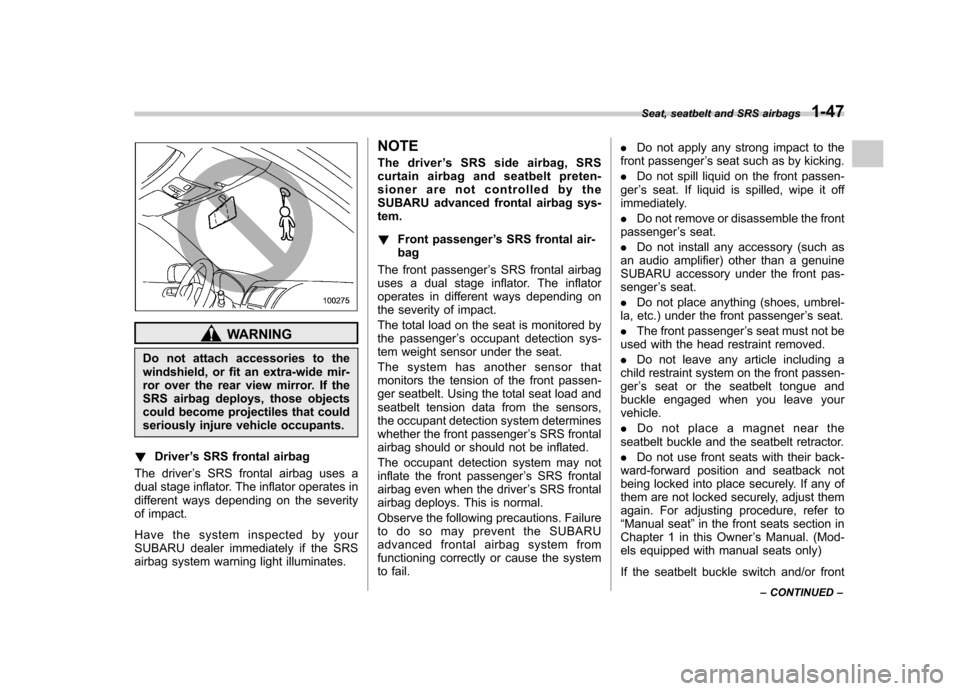
WARNING
Do not attach accessories to the
windshield, or fit an extra-wide mir-
ror over the rear view mirror. If the
SRS airbag deploys, those objects
could become projectiles that could
seriously injure vehicle occupants.
! Driver ’s SRS frontal airbag
The driver ’s SRS frontal airbag uses a
dual stage inflator. The inflator operates in
different ways depending on the severity
of impact.
Have the system inspected by your
SUBARU dealer immediately if the SRS
airbag system warning light illuminates. NOTE
The driver
’s SRS side airbag, SRS
curtain airbag and seatbelt preten-
sioner are not controlled by the
SUBARU advanced frontal airbag sys-tem. ! Front passenger ’s SRS frontal air-
bag
The front passenger ’s SRS frontal airbag
uses a dual stage inflator. The inflator
operates in different ways depending on
the severity of impact.
The total load on the seat is monitored by
the passenger ’s occupant detection sys-
tem weight sensor under the seat.
The system has another sensor that
monitors the tension of the front passen-
ger seatbelt. Using the total seat load and
seatbelt tension data from the sensors,
the occupant detection system determines
whether the front passenger ’s SRS frontal
airbag should or should not be inflated.
The occupant detection system may not
inflate the front passenger ’s SRS frontal
airbag even when the driver ’s SRS frontal
airbag deploys. This is normal.
Observe the following precautions. Failure
to do so may prevent the SUBARU
advanced frontal airbag system from
functioning correctly or cause the system
to fail. .
Do not apply any strong impact to the
front passenger ’s seat such as by kicking.
. Do not spill liquid on the front passen-
ger ’s seat. If liquid is spilled, wipe it off
immediately. . Do not remove or disassemble the front
passenger ’s seat.
. Do not install any accessory (such as
an audio amplifier) other than a genuine
SUBARU accessory under the front pas-senger ’s seat.
. Do not place anything (shoes, umbrel-
la, etc.) under the front passenger ’s seat.
. The front passenger ’s seat must not be
used with the head restraint removed. . Do not leave any article including a
child restraint system on the front passen- ger ’s seat or the seatbelt tongue and
buckle engaged when you leave yourvehicle. . Do not place a magnet near the
seatbelt buckle and the seatbelt retractor.. Do not use front seats with their back-
ward-forward position and seatback not
being locked into place securely. If any of
them are not locked securely, adjust them
again. For adjusting procedure, refer to“ Manual seat ”in the front seats section in
Chapter 1 in this Owner ’s Manual. (Mod-
els equipped with manual seats only)
If the seatbelt buckle switch and/or front Seat, seatbelt and SRS airbags
1-47
– CONTINUED –
Page 171 of 447

3-48Instruments and controls
Illumination brightness con- trol
The brightness of clock display, audio, air
conditioner, information display and meter/
gauge illumination dims when the light
switch is in the “
”or “”position. You
can adjust brightness of the meter/gauge
illumination for better visibility.
For turbo and 3.0 L models, you can also
adjust the brightness of the meter/gauge
illumination when the lighting switch is in
the OFF position.
To brighten, turn the control dial upward.
To darken, turn the control dial downward. NOTE . When the control dial is turned fully
upward, the illumination brightness becomes the maximum and the auto-
matic dimming function does not work
at all..
The brightness setting is not can-
celed even when the ignition switch is
turned to the “LOCK ”position. Parking light switch
The parking light switch operates regard-
less of the ignition switch position.
By pushing the front end of this switch,
following lights will illuminate. –
Parking lights
– Front and rear side marker lights
– Tail lights
– License plate lights
To turn off, push the rear end of the
parking light switch.
Avoid leaving these lights on for a long
time because that will run down the
battery.
Page 196 of 447
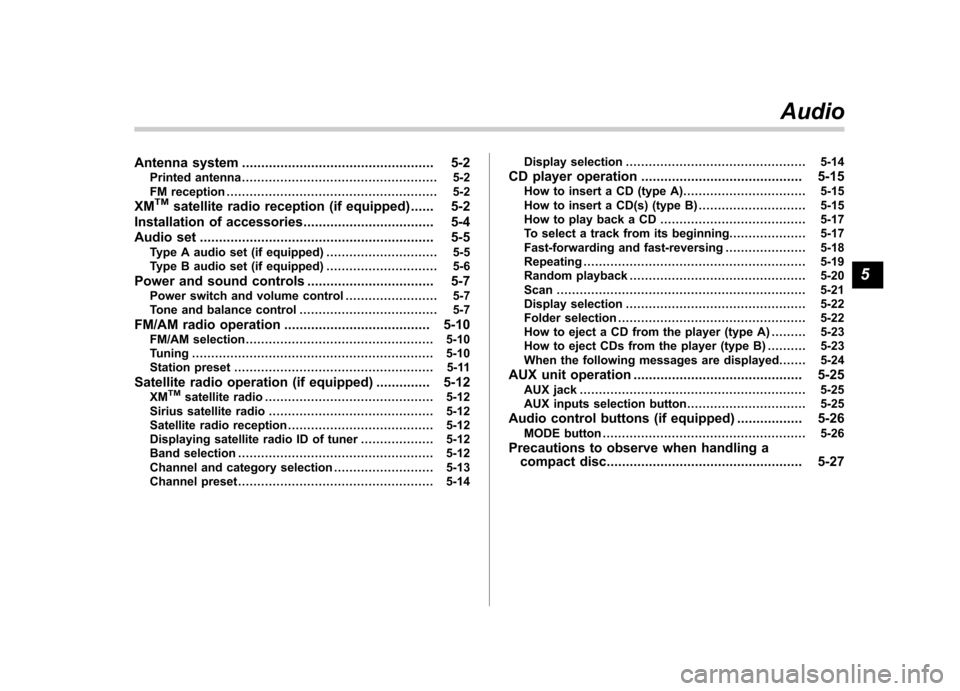
Antenna system.................................................. 5-2
Printed antenna ................................................... 5-2
FM reception ....................................................... 5-2
XM
TMsatellite radio reception (if equipped) ...... 5-2
Installation of accessories .................................. 5-4
Audio set ............................................................. 5-5
Type A audio set (if equipped) ............................. 5-5
Type B audio set (if equipped) ............................. 5-6
Power and sound controls ................................. 5-7
Power switch and volume control ........................ 5-7
Tone and balance control .................................... 5-7
FM/AM radio operation ...................................... 5-10
FM/AM selection ................................................. 5-10
Tuning ............................................................... 5-10
Station preset .................................................... 5-11
Satellite radio operation (if equipped) .............. 5-12
XM
TMsatellite radio ............................................ 5-12
Sirius satellite radio ........................................... 5-12
Satellite radio reception ...................................... 5-12
Displaying satellite radio ID of tuner ................... 5-12
Band selection ................................................... 5-12
Channel and category selection .......................... 5-13
Channel preset ................................................... 5-14 Display selection
............................................... 5-14
CD player operation .......................................... 5-15
How to insert a CD (type A) ................................ 5-15
How to insert a CD(s) (type B) .. .......................... 5-15
How to play back a CD ...................................... 5-17
To select a track from its beginning. ................... 5-17
Fast-forwarding and fast-reversing ..................... 5-18
Repeating .......................................................... 5-19
Random playback .............................................. 5-20
Scan ................................................................. 5-21
Display selection ............................................... 5-22
Folder selection ................................................. 5-22
How to eject a CD from the player (type A) .... ..... 5-23
How to eject CDs from the player (type B) ..... ..... 5-23
When the following messages are displayed. . ..... 5-24
AUX unit operation ............................................ 5-25
AUX jack ........................................................... 5-25
AUX inputs selection button ............................... 5-25
Audio control buttons (if equipped) ................. 5-26
MODE button ..................................................... 5-26
Precautions to observe when handling a compact disc ................................................... 5-27 Audio
5
Page 197 of 447

5-2Audio
Antenna system &Printed antenna
CAUTION
Do not use sharp instruments or
window cleaner containing abra-
sives to clean the inner surface of
the window on which the antenna is
printed. Doing so may damage the
antenna printed on the window.
Sedan
Station wagon
The antenna is printed on the inner
surface of the rear window glass. & FM reception
Although FM is normally static free,
reception can be affected by the surround-
ing area, atmospheric conditions, station
strength and transmitter distance. Build-
ings or other obstructions may cause
momentary static, flutter or station inter-
ference. If reception continues to be
unsatisfactory, switch to a stronger station. XM
TMsatellite radio reception
(if equipped)
XM
TMis a continental U.S. based satellite
radio service including music, news,
sports, talk and children ’s programming.
XM
TMprovides digital quality audio and
text information, including song title and
artist name. A service fee is required to
receive the XM
TMservice. For more
information, contact XMTMatwww.xmradio.com or call 1-800-
XMRADIO (1-800-967-2346) for U.S.
www.xmradio.ca or call 1-877-GET-XMSR
(1-877-438-9677) for Canada.
The XM
TMsatellite radio receiver that is
fitted to your vehicle receives the neces-
sary signals from two specially designated
satellites that are in a geostationary orbit
over the equator. One satellite covers the
east coast and the other covers the west
coast. Both of them direct their signals
north. These signals are then relayed
throughout the USA by a network of
ground repeater stations. The satellite
radio signals are transmitted as “line of
sight ”signals. Line of sight signals can be
blocked by objects such as buildings, but
the network of repeater stations allows
signal coverage within urban areas such
as cities.