2009 RENAULT TWINGO RS warning
[x] Cancel search: warningPage 542 of 652

19A-32
COOLING
Coolant pump: Removal - Refitting
K4M
19A
a
aApply a bead (2) of SEALING RESIN (see Vehicle:
Parts and consumables for the repair) (04B, Con-
sumables - Products) with a width of 0.6 to 1 mm.II - REFITTING OPERATION
a
aRefit the coolant pump.
aTighten to torque and in order:
-bolt 1 of the coolant pump (27 N.m),
-bolts 2 to 8 of the water pump (10 N.m).
III - FINAL OPERATION
aRefit:
-the camshaft dephaser (see 11A, Top and front of
engine, Camshaft dephaser: Removal - Refit-
ting, page 11A-135) ,
-the timing belt (see 11A, Top and front of engine,
Timing belt: Removal - Refitting, page 11A-27) ,
-the crankshaft accessories pulley (see 11A, Top
and front of engine, Crankshaft accessories
pulley: Removal - Refitting, page 11A-20) ,
-the right-hand suspended engine mounting (see
19D, Engine mounting, Right-hand suspended
engine mounting: Removal - Refitting, page
19D-13) ,
10063
WARNING
Applying excess sealant could cause it to be
squeezed out when parts are tightened. A mix-
ture of sealant and fluid could damage certain
components (engine, radiator, etc.).
WARNING
Failure to observe the following procedure may
cause irreparable damage to the water pump
bearing.
Note:
To fit the pump on the two pins of the cylinder
block, never apply pressure to the water pump
pinion; instead use the pump mounting bolts by
pre-tightening them.
14505
Note:
Apply one to tw o drops of FRENETANCHE (see
Vehicle: Parts and consumables for the
repair) (04B, Consumables - Products) to the
coolant pump bolts (1) and (4) .
Page 544 of 652

19A-34
COOLING
Thermostat: Removal - Refitting
D4F, and 772 – D7F
19A
PARTS AND CONSUMABLES FOR THE
REPAIR WORK
aParts always to be replaced :
-water chamber seal.
aConsumable (see 04B, Parts and consumables
for the repair):
-COOLANT.
REMOVAL
I - REMOVAL PREPARATION OPERATION
aRemove the air filter unit (see 12A, Fuel mixture,
Air filter unit: Removal - Refitting, page 12A-13) .
aRemove the air filter box inlet pipe .
aDrain the cooling system (see 19A, Cooling, Cool-
ing system: Draining - Refilling, page 19A-9) .
aClean the cooling system if necessary (see 19A,
Cooling, Cooling system: Draining - Refilling,
page 19A-9) .
II - OPERATION FOR REMOVAL OF PART
CONCERNED
aSeparate the clips on the water chamber top hose
and the heater matrix hose on the water chamber
using the tool (Mot. 1448).
aDisconnect the water chamber top hose and the
heater matrix hose on the water chamber.aRemove:
-the water chamber bolts (1) ,
-the cylinder head water chamber.
REFITTING
I - REFITTING PREPARATION OPERATION
a
aIt is imperative to replace the cylinder head water
chamber seal.
II - REFITTING OPERATION FOR PART
CONCERNED
aRefit:
-the cylinder head water chamber,
-the cylinder head water chamber bolts.
aConnect the water chamber top hose and the heater
matrix hose on the water chamber.
aFit the clips of the water chamber top hose and the
heater matrix hose on the water chamber using the
tool (Mot. 1448). Special tooling required
Mot. 1448Remote operation pliers for
hose clips .
D4F
D7F
113372
WARNING
The joint faces must be clean, dr y and free from
grease (avoid finger marks).
Page 547 of 652

19A-37
COOLING
Thermostat: Removal - Refitting
D4F, and 780 or 782
19A
REMOVAL
I - REMOVAL PREPARATION OPERATION
aPosition the vehicle on a two-post lift (see Vehicle:
Towing and lifting) (MR 411, 02A, Lifting equip-
ment).
aDrain the cooling system (see 19A, Cooling, Cool-
ing system: Draining - Refilling, page 19A-9) .
aRemove the water chamber (see 19A, Cooling, Wa-
ter chamber: Removal - Refitting, page 19A-40) .
II - OPERATION FOR REMOVAL OF PART
CONCERNED
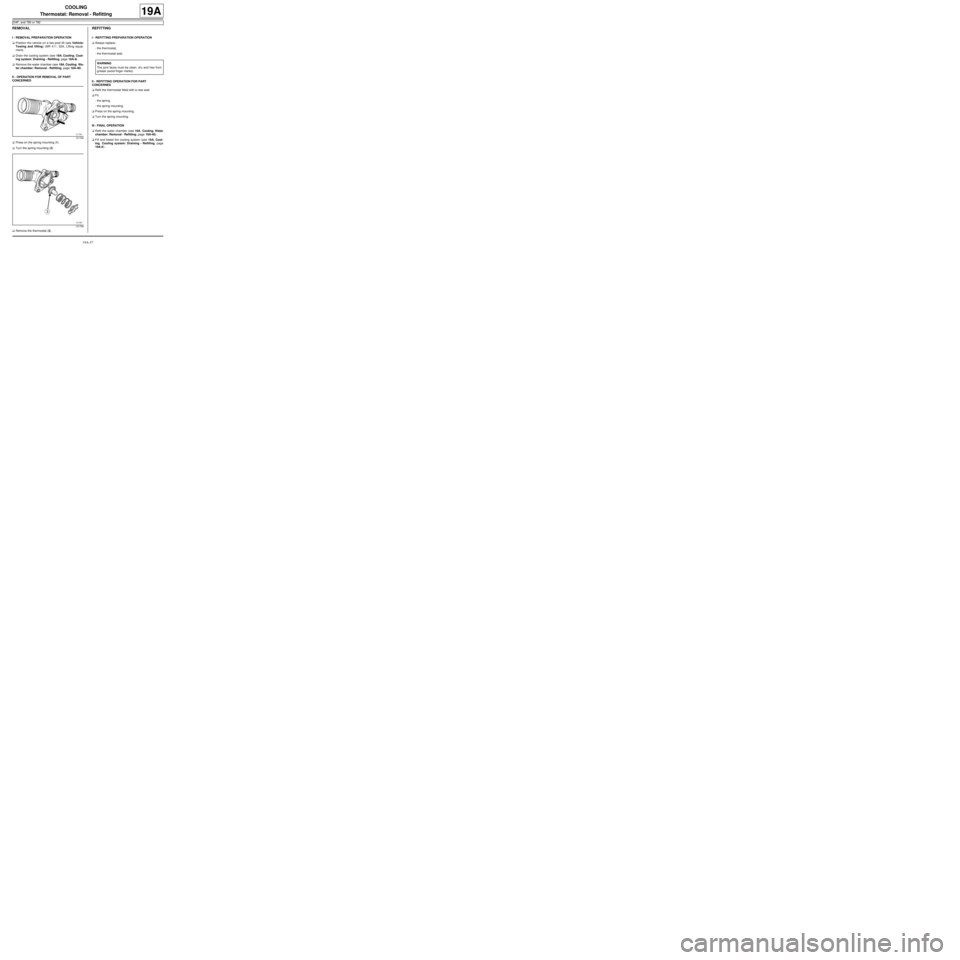
aPress on the spring mounting (1) .
aTurn the spring mounting (2) .
aRemove the thermostat (3) .
REFITTING
I - REFITTING PREPARATION OPERATION
aAlways replace:
-the thermostat,
-the thermostat seal.
II - REFITTING OPERATION FOR PART
CONCERNED
aRefit the thermostat fitted with a new seal.
aFit:
-the spring,
-the spring mounting.
aPress on the spring mounting.
aTurn the spring mounting.
III - FINAL OPERATION
aRefit the water chamber (see 19A, Cooling, Water
chamber: Removal - Refitting, page 19A-40) .
aFill and bleed the cooling system (see 19A, Cool-
ing, Cooling system: Draining - Refilling, page
19A-9) .
121758
121759
WARNING
The joint faces must be clean, dr y and free from
grease (avoid finger marks).
Page 550 of 652

19A-40
COOLING
Water chamber: Removal - Refitting
D4F, and 772 – D7F
19A
PARTS AND CONSUMABLES FOR THE
REPAIR WORK
aPart always to be replaced:
-water chamber seal.
REMOVAL
I - REMOVAL PREPARATION OPERATION
aPosition the vehicle on a two-post lift ( (see Vehicle:
Towing and lifting) ).
aRemove the air filter box (see 12A, Fuel mixture,
Air filter unit: Removal - Refitting, page 12A-13) .
aDrain the cooling system (see 19A, Cooling, Cool-
ing system: Draining - Refilling, page 19A-9) .
II - OPERATION FOR REMOVAL OF PART
CONCERNED
aMove the water chamber hose clips to one side us-
ing the (Mot. 1448) or (Mot. 1202-01) or (Mot. 1202-
02).
aDisconnect the water chamber hoses.aRemove:
-the water chamber bolts (1) ,
-the water chamber.
REFITTING
I - REFITTING PREPARATIONS OPERATION
aClean the gasket faces.
II - REFITTING OPERATION FOR PART
CONCERNED
aRefit:
-the water chamber with a new seal,
-the water chamber bolts.
aTorque tighten the water chamber bolts (10 Nm).
aConnect the water chamber hoses.
aFit the water chamber hose clips using the (Mot.
1448) or (Mot. 1202-01) or (Mot. 1202-02). Special tooling required
Mot. 1448Remote operation pliers for
hose clips .
Mot. 1202-01Clip pliers for hose clips
(large size).
Mot. 1202-02Clip pliers for hose clips
(small size)
Tightening torquesm
water chamber bolts10 Nm
D4F
113372
WARNING
The joint faces must be clean, dr y and free from
grease (avoid finger marks).
Page 552 of 652

19A-42
COOLING
Water chamber: Removal - Refitting
K9K
19A
REMOVAL
I - REMOVAL PREPARATION OPERATION
aPosition the vehicle on a two-post lift (see Vehicle:
Towing and lifting) (02A, Lifting equipment).
aRemove the front engine cover. Special tooling required
Mot. 1448Remote operation pliers for
hose clips .
Tightening torquesm
water chamber bolts10 N.m
intercooler air outlet
pipe clip at the damper
valve end5.5 N.m
IMPORTANT
When working in the engine compartment, take
care as the radiator fan(s) may start up unexpect-
edly (risk of being cut).
To avoid any risk of serious burns when the engine
is hot:
-do not open the expansion bottle cap,
-do not drain the cooling system,
-do not open the bleed screw(s).
WARNING
Before the operation, protect the electrical accesso-
ries to prevent any risk of shor t circuiting and pro-
tect the belts to avoid damaging them.
WARNING
When carr ying out a repair that requires a complete
change, it is essential to flush the circuit with clean
water, blast compressed air through the circuit to
drive out the water, fill and bleed the circuit and
then measure the effective protection.
The cr iteria to be met are:
-protection down to -25˚C ±± ± ±
2 for cold and temper-
ate countries,
-protection down to -40˚C ±± ± ±
2 for "extreme cold"
countries.
WARNING
The coolant helps to keep the engine running prop-
erly (heat exchange).
The system does not operate using pure water.
WARNING
Take care not to damage the bearing faces to pre-
vent any risk of coolant leaks.
Page 554 of 652

19A-44
COOLING
Water chamber: Removal - Refitting
K9K
19A
aDrain the cooling system (see 19A, Cooling, Cool-
ing system: Draining - Refilling, page 19A-9) .
aUnclip the cooling hose of the coolant-oil heat ex-
changer at (11) .
aMove aside the cooling hose of the coolant-oil heat
exchanger.
aSeparate the clips of the water chamber cooling hos-
es (12) using the (Mot. 1448).
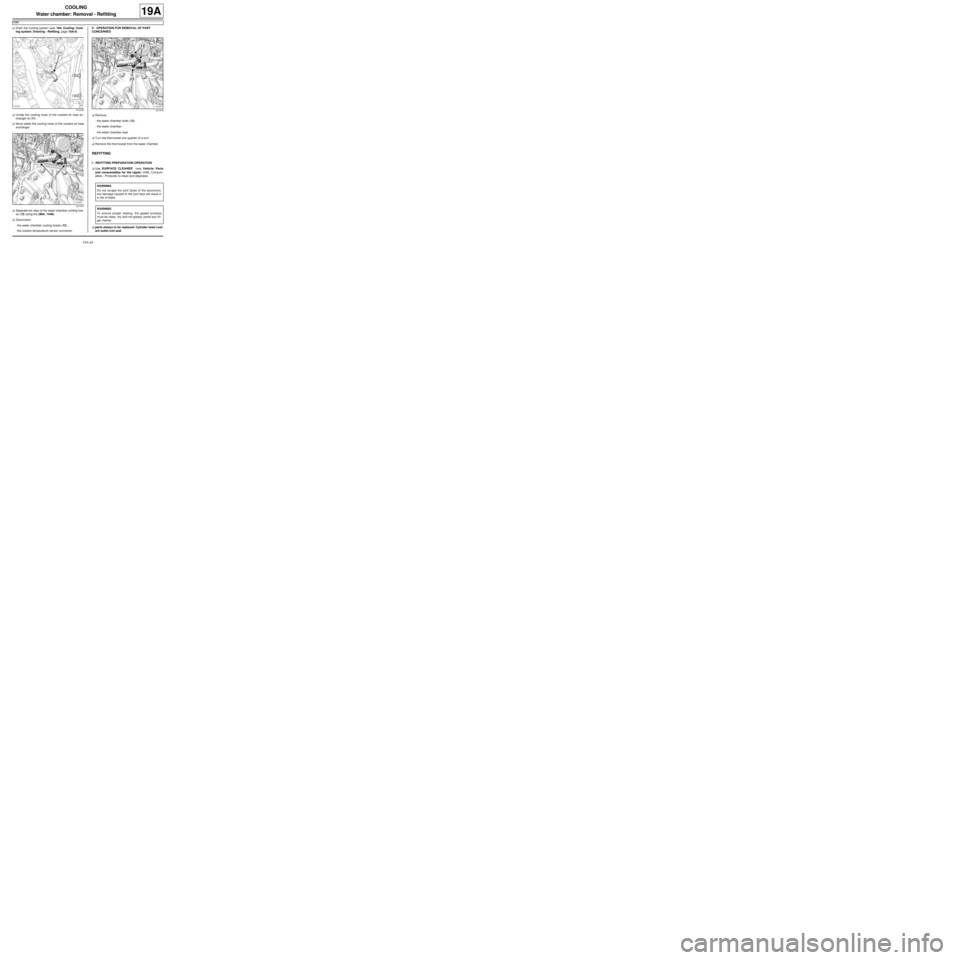
aDisconnect:
-the water chamber cooling hoses (12) ,
-the coolant temperature sensor connector.II - OPERATION FOR REMOVAL OF PART
CONCERNED
aRemove:
-the water chamber bolts (13) ,
-the water chamber,
-the water chamber seal.
aTurn the thermostat one quarter of a turn.
aRemove the thermostat from the water chamber.
REFITTING
I - REFITTING PREPARATION OPERATION
aUse SURFACE CLEANER (see Vehicle: Parts
and consumables for the repair) (04B, Consum-
ables - Products) to clean and degrease.
aparts always to be replaced: Cylinder head cool-
ant outlet unit seal
141218
121416121416
WARNING
Do not scrape the joint faces of the aluminium,
any damage caused to the joint face will result in
a risk of leaks.
WARNING
To ensure proper sealing, the gasket surfaces
must be clean, dry and not greasy (avoid any fin-
ger mar ks).
Page 556 of 652

19A-46
COOLING
Water chamber: Removal - Refitting
D4F, and 780 or 782
19A
REMOVAL - REFITTING
I - REMOVAL PREPARATION OPERATION
aPosition the vehicle on a two-post lift (see Vehicle:
Towing and lifting) (MR 411, 02A, Lifting equip-
ment).
aDrain the cooling system (see 19A, Cooling, Cool-
ing system: Draining - Refilling, page 19A-9) .
II - OPERATION FOR REMOVAL OF PART
CONCERNED
aDetach the turbocharger cooling pipe from the cylin-
der head.
aRemove the water chamber hose clips using the
(Mot. 1448).
aDisconnect the water chamber hoses.
aRemove the pipe from the heater matrix under the
water chamber.aRemove:
-the water chamber bolts (1) ,
-the water chamber (2) ,
-the water chamber seal.
REFITTING
I - REFITTING PREPARATION OPERATION
aAlways replace the water chamber seal.
II - REFITTING OPERATION FOR PART
CONCERNED
aPosition the water chamber with a new seal.
aScrew on the water chamber bolts without tightening
them.
aTorque tighten the water chamber bolts (10 N.m).
aConnect the water chamber hoses.
aFit the heater matrix pipe under the water chamber.
aRefit the water chamber hose clips using the (Mot.
1448).
aClip the turbocharger cooling pipe onto the cylinder
head. Special tooling required
Mot. 1448Remote operation pliers for
hose clips .
Tightening torquesm
water chamber bolts10 N.m
Note:
Use a cloth to protect the TDC sensor to prevent
any coolant entering the opening on the gearbox.
113372
WARNING
The joint faces must be clean, dr y and free from
grease (avoid finger marks).
Page 558 of 652

19A-48
COOLING
Water chamber: Removal - Refitting
K4M
19A
REMOVAL
I - REMOVAL PREPARATION OPERATION
aPosition the vehicle on a two-post lift (see Vehicle:
Towing and lifting) (02A, Lifting equipment).
aRemove:
-the air filter unit (see 12A, Fuel mixture, Air filter
unit: Removal - Refitting, page 12A-13) ,
-the engine undertray.
aDrain the cooling system (see 19A, Cooling, Cool-
ing system: Draining - Refilling, page 19A-9) . Special tooling required
Mot. 1448Remote operation pliers for
hose clips .
Mot. 1202-01Clip pliers for hose clips
(large size).
Mot. 1202-02Clip pliers for hose clips
(small size)
Tightening torquesm
water chamber bolts
(initial torque)4 N.m
water chamber bolts12 N.m
heater matrix hose
bracket bolt10 N.m
IMPORTANT
When working in the engine compartment, take
care as the radiator fan(s) may start up unexpect-
edly (risk of being cut).
To avoid any risk of serious burns when the engine
is hot:
-do not open the expansion bottle cap,
-do not drain the cooling system,
-do not open the bleed screw(s).
WARNING
When carr ying out a repair that requires a complete
change, it is essential to flush the circuit with clean
water, blast compressed air through the circuit to
drive out the water, fill and bleed the circuit and
then measure the effective protection.
The cr iteria to be met are:
-protection down to -25˚C ±± ± ±
2 for cold and temper-
ate countries,
-protection down to -40˚C ±± ± ±
2 for "extreme cold"
countries.
WARNING
Before the operation, protect the electrical accesso-
ries to prevent any risk of shor t circuiting and pro-
tect the belts to avoid damaging them.