Page 90 of 652

10A-84
ENGINE AND CYLINDER BLOCK ASSEMBLY
Engine - gearbox assembly: Removal - Refitting
D4F or D7F
10A
aRefit:
-the air conditioning pipe bolt on the dehydrator res-
ervoir,
-the air conditioning pipe bolts on the compressor.
aTighten:
-the air conditioning pipe bolts on the dehydrator
reservoir,
-the air conditioning pipe bolts on the compressor.
aFill the refrigerant circuit (see Refrigerant circuit:
Draining - Filling) (62A, Air conditioning).
aConnect:
-the petrol vapour rebreathing solenoid valve con-
nector,
-the brake servo pipe on the brake servo,
-the heater matrix hoses.
aFit the cooling unit.
aRefill:
-the engine oil, if necessary (see 10A, Engine and
cylinder block assembly, Engine oil: Draining -
Refilling, page 10A-22) ,
-the gearbox oil (see Manual gearbox oils: Drain-
ing - Filling) ,
-and bleed the cooling system (see 19A, Cooling,
Cooling system: Draining - Refilling, page 19A-
9) .
aRefit:
-the air filter unit air inlet pipe,
-the air filter unit air inlet pipe bolt on the cross
member.
aConnect the air filter box air inlet pipe on the air filter
box cover.
aRefit the turbocharger outlet air pipe.
aPush the intercooler air inlet pipe clip.
aConnect the intercooler air inlet pipe on the inter-
cooler.aPush the turbocharger outlet air pipe clip, following
the direction shown by the arrow (23) .
aConnect the turbocharger air outlet pipe onto the tur-
bocharger.
aRefit the turbocharger outlet rigid air pipe bolt on the
throttle valve.
aConnect the intercooler air outlet pipe to the inter-
cooler.
aTighten the intercooler air outlet pipe clip.
aRefit:
-the cooling radiator upper bolts.
-the air filter unit air inlet pipe,
-the air filter box air inlet pipe on the cross member,
aPosition the expansion bottle.
aRefit the expansion bottle bolt.
aClip the bonnet opening release cable on to the cool-
ing fan assembly.
aPosition the earth straps.
aRefit the earth strap nuts on the front right-hand side
member. D4F, and 780 or 782
122666
D4F or D7F, and 772
Page 91 of 652

10A-85
ENGINE AND CYLINDER BLOCK ASSEMBLY
Engine - gearbox assembly: Removal - Refitting
D4F or D7F
10A
aClip the fuse holder onto the engine compartment
connection unit.
aRefit:
-the engine compartment connection unit bolts,
-the engine compartment connection unit supply
nut.
aConnect:
-the fuses,
-the connector.
aRefit:
-the engine compartment connection unit cover,
-the engine compartment connection unit cover
bolts.
aRefit:
-the front bumper (see Front bumper: Removal -
Refitting) (55A, Exterior protection),
-the front wheel arch liners (see Front wheel arch
liner: Removal - Refitting) (55A, Exterior protec-
tion).
-the front wheels (see Wheel: Removal - Refitting)
(35A, Wheels and tyres),
-the computer mounting,
-the computer mounting nuts,
-the computer mounting bolts,
-the injection computer (see 17B, Petrol injection,
Petrol injection computer: Removal - Refitting,
page 17B-20) ,
-the battery tray (see Battery tray: Removal - Re-
fitting) (80A, Battery),
-the battery (see ) (80A, Battery).
Page 92 of 652

10A-86
ENGINE AND CYLINDER BLOCK ASSEMBLY
Engine - gearbox assembly: Removal - Refitting
K9K
10A
REMOVAL
I - REMOVAL PREPARATION OPERATION
aPosition the vehicle on a two-post lift (see Vehicle:
Towing and lifting) (02A, Lifting equipment).
aRemove the battery (see ) (80A, Battery).
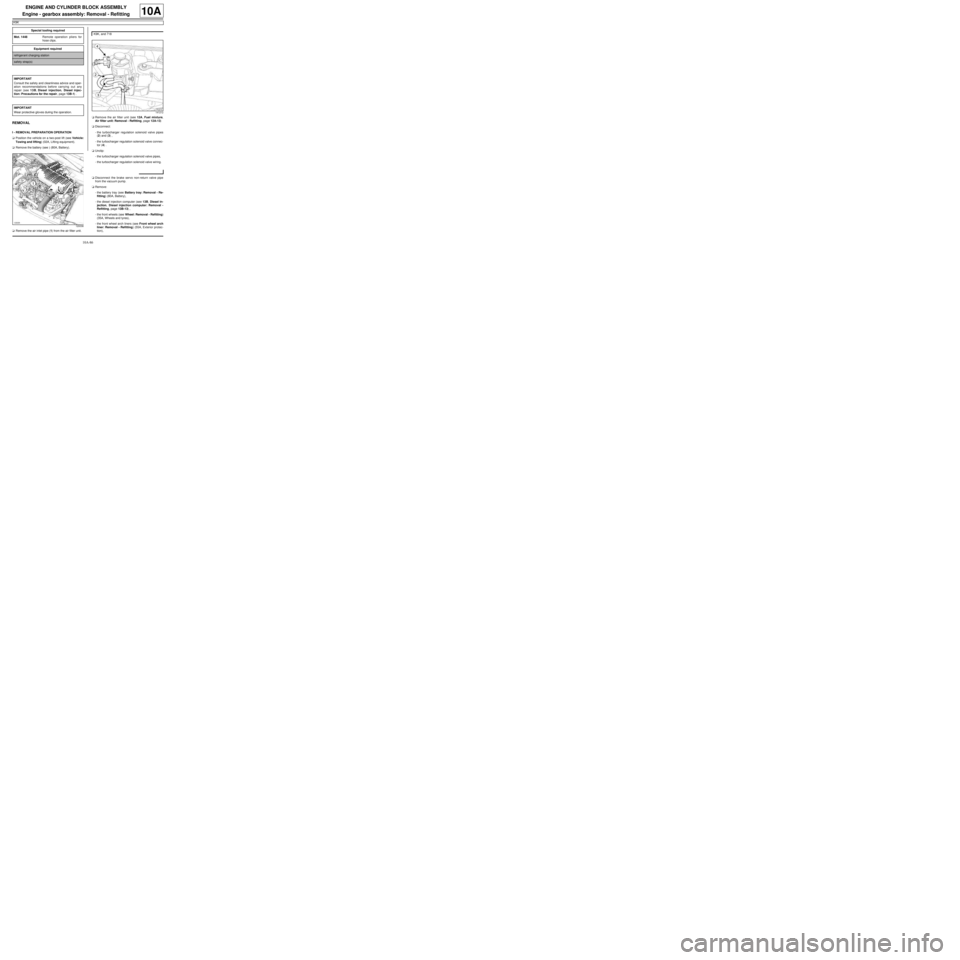
aRemove the air inlet pipe (1) from the air filter unit.aRemove the air filter unit (see 12A, Fuel mixture,
Air filter unit: Removal - Refitting, page 12A-13)
aDisconnect:
-the turbocharger regulation solenoid valve pipes
(2) and (3) ,
-the turbocharger regulation solenoid valve connec-
tor (4) .
aUnclip:
-the turbocharger regulation solenoid valve pipes,
-the turbocharger regulation solenoid valve wiring.
aDisconnect the brake servo non-return valve pipe
from the vacuum pump.
aRemove:
-the battery tray (see Battery tray: Removal - Re-
fitting) (80A, Battery),
-the diesel injection computer (see 13B, Diesel in-
jection, Diesel injection computer: Removal -
Refitting, page 13B-13) ,
-the front wheels (see Wheel: Removal - Refitting)
(35A, Wheels and tyres),
-the front wheel arch liners (see Front wheel arch
liner: Removal - Refitting) (55A, Exterior protec-
tion), Special tooling required
Mot. 1448Remote operation pliers for
hose clips .
Equipment required
refrigerant charging station
safety strap(s)
IMPORTANT
Consult the safety and cleanliness advice and oper-
ation recommendations before carrying out any
repair (see 13B, Diesel injection, Diesel injec-
tion: Precautions for the repair, page 13B-1) .
IMPORTANT
Wear protective gloves during the operation.
120038
K9K, and 718
141212
Page 93 of 652

10A-87
ENGINE AND CYLINDER BLOCK ASSEMBLY
Engine - gearbox assembly: Removal - Refitting
K9K
10A
-the front bumper (see Front bumper: Removal -
Refitting) (55A, Exterior protection).
aDrain:
-the gearbox (see Sequential gearbox oil: Drain-
ing - Filling) (21A, Manual gearbox),
-the engine cooling system (see 19A, Cooling,
Cooling system: Draining - Refilling, page 19A-
9) ,
-the engine, if necessary (see 10A, Engine and
cylinder block assembly, Engine oil: Draining -
Refilling, page 10A-22) ,
-the refrigerant circuit using a refrigerant charging
station (see Refrigerant circuit: Draining - Fill-
ing) (62A, Air conditioning) (if fitted).
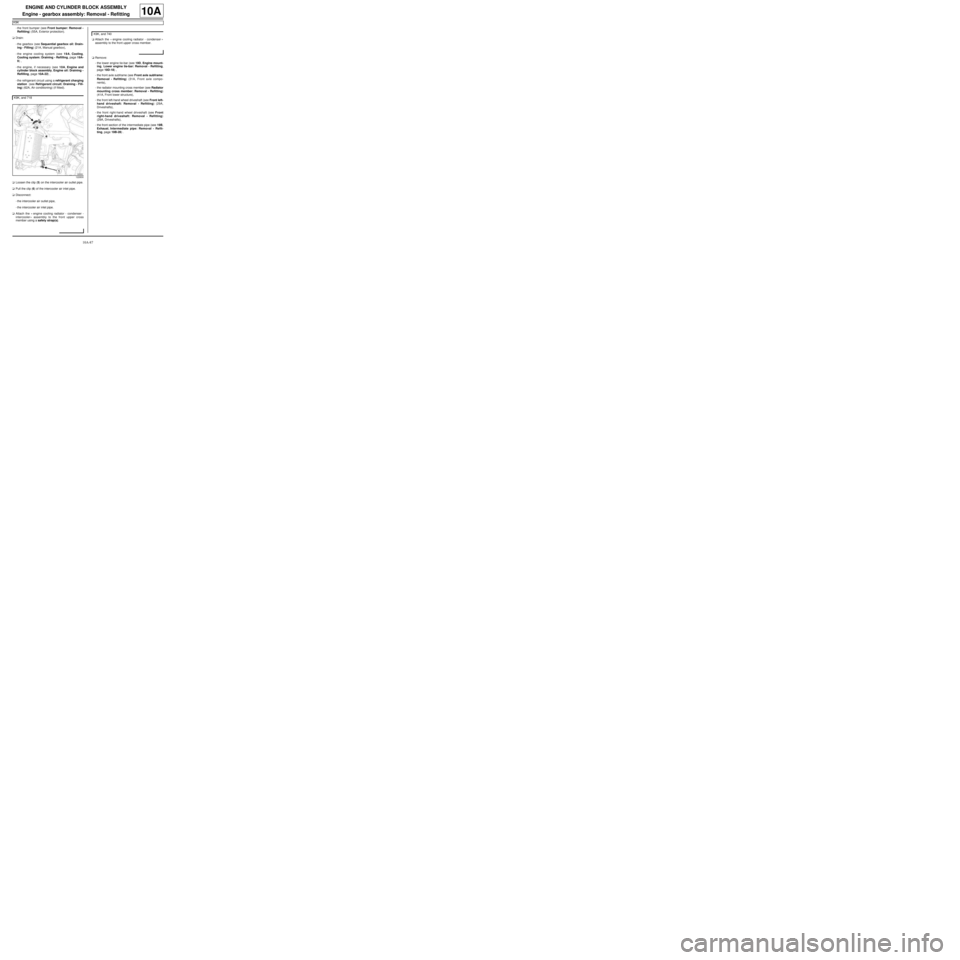
aLoosen the clip (5) on the intercooler air outlet pipe.
aPull the clip (6) of the intercooler air inlet pipe.
aDisconnect:
-the intercooler air outlet pipe,
-the intercooler air inlet pipe.
aAttach the « engine cooling radiator - condenser -
intercooler » assembly to the front upper cross
member using a safety strap(s).aAttach the « engine cooling radiator - condenser »
assembly to the front upper cross member.
aRemove:
-the lower engine tie-bar (see 19D, Engine mount-
ing, Lower engine tie-bar: Removal - Refitting,
page 19D-18) ,
-the front axle subframe (see Front axle subframe:
Removal - Refitting) (31A, Front axle compo-
nents),
-the radiator mounting cross member (see Radiator
mounting cross member: Removal - Refitting)
(41A, Front lower structure),
-the front left-hand wheel driveshaft (see Front left-
hand driveshaft: Removal - Refitting) (29A,
Driveshafts),
-the front right-hand wheel driveshaft (see Front
right-hand driveshaft: Removal - Refitting)
(29A, Driveshafts),
-the front section of the intermediate pipe (see 19B,
Exhaust, Intermediate pipe: Removal - Refit-
ting, page 19B-28) . K9K, and 718
122830
K9K, and 740
Page 94 of 652
10A-88
ENGINE AND CYLINDER BLOCK ASSEMBLY
Engine - gearbox assembly: Removal - Refitting
K9K
10A
aRemove using the (Mot. 1448) :
-the top hose (7) on the water chamber,
-the hoses (8) on the heater matrix.
aUse the (Mot. 1448) to disconnect:
-the top hose on the coolant outlet unit,
-the hoses on the heater matrix.aUnclip:
-the gearbox controls (9) on the gear selectors,
-the gearbox controls on the cable sleeve stops,
-the clutch control hydraulic pipe on the gearbox at
(10) .
aDisconnect the clutch hydraulic control on the gear-
box by pressing on the clip (11) .
aFit blanking plugs on the clutch hydraulic control and
on the control pipe.
121421
121430121438
121410
Page 95 of 652
10A-89
ENGINE AND CYLINDER BLOCK ASSEMBLY
Engine - gearbox assembly: Removal - Refitting
K9K
10A
aUnclip the fuel supply pipes at (12) .
aDisconnect the inlet pipe (13) from the high pressure
pump.
aDisconnect the return pipe (14) from the high pres-
sure pump.
aInsert the blanking plugs.
aUnclip the blower unit wiring.
aDisconnect the connectors from the fan assembly
wiring.
aCut the clip on the battery mounting.aRemove:
-the engine compartment connection unit cover
bolts (15) ,
-the cover of the engine compartment connection
unit.
aDisconnect the connector (16) from the pre-posthe-
ating unit.
121423
WARNING
To prevent impurities from entering the circuit,
plugs must be fitted to the openings of all the fuel
circuit components exposed to the open air.
120324
121429
K9K, and 718
141240
Page 96 of 652
10A-90
ENGINE AND CYLINDER BLOCK ASSEMBLY
Engine - gearbox assembly: Removal - Refitting
K9K
10A
aDisconnect the connector (17) from the pre-posthe-
ating unit.aUnclip the black connector (18) .
aDisconnect the black connector (18) .
aRemove the engine compartment connection unit
mountings (19) on the body.
aMove the engine compartment connection unit to
one side.
aRemove the earth nut on the front left-hand side
member. K9K, and 740
121436
121435
Page 97 of 652
10A-91
ENGINE AND CYLINDER BLOCK ASSEMBLY
Engine - gearbox assembly: Removal - Refitting
K9K
10A
aRemove the fuses (20) .
aUnclip:
-the fuse holders,
-the engine compartment connection unit relay
plates (21) .
aRemove the earth nut (22) on the front left-hand
wing.
aMove the earth wiring away from the front left-hand
wing.aRemove the clip (23) on the coolant pump inlet pipe
hose using the tool (Mot. 1448).
aDisconnect the hose from the coolant pump inlet
pipe.
121435121431