2009 RENAULT TWINGO Valve
[x] Cancel search: ValvePage 92 of 652
10A-86
ENGINE AND CYLINDER BLOCK ASSEMBLY
Engine - gearbox assembly: Removal - Refitting
K9K
10A
REMOVAL
I - REMOVAL PREPARATION OPERATION
aPosition the vehicle on a two-post lift (see Vehicle:
Towing and lifting) (02A, Lifting equipment).
aRemove the battery (see ) (80A, Battery).
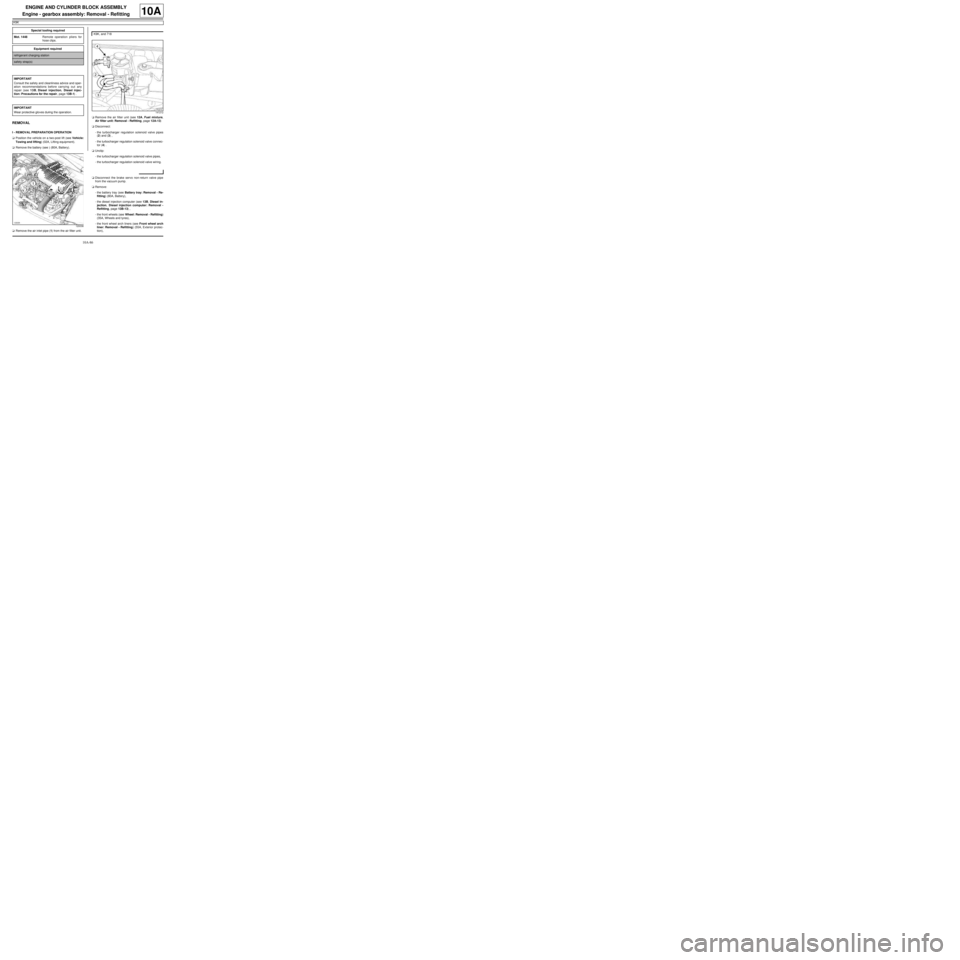
aRemove the air inlet pipe (1) from the air filter unit.aRemove the air filter unit (see 12A, Fuel mixture,
Air filter unit: Removal - Refitting, page 12A-13)
aDisconnect:
-the turbocharger regulation solenoid valve pipes
(2) and (3) ,
-the turbocharger regulation solenoid valve connec-
tor (4) .
aUnclip:
-the turbocharger regulation solenoid valve pipes,
-the turbocharger regulation solenoid valve wiring.
aDisconnect the brake servo non-return valve pipe
from the vacuum pump.
aRemove:
-the battery tray (see Battery tray: Removal - Re-
fitting) (80A, Battery),
-the diesel injection computer (see 13B, Diesel in-
jection, Diesel injection computer: Removal -
Refitting, page 13B-13) ,
-the front wheels (see Wheel: Removal - Refitting)
(35A, Wheels and tyres),
-the front wheel arch liners (see Front wheel arch
liner: Removal - Refitting) (55A, Exterior protec-
tion), Special tooling required
Mot. 1448Remote operation pliers for
hose clips .
Equipment required
refrigerant charging station
safety strap(s)
IMPORTANT
Consult the safety and cleanliness advice and oper-
ation recommendations before carrying out any
repair (see 13B, Diesel injection, Diesel injec-
tion: Precautions for the repair, page 13B-1) .
IMPORTANT
Wear protective gloves during the operation.
120038
K9K, and 718
141212
Page 100 of 652

10A-94
ENGINE AND CYLINDER BLOCK ASSEMBLY
Engine - gearbox assembly: Removal - Refitting
K9K
10A
aDetach the « engine cooling radiator - air condition-
ing condenser - intercooler » assembly from the
front upper cross member.
aClip on the clip of the intercooler air inlet pipe.
aConnect:
-the intercooler air outlet pipe,
-the intercooler air inlet pipe.
aTighten the clip on the intercooler outlet pipe.
aDetach the « engine cooling radiator - condenser »
assembly from the front upper cross member.
aRefit:
-the front bumper (see Front bumper: Removal -
Refitting) (55A, Exterior protection),
-the front wheel arch liners (see Front wheel arch
liner: Removal - Refitting) (55A, Exterior protec-
tion),
-the front wheels (see Wheel: Removal - Refitting)
(35A, Wheels and tyres),
-the diesel injection computer (see 13B, Diesel in-
jection, Diesel injection computer: Removal -
Refitting, page 13B-13) ,
-the battery tray (see Battery tray: Removal - Re-
fitting) (80A, Battery),
-the non-return valve pipe on the vacuum pump.aClip:
-the turbocharger regulation solenoid valve wiring,
-the turbocharger regulation solenoid valve pipes.
aConnect:
-the turbocharger regulation solenoid valve connec-
tor,
-the turbocharger regulation solenoid valve pipes.
aRefit the air filter unit (see 12A, Fuel mixture, Air fil-
ter unit: Removal - Refitting, page 12A-13) .
aRefit:
-the air pipe at the air filter unit inlet,
-the battery (see ) (80A, Battery).
aRefill:
-the gearbox (see Sequential gearbox oil: Drain-
ing - Filling) (21A, Manual gearbox),
-the engine cooling system (see 19A, Cooling,
Cooling system: Draining - Refilling, page 19A-
9) ,
-the engine if necessary (see 10A, Engine and cyl-
inder block assembly, Engine oil: Draining - Re-
filling, page 10A-22) ,
-the refrigerant circuit using a refrigerant charging
station (see Refrigerant circuit: Draining - Fill-
ing) (62A, Air conditioning) (if fitted),
-the brake fluid reservoir.
aBleed the clutch circuit (see Clutch circuit: Bleed)
(37A, Mechanical component controls). K9K, and 718
K9K, and 740
K9K, and 718
Page 104 of 652

10A-98
ENGINE AND CYLINDER BLOCK ASSEMBLY
Engine - gearbox assembly: Removal - Refitting
K4M
10A
aDisconnect:
-the fuel vapour absorber bleed solenoid valve pipe
(12) ,
-the fuel vapour absorber bleed solenoid valve con-
nector (13) .aUnclip the fuel supply pipe at (14) .
aDisconnect the fuel supply pipe (15) .
131766131767
WARNING
To prevent impur ities from entering the circuit,
place protective plugs on all fuel circuit compo-
nents exposed to the open air.
Page 109 of 652

10A-103
ENGINE AND CYLINDER BLOCK ASSEMBLY
Engine - gearbox assembly: Removal - Refitting
K4M
10A
-the rubber pad mounting from the suspended en-
gine mounting on the gearbox.
aRemove the right-hand suspended engine mounting
(see 19D, Engine mounting, Right-hand sus-
pended engine mounting: Removal - Refitting,
page 19D-13) .
aLift the vehicle to remove the "engine and gearbox"
assembly.
REFITTING
I - REFITTING PREPARATION OPERATION
aFor standard engine replacement (see Standard re-
placement) (Technical Note 6023A, 10A, Engine
and peripherals).
II - REFITTING OPERATION
aPosition the "engine and gearbox" assembly in the
body.
aRefit the right-hand suspended engine mounting
(see 19D, Engine mounting, Right-hand sus-
pended engine mounting: Removal - Refitting,
page 19D-13) .
aRefit the rubber pad mounting from the suspended
engine mounting on the gearbox.
aTorque tighten the rubber pad mounting bolts for
the suspended engine mounting on the gearbox
(21 N.m).
aRefit the suspended engine mounting rubber pad.
aTorque tighten:
-the bolts of the suspended mounting rubber
pad (62 N.m),
-the suspended engine mounting shaft nut (62
N.m).
III - FINAL OPERATION
aRemove the.
aRemove the blanking plugs.
aConnect:
-the union of the brake servo vacuum pipe,
-the « compressor - condenser » connecting pipe,-the « compressor - intermediate pipe » connecting
pipe,
-the pressure sensor connector,
aConnect the hose on the coolant pump inlet pipe.
aFit the hose clip on the coolant pump inlet pipe using
the (Mot. 1448).
aRefit the earth nuts.
aClip:
-the relay plates on the engine compartment con-
nection unit,
-the fuse holders.
aConnect the fuses.
aRefit the engine compartment connection unit on the
body.
aConnect the connector to the engine compartment
connection unit.
aRefit the engine compartment connection unit cover.
aClip:
-the wiring on the engine cooling fan assembly,
-the cooling radiator top and bottom hoses on the
engine cooling fan assembly.
aConnect:
-the engine cooling fan assembly resistor connec-
tor,
-the engine cooling fan assembly connector.
aRemove the blanking plug from the fuel supply pipe
opening and the injector rail fuel opening.
aReconnect the fuel supply pipe.
aClip the fuel supply pipe in place.
aConnect:
-the fuel vapour absorber bleed solenoid valve con-
nector,
-the fuel vapour absorber bleed solenoid valve pipe.
aFit the gearbox control cables.
aClip the manual gearbox control cables onto:
-the gear selectors,
-the cable sleeve stops.
aRemove the blanking plug from the hydraulic clutch
control pipe opening and the opening of the clutch
thrust bearing.
aConnect the hydraulic clutch control pipe.
aClip the hydraulic clutch control pipe on the gearbox. Note:
Check no component obstructs the movement of
the body around the engine - gearbox assembly.
Page 111 of 652

10A-105
ENGINE AND CYLINDER BLOCK ASSEMBLY
Valves: Adjustment
C44, and K9K
10A
aParts always to be replaced:
-rocker cover gasket
aRemove the rocker cover (see 11A, Top and front
of engine, Rocker cover: Removal - Refitting,
page 11A-66) .
aTo adjust the valves (see Technical Note 6006A,
Diesel Engine - High-Pressure Common Rail - 4-
cylinder cast iron, 10A, Engine and peripherals,
Rebuilding the cylinder head).
Page 112 of 652

10A-106
ENGINE AND CYLINDER BLOCK ASSEMBLY
Valves: Adjustment
D4F or D7F
10A
I - PREPARATION STAGE FOR ADJUSTING THE
VALVE CLEARANCES
aPosition the vehicle on a two-post lift ( (see Vehicle:
Towing and lifting) ).
aDisconnect the battery ( (see Battery: Removal -
Refitting) ).
aRemove:
-the front right-hand wheel, (see Front wheel arch
liner: Removal - Refitting)
-the front right-hand wheel arch liner (see MR 412
Bodywork, 55A, Exterior protection, Wheel arch
liner: Removal - Refitting),
-the air filter unit (see 12A, Fuel mixture, Air filter
unit: Removal - Refitting, page 12A-13) ,
-the inlet manifold (see 12A, Fuel mixture, Inlet
distributor: Removal - Refitting, page 12A-29) ,
-the rocker cover (see 11A, Top and front of en-
gine, Rocker cover: Removal - Refitting, page
11A-66) .
II - ADJUSTING THE VALVE CLEARANCES
aAdjust the valve clearances (see Technical Note
6004A, Petrol engine - 4 cylinder - D4, 10A, Tim-
ing-Cylinder head: Refitting).
aAdjust the valve clearances (see MR Components,
MR - Mot - D - (E), 4 cylinder cast-iron engine
(petrol), 10 Engine and peripherals, Engine re-
pair).
III - FINAL OPERATION
aRefit:
-the rocker cover (see 11A, Top and front of en-
gine, Rocker cover: Removal - Refitting, page
11A-66) ,
-the inlet manifold (see 12A, Fuel mixture, Inlet
distributor: Removal - Refitting, page 12A-29) ,
-the air filter unit (see 12A, Fuel mixture, Air filter
unit: Removal - Refitting, page 12A-13) ,-the front right-hand wheel arch liner (see MR 412
Bodywork, 55A, Exterior protection, Wheel arch
liner: Removal - Refitting),
-the front right-hand wheel ( (see Wheel: Removal
- Refitting) ).
aConnect the battery ( (see Battery: Removal - Re-
fitting) ).
D4F
D7F
Page 118 of 652

11A-1
TOP AND FRONT OF ENGINE
Pressure at end of compression: Check
K4M
11A
CHECK
I - PREPARATION OPERATION FOR CHECK
aRemove:
-the coils (see 17A, Ignition, Coils: Removal - Re-
fitting, page 17A-1) ,
-the spark plugs (see 17A, Ignition, Plugs: Re-
moval - Refitting, page 17A-12) .
aDisconnect the injector wiring connector (1) .aConnect a petrol compression gauge (2) .
aPut the vehicle under the starting conditions by posi-
tioning the gear lever in neutral.
II - TEST OPERATION
aActivate the starter until the needle of the petrol
compression gauge stabilises.
aMeasure the cylinder compressions, cylinder by cyl-
inder.
aFully depress the accelerator pedal in order to open
the throttle valve during the compression measure-
ments.
III - FINAL OPERATION
aDisconnect the petrol compression gauge.
aConnect the injector wiring connector.
aRefit:
-the spark plugs (see 17A, Ignition, Plugs: Re-
moval - Refitting, page 17A-12) ,
-the coils (see 17A, Ignition, Coils: Removal - Re-
fitting, page 17A-1) . Equipment required
petrol compression gauge
132371
132338
Note:
It is necessar y to wait for at least 10 seconds
before starting the engine each time (the starter
will not run due to its ther mal protection).
Page 119 of 652

11A-2
TOP AND FRONT OF ENGINE
Pressure at end of compression: Check
D4F
11A
CHECK
I - PREPARATION OPERATION FOR CHECK
aRemove the plugs (see 17A, Ignition, Plugs: Re-
moval - Refitting, page 17A-12) .
aConnect a petrol compression gauge (1) .
aRun command with Diagnostic tool :
-RZ009: VEHICLE FUNCTION PROGRAMMING,
-VP036: FUEL SUPPLY INHIBITION.
aPut the vehicle under the starting conditions by posi-
tioning the gear lever in neutral.II - TEST OPERATION
aActivate the starter until the needle of the petrol
compression gauge stabilises.
aMeasure the cylinder compressions, cylinder by cyl-
inder.
aFully depress the accelerator pedal in order to open
the throttle valve during the compression measure-
ments.
III - FINAL OPERATION
aDisconnect the petrol compression gauge.
aRefit the plugs (see 17A, Ignition, Plugs: Removal
- Refitting, page 17A-12) .
aRun command VP037: "STOP INHIBIT FUEL SUP-
PLY" using the Diagnostic tool.
aStart the engine. Equipment required
petrol compression gauge
Diagnostic tool
Note:
Use a petrol compression gauge compatible with
the special tools.
The petrol compression gauge must be equipped
with a universal end piece (rubber), or a gaz 1/4
thread bolt.
132699
Note:
It is necessar y to wait for at least 10 seconds
before starting the engine each time (the starter
will not run due to its ther mal protection).
Note:
If the engine does not start, run command
VP037: STOP FUEL SUPPLY INHIBITION using
the Diagnostic tool or switch off the ignition and
wait 1 min before starting the engine again.